
When I first started experimenting with bread recipes, I used to get really anxious. It took me some time to understand how yeast works and how to ensure dough rises properly. It takes some patience and probably a few initial tries, but once you get the hang of it, it’s very easy. You’ll love making bread at home!
1. Proof your yeast
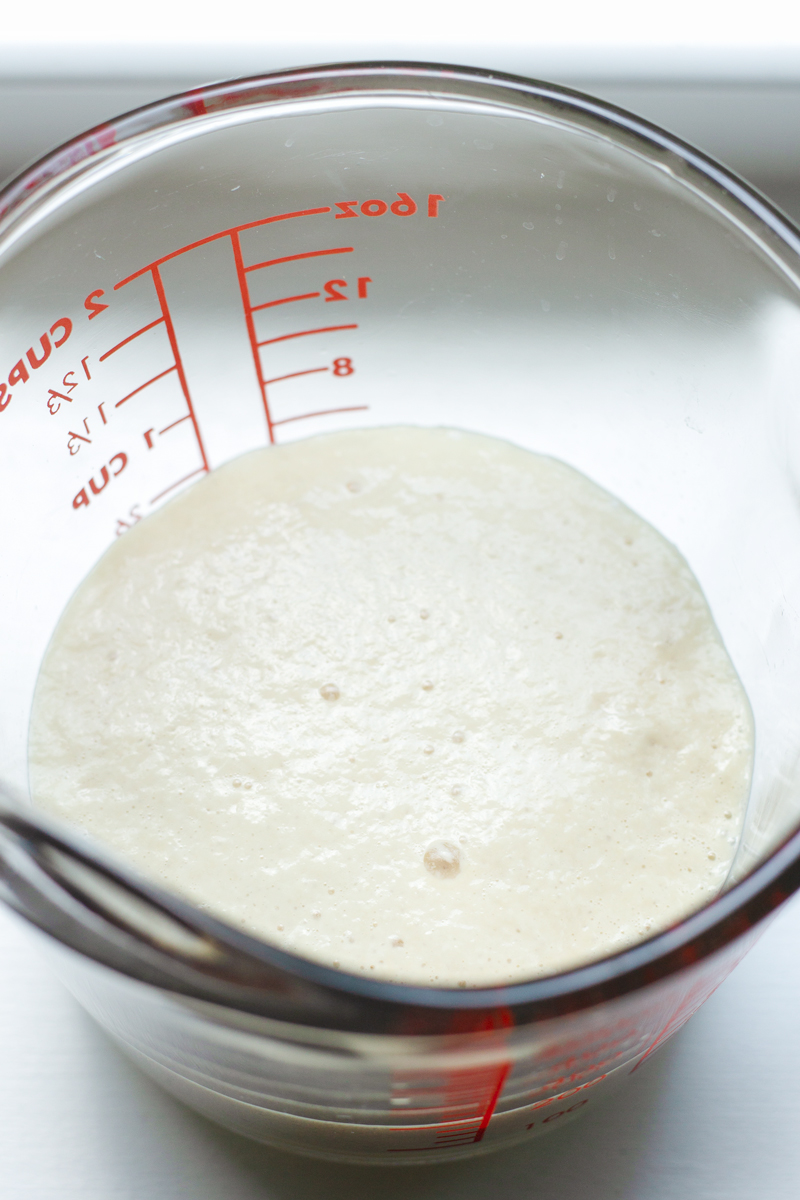
Proofing yeast is a quick way to check that your yeast is still good. If yeast is expired or stored in sub-optimal conditions, it will most likely not work.
To proof yeast, dissolve 1/4 cup of warm water (105 to 110°F) with a teaspoon of granulated sugar. The water needs to be within that temperature range; if too cold, yeast won’t activate, and if too hot, it will die. Sugar is like food for yeast, and will help it “wake up.” Let it sit for 5-10 minutes until foamy.
2. Make and Knead the Dough
Follow your recipe’s directions for making the dough with the proofed yeast. After your dough comes together, you’ll need to knead it. Kneading the dough is very important as it develops gluten, which gives bread its unique texture and chewiness.
Kneading by hand: transfer your pre-kneaded dough to a floured surface. Using your the heel of your hand, press the dough down and away from you. Then grab the end of the dough farthest away from you, fold in half, and continue kneading. Sprinkle more flour if too sticky. Repeat for about 10-15 minutes, until smooth and elastic. Poke it with your finger – if the poked hole fills back up quickly, you’re all set.
Kneading with a stand mixer: attach the dough hook. After adding all the dough ingredients, knead/mix on low speed for about 6-8 minutes. The dough will stick to the bowl at first, but it will pull away and become elastic and smooth. If desired, scrape sides with a rubber spatula occasionally during the first few minutes. Then, transfer dough to a floured surface and knead by hand for another minute until smooth and elastic.
3. Let the dough rise
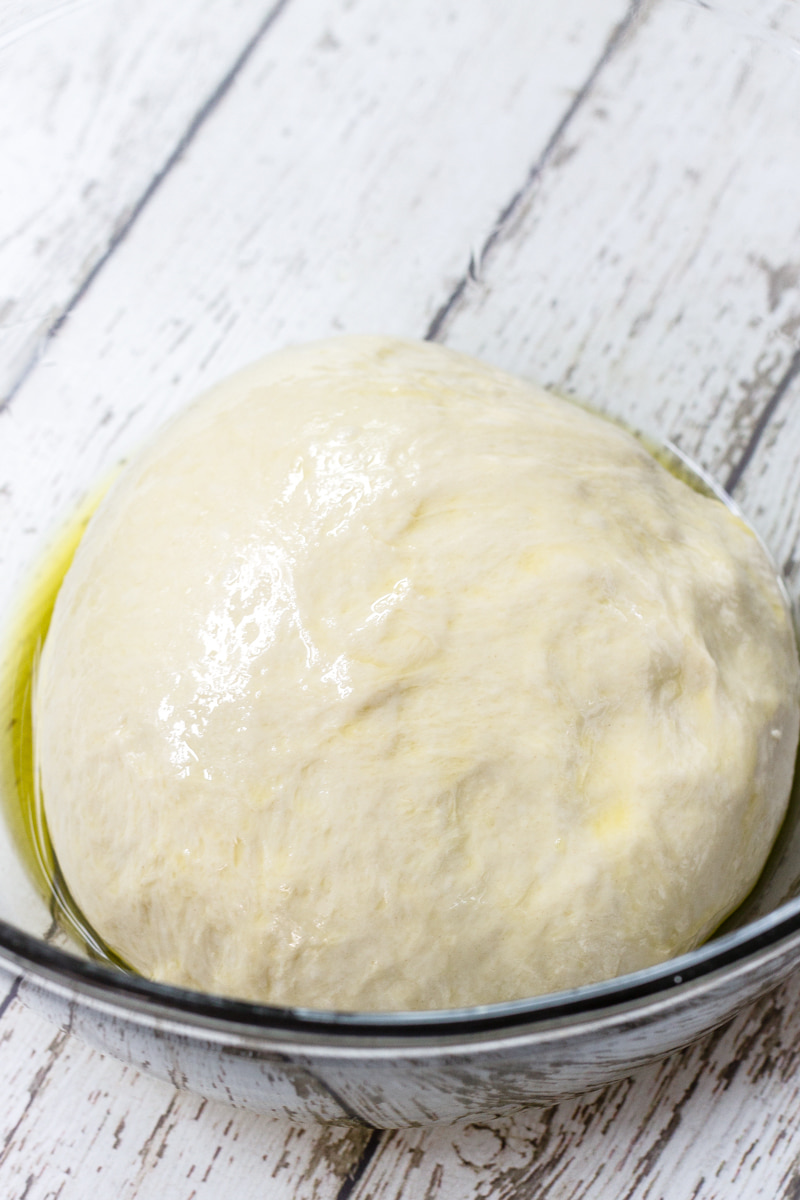
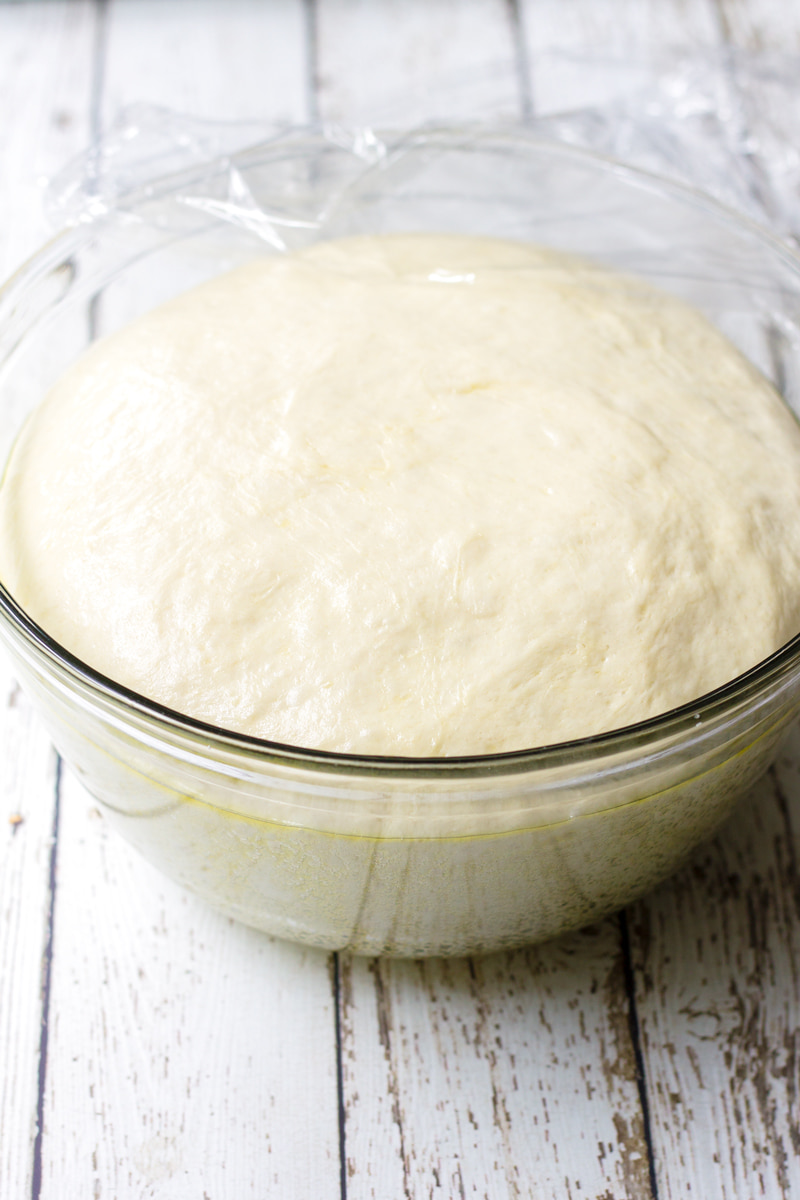
Roll the dough into a ball. Grease a large bowl with olive oil, covering the surface of the dough with oil. Cover the bowl with plastic wrap and let it rise in a warm, draft-free place for 1-2 hours or until doubled in size.
Before rising:
After rising:
How to create a warm environment for yeast to rise
a. Microwave: microwave a cup of water until the microwave chamber is nice and warm, about 1-2 minutes. Turn it off. Immediately place the dough, close the door, and let it rise.
b. Oven: Heat the oven for a few minutes. Turn it off. If the oven is too hot, open the oven door and let it cool down slightly. It should be slightly warm. High temperatures, at this point, will kill the yeast. Let your dough rise in the warm oven, door closed.
Depending on your recipe, the dough may need a second rise. But, pretty much that’s how you do it!
The most important things to keep in mind are:
- Good yeast
- Kneading
- A warm environment
Now, go ahead and make some bread! Try my Rosemary Focaccia Bread.
Questions? Just comment below!


Betty says
Was wondering if you could suggest a solution to my problem. Have been making bread and the raise both first and second is great. Once put in a heat over to bake the dough falls. Any suggestions? Thanks in advance for any help you could offer.
Tania says
Hi Betty, that can happen if your oven is too hot (maybe try an oven thermometer?) or if you open and close the oven too frequently while the bread is baking. If you’re still having issues, feel free to email me!