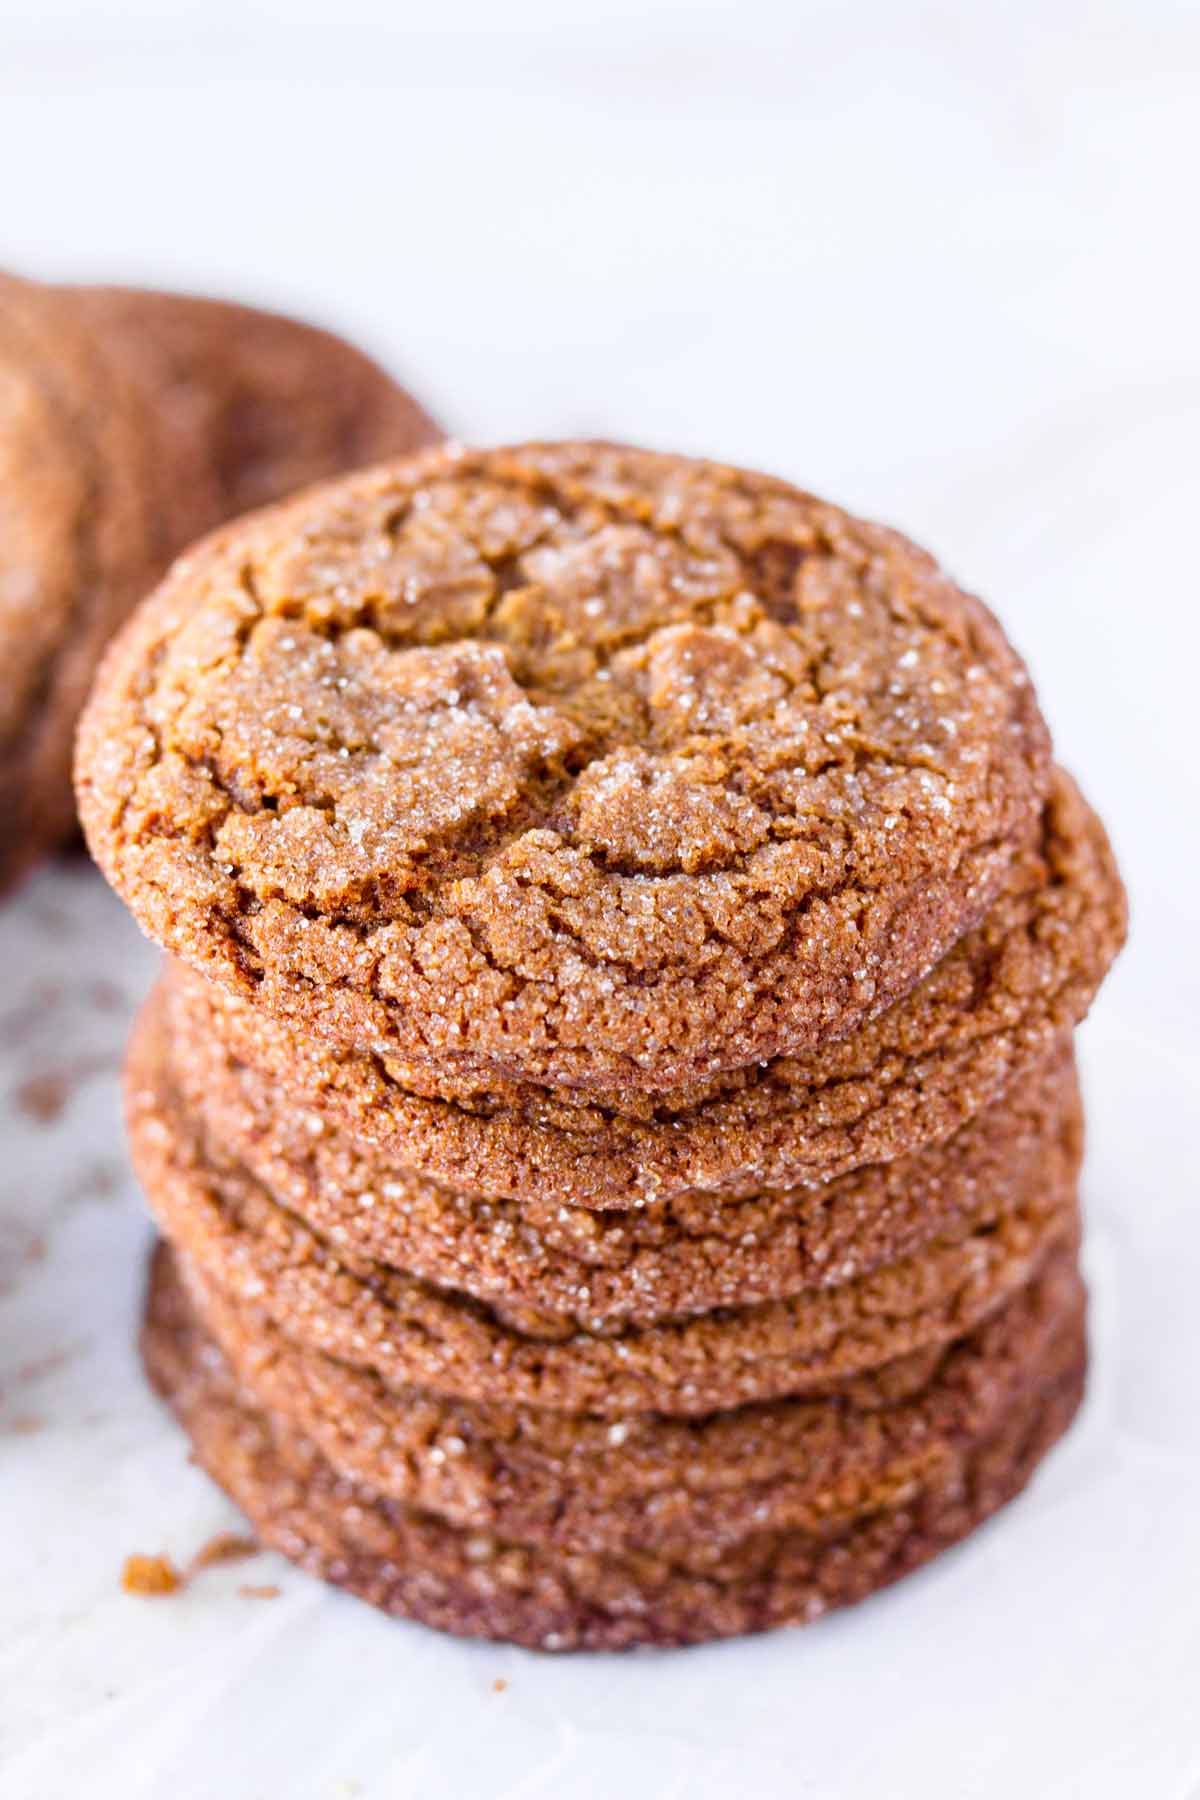
These gingersnap cookies are perfect for the holidays! They are thin and crispy, with a slight chewy bite in the center. Seriously so delicious and full of aromatic spices that you everyone will love!
The best part is that you don’t need to refrigerate the dough! It’s a super easy and quick recipe – it takes only 30 minutes or so to make these gingersnap cookies.
Gingersnaps are a holiday classic. Bake these gingersnap cookies this weekend and enjoy them watching your favorite holiday movie!
We’ve been baking a lot of holiday cookies and treats lately! I mean, it’s a December tradition. I recently made these Nutella Stuffed Cookies and easy Brookies. They are amazing!
To keep the holiday spirit up, today I’m sharing this recipe for gingersnap cookies, which is a holiday classic!
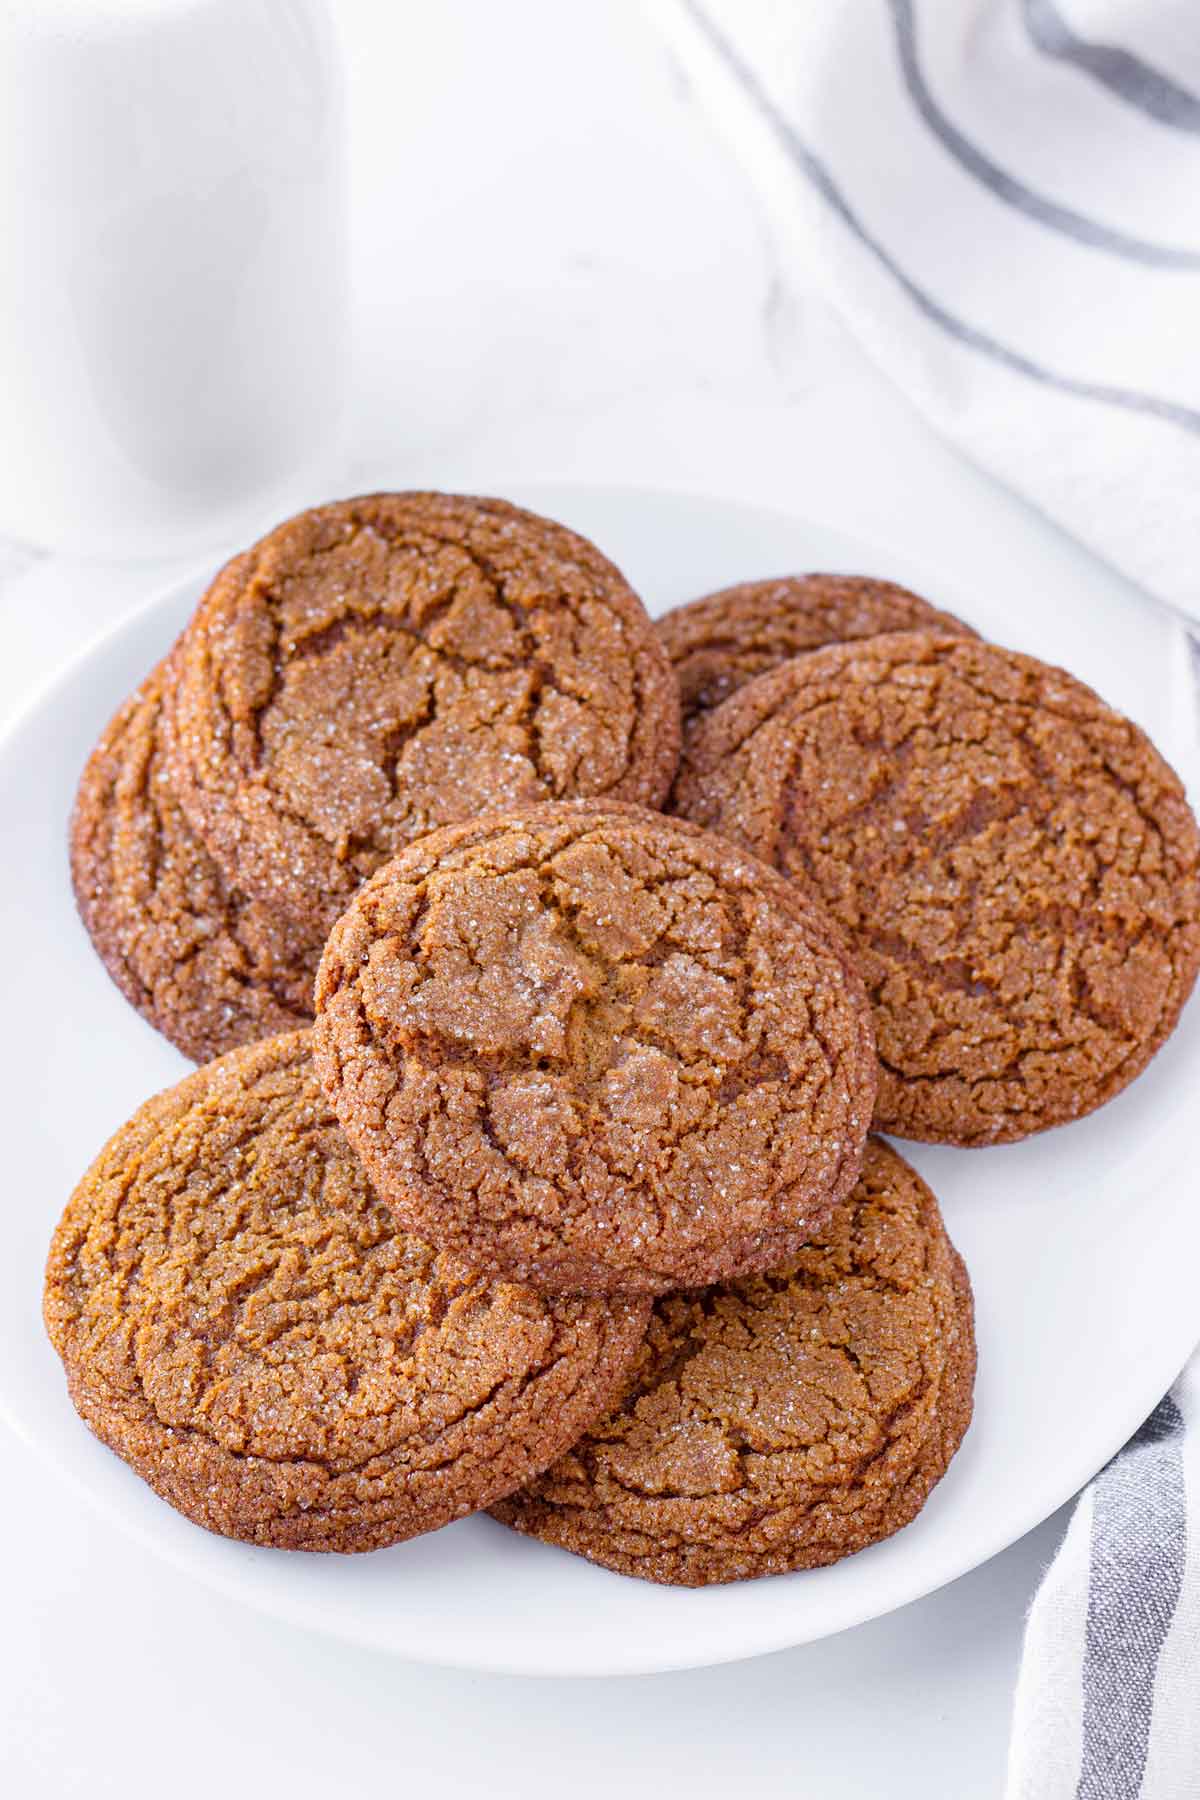
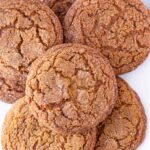
These gingersnaps are thin, crispy but with a slight chewy bite in the center. They also have beautiful, shiny cracks on top!
Also, there’s no need to chill the dough before baking, so it’s a pretty simple, straightforward, and quick cookie recipe. Let’s get baking!
Jump to:
How to Make Crispy and Crackled Cookies
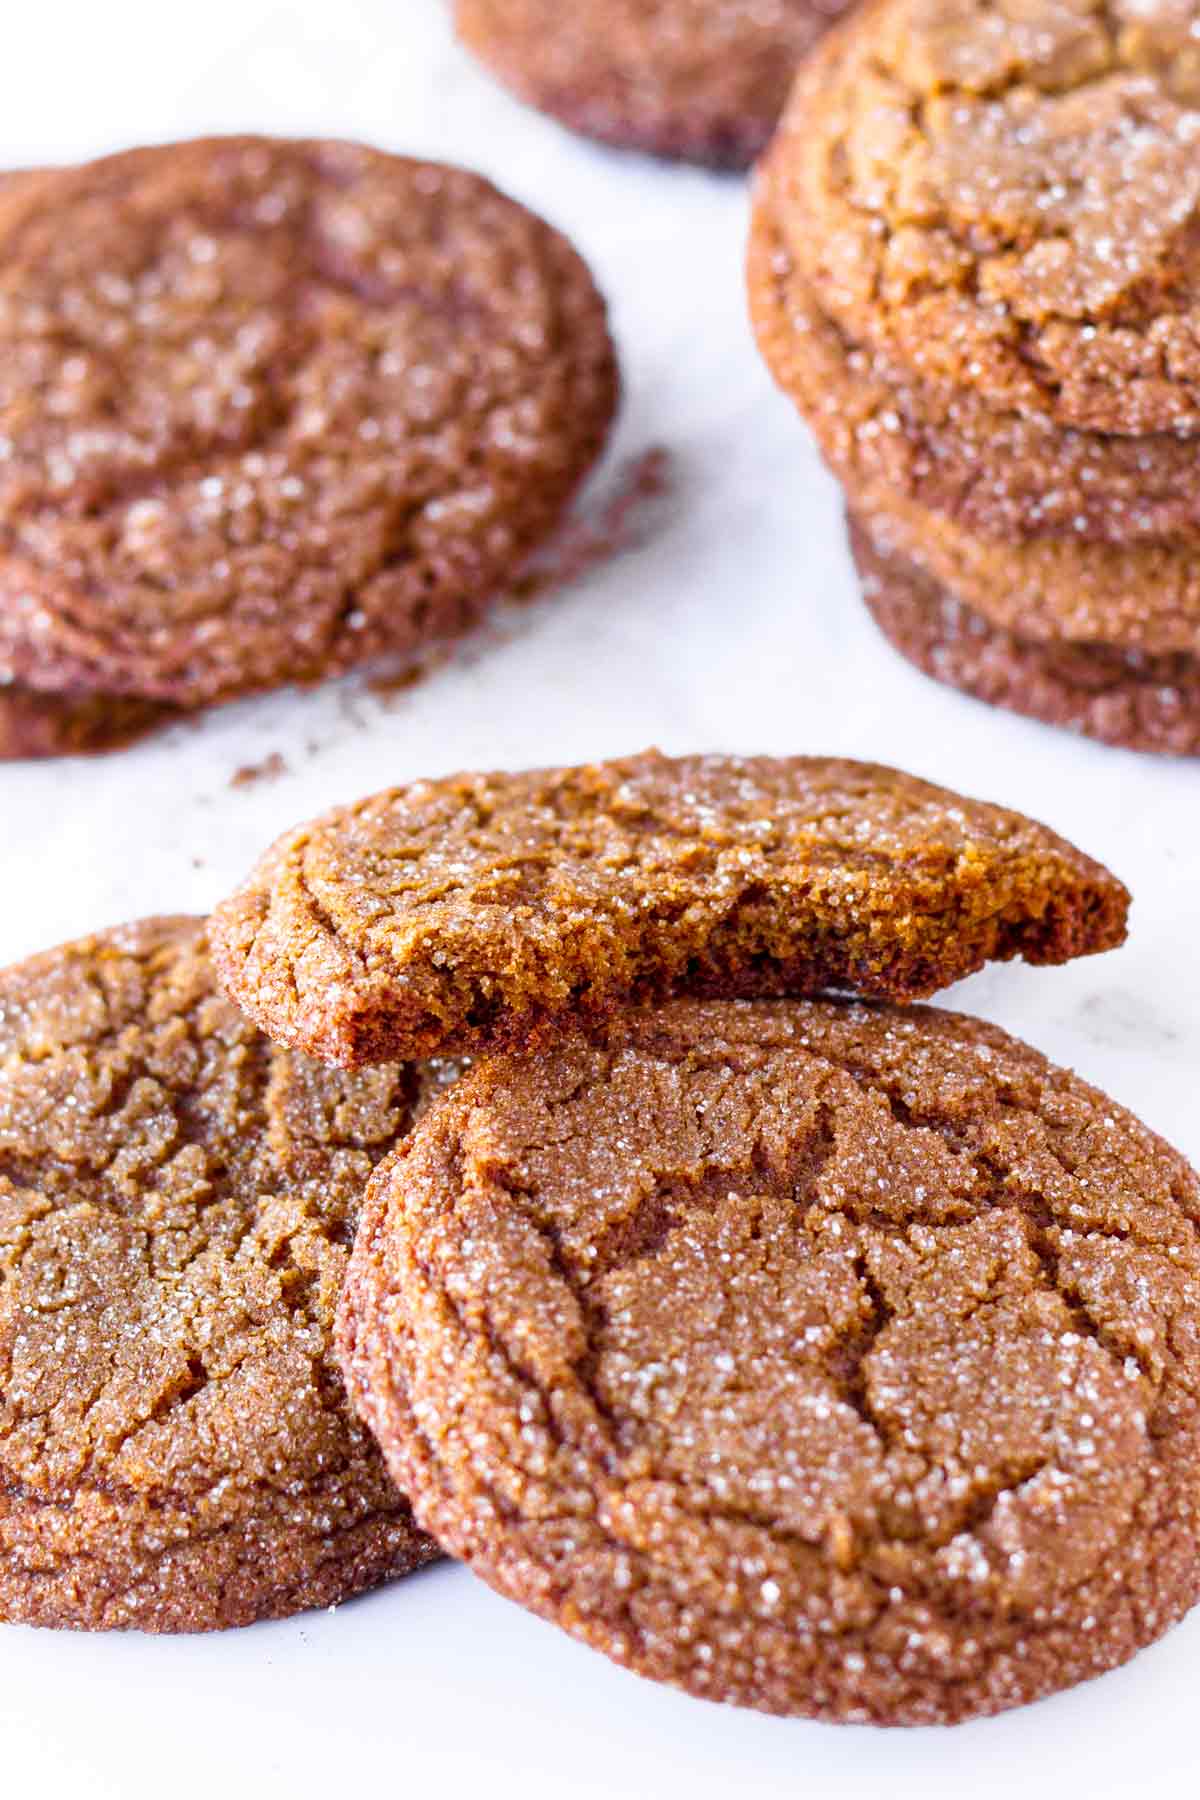
The texture of these thin gingersnap cookies is crispy and crunchy with a slight chewy bite in the center…just how I like them! They also look beautifully crackled!
There are 5 factors that make these gingersnap cookies crispy and slightly chewy, with a beautiful crackled exterior:
- Rolling the cooking dough balls in granulated sugar creates those cracks. Cracks form when the exterior dries out faster than the interior. As they bake, the sugar draws out moisture from the surface, thus creating those beautiful cracks.
- Only use granulated sugar to get a crispy texture. As the cookies cool, the granulated sugar will help them harden a bit and be crispy. On the other hand, brown sugar contains moisture that makes cookies soft, so we’re not using any brown sugar in this recipe!
- Granulated sugar encourages more spread, so they’ll come out thin.
- There is no need to chill the dough. This way, you get thin cookies.
- The molasses creates a slight chewy bite in the center.
Ingredient Notes
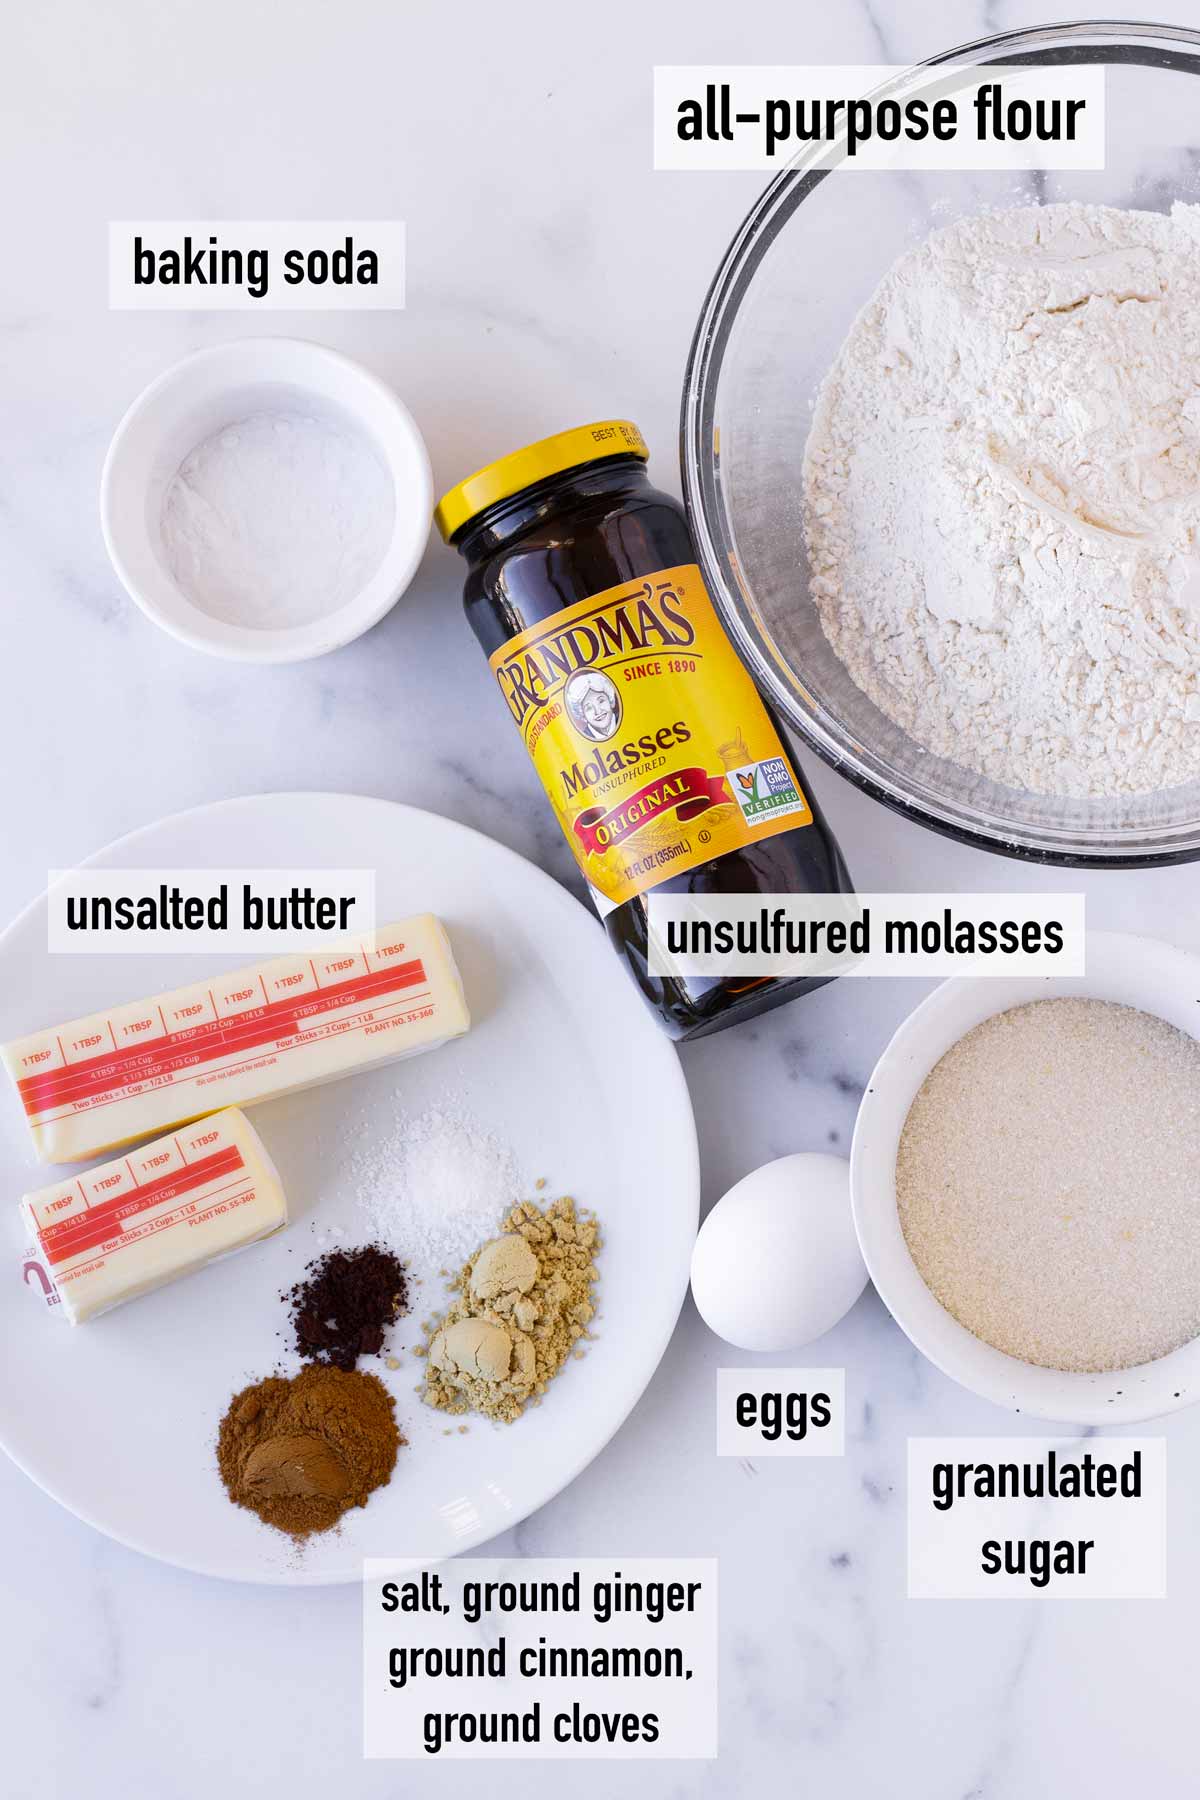
Here are a few helpful ingredient notes to make gingersnap cookies. All ingredient quantities can be found in the recipe card down below.
- Flour: I use all-purpose flour.
- Baking soda: This recipe only calls for baking soda, which gives these cookies some airiness while maintaining a slightly chewy and coarse texture when it reacts with the molasses. Don’t use baking powder, otherwise your cookies won’t turn out thin and crispy.
- Spices: Ground ginger, Ground cinnamon, ground cloves.
- Salt: Brings out flavors in baked goods.
- Unsalted butter: It needs to be softened at room temperature.
- Granulated sugar: We’re only using granulated sugar in this recipe to achieve a crispier and thinner cookie. Don’t use brown sugar.
- Egg: To give the cookies structure.
- Unsulphured molasses: For flavor and to give the cookies a slight chewy bite in the center. The molasses is also essential for the baking soda to work. Recommended brand: “Grandma’s.”
- Granulated sugar for rolling: Rolling the cookie dough on sugar will get you that beautiful crackled and shiny exterior.
Step-by-Step Instructions
These gingersnap cookies are ready in just 30 minutes or so! They are super easy to make.
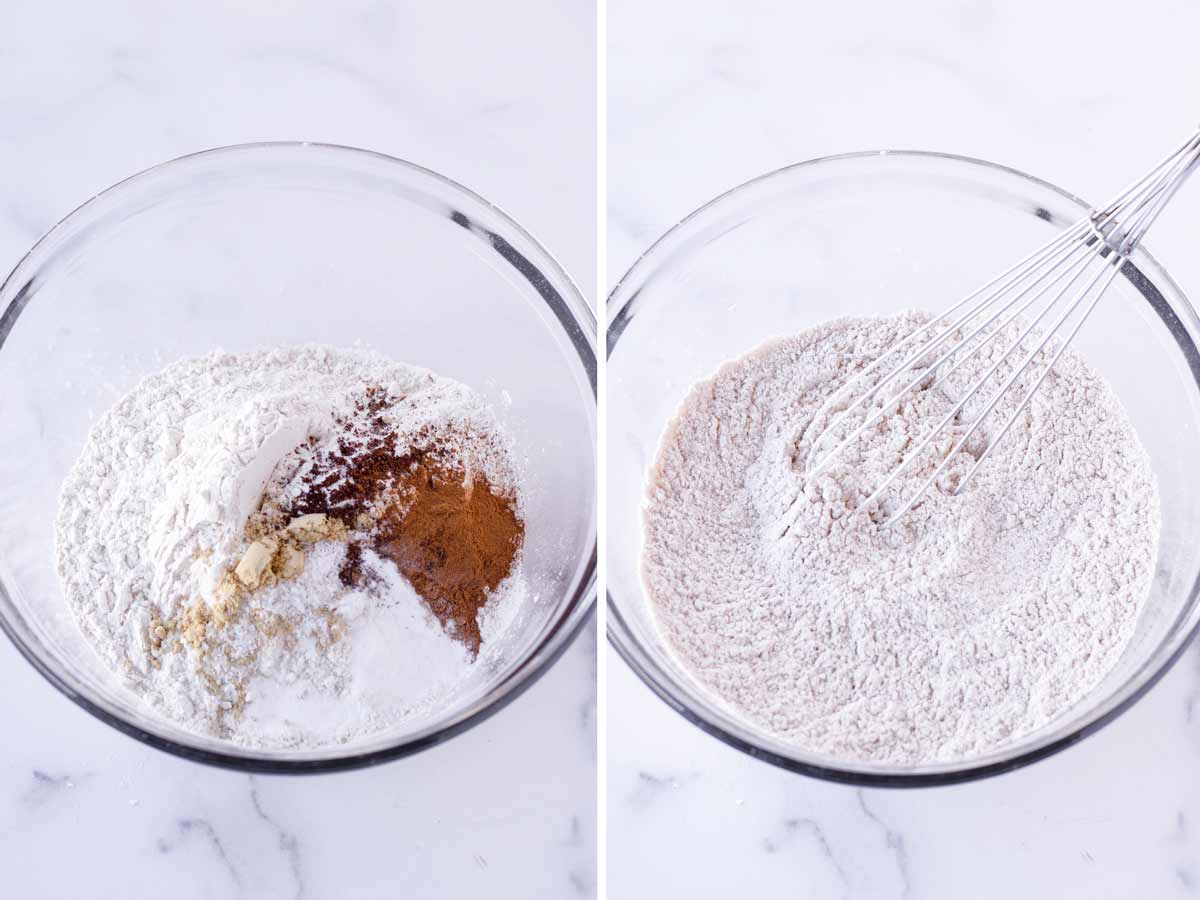
1. Whisk dry ingredients
In a bowl, whisk flour, baking soda, ground ginger, ground cinnamon, ground cloves, and salt. Set aside.
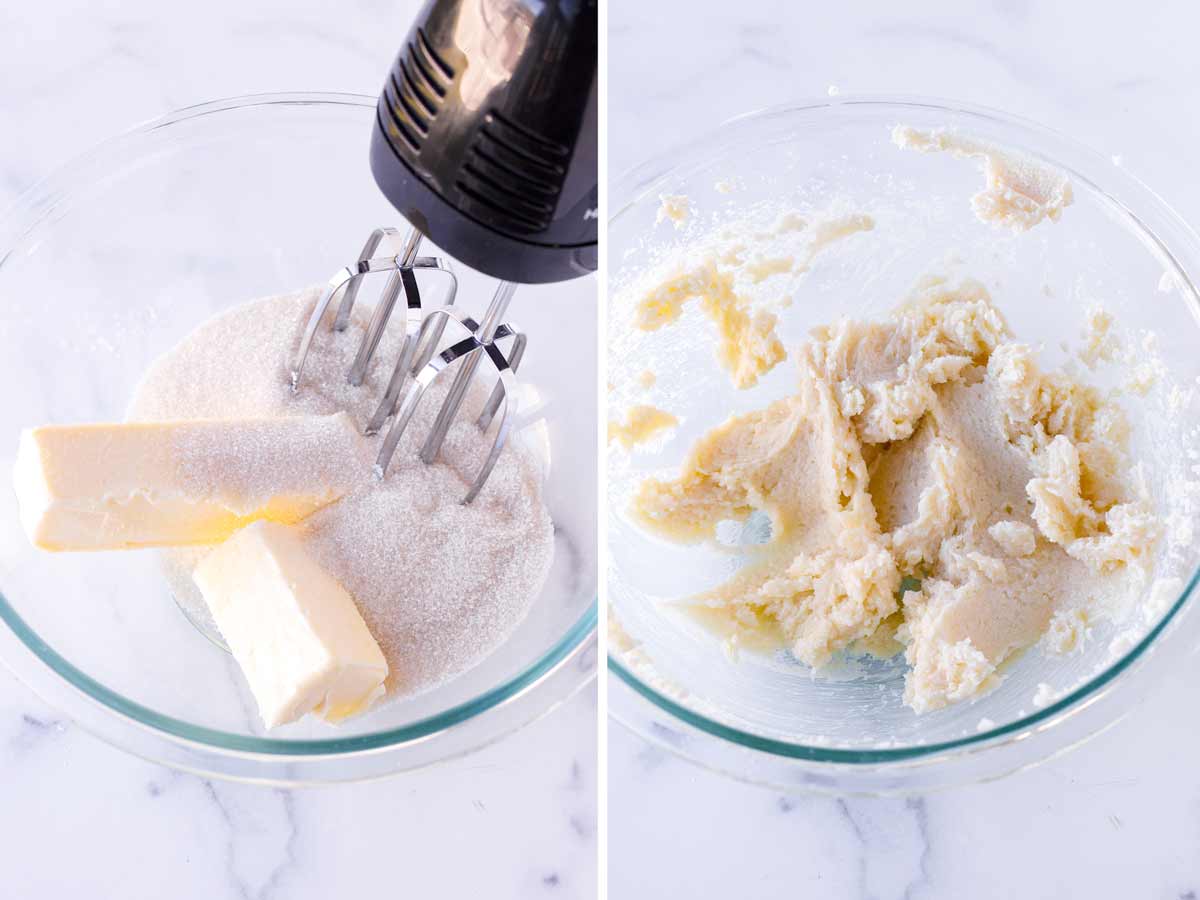
2. Cream butter and sugar
In a large bowl, beat the softened butter with granulated sugar over medium-high speed until creamy, about 2 minutes.
Tip: If you forgot to take the butter out, you can soften it in the microwave oven in 10-second intervals. Keep a very close eye on it so it doesn’t melt though!
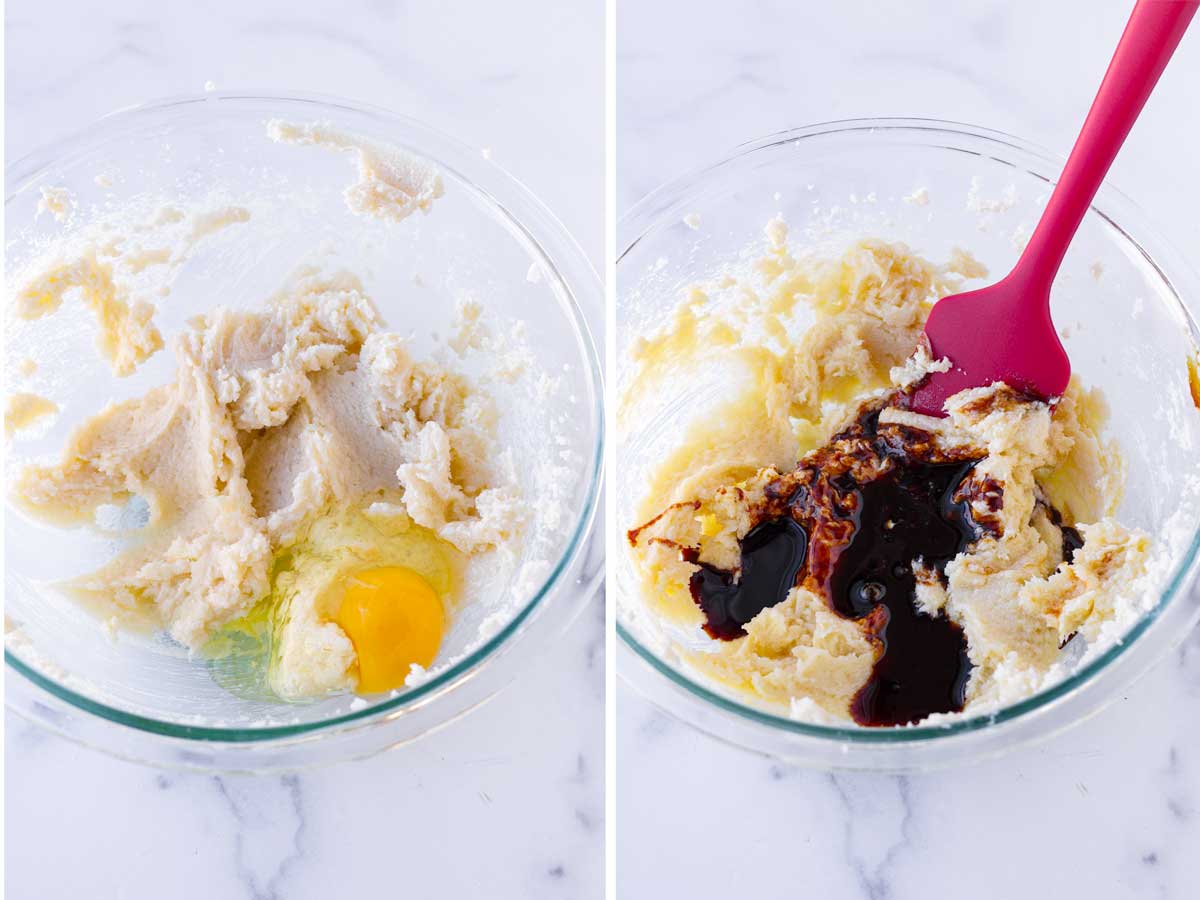
3. Add egg and molasses
To the creamed sugar, mix in egg and molasses until evenly combined.
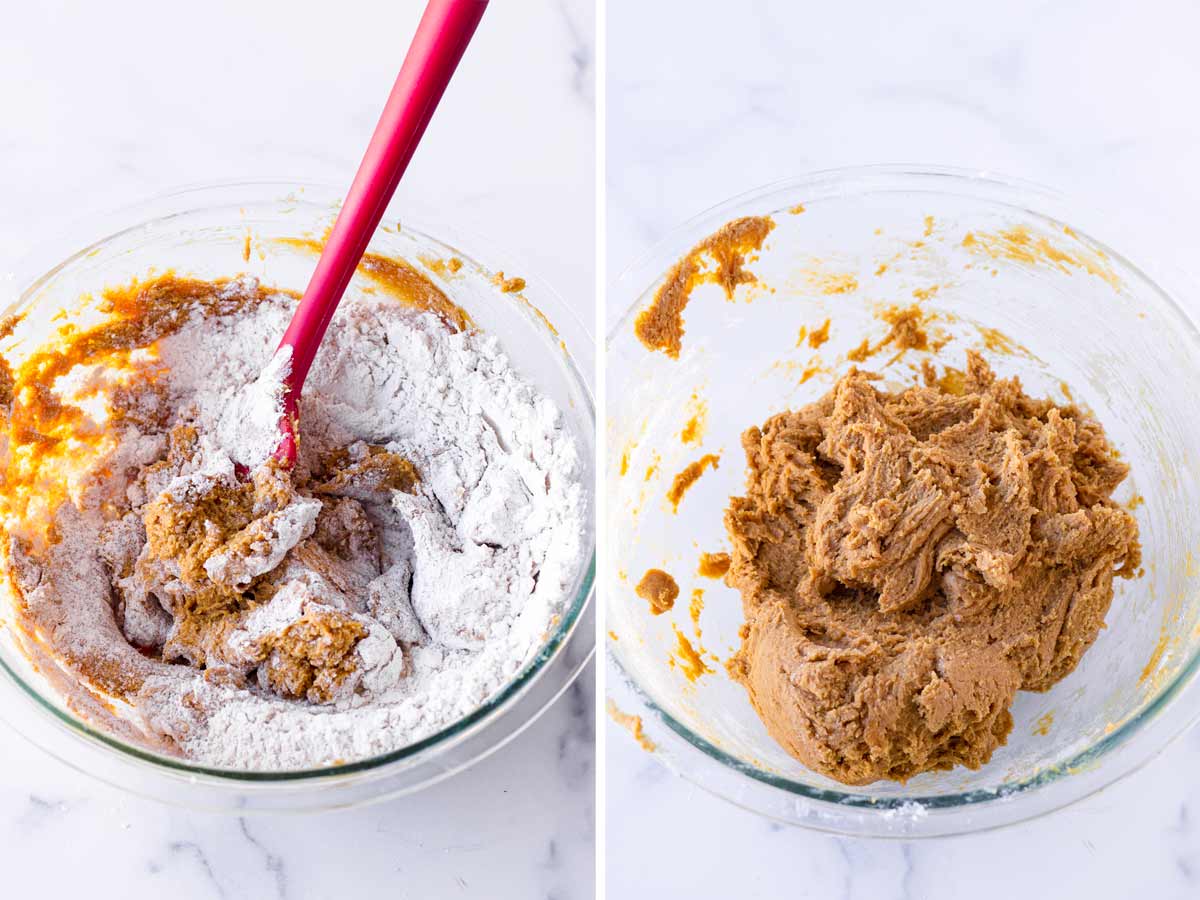
4. Mix dry ingredients with wet ingredients
Mix in the dry ingredients into the wet ingredients until evenly combined and no pockets of flour remain. Do not overmix. The dough will be soft and a bit sticky.
5. Assemble cookies
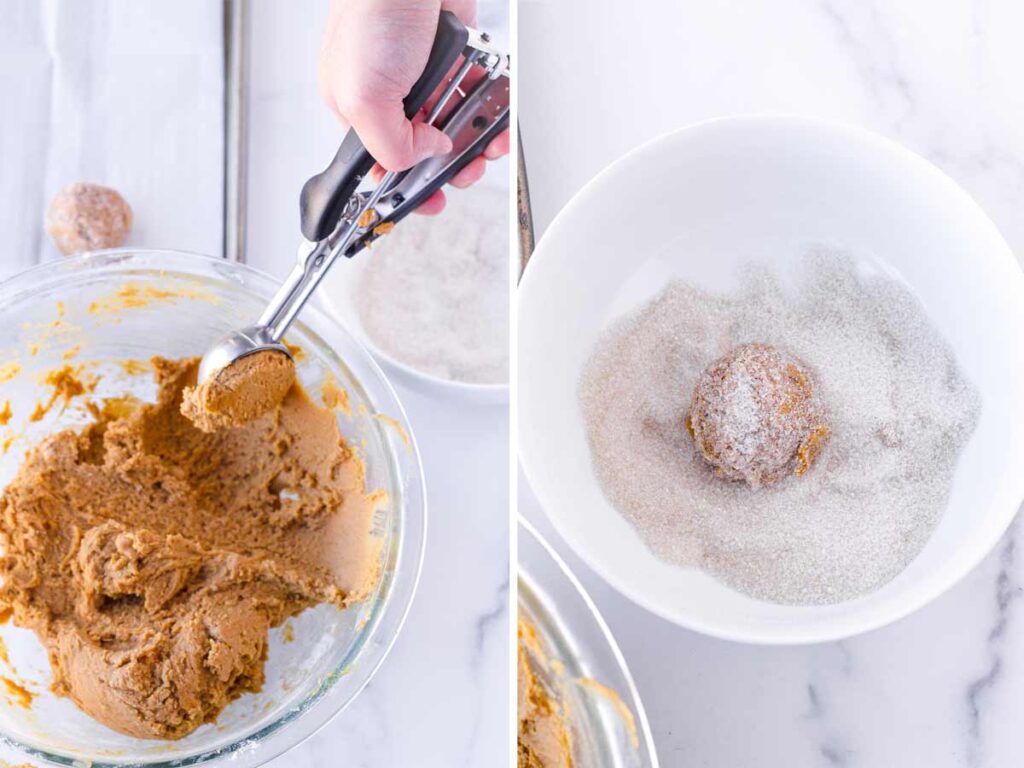
Using a cookie scoop, scoop out 1.5 tablespoons of cookie dough, and drop them directly into a bowl of granulated sugar, rolling until fully and generously coated.
There is no need to chill the dough prior to baking. Because the dough will be soft and sticky, I’d recommend using a 1.5-tablespoon cookie scoop. If you don’t have a cookie scoop, you can measure out a heaping tablespoon of cookie dough.
5. Bake
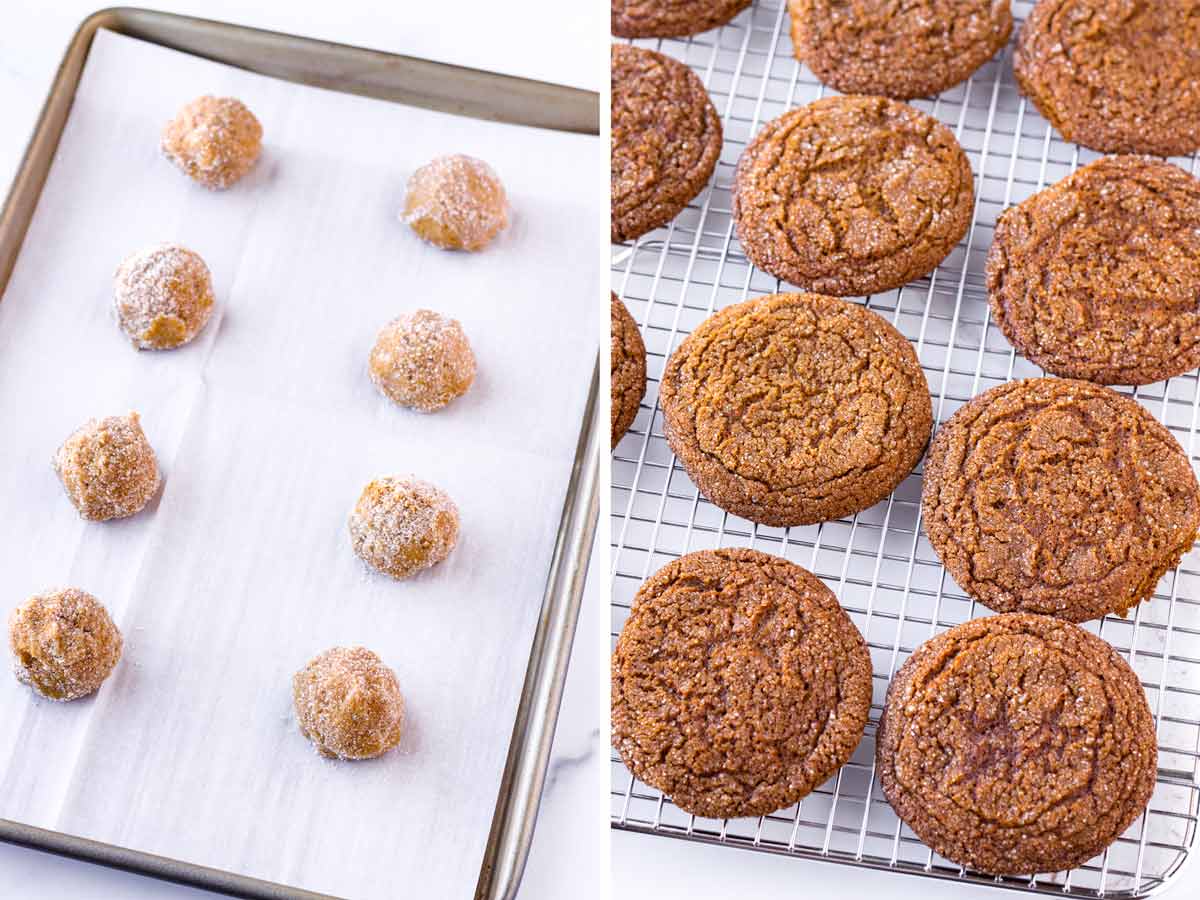
Arrange on a lined sheet pan, placing them 3 inches apart (they spread quite a lot). Bake at 350 degrees F for 12 minutes, or until they are spread and crackled on top.
Tip: Place them 3 inches apart on the sheet pan. These gingersnap cookies spread quite a lot into thin cookies.
More Amazing Holiday Treats to Bake
December is all about cookies and treats!
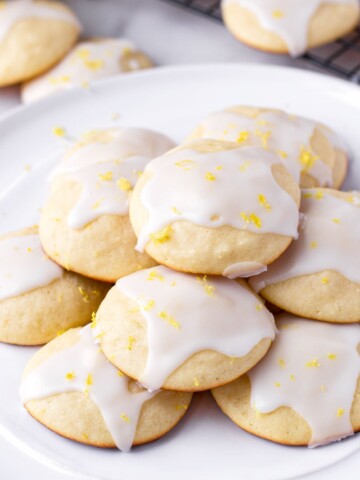
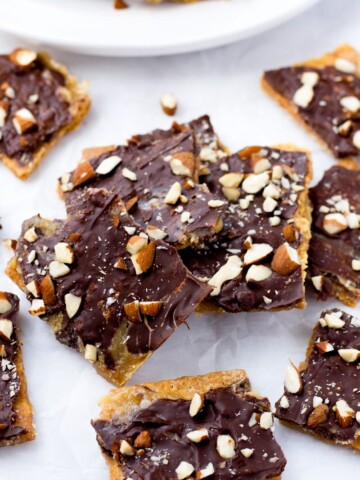
In addition to my gingersnap cookies, I like to bake shortbread cookies, lemon cookies, and graham toffee cracker bars. Take a look at the holiday baking recipes below for inspiration!
I love baking cookies in December! These are my favorite cookies on the blog:
If you’re looking for cakes or other holiday treats, check these out!
Recipe FAQs
Rolling the exterior of the cookie dough balls in granulated sugar will give you that shiny crackled top. Sugar draws out moisture from the exterior, creating those cracks. Also, the baking soda reacting with the molasses creates cracks.
No, you need molasses. It provides that distinct gingerbread-like flavor and a slight chewy texture. Molasses is also needed for the baking soda to work in this recipe and create those beautiful cracks.
No. Granulated sugar is needed to achieve the right texture.
Yes. The dough is soft and sticky. Use a 1.5-tablespoon cookie scoop and drop them into the granulated sugar to coat. Once it’s coated with sugar, it will be very easy to roll into uniform balls.
Yes, the dough can be covered with plastic wrap (plastic wrap should be touching the dough) and refrigerated for up to 3 days. The cookie dough balls should be coated in sugar right before baking. Allow an extra 1-2 minutes to the bake time.
Yes, you can freeze it for up to 3 months. I’d recommend thawing it in the refrigerator before rolling them into balls and in sugar. That way, they will spread properly.
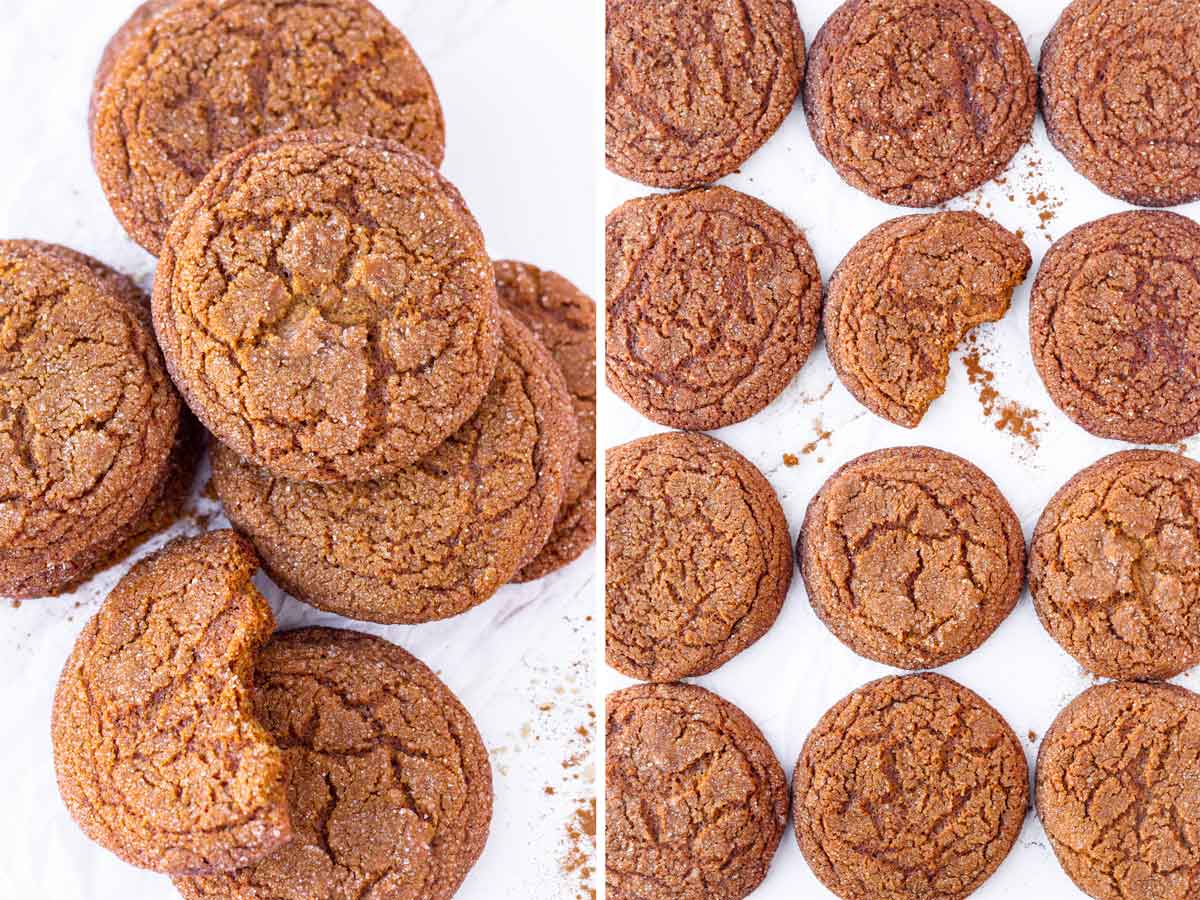
Serve these crispy, think, and slightly chewy gingersnaps with a glass of milk or hot cocoa! I love having these cookies while watching festive movies with my family. It’s all about the holiday spirit!
Happy baking!
Tips for Success
- Make sure you use “unsulphured molasses.” My favorite brand is “Grandma’s.” Don’t use “blackstrap molasses” – it can be very bitter.
- There is no need to chill the dough prior to baking. The dough will be soft and sticky, but once you coat the scooped out cookie dough in sugar, it will be very easy to roll into uniform balls.
- Make sure the cookie balls are rolled in sugar thoroughly. The sugar is what will create that beautiful shiny crackled exterior.
Gingersnap Cookies
Equipment
- Electric mixer or stand mixer
- Large sheet pans
- Medium cookie scoop (1.5-tablespoon capacity)
Ingredients
Cookie dough
- 2 ¼ cups all-purpose flour - spooned and leveled
- 2 teaspoons baking soda
- 2 teaspoon ground ginger
- 1 teaspoon ground cinnamon
- ¼ teaspoon ground cloves
- ½ teaspoon salt
- ¾ cup unsalted butter, softened at room temperature - equiv to 1 ½ sticks
- 1 cup granulated sugar
- 1 large egg - at room temperature
- ¼ cup unsulphured molasses - such as "Grandma's" brand
For rolling
- ⅓ cup granulated sugar - plus more as needed
Instructions
- Preheat oven to 350 degrees F. Line a large baking sheet pan with parchment paper. Set aside.
- Dry ingredients: In a medium bowl, whisk flour, baking soda, ground ginger, ground cinnamon, ground cloves, and salt until evenly combined. Set aside.
- Wet ingredients: Using an electric mixer or a stand mixer, beat softened butter with 1 cup granulated sugar over medium-high speed until creamy, about 2 minutes, scraping the sides of the bowl. Add in egg and molasses, and mix until evenly combined over medium speed.
- Gradually mix the dry ingredients with wet ingredients until combined and no pockets of flour remain. Do not overmix. There is no need to chill dough. The dough will be soft and sticky.
- In a separate shallow bowl, add the remaining ⅓ cup of granulated sugar. You’ll use it to coat the cookie dough balls.
- Using a medium cookie scoop, scoop the cookie dough into 1.5-tablespoon balls, and drop into the bowl of granulated sugar, rolling gently until thoroughly and generously coated. Transfer them directly onto the lined sheet pan, about 3 inches apart (they spread a lot). Tip 1: There's no need to roll into balls after they're coated with sugar, otherwise the sugar could melt into the dough – when they go into the oven, they should be visibly and thoroughly coated with sugar. Tip 2: The dough should be sticky, but not warm. If your kitchen is too hot, refrigerate dough for about 10-15 mins, especially in between batches.
- Bake for 12-13 minutes, or until they are spread and the top looks cracked. Bake in multiple batches if needed. Do not open the oven until ready, otherwise they may not crack properly. Transfer the cookies to a cooling rack and let them cool completely. Enjoy! The cookies will be thin and crispy with a slight chewy bite.
Notes
- If you live in a humid and hot place, you can place the dough in the fridge in between baking each batch.
- Molasses: Make sure you use unsulphured molasses. “Grandma’s” brand is my favorite. Don’t use blackstrap molasses, as it can be very bitter.
- Don’t substitute the molasses. It’s needed for the baking soda to work.
- Don’t substitute the granulated sugar. It’s needed to achieve the right texture.
- Make ahead: You can make the dough in advance and refrigerate overnight. Cover with plastic wrap, with the plastic wrap touching the dough directly. When ready to bake, proceed with steps 5 through 7. When baking, you may need to add an extra minute or 2 to the bake time.
- Freezing: The dough can be frozen for up to 3 months. Thaw dough in the refrigerator. Once it’s thawed, proceed with steps 5 through 7.
- Storage: Gingersnap cookies will keep well for about 7 days when stored in an airtight container at room temperature.





R. B. says
I’ve made these cookies twice now exactly by the recipe and they taste good, but the appearance is nothing like what’s pictured, unfortunately. The top did not crack and the sugar seems to soak into the cookies rather than making a crust on the outside. The first time, I blamed it on old baking soda, but my second batch with new baking soda was just the same.
Tania says
Hi R.B.! I’m so sorry the surface did not crack. I actually re-tested this recipe this morning, and added a few modifications to help maximize that crackled top! I think what might have happened is that the sugar layer blended into the dough after rolling into balls. So, I updated the directions in Step 6 to omit that part, and instead specify to roll into the sugar and directly place onto the sheet pan. Basically, to get that crackled top, the they need to be fully and visibly coated with a layer of sugar on the outside before they go into the oven.