These cute and delicious gingerbread cookies are a holiday classic!
They are so flavorful…perfectly spiced with ground ginger, cinnamon, cloves, and nutmeg. As for texture, they are thin and crispy throughout with a subtle soft bite in the center.
Cut out your favorite holiday shapes and decorate them with icing any way you want. It’s a great time to let your creativity loose! I promise, you’ll love these gingerbread cookies.

The holidays are here and I’m all about these festive gingerbread cookies!
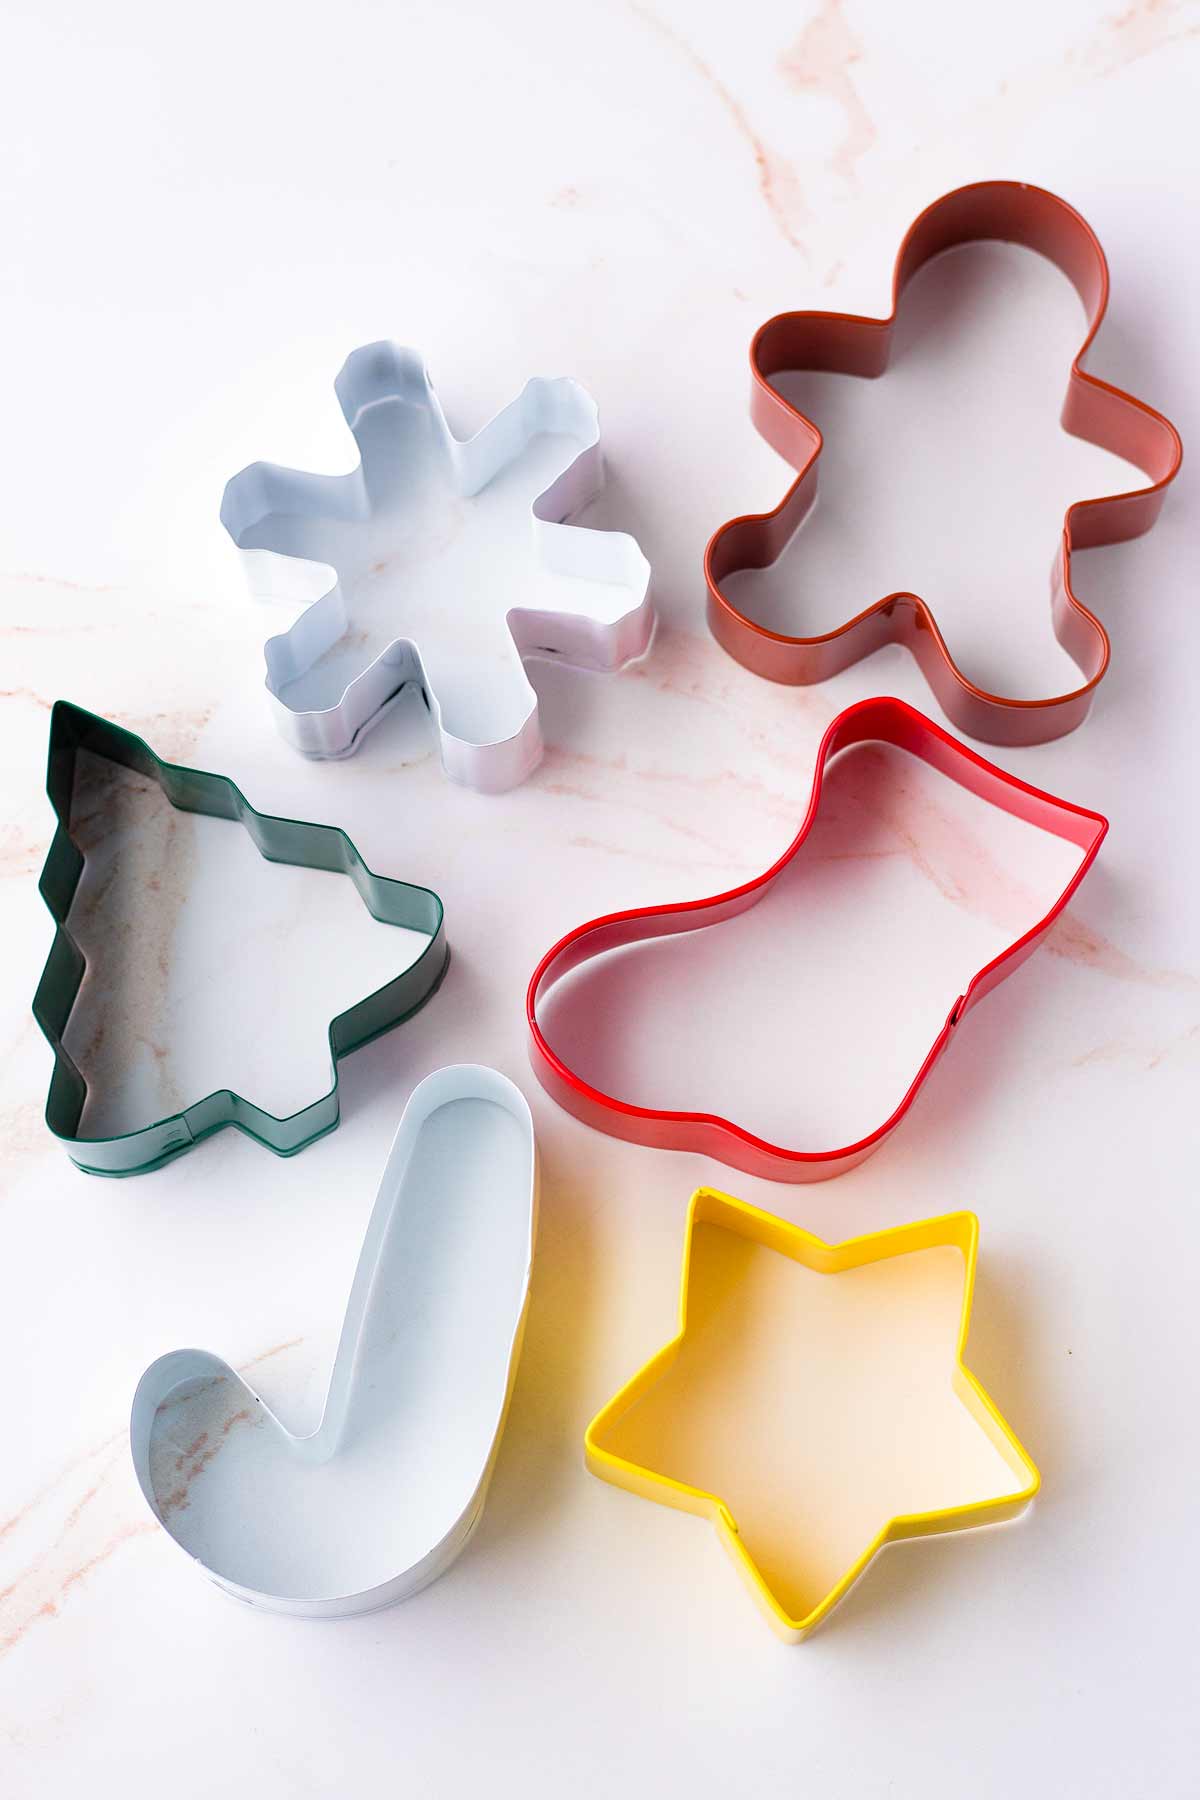
I like to make different shapes, such as gingerbread men, Christmas trees, stars, snowflakes, Santa boots, and candy cane sticks.
These delicious gingerbread cookies are:
- Crispy throughout with a subtle soft bite right in the center.
- So flavorful: They are packed with lots of aromatic spices and molasses flavor.
- Really cute! Let your creativity take over and decorate them any way you want.
They are perfect to package up in gift boxes. I promise, everyone will love these cute gingerbread cutout cookies!
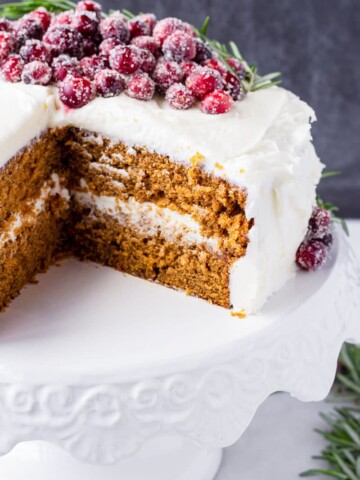
Speaking of gingerbread…have you tried my Gingerbread Cake or Ginger Snap Cookies yet?

Jump to:
Tools You’ll Need
I don’t usually start out talking about tools you’ll need to make a recipe, but when it comes to making gingerbread cookies, using the right tools is important.
Here are my recommendations:
- Holiday cookie cutters: Grab your favorite shapes at your local store.
- Rolling pin: To roll out the dough thin.
- Plastic wrap and parchment paper
- Small piping tip: Use a small round piping tip to decorate gingerbread cookies. If you don’t have one, snip a tiny corner off the piping bag.
- Piping bag or releasable bag for the icing.
- Toothpick: Helps refine decorations and readjust icing that may have smeared off.
- Cooling rack: If you let the cookies cool on the hot sheet pan, they may burn a little from the residual heat. So, always transfer gingerbread cookies on a wire rack.
Aside from these tools, you’ll need a stand or electric hand mixer, whisks, and any tools to measure ingredients.
Ingredient Notes
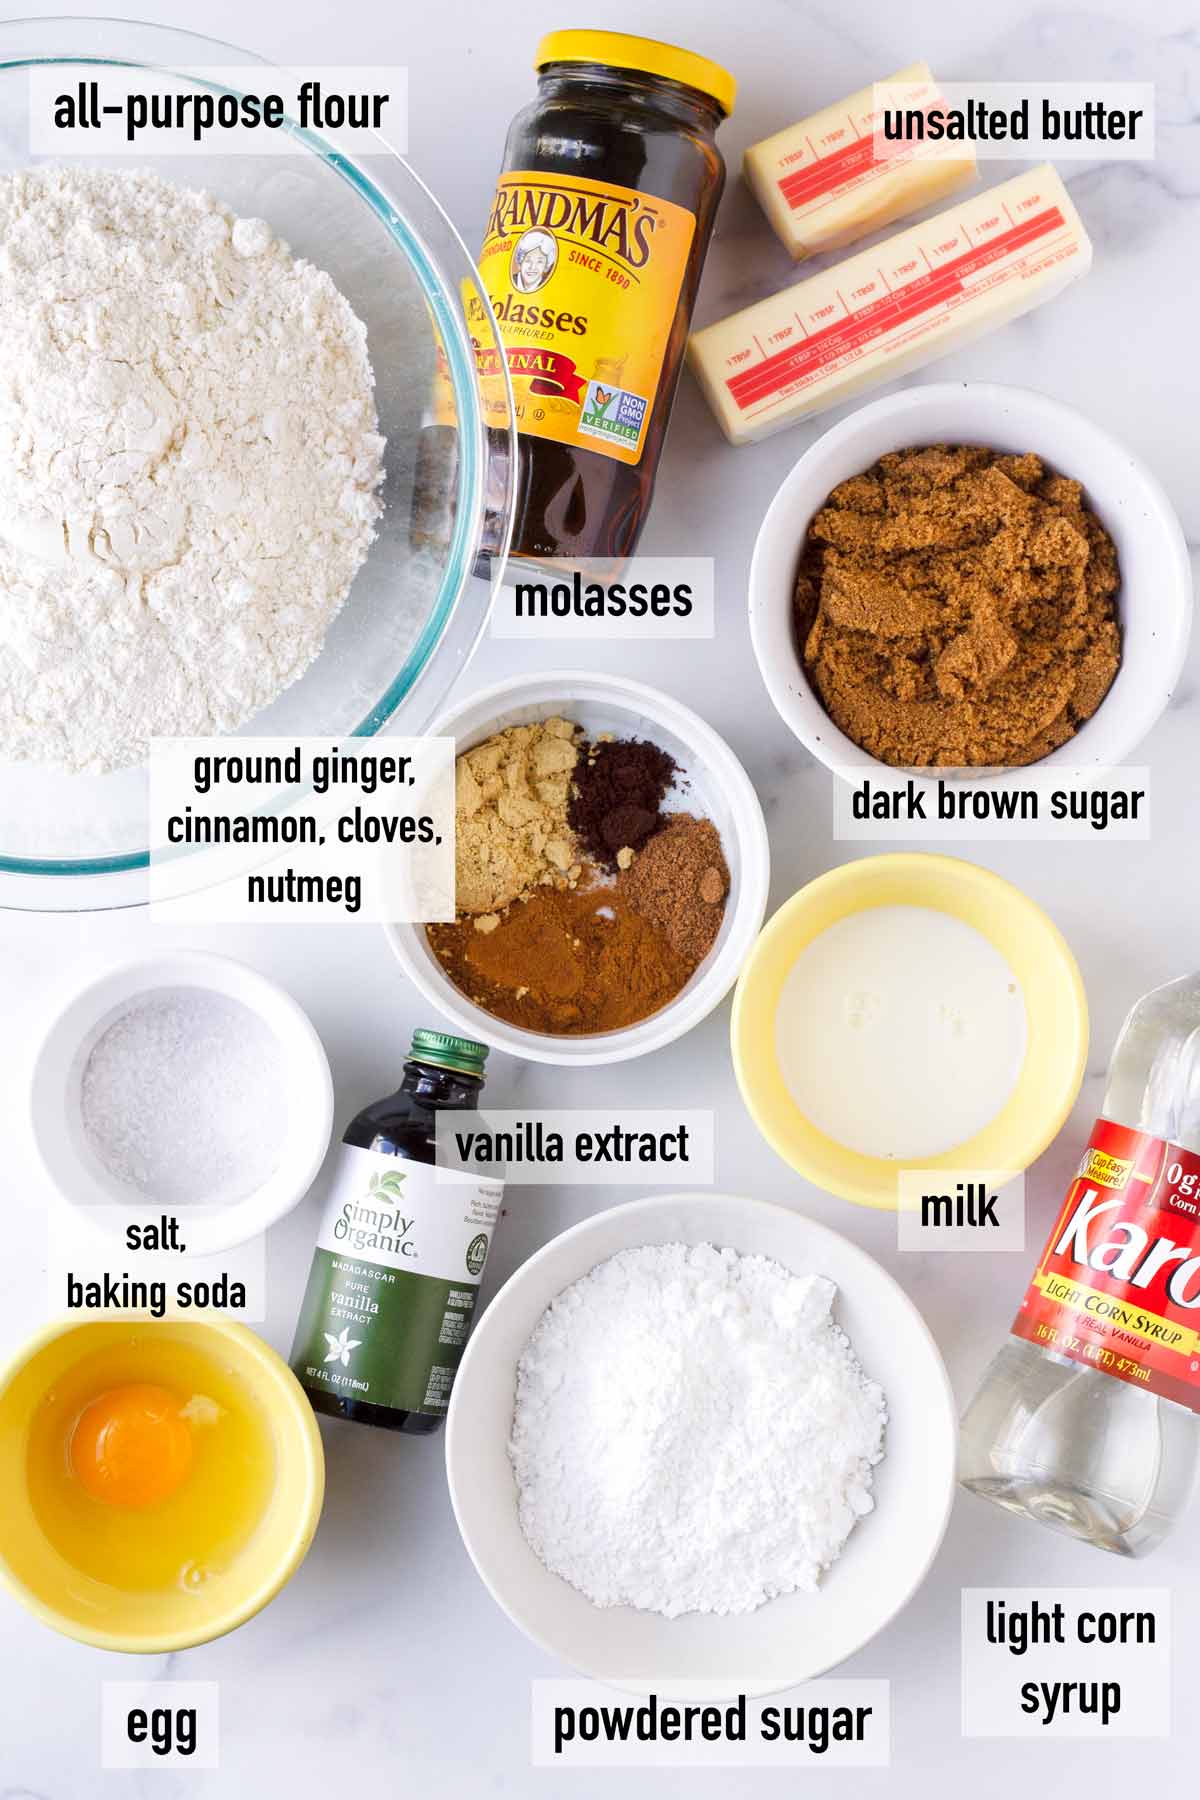
- Flour: I use all-purpose flour.
- Baking soda: It will give the gingerbread cookies airiness without making them expand or rise too much. Do not use baking powder.
- Salt: Brings out all the flavors in baked goods.
- Spices: ground cinnamon, ground ginger, ground cloves, ground nutmeg.
- Unsalted butter: It must be softened at room temperature.
- Dark brown sugar: For sweetness and a slight soft bite in the center.
- Molasses: For flavor and color. Make sure you use unsulphured molasses. Don’t use blackstrap molasses.
- Egg: To give cookies structure.
- Vanilla extract: For flavor.
- Icing: powdered sugar, milk, light corn syrup, vanilla extract. The light corn syrup will give the icing a beautiful shine and stability.
Step-by-Step Instructions
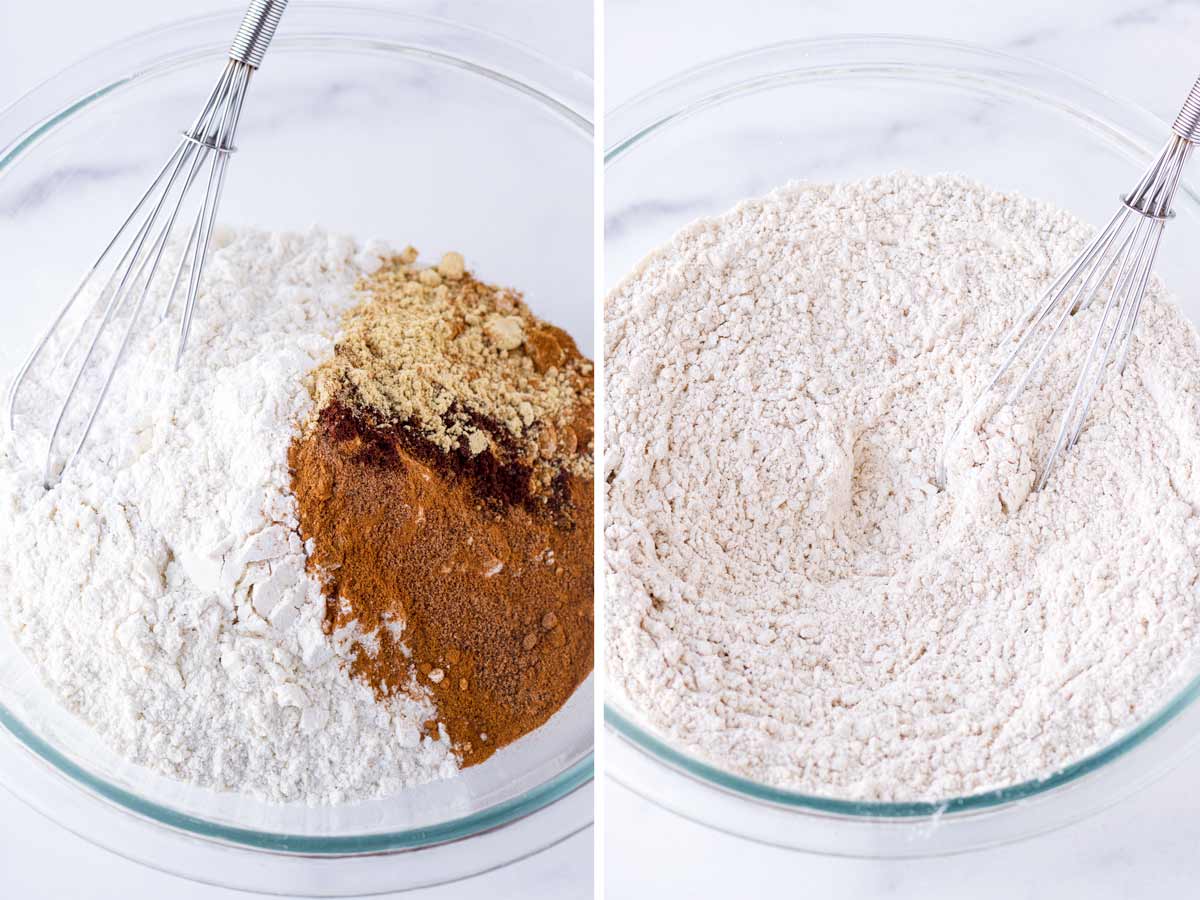
1. Whisk dry ingredients
Whisk flour, baking soda, salt, cinnamon, ginger, cloves, and nutmeg.
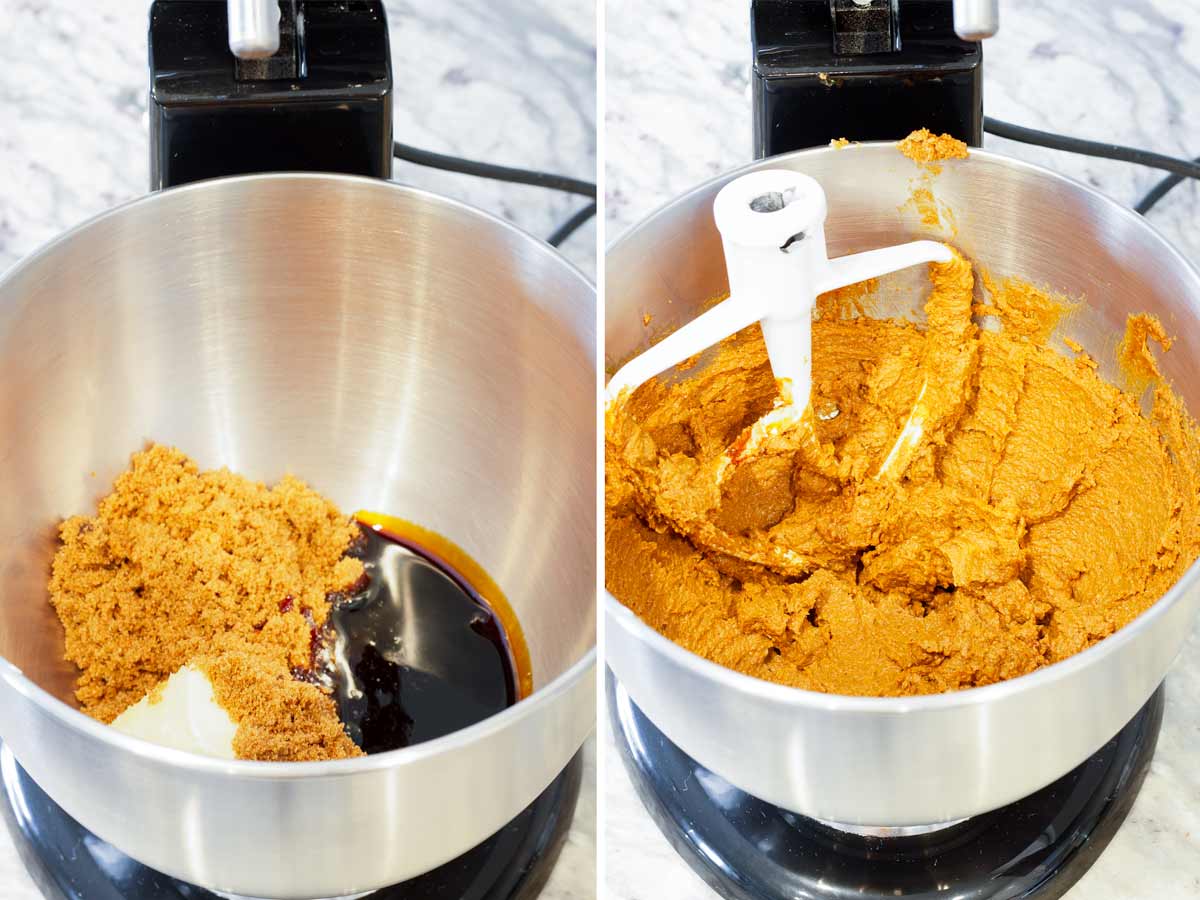
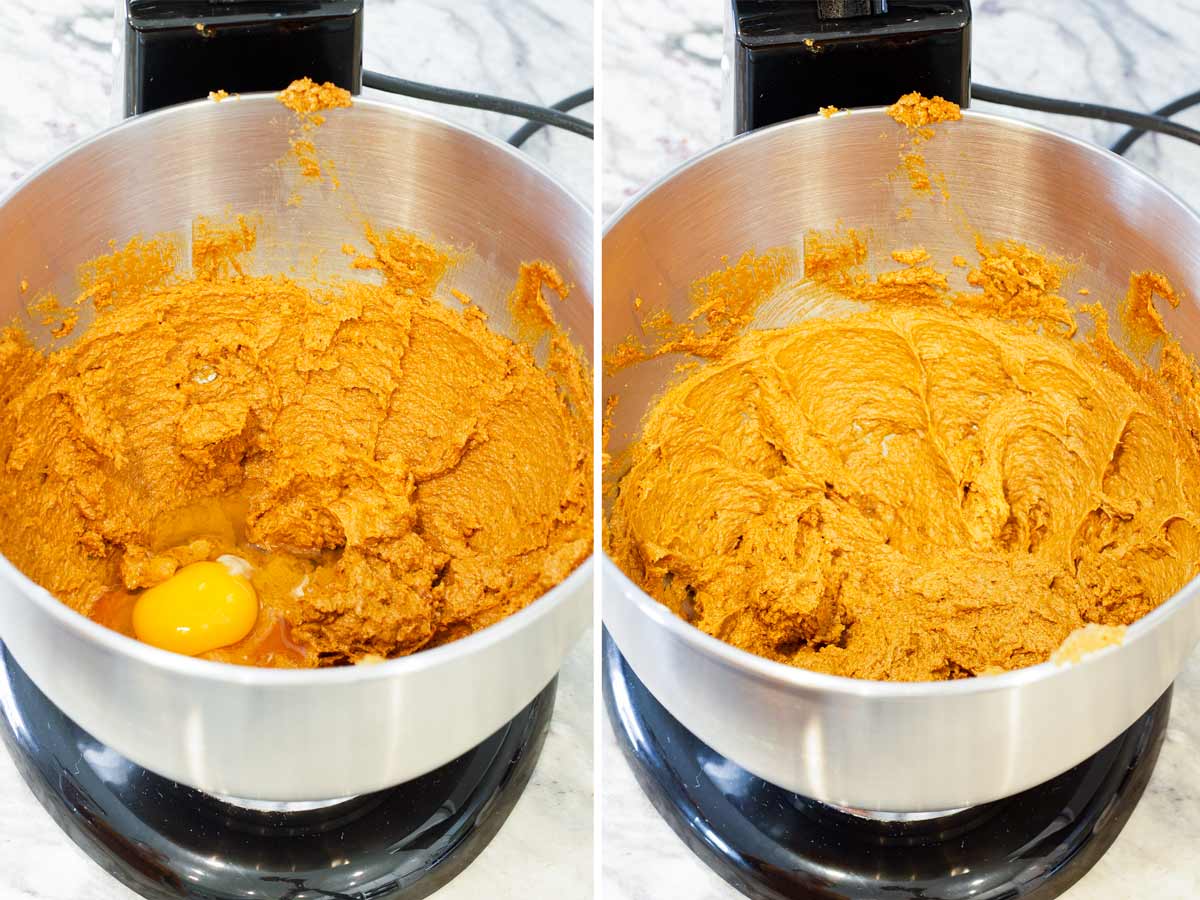
2. Cream butter, add wet ingredients
Over medium-high speed, beat softened butter with sugar and molasses until creamy, about 2 minutes. Beat in egg and vanilla extract.
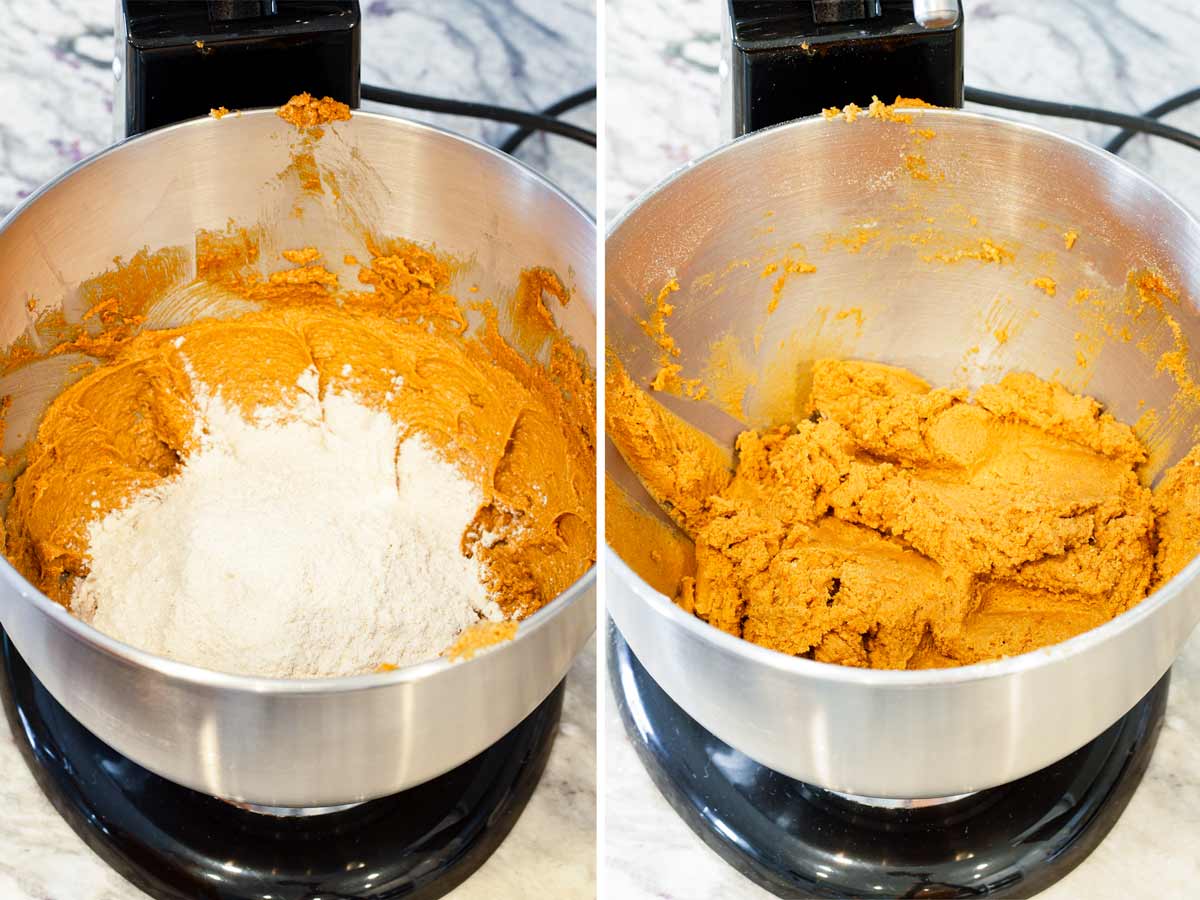
3. Combine dry and wet ingredients
Over medium speed, mix dry with wet ingredients until evenly combined and no pockets of flour remain. The dough will be soft and sticky.
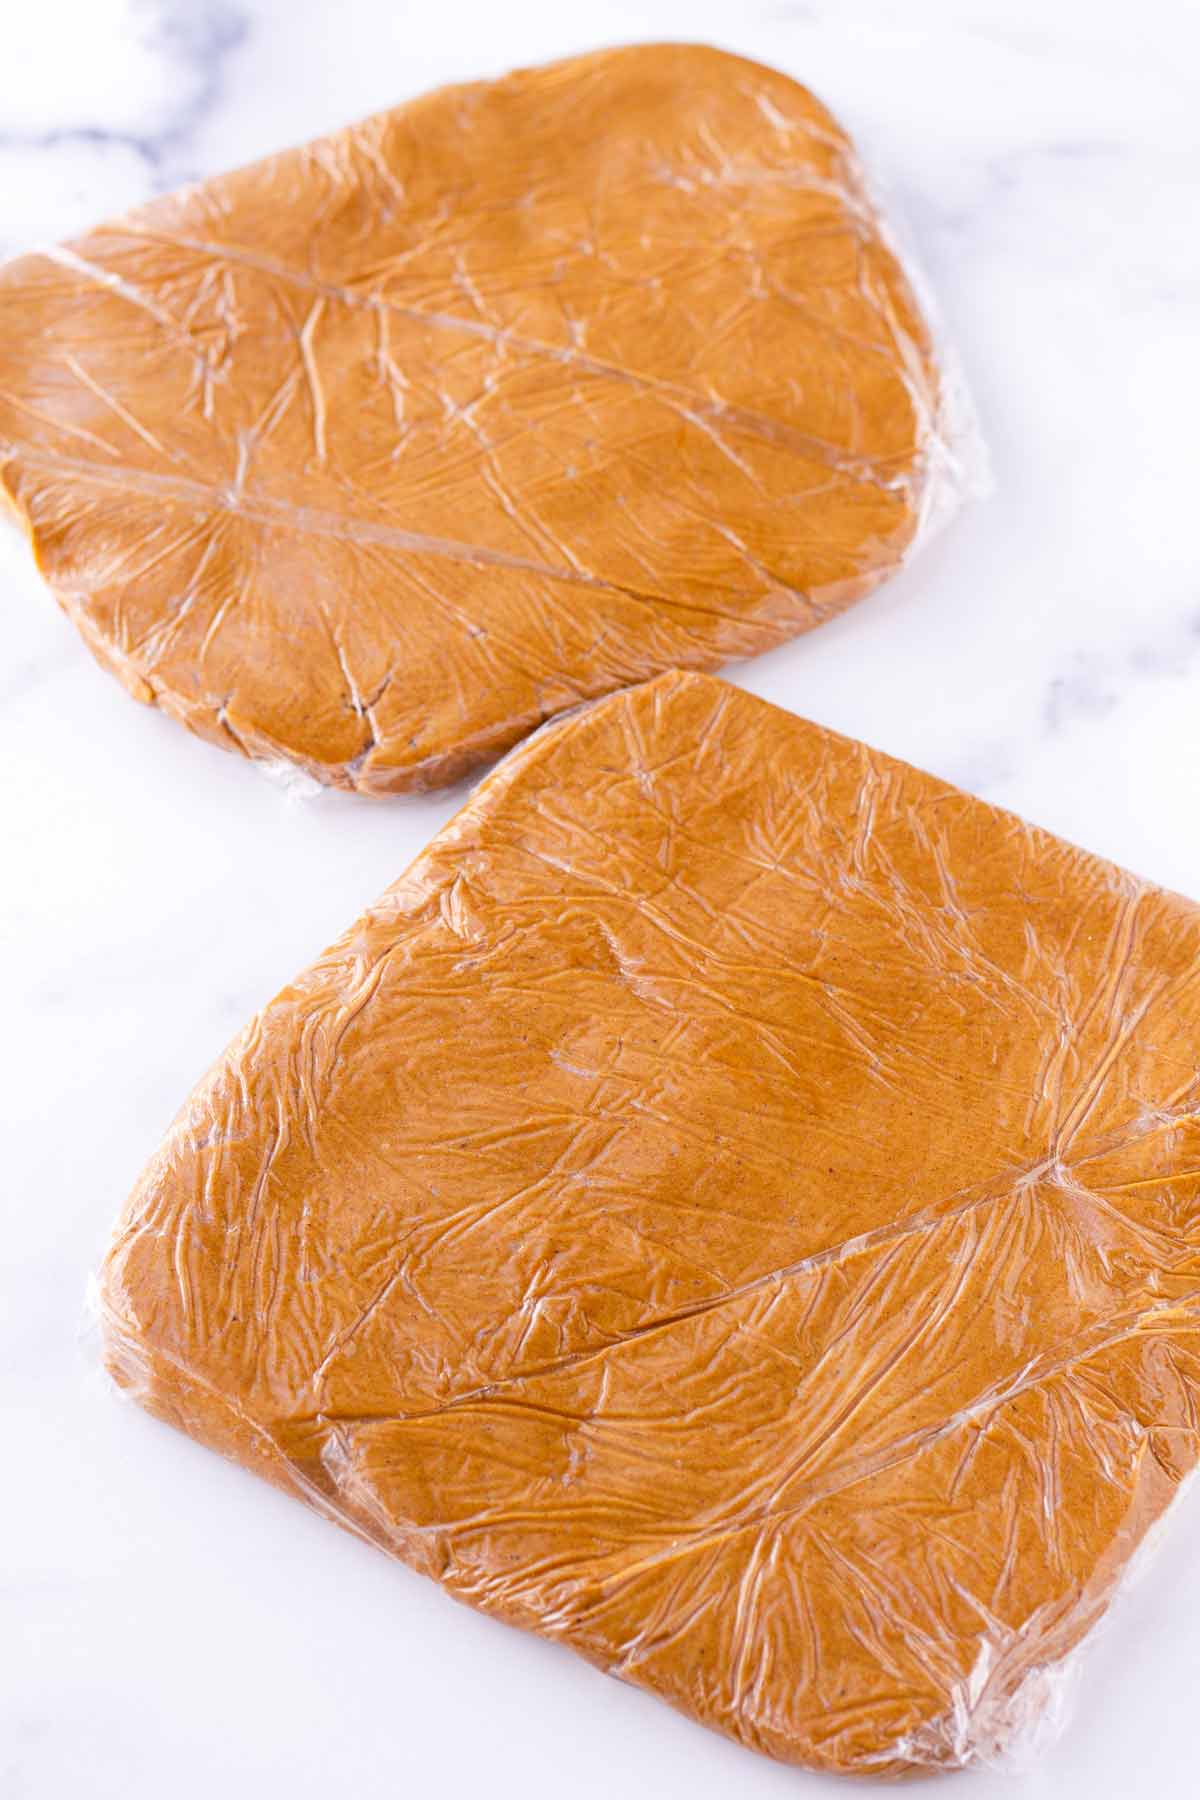
4. Shape into flat disks and refrigerate
Divide dough in half and transfer onto plastic wrap. Flatten each into thin disks, about ⅓ inch thick. The thinner the disks, the easier it will be to roll out. Refrigerate for at least 4 hours or preferably overnight.
Tip: The dough MUST be cold so that they are easy to cut out, and so that they hold their shape in the oven.
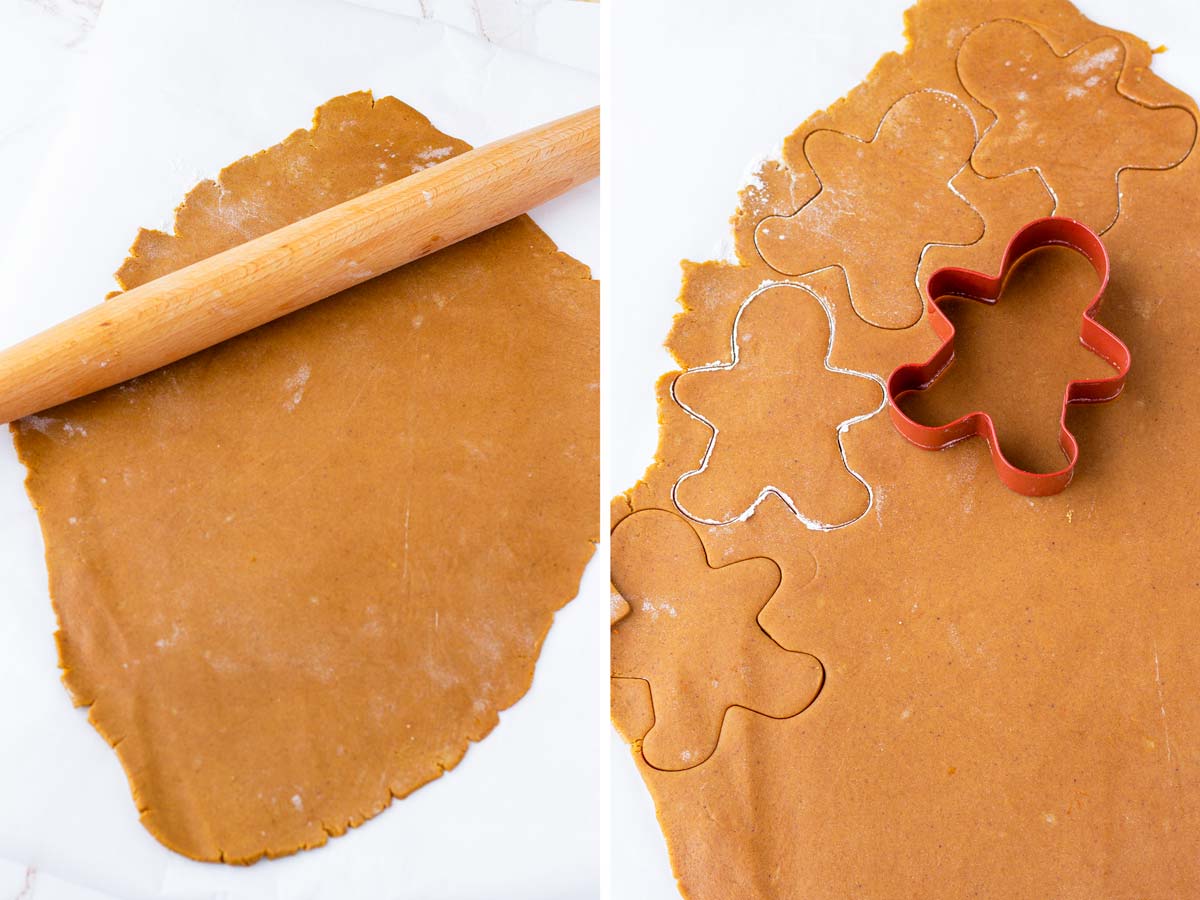
5. Cut out cookies and bake
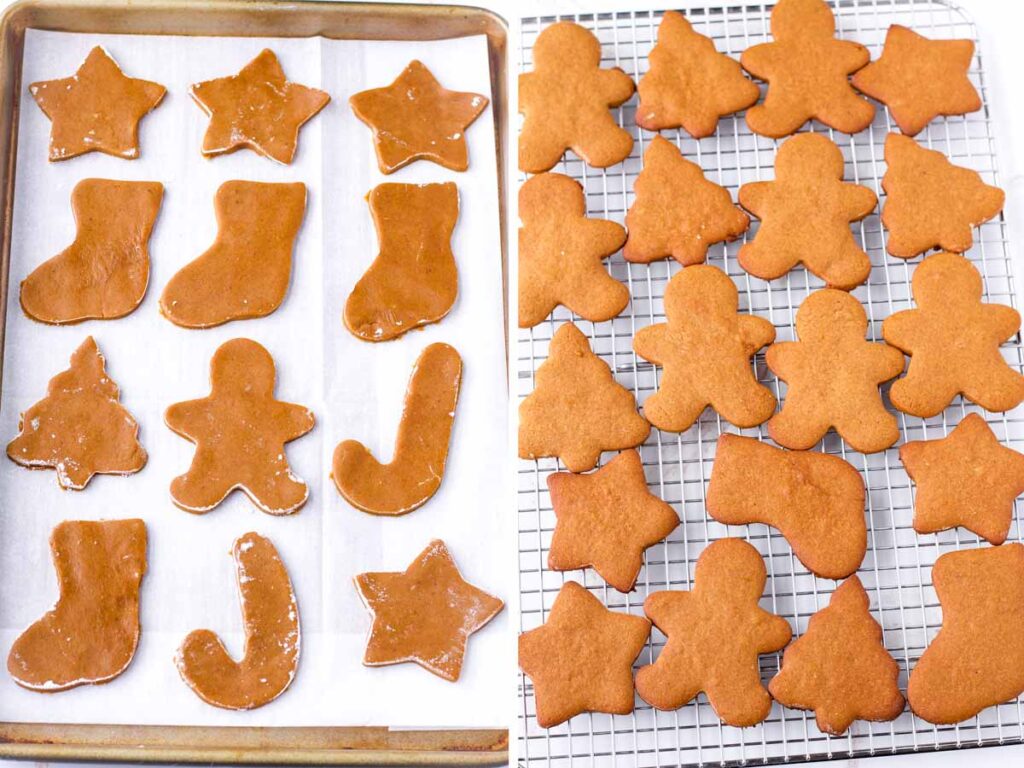
Remove plastic wrap. Flour dough on both sides and roll out into about ⅛ inch thick. Cut out into shapes and transfer to a large lined baking sheet pan, about 1 inch apart. Re-roll and continue cutting out shapes (if it gets too soft, refrigerate before re-rolling).
Tip: To avoid sticking, flour the dough, the rolling pin, and the cookie cutters. Any leftover flour on the cookies will bake off.
Bake in a preheated 375 degrees F oven for 8-10 minutes, or until the edges start turning golden brown. Let them cool completely on a wire rack before decorating.
Tip: Bigger cookies should take 9-10 minutes to bake. Smaller ones should take 8 minutes or so. They are ready when they are crisp and golden brown around the edges and top. The longer you bake, the crispier they’ll be.
7. Make icing and decorate
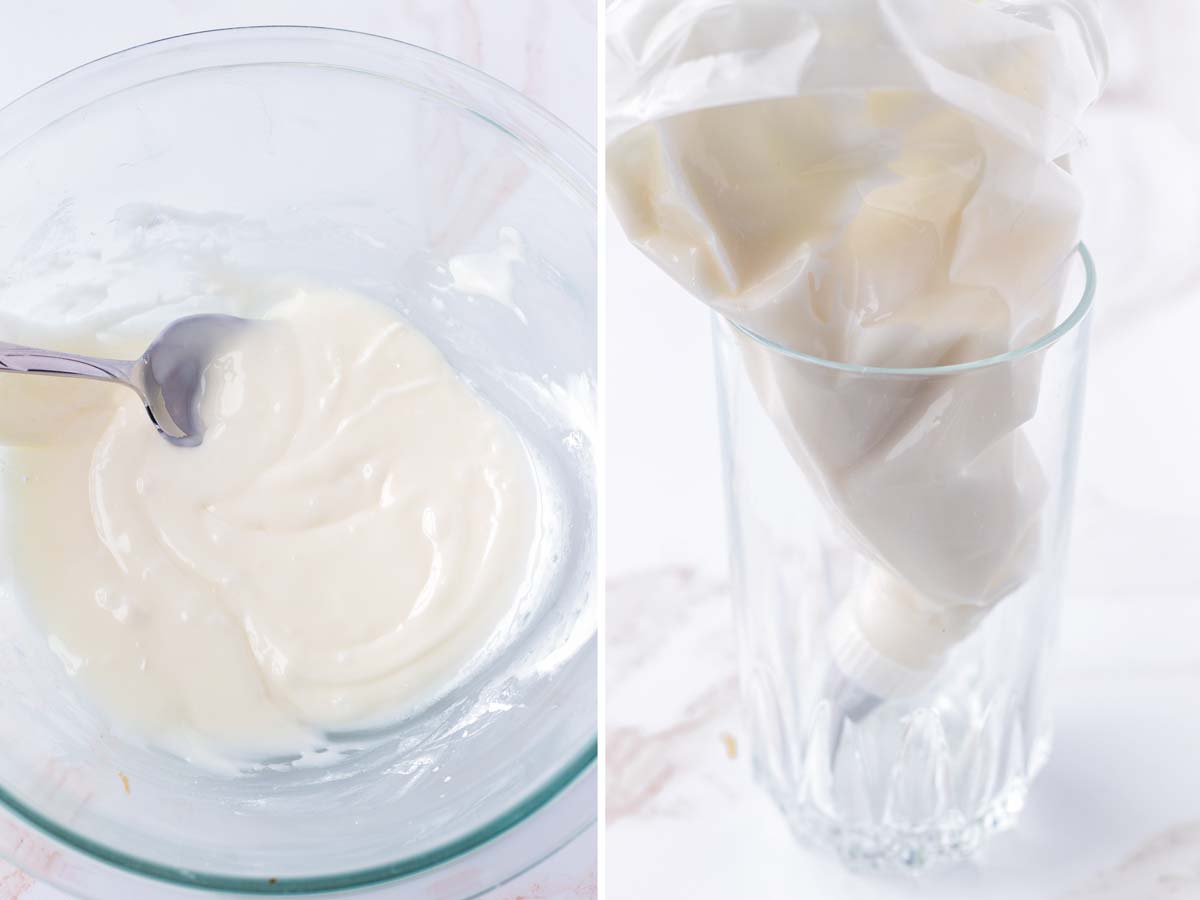
Combine powdered sugar, milk, vanilla extract, and light corn syrup using whisk. Transfer icing to a piping bag set up with a small piping tip. Decorate gingerbread cookies as desired.

Easy Cookie Icing Consistency
If the icing is too thick, you’ll have a hard time cutting off the flow of icing from the piping tip, and it will smear all over. If it’s too runny, it will spread.
Check for the right consistency: Using the whisk, drizzle the icing down back to the bowl. It should flow pretty easily and not feel too thick, and it should create ribbons as it drizzles back. The drizzles should hold their shape for a few seconds and then melt back into the rest of the icing.
Cookie Decorating Tips
- Make sure the cookies are completely cooled before decorating.
- Make sure the icing is the right consistency: Once you stop applying pressure, the icing should also stop flowing. If you’re having a hard time piping, it probably means it’s too thick or too thin. In this case, try re-making the icing to get the right consistency.
- Use a small piping tip. If you don’t have one, try snipping off a tiny corner from the piping bag.
- Use a toothpick to refine the decorations and adjust any icing that may have smeared off.
- Let the icing set completely before serving.

To keep the holiday spirit alive, be sure to bake other festive goodies at home! Here are some of my favorites:
Recipe FAQs
They are thin and crispy throughout, with a slight soft bite in the center.
Use no more than the amount of baking soda (not baking powder) in the recipe. Also, the dough needs to chill for at least 4 hours or overnight in the fridge. A cold dough will ensure the cookies keep their shape.
Using the whisk, drizzle the icing down back to the bowl. It should flow pretty easily and not feel too thick, and it should create ribbons as it drizzles back. The drizzles should hold their shape for a few seconds and then melt back into the rest of the icing.
I wouldn’t recommend it. Corn syrup gives the icing stability and a beautiful shine.

Tips for Success
- The dough needs to refrigerate for at least 4 hours or preferably overnight. A cold dough will ensure the cookies hold their shape in the oven.
- Bake time: Larger cookies take about 9-10 minutes to bake. Smaller cookies may take 8 minutes or less. They are ready when crisp and golden brown around the edges and top.
- Transfer cookies to a wire rack to let them cool. If you let them cool on the sheet pan, the bottom may burn from the residual heat.
- Make sure the cookies are completely cooled before decorating.
Gingerbread Cookies
Equipment
- Stand mixer or electric mixer
- Parchment paper and plastic wrap
- Large baking sheet pans
- Piping bag and small piping tip
Ingredients
Gingerbread dough
- 3 ½ cups all-purpose flour, spooned and leveled
- ¾ teaspoon baking soda
- ½ teaspoon salt
- 1 tablespoon ground cinnamon
- 1 tablespoon ground ginger
- ½ teaspoon ground cloves
- ½ teaspoon ground nutmeg
- ¾ cup unsalted butter, softened to room temperature - equivalent to 1 ½ sticks
- ¾ cup dark brown sugar, packed
- ½ cup unsulphured molasses
- 1 large egg, at room temperature
- 1 ½ teaspoons vanilla extract
Cookie Icing
- 2 cups powdered sugar
- 3 tablespoons milk - or as needed
- 1 tablespoon light corn syrup
- ¼ teaspoon vanilla extract
Instructions
Make the dough
- In a medium bowl, whisk flour, baking soda, salt, cinnamon, ginger, cloves, and nutmeg. Set aside.
- In a stand mixer (with paddle attachment) or using an electric mixer, beat softened butter, brown sugar and molasses over medium-high speed until soft and creamy, about 2 minutes. Then, mix in egg and vanilla extract. Scrape the sides of the bowl as needed. Note: Make sure the butter is softened at room temperature (see note below).
- Over medium speed, gradually mix in dry ingredients into the wet ingredients until evenly combined and no pockets of flour remain. Do not overmix. The dough will be sticky and soft.
- Divide dough in half and place each on plastic wrap. Wrap and roll into ⅓ inch flat disks (the flatter they are, the easier it will be to roll out). Refrigerate for at least 4 hours or preferably overnight. Tip: The dough needs to be fully cold so that the cookies hold their shape in the oven. Don’t skip this step.
Assemble and bake
- Preheat oven to 375 degrees F. Line a large baking sheet with parchment paper or silicone baking mats.
- Remove dough from the fridge (work with one disc at a time). Sprinkle dough with flour on both sides. Over a large piece of parchment paper, roll out dough into ⅛ inch thick using a floured rolling pin. Tip: the parchment paper will prevent the dough from sticking to the working surface.
- Flour the cookie cutters and cut out shapes. Peel out the outer borders, and use a small spatula to transfer cookies onto the prepared baking sheet pan, about 1 inch apart. Re-roll scraps and cut out more cookies. Tip: Place similar sizes on the same sheet pan. Bake times may vary based on size. If needed, brush off any excess flour on the cookies, but don't worry too much – it will bake off.
- Bake for 8-10 minutes. Larger cookies will take 9-10 minutes, while smaller cookies may take 8 minutes or so. They are ready when crisp and golden brown around the edges and top. The longer they bake, the crispier they will be. Note: You may need to bake in batches, so place dough in fridge in between batches. It needs to stay cold.
- Remove oven and after about 1 minute, transfer cookies onto a wire rack to cool completely before decorating.
Decorate
- Make the icing: In a medium bowl, whisk powdered sugar with milk, corn syrup, and vanilla extract. Check for the right consistency: Using the whisk, drizzle the icing down back to the bowl. It should flow pretty easily and not feel too thick, and it should create ribbons as it drizzles back. The drizzles should hold their shape for a few seconds and then melt back. If too thick, add more milk. If too thin, add more sugar.
- Transfer icing to a piping bag set up with a small piping tip (or snip off a very small corner from the bag). Decorate cookies as desired, using a toothpick to readjust the icing as needed.
- Allow icing to set completely, about 30 minutes, before serving. The cookies will be crisp throughout with a slight soft bite in the center. Enjoy!
Notes
- Softened butter: You need to use softened butter for this recipe. You can take out the butter about 2 hours in advance or until softened. A quicker way to soften butter: soften it in the microwave oven in 5 to 10 second intervals. Keep a very close eye on it so it doesn’t melt.
- The dough needs to refrigerate for at least 4 hours or preferably overnight. A cold dough will ensure the cookies hold their shape in the oven.
- Check for the right icing consistency: Using the whisk, drizzle the icing down back to the bowl. It should flow pretty easily and not feel too thick, and it should create ribbons as it drizzles back. The drizzles should hold their shape for a few seconds and then melt back into the rest of the icing.
- Molasses: Make sure you use unsulphured molasses. Don’t use blackstrap molasses.
- Icing: Once you stop applying pressure, the icing should also stop flowing. If you’re having a hard time with this, it probably means it’s too thick or too thin. In this case, try re-making the icing.
- Make ahead: The dough can be made the day before and refrigerated. Store baked and decorated cookies in an airtight container at room temperature for up to 5 days.
- Freezing: You can freeze the dough for up to 3 months. Thaw in the fridge overnight.






Leave a Reply