These Christmas Truffles are seriously the most festive and colorful chocolate treats to celebrate the holidays!
I love making Christmas truffles every year and package them up in cute little boxes for friends and family. They are the perfect gift!
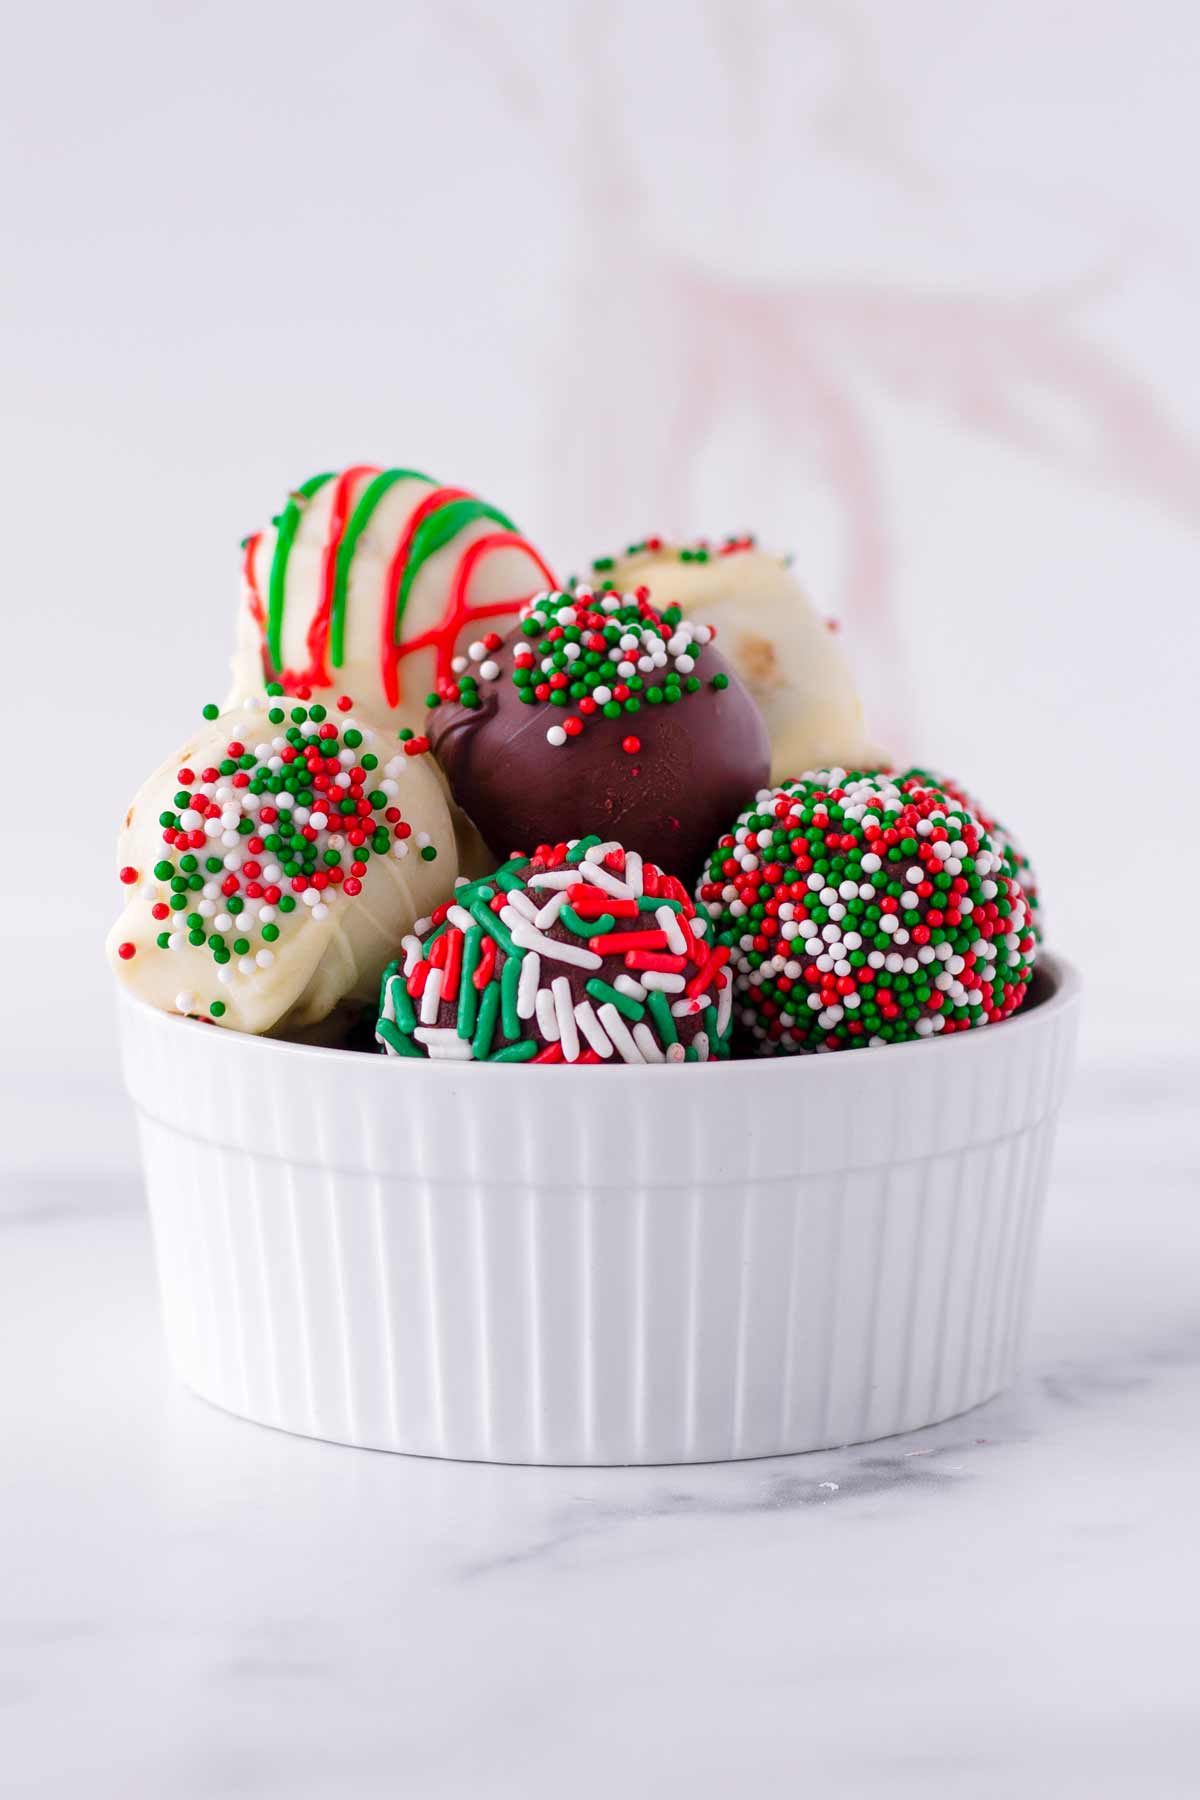
These chocolate truffles are decadent and delicious. The best part is that they are highly customizable – use your favorite chocolate and holiday sprinkle mix!
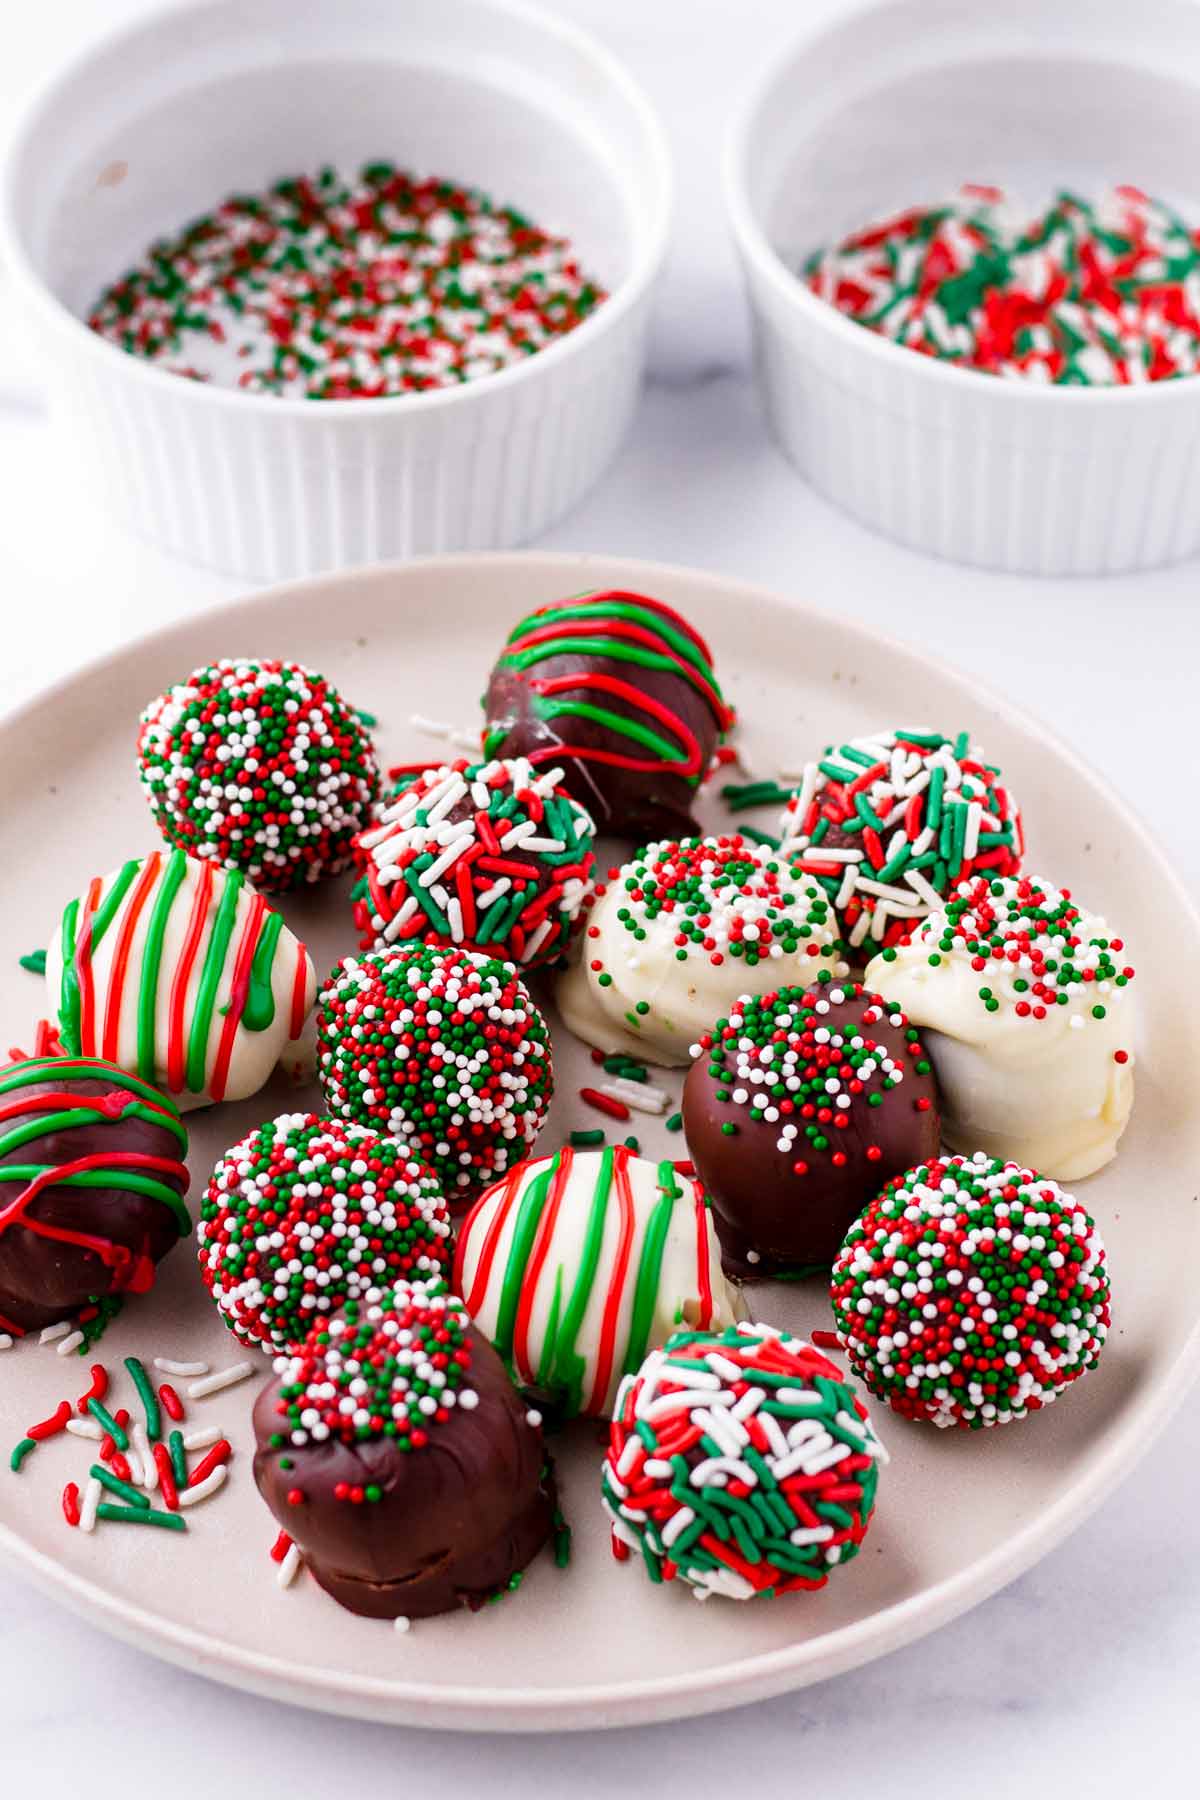
‘Tis the season to be merry! I’m so excited about the holidays. I’m really looking forward to spending time with friends and family, and baking lots of cozy treats. Today, I’m sharing a super easy holiday recipe: Christmas Truffles!
These no-bake Christmas truffles are perfect for the season. They are decadent and delicious, and decorated with lots of festive sprinkles.
Here’s why I love making Christmas truffles:
- They are so easy to make: These bake treats take only about 10 minutes of active prep time. The rest is refrigeration time.
- They are rich, decadent, and soft.
- They make the perfect holiday gift. They are so pretty and perfect for a homemade gift box.
- They are highly customizable: Use your favorite chocolate and holiday sprinkle mix.
Jump to:
What Type of Chocolate to Use
The type of chocolate you use to make these Christmas truffles is very important. It makes a huge, huge difference in the final result.
Use high quality semi-sweet baking chocolate bars. I use Ghirardelli semi-sweet chocolate bars, but I also like Baker’s and Scharffen Berger brands. For a more intense flavor, try dark chocolate baking bars.
Do not use chocolate chips or regular snacking chocolate bars. Chocolate chips contain added fats and other ingredients that will affect truffle consistency. Same with regular or snacking chocolate bars.
Ingredient Notes
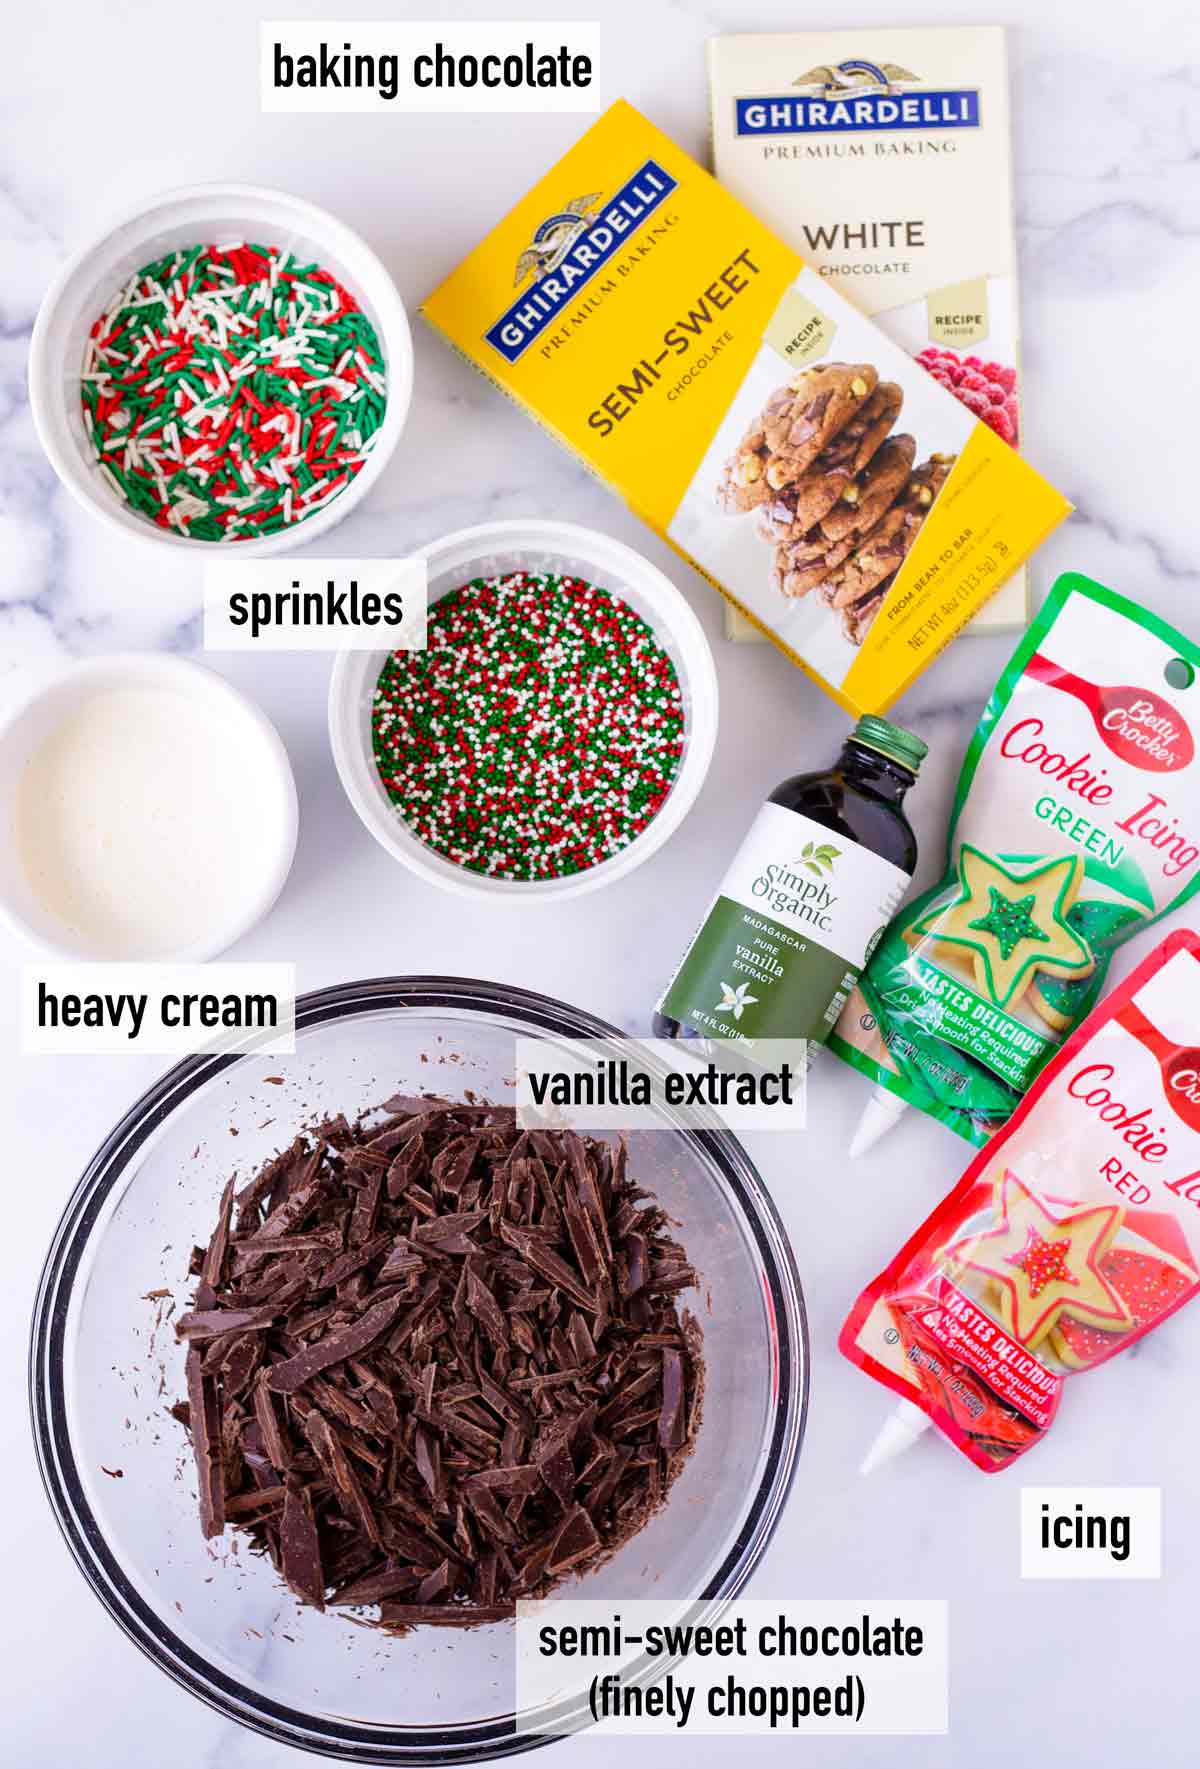
- Semi-sweet or dark chocolate bars: Use premium baking chocolate bars, semi-sweet or dark. Don’t use chocolate chips – they contain added fats that may affect texture). Don’t use regular snacking chocolate either.
- Heavy cream: It will add richness and a soft texture. Don’t use half-and-half or milk, it will make the truffles too thin.
- Vanilla extract: For flavor.
- Sprinkles of your choice.
- Icing of your choice: To drizzle on top of chocolate covered truffles. I buy pre-made icing to keep it simple.
- Chocolate for covering the truffles: Melt semi-sweet, dark, or white chocolate chocolate bars.
Step-by-Step Instructions
1. Melt chocolate
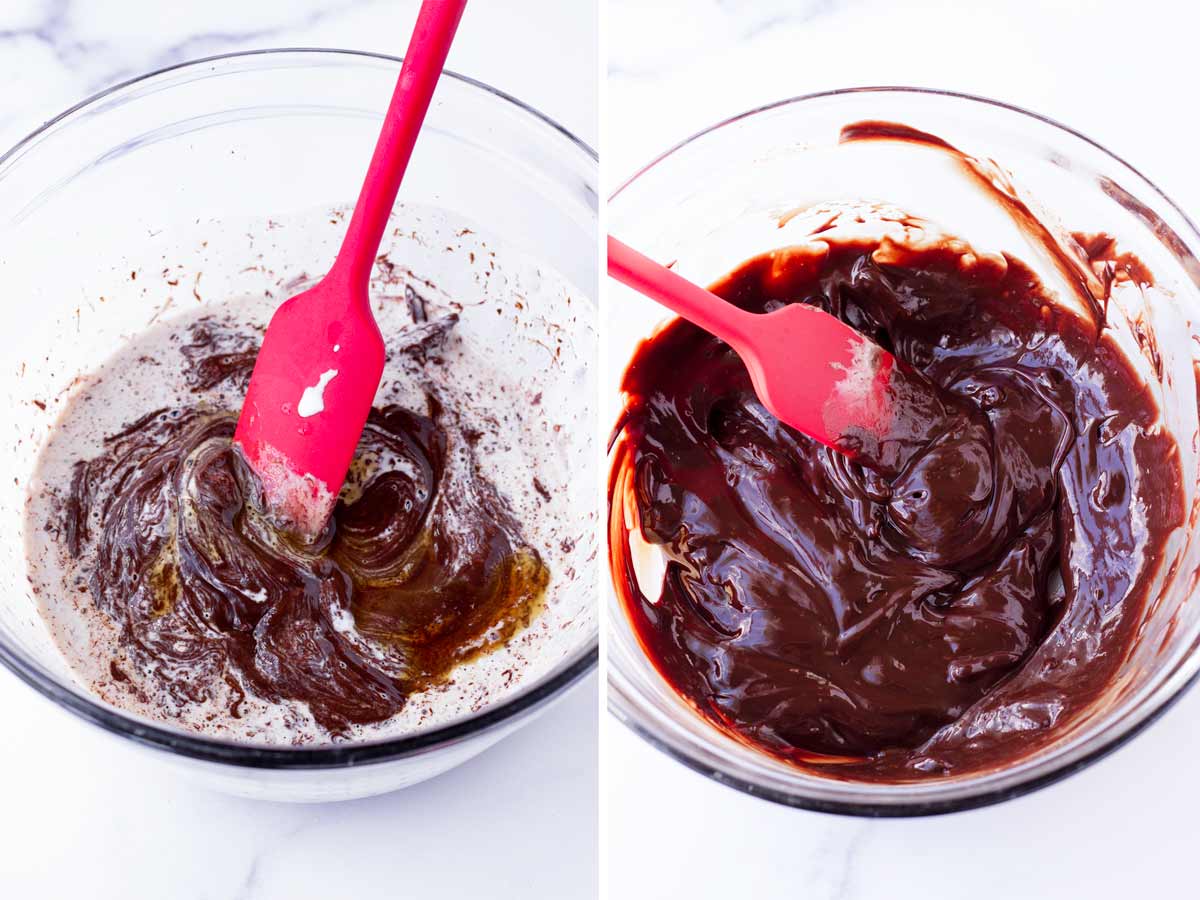
Bring heavy cream to a very light simmer, and add it to the finely chopped chocolate plus vanilla extract. Stir until melted. If it’s not melting, pop it in the microwave oven for a few seconds.
Tip: The chocolate should be finely chopped so it melts quickly.
2. Refrigerate
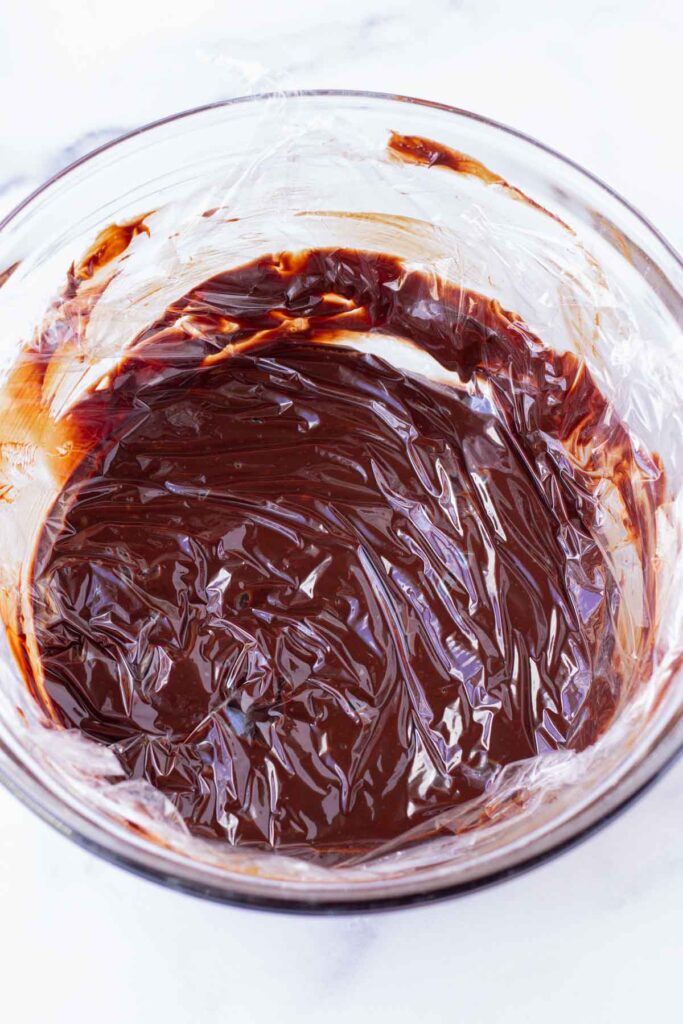
Cover with plastic wrap. The plastic wrap should be touching the dough to avoid condensation (aka water droplets forming on the surface). Refrigerate for 2 hours so it sets.
3. Scoop and roll
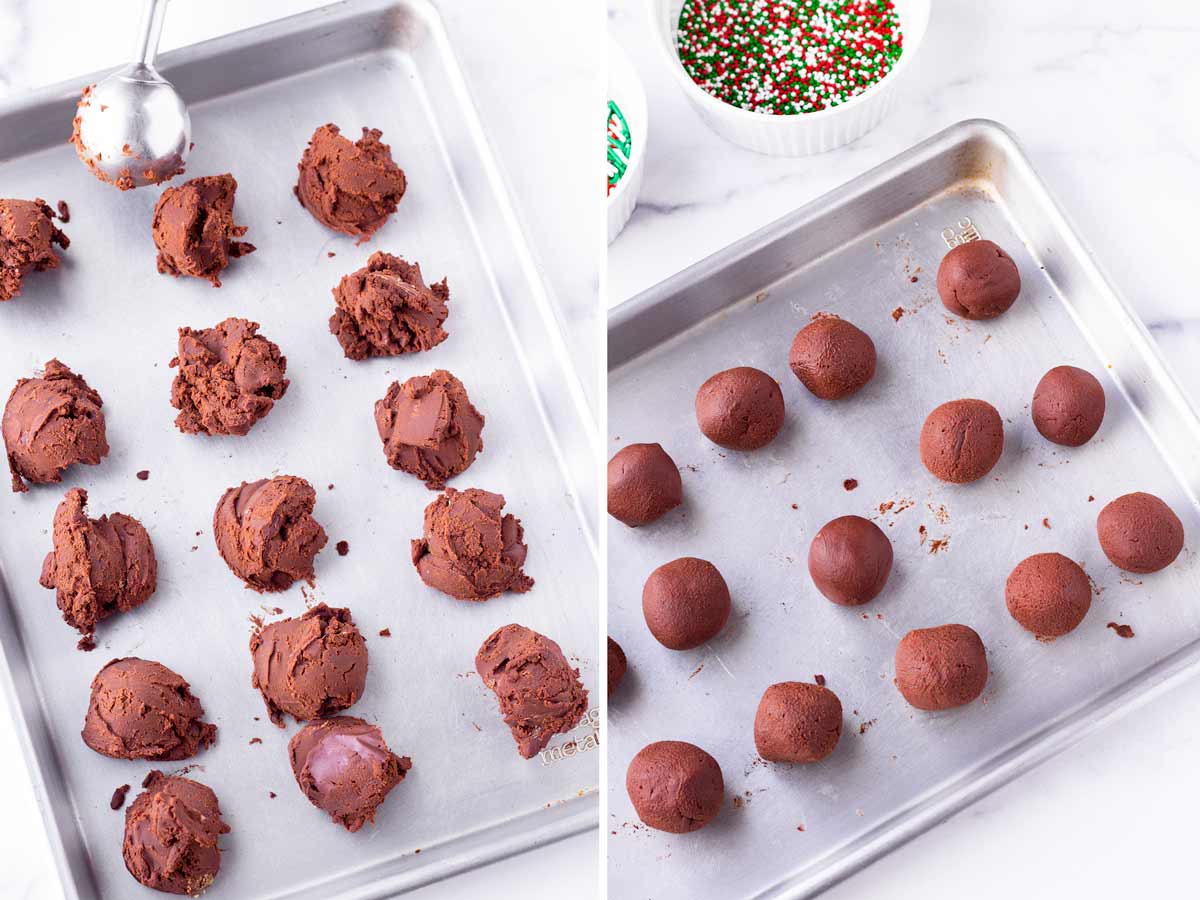
Scoop out about 1 tablespoon balls and roll them into uniform balls. If they become too sticky, pop it in the freezer for a few minutes, and rinse your hands with cold water and pat them dry before continuing.
4. Decorate
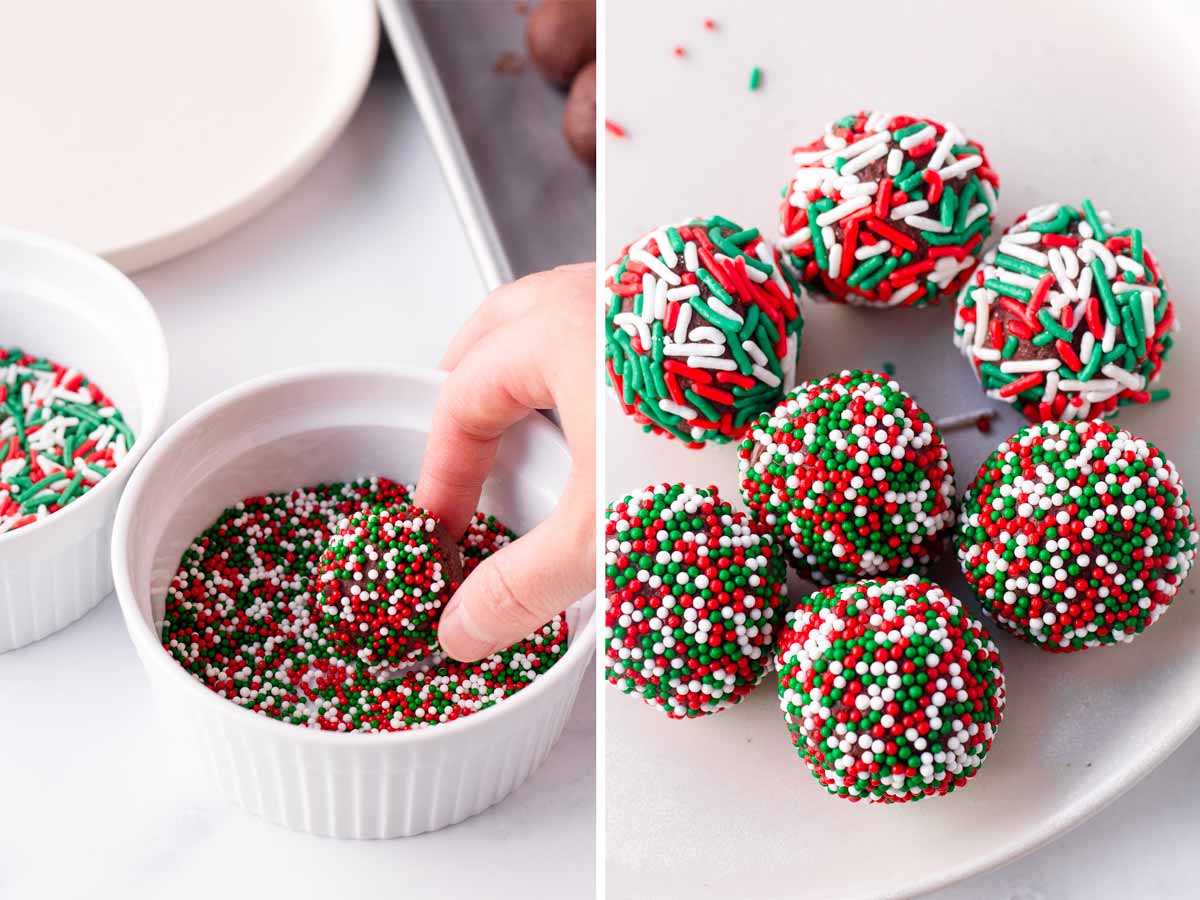
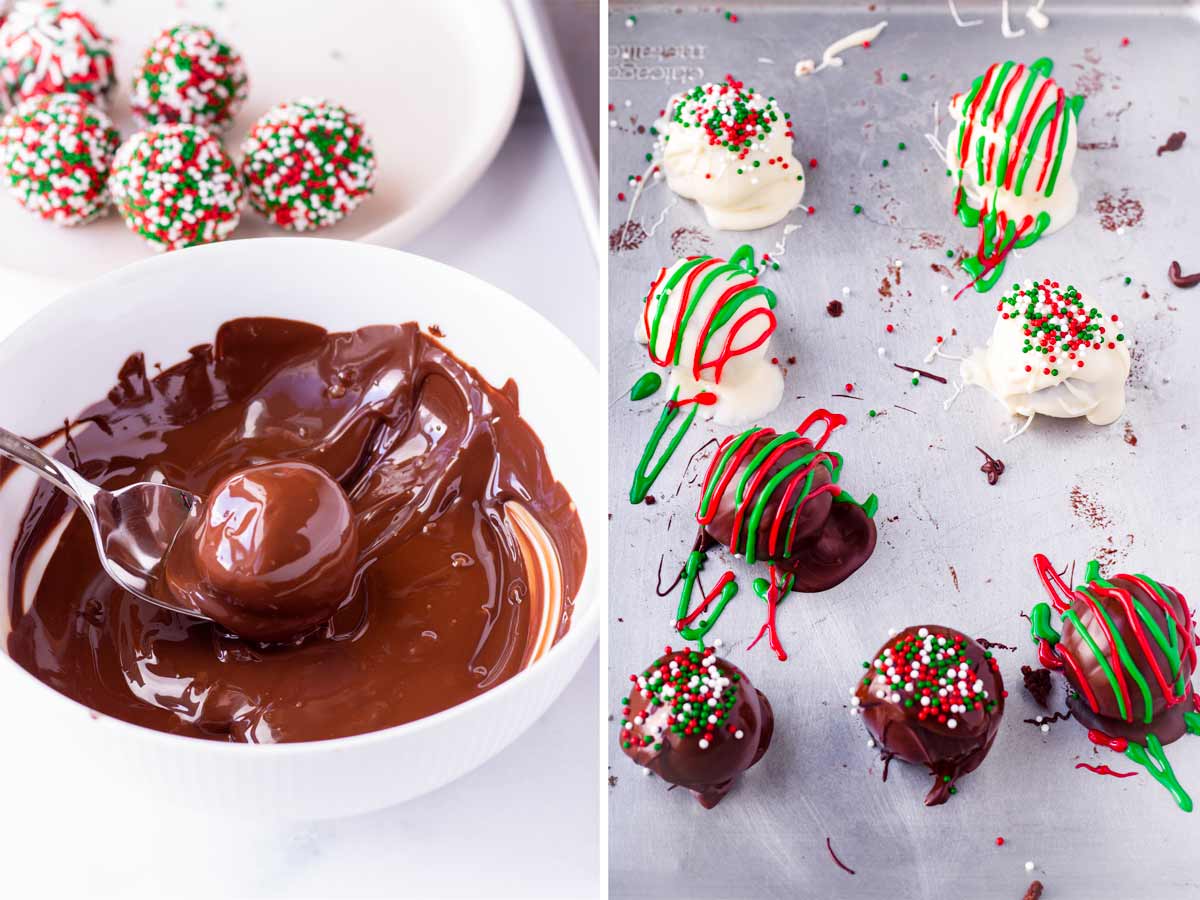
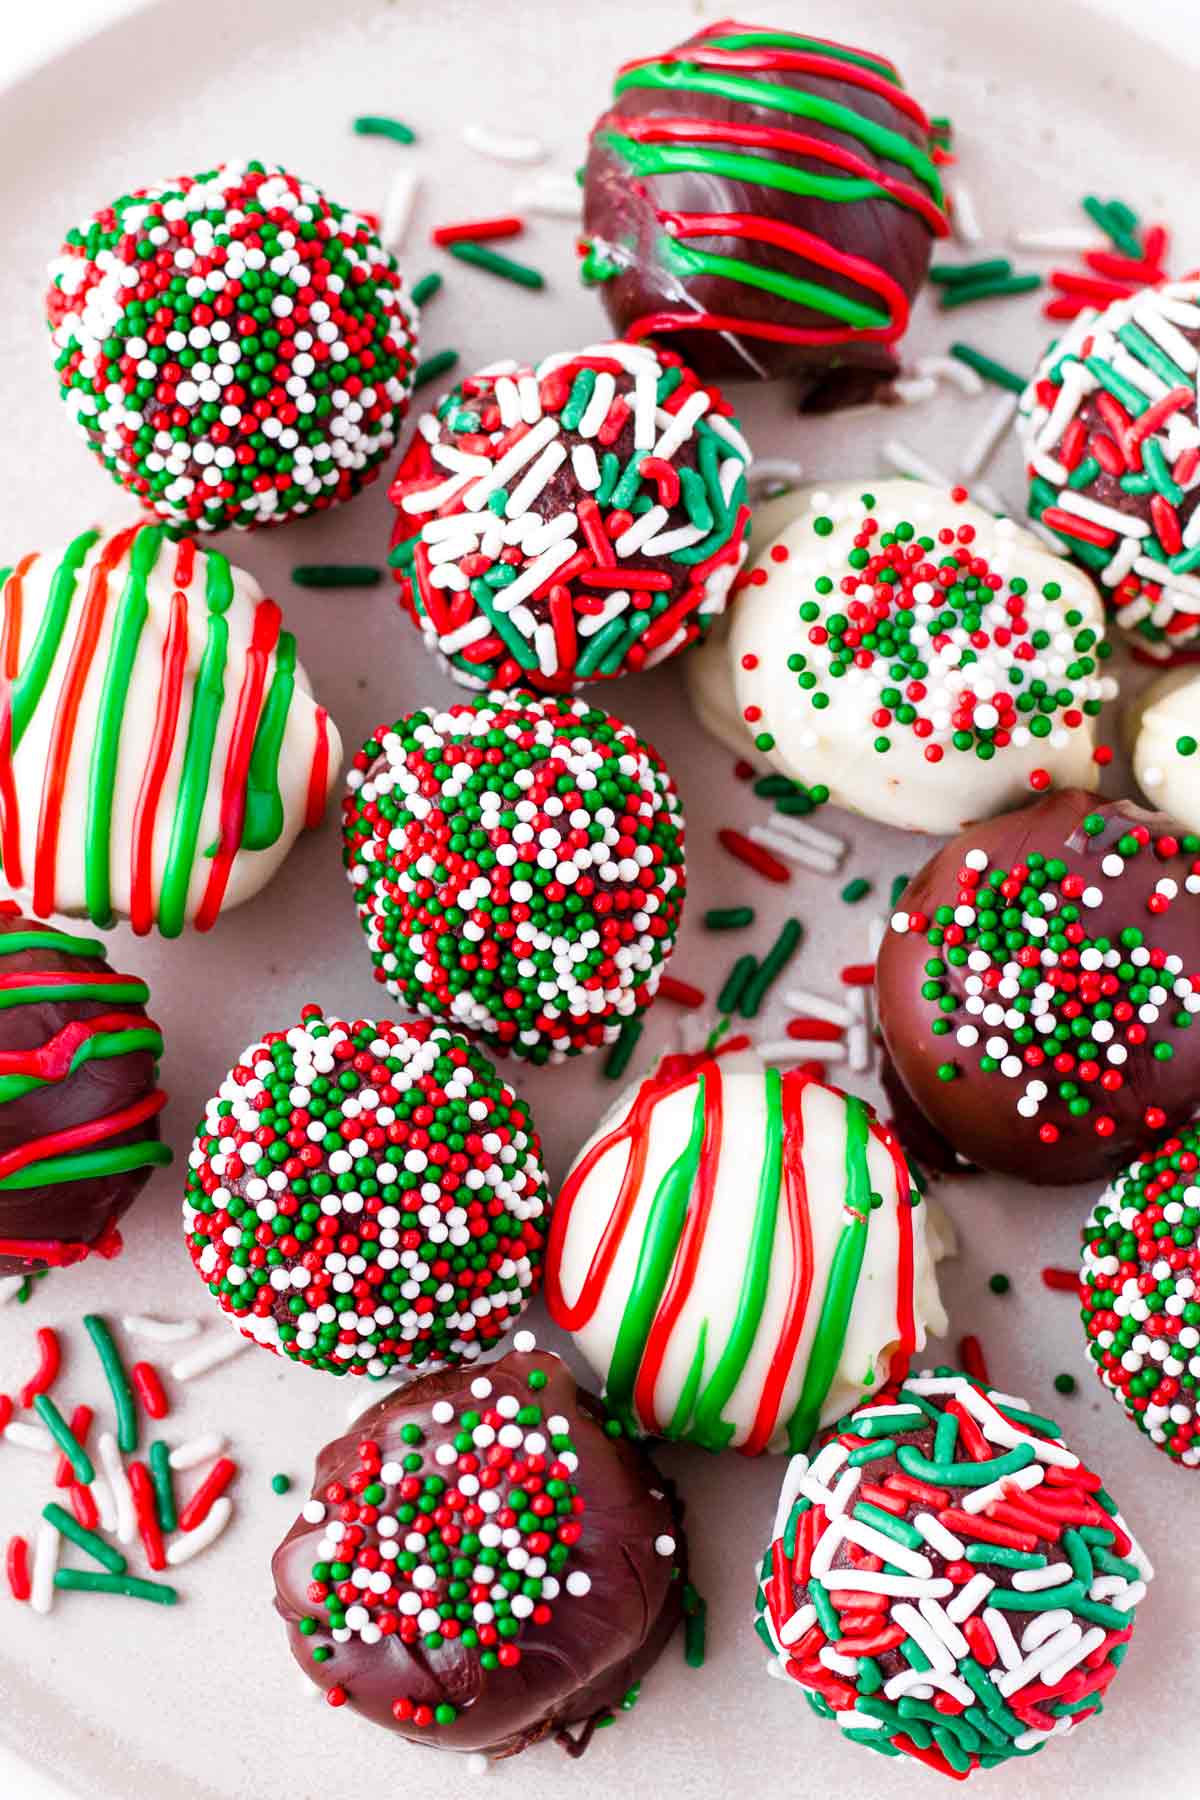
Roll them in sprinkles throughout. You can also cover in melted chocolate and then add sprinkles or icing designs. To melt chocolate, simply microwave it until melted.
Enjoy these Christmas chocolate truffles at room temperature. Store them in the refrigerator for up to 2 weeks.
Customize It
There are so many ways to customize Christmas chocolate truffles! This is when you can let your creativity loose. It’s also a great way to get the kids involved in the kitchen.
Here are a few of my favorite ideas:
- Instead of semi-sweet chocolate, use baking dark chocolate for more intense flavors.
- Decorate however you want: Use your favorite holiday, sprinkles, drizzle with melted chocolate or icing, roll in cocoa powder.
- Add extra filling: Mix in nuts or dried fruits into the chocolate filling.
- Add extra flavor: Add a little bit of almond extract, orange extract, raspberry extract, etc.
If you have any other ideas, feel free to leave a comment below!
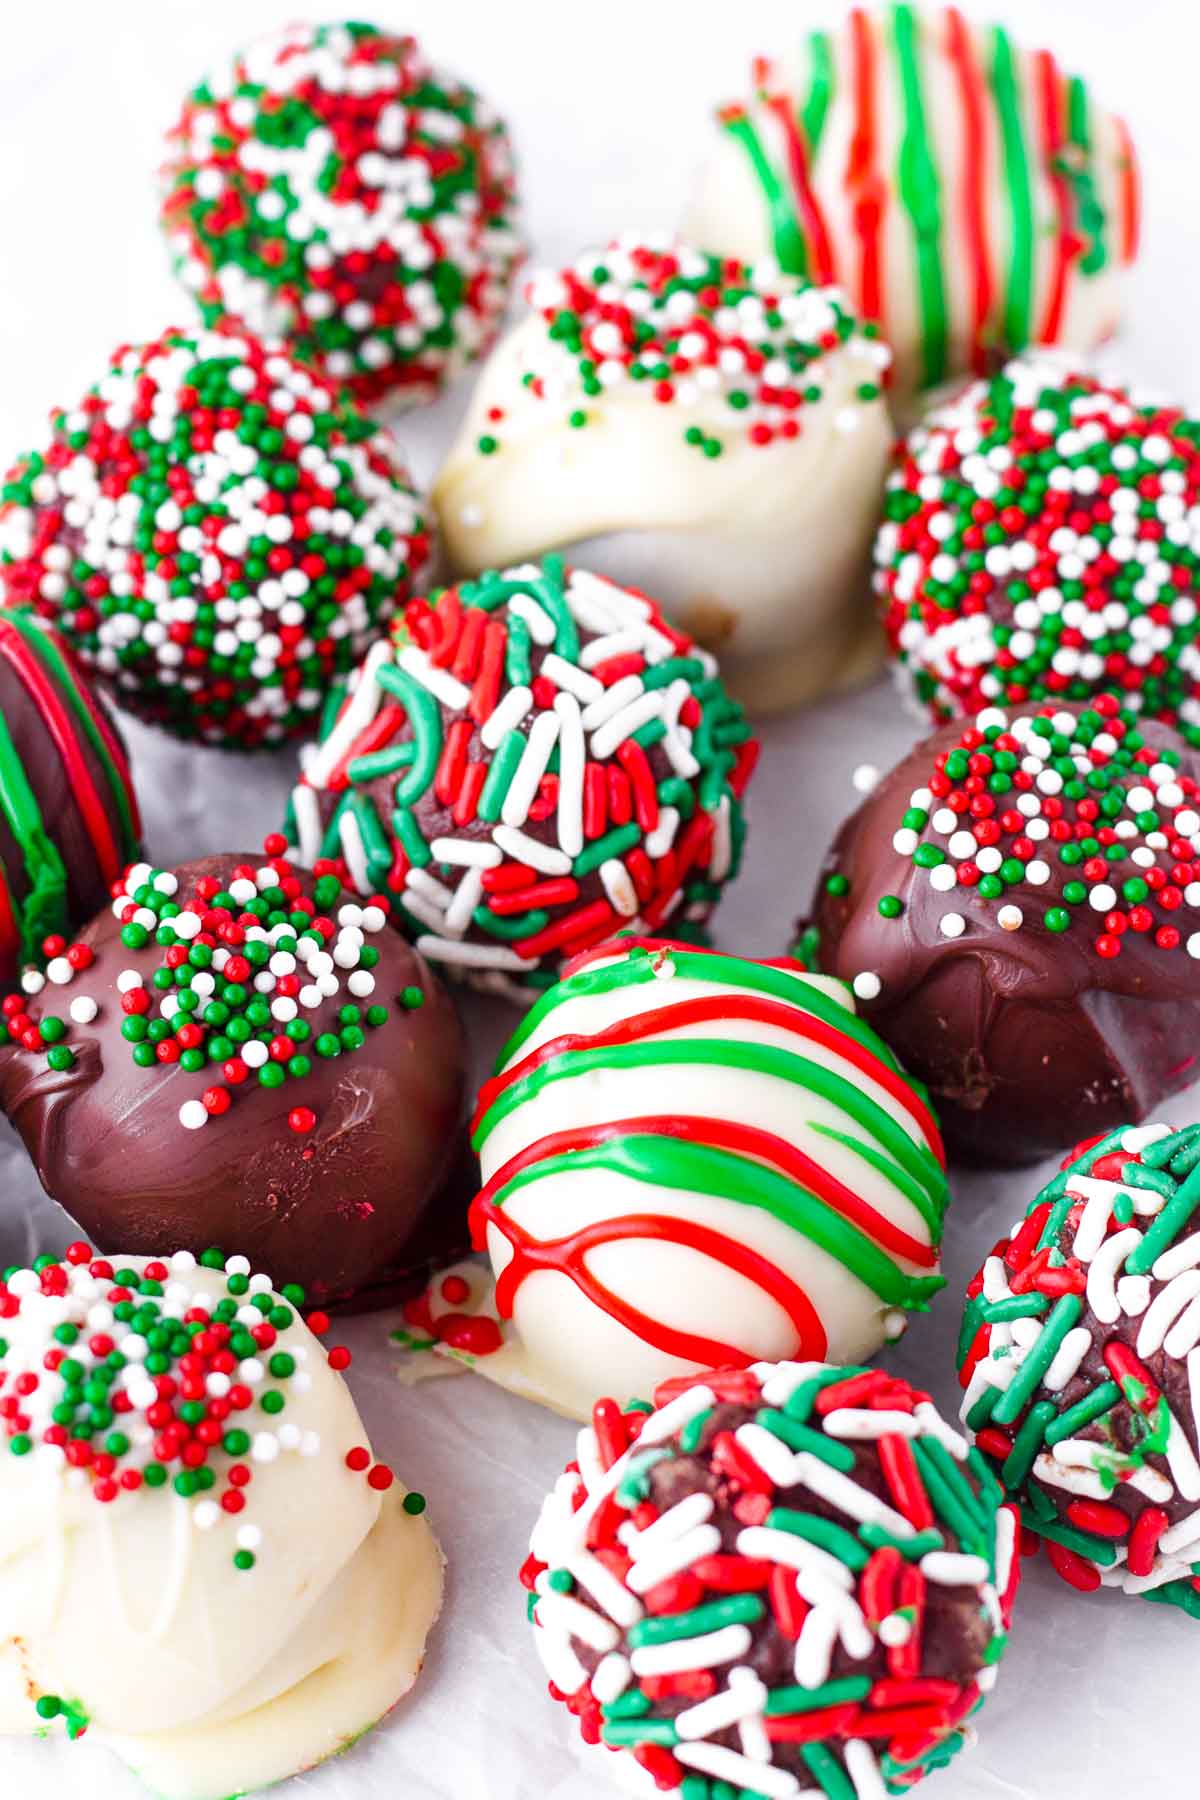
If you’re a chocolate lover, you’ll absolutely love these Christmas truffles! They are decadent, rich, and absolutely delicious.
If you’re looking for more easy holiday treats, be sure to check these out:
Recipe FAQs
No. Chocolate chips contain other fats aside from cocoa, so your truffles won’t be smooth.
No. Regular snacking chocolate bars contain added fats and ingredients that may not give you proper truffle texture. I’d recommend using baking chocolate bars (semi-sweet or dark), which are pure chocolate.
I’d recommend refrigerating them, but you can leave them out for a few hours and enjoy at room temperature for a softer texture. They will last in the fridge for about 2 weeks.
Make sure the chocolate is fully set before you start rolling them into balls. They need to chill for 2 hours. If they start to get sticky when you’re rolling them, pop them in the freezer and rinse your hands with cold water (and pat them dry) before continuing.
This means there may be too much cream or fat. Try remelting the chocolate mixture over a double-boiler and adding in more chocolate to the mixture to balance out the proportions.
Tips for Success
- Finely chop the chocolate bars. This way, they will melt a lot faster.
- Don’t use chocolate chips. Chocolate chips contain added fats that will not result in proper truffle texture.
- Make sure the chocolate is fully set. Otherwise, it may get very sticky. If they start to get sticky when you’re rolling them, pop them in the freezer for a few minutes and rinse your hands with cold water (and pat them dry) before continuing.
Christmas Truffles
Ingredients
- 8 ounces semi-sweet baking chocolate bar, finely chopped - (or two 4-oz bars)
- ½ cup heavy cream
- ½ teaspoon vanilla extract
Decoration
- Holiday sprinkles of your choice - store-bought
- Holiday icing of your choice - store-bought
- 8 ounces semi-sweet, dark, or white baking chocolate bar - for covering, optional
Instructions
- Place the finely chopped semi-sweet chocolate in a medium bowl. Set aside.
- Bring the heavy cream to a very light simmer (don’t boil) either over the stovetop or in the microwave oven. While it’s warm, add it to the finely chopped chocolate along with the vanilla extract. Stir to melt the chocolate until smooth and uniform. If it’s not melting, microwave for a few seconds. It should be a bit warm, but not very hot.
- Cover with plastic wrap. The plastic wrap should be directly touching the chocolate in order to avoid condensation. Chill in the fridge for 2 hours until set.
- Scoop 1 tablespoon mounds and arrange on a tray (I'd recommend using a cookie scoop). Then, roll into balls. Tip: Make sure the chocolate is very cold and fully set before rolling. If they start to get sticky, pop the tray into the freezer for a few minutes. If your hands get sticky, rinse hands with cold water and pat dry before continuing to roll into balls.
- Decorate truffles with sprinkles. You can also coat with melted chocolate (melt in the microwave oven) and top with extra sprinkles or icing.
- Let them set on the tray for a few minutes and then transfer to the fridge so they continue to set for another 20-30 minutes, especially if they are coated with chocolate. Enjoy at room temperature.
Notes
- Chocolate: Use good quality semi-sweet baking chocolate bars. I like to use Ghirardelli’s brand. Do not use chocolate chips since they contain added fats and ingredients that could affect texture.
- The chocolate mixture NEEDS to refrigerate for 2 hours. Otherwise, it will get sticky and messy.
- If after 2 hours the chocolate is still very soft, perhaps you added too much heavy cream. Try re-melting the chocolate mixture over a double-boiler and add more chocolate.
- Make-ahead: The chocolate mixture can be made and refrigerated up to 3 days in advance. If it’s too hard, let it sit on the counter for a few minutes before rolling.
- Freezing: The chocolate mixture can be frozen for up to 3 months. Thaw in the fridge overnight.
- Storage: Refrigerate for up to 2 weeks. Enjoy them cold or at room temperature.
- If it gets too sticky as you’re rolling into balls, pop the tray of scooped out chocolate into the freezer for a few minutes. You can also rinse your hands in cold water and pat them dry before continuing.
- Substitutions:
- Semi-sweet chocolate baking bar (for filling): dark chocolate baking chocolate bar for more intense flavors.
- Heavy cream: You can also use CANNED full-fat coconut milk (not coconut milk drink). Do not use half-and-half or milk.
- Customizations:
- Toppings: Nuts, cocoa powder, icing, etc.
- Flavoring: Add a few drops of almond extract, orange extract, raspberry extract, etc.





Leave a Reply