
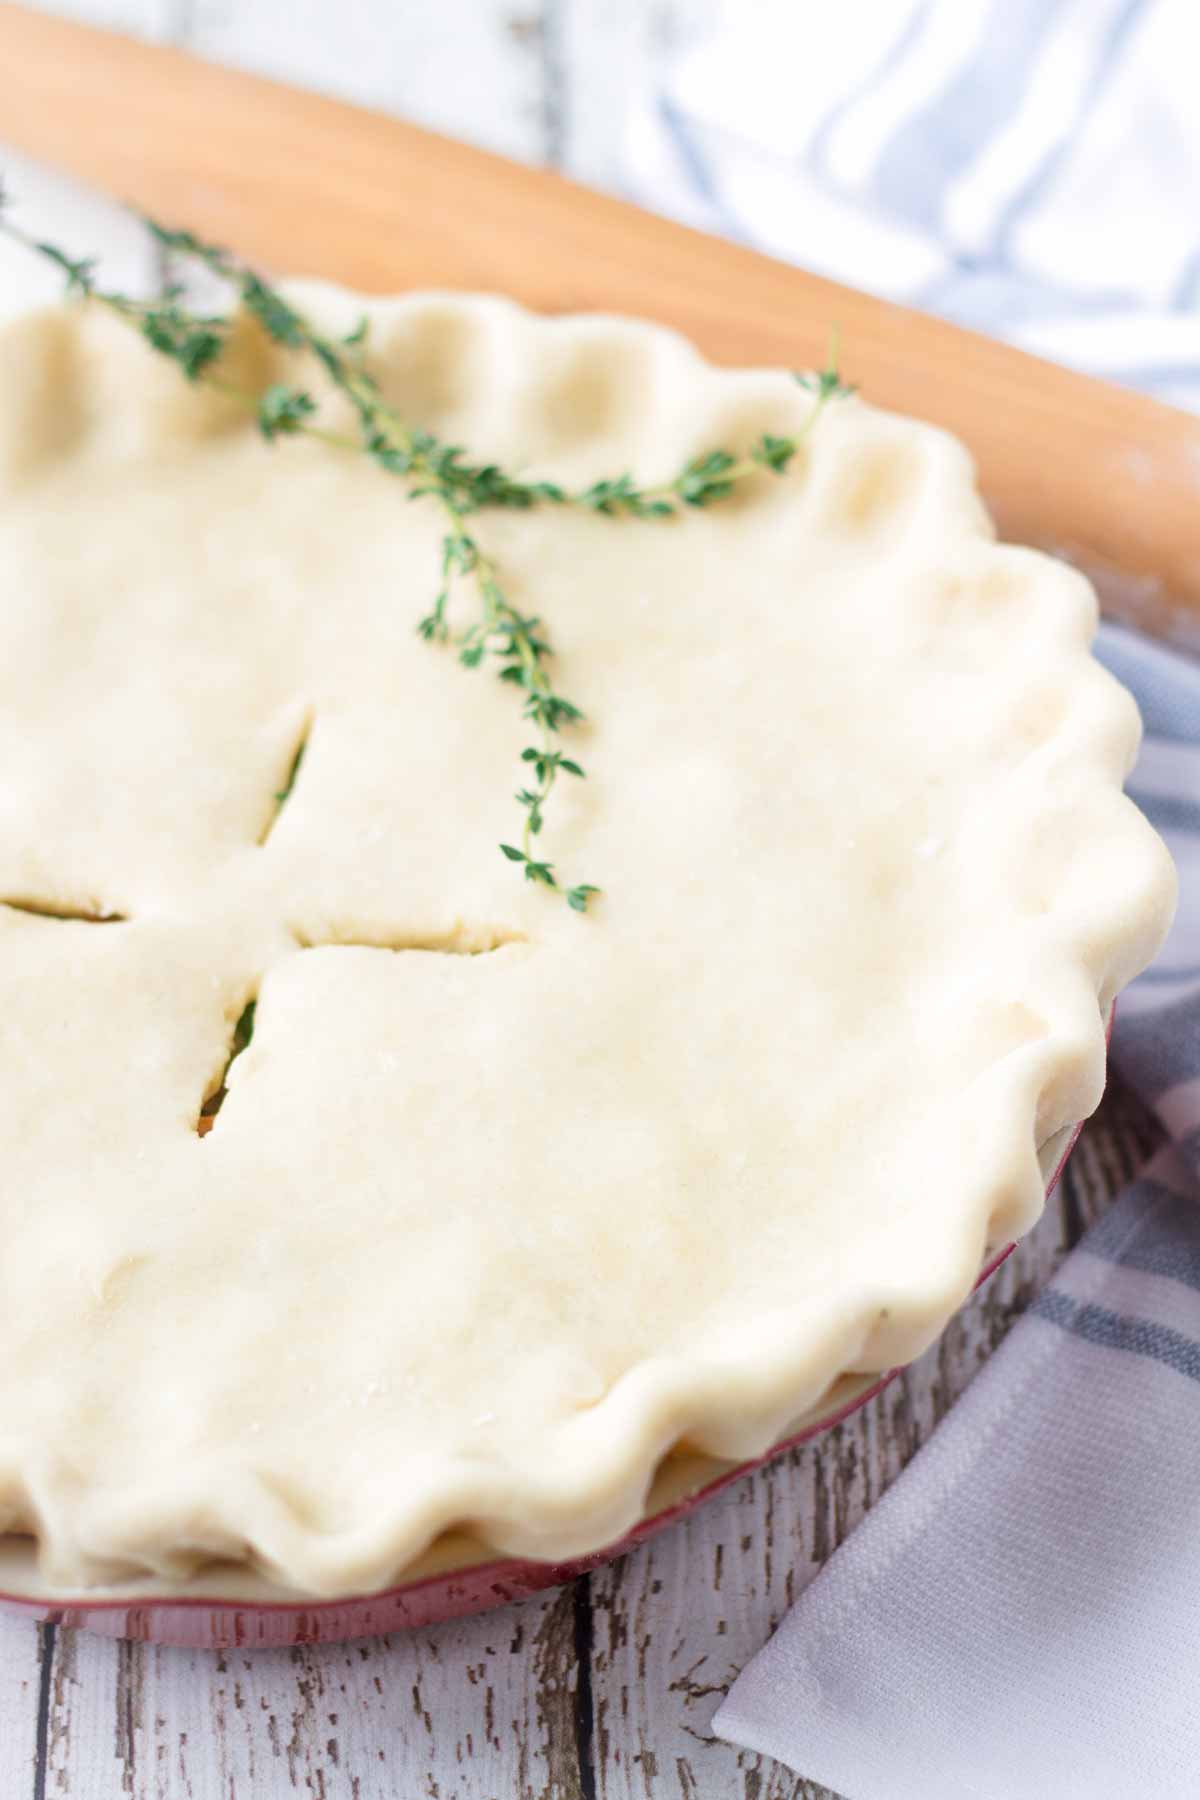
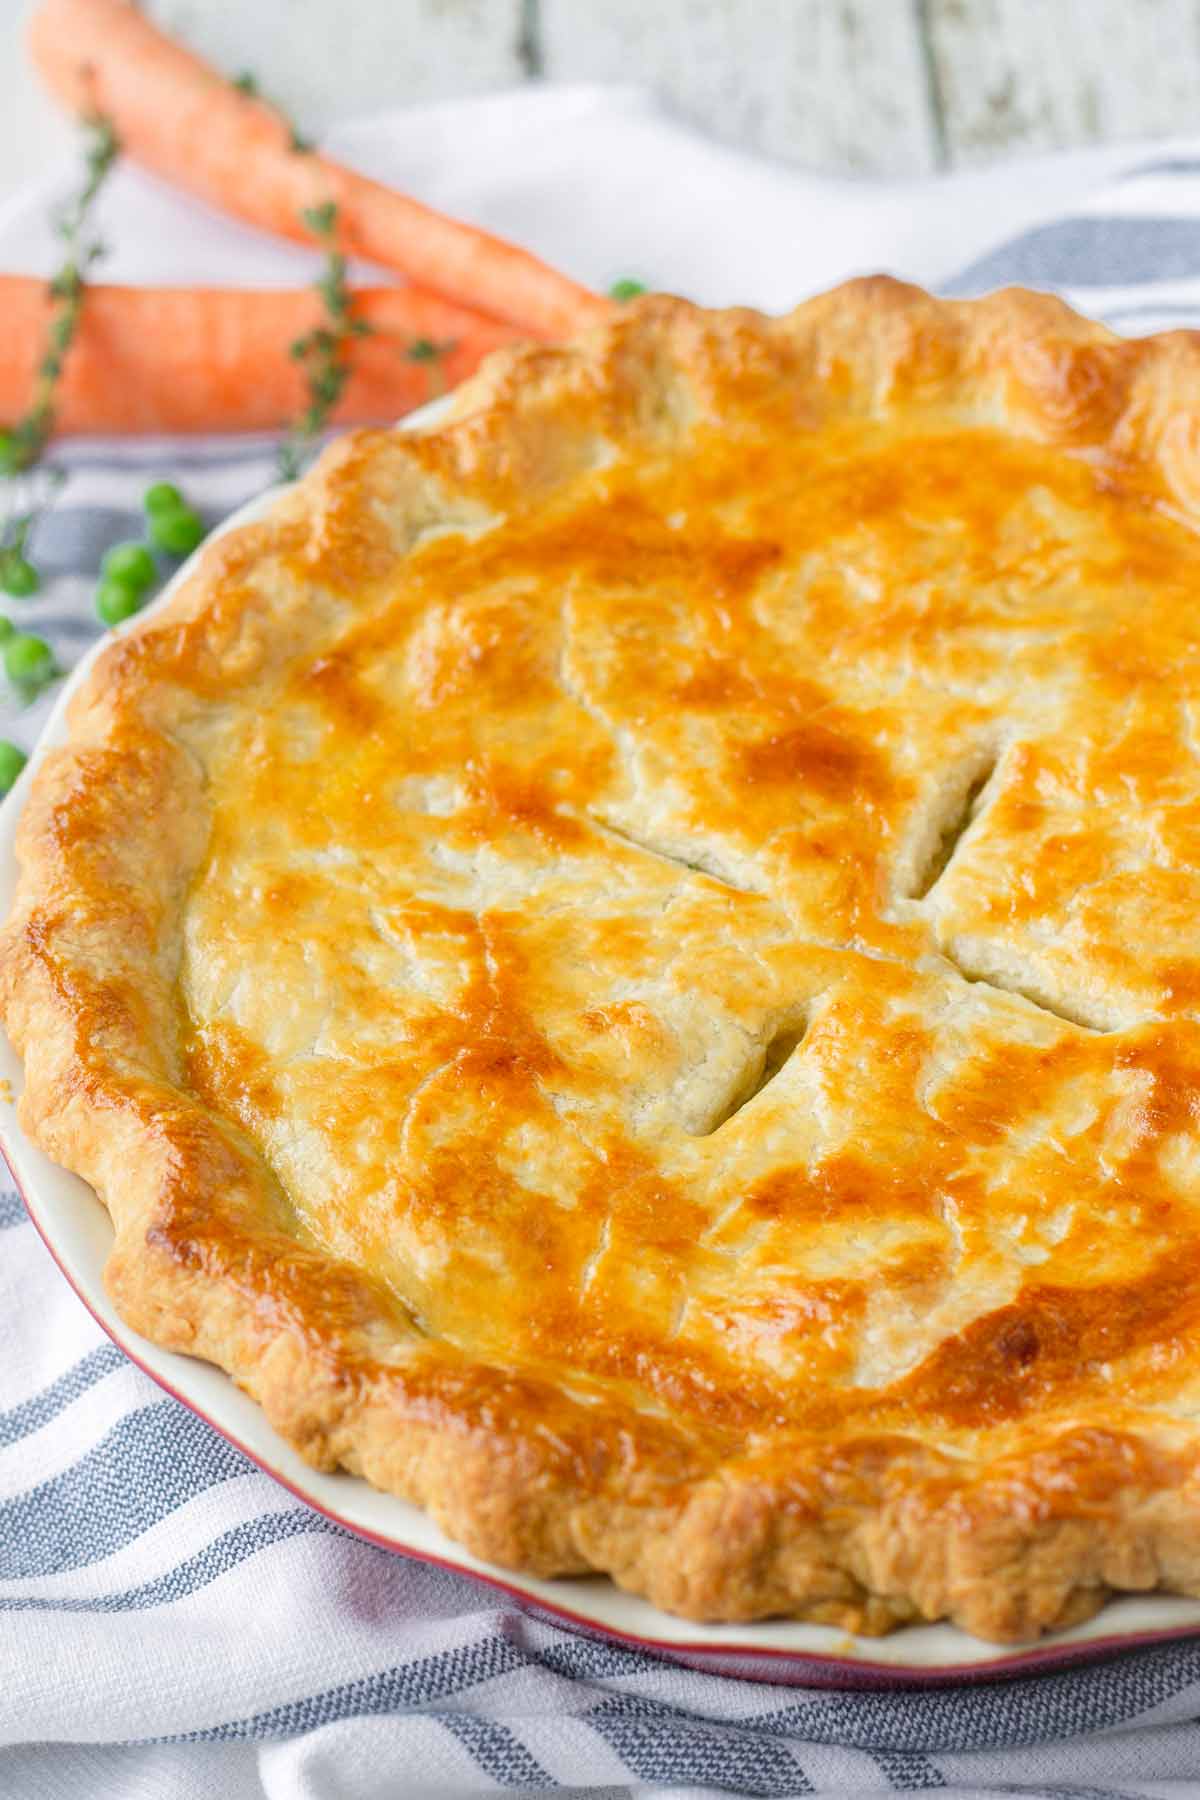
A good pie should have a buttery, flaky, and flavorful crust. This Super Flaky Buttermilk Pie Crust is seriously the best! It’s my go-to recipe, hands-down!
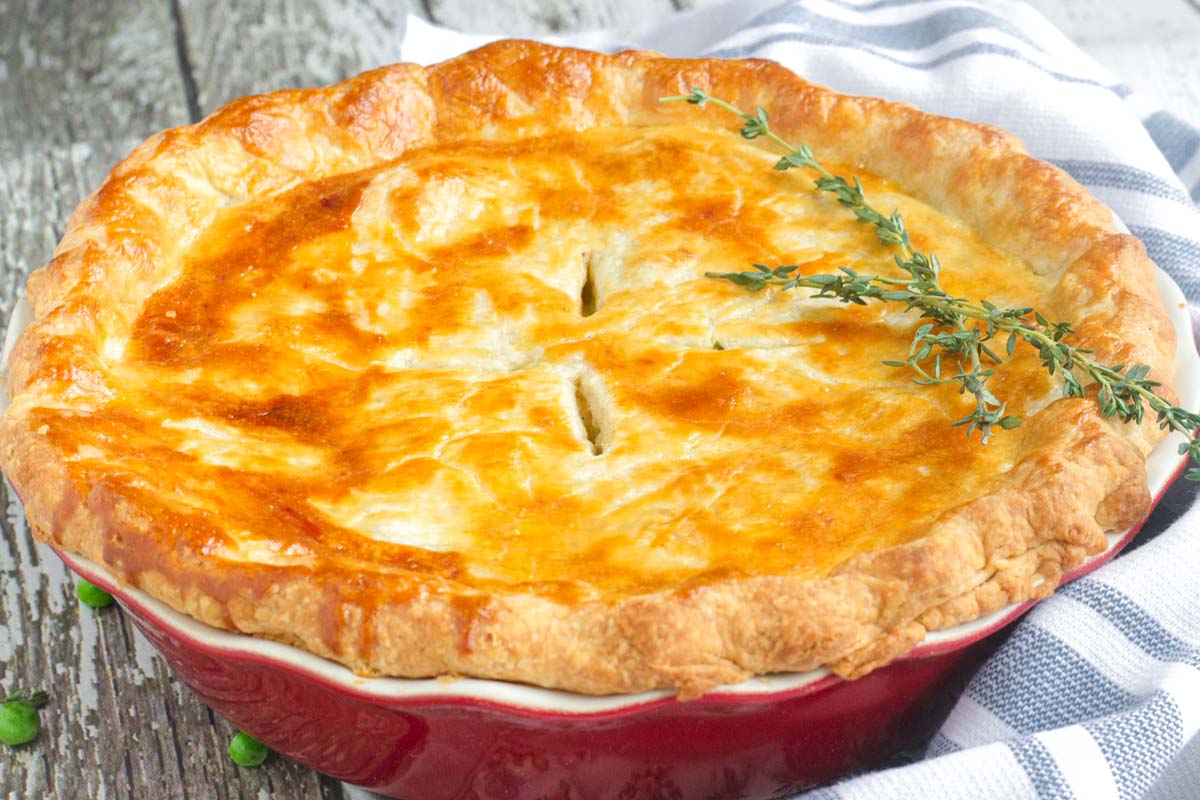
Buttermilk makes this pie crust flavorful and tender. It also helps it brown a lot better in the oven, so you’ll get that beautiful deep golden brown color. Super flaky and oh so buttery!
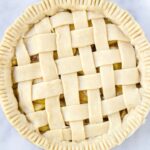
This flaky buttermilk pie crust is perfect for both savory and sweet pies, as well as hand pies or anything in between. You can make it by hand or using a food processor.
Have you ever made pie crust with buttermilk? A lot of pie dough recipes are made with water, so they are a bit meh. The ones made with buttermilk tend to be rich, flavorful, and tender. It’s like an upgrade!
This super flaky buttermilk pie crust recipe uses buttermilk to produce that tender texture and deep golden brown color. Plus, it adds great flavor! This is also an all-butter pie crust recipe, so rest assured, it’s ULTRA flaky and buttery…not dry or crumbly at all!
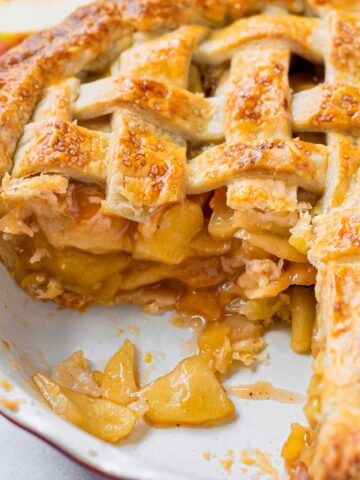
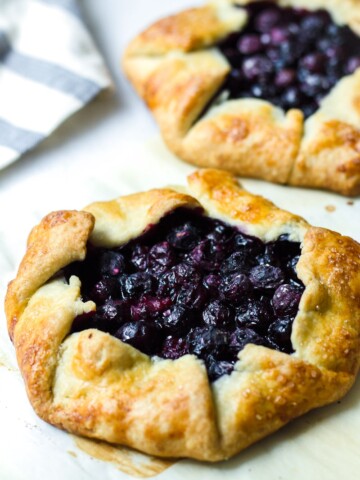
It is the same recipe I use for my homemade chicken pot pie and my classic apple pie. I also use it to make blueberry galette or asparagus and prosciutto quiche.
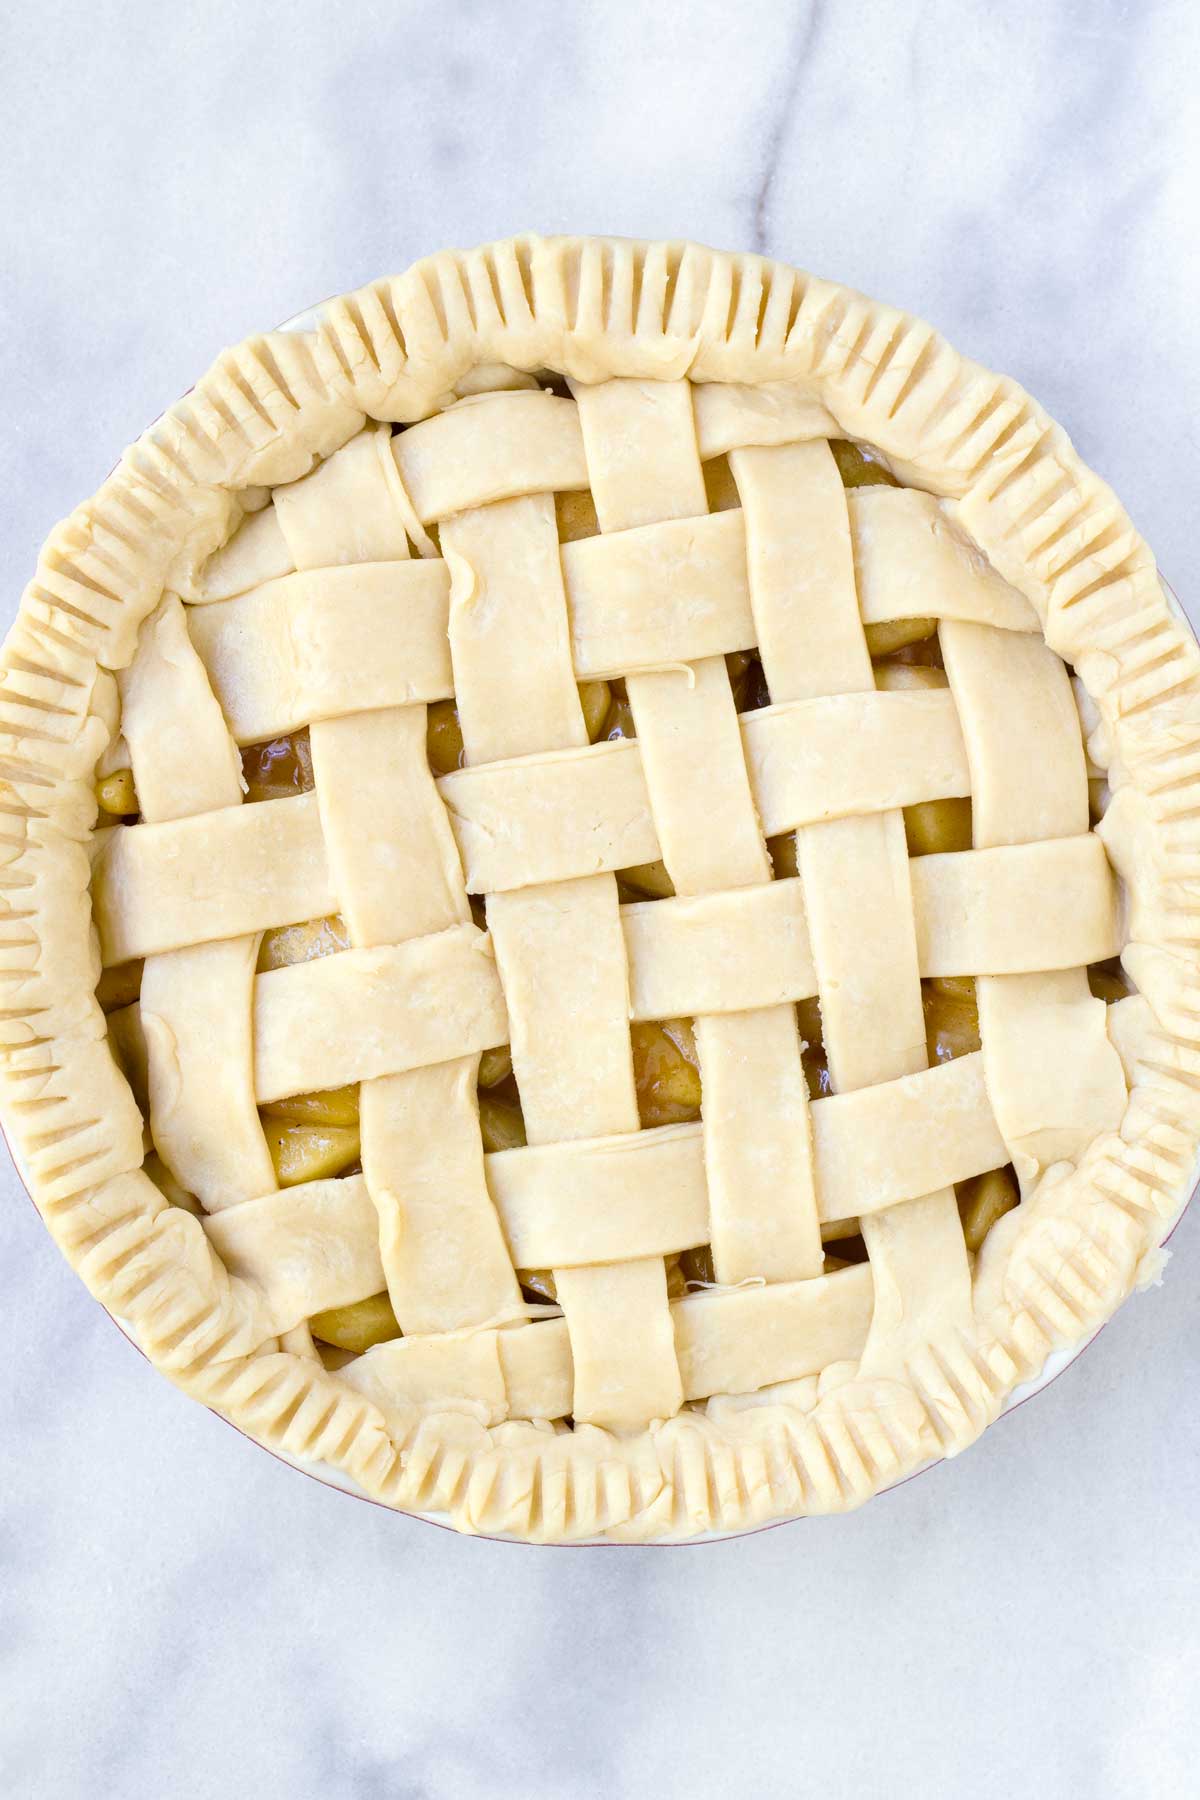
As its name suggests, the recipe makes 2 crusts for a 9-inch pan, so you can use a bottom crust and a top crust. If you’re using only one, no worries – you can keep it in the fridge or freezer for later.
Here’s why you’ll love this flaky buttermilk pie crust:
- It’s flavorful and tender (not dry or crumbly)
- It’s super flaky and buttery!
- It will bake to a beautiful deep golden brown color
- It can be made by hand or with a food processor
- It’s make-ahead and freezer-friendly!
- It’s multi-purpose: Use it for both savory and sweet pies, as well as hand pies or anything in between
Jump to:
Why Use Buttermilk?
It adds flavor, richness, and tenderness when compared to just using water. It also makes working with the dough much easier as it rolls out wonderfully and doesn’t shrink.
Buttermilk pie crusts also tend to have a deeper golden brown color, which I absolutely love. Whenever I’m making my apple pie or chicken pot pie, I make sure to use this recipe. It never fails.
Super Flaky and Buttery
The trick is to use VERY COLD BUTTER. I freeze my butter overnight.
You want to have little pieces of cold butter encrusted in the dough. The way it works is this: When baked, the cold pieces of butter in the dough release steam, creating little pockets of air, which is what creates flaky layers.
There is no oil or shortening in this recipe – I find that an all-butter pie crust tends to be extra flaky and buttery, whereas shortening-based dough tends to be more plain and crumbly.
Essential Tools
Here are the tools and gadgets I use to make buttermilk pie crust the right way:
- Mixing bowls: If making by hand, you’ll need a large bowl to work the dough.
- Pastry blender tool: To cut the butter into the flour easily (by hand).
- Food processor: For ease and convenience, a food processor comes in handy.
- Rolling pin: A large rolling pin helps. Mine is 20 inches long.
- Silicone mat: For rolling out the dough. This is helpful if you don’t have enough counter space and need to work on your dining table or something like that. Silicon mats also come with helpful printed measurements, so you don’t have to use a ruler.
- Plastic wrap
Ingredient Notes
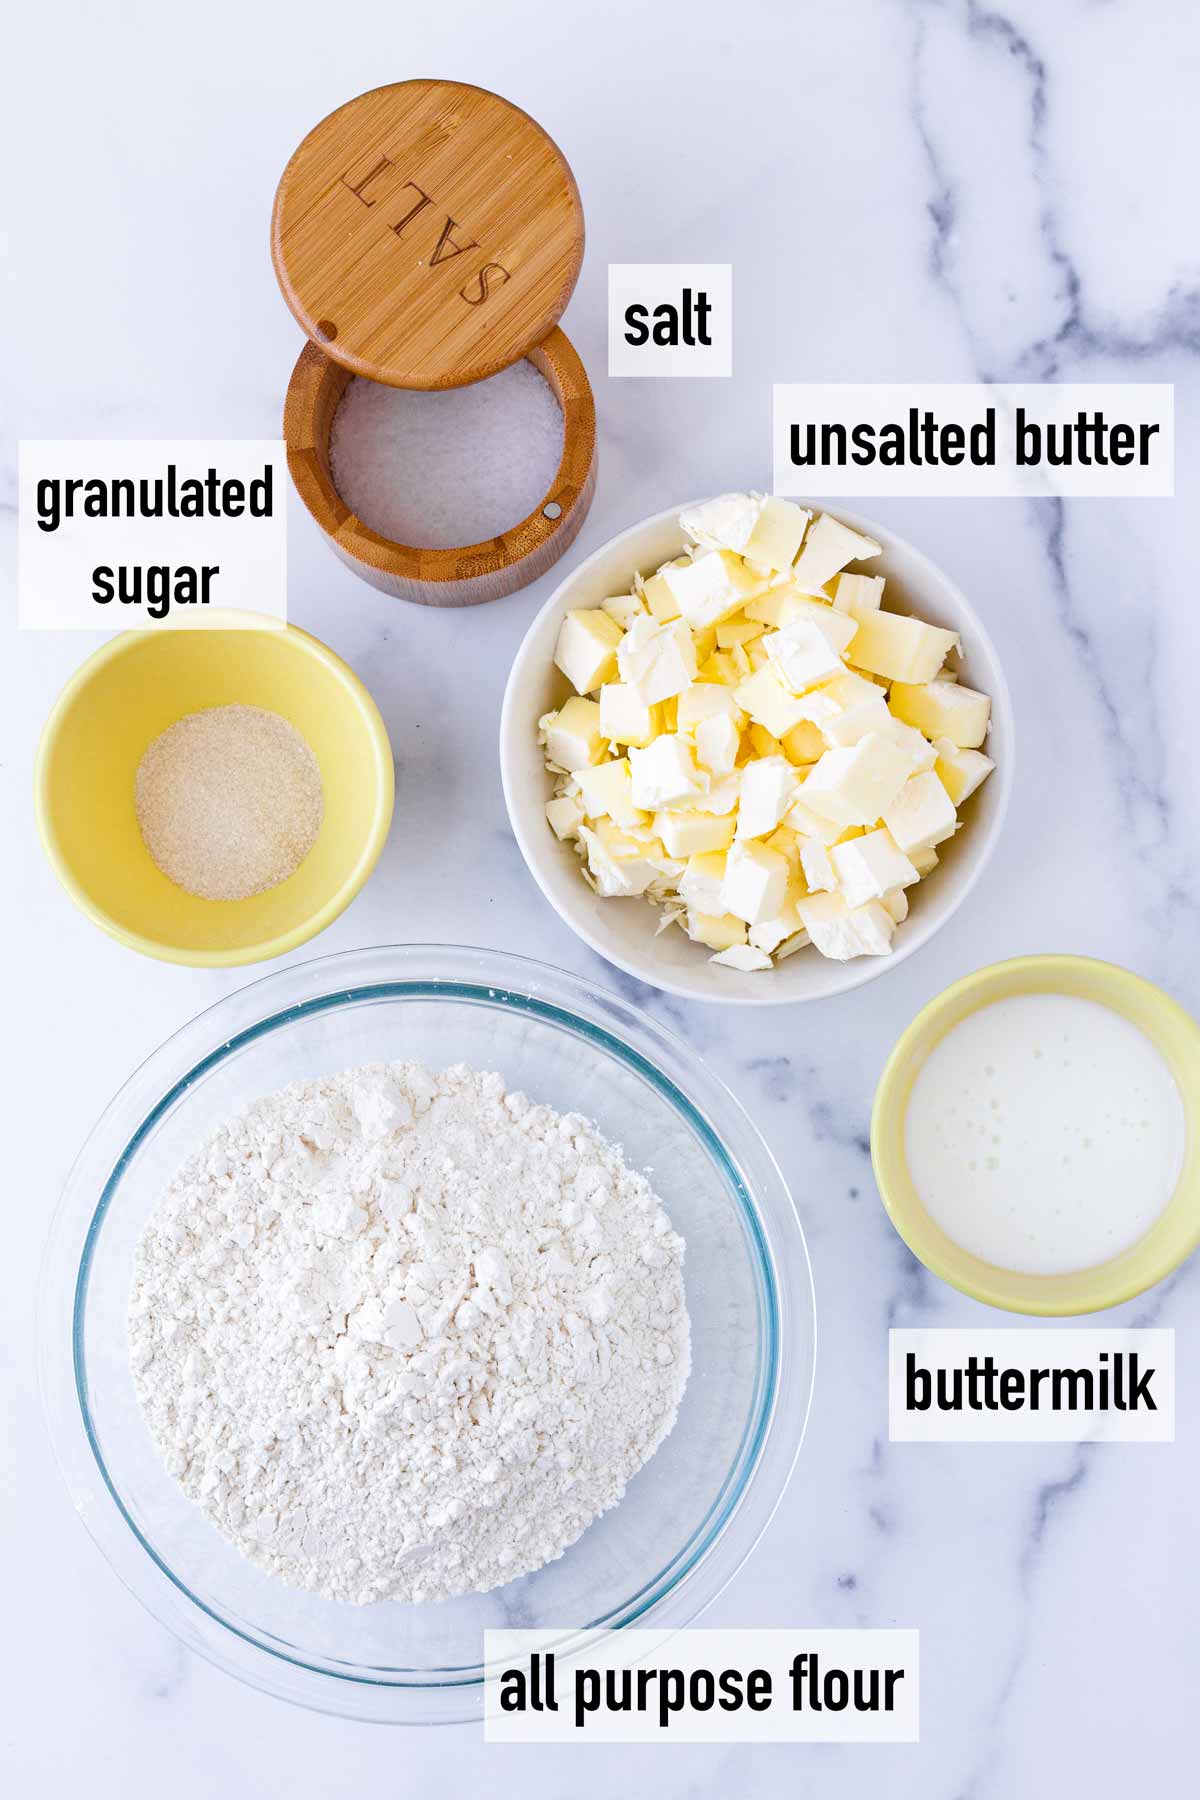
- All-purpose flour: spooned and leveled.
- Granulated sugar: Adds a little bit of sweetness and flavor to the dough.
- Salt: To add a balancing touch of savory flavors.
- VERY COLD butter, cut into cubes: Freeze the butter overnight or for at least 1 hour.
- Buttermilk: Leave it in the fridge until ready to use so that it stays cold.
Step-by-Step Instructions
You can make it by hand or use a food processor. Both methods work really well, but there are a few differences in the final result:
- By hand: Yields an ultra flaky crust. This method tends to leave larger pieces of butter encrusted in the dough, which creates more pockets of air (as the butter releases steam) and therefore lots and lots of flaky layers.
- With a food processor: Definitely much easier and faster. Yields a flaky crust, but not as flaky as making it by hand. The pieces of encrusted butter are smaller.
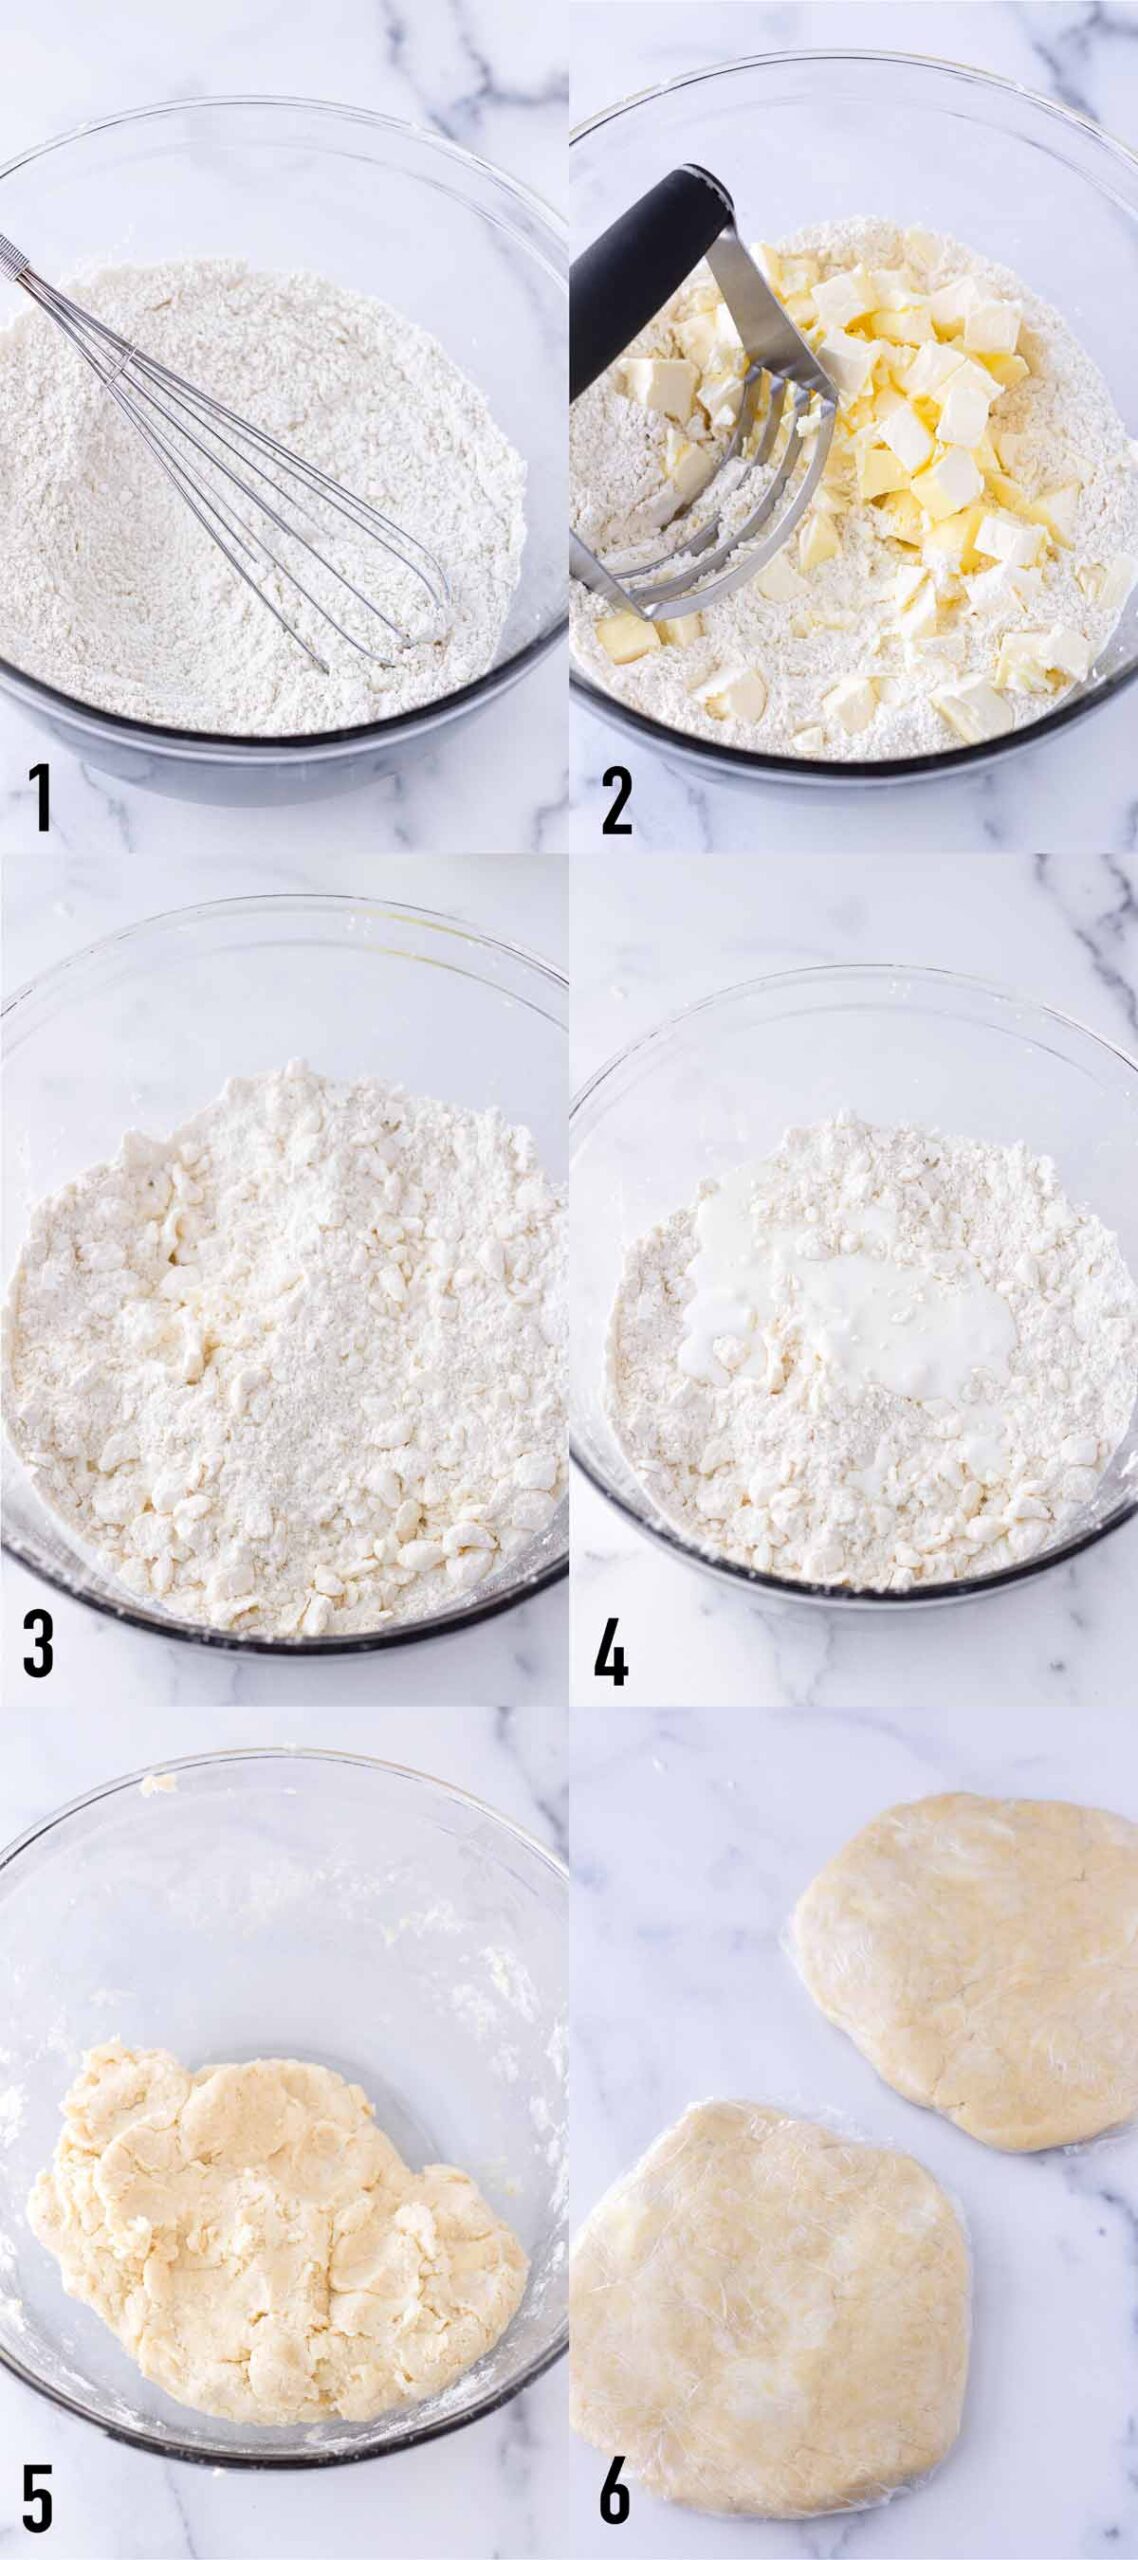
Option 1 | Making Pie Crust by Hand
- Step 1: Whisk dry ingredients in a large bowl (flour, salt, sugar).
- Step 2: Using a pastry blender tool, cut the COLD butter into the flour until you get pea-sized crumbles. “Cutting butter into flour” means to break up the butter into small pieces until fully coated and rubbed with flour and incorporated.
- Step 3: Rub in larger chunks of butter into the flour between your thumb and the tip of your fingers. Tip: work the dough quickly so it stays cold.
- Step 4: Add buttermilk.
- Step 5: Mix with your hands (pressing the dough) until a manageable dough forms. The dough will look shaggy at first, but will come together as you press it together. If it still looks crumbly, add more buttermilk, 1 tablespoon at a time.
- Step 6: Divide dough into half, press and shape into disks. Wrap each disk with plastic wrap and refrigerate for at least 2 hours or overnight.
Option 2 | Making Pie Crust with Food Processor
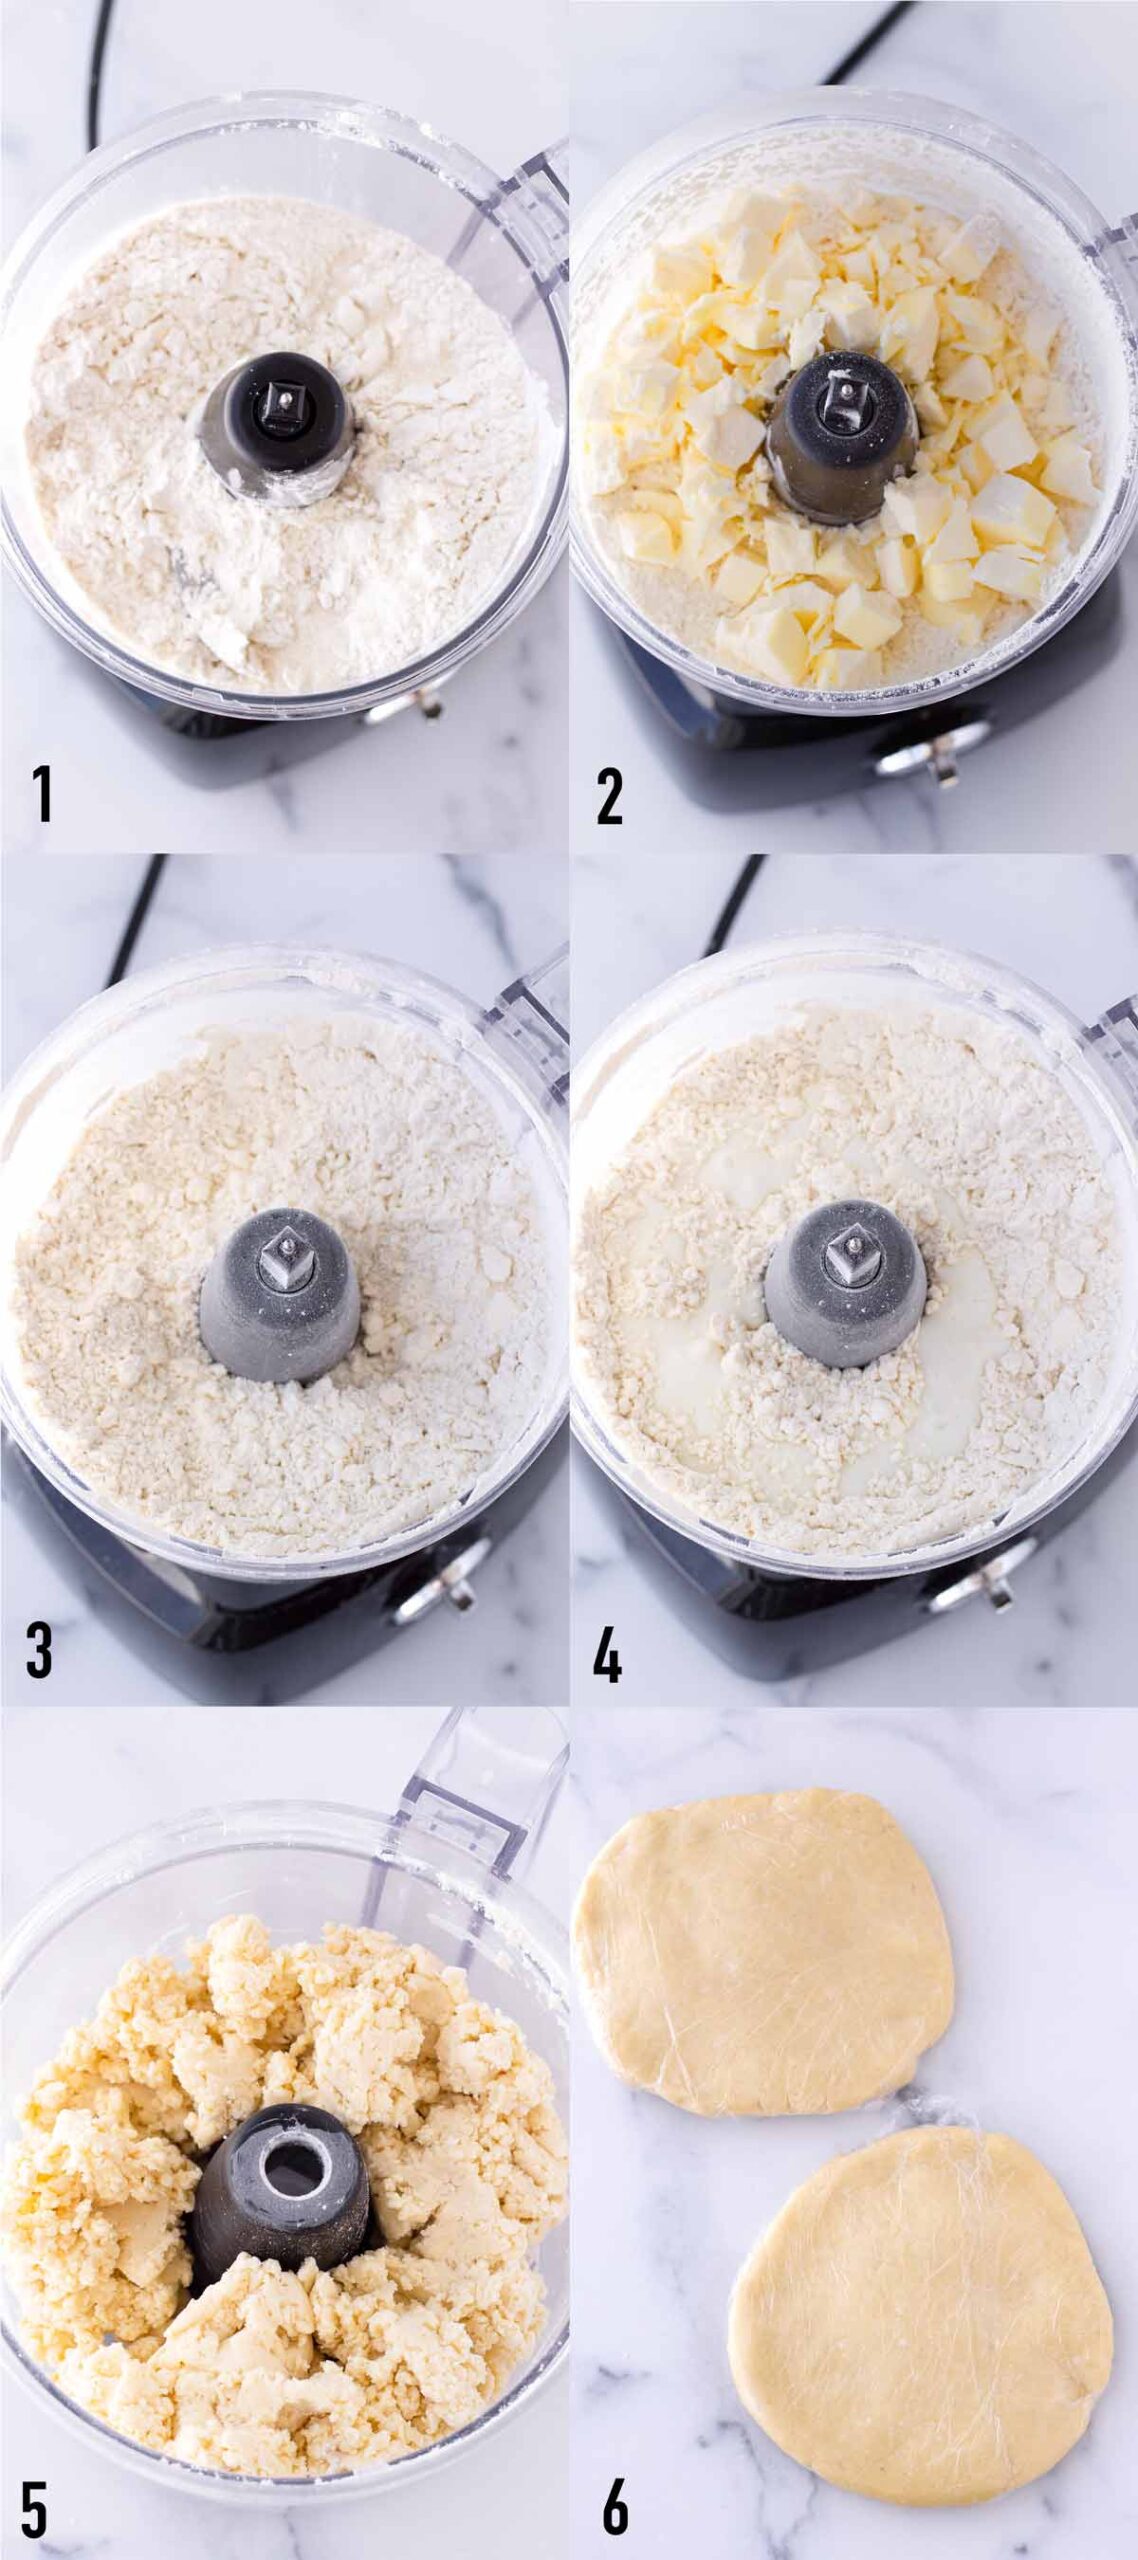
- Step 1: Pulse dry ingredients in a food processor until combined.
- Step 2: Add cubes of VERY COLD butter.
- Step 3: Pulse until incorporated and the butter is the size of peas and coated with the dry ingredients.
- Step 4: Drizzle in the buttermilk and pulse until combined for several seconds continuously. At first, it will look like it’s not coming together, but it will. Just run the food processor continuously.
- Step 5: The dough will come together. Transfer to a clean surface and divide in half.
- Step 6: Press the dough to form two disks. You want the dough to be relatively compact so that it doesn’t break out when you roll it out later. Wrap each disk with plastic wrap and refrigerate for at least 2 hours or overnight.
Make Ahead and Freezing
After you’ve wrapped the disks of dough with plastic wrap, refrigerate for up to 5 days.
You can also freeze it (wrapped in plastic wrap and aluminum foil) for up to 2 months. Thaw in the refrigerator overnight prior to using.
How to Use
This flaky buttermilk pie crust is multi-purpose. There are so many ways to use it:
- Savory pies
- Sweet pies
- Hand pies and empanadas
- Galettes and tarts
- Quiches
- Pop tarts
Try making these recipes with it:


Recipe FAQs
Use VERY COLD butter, so freeze it the day before using. Also, use cold buttermilk. When baked, the cold pieces of butter encrusted in the dough release steam, creating little pockets of air, which is what creates flaky layers.
At first, the dough will look very crumbly and shaggy. If you’re making it by hand, press the dough together several times until it comes together – if it’s still crumbly, add 1 tablespoon of buttermilk at a time.
Buttermilk adds flavor and makes it tender and rich. It also helps give the crust a deep golden brown color.
You can make this recipe by hand or with a food processor, although it tends to be flakier when made by hand. Instructions for both methods are included in the recipe card down below.
This is a double pie crust recipe, so it makes two crusts for a 9-inch pie pan (they roll out to a 12-inch circle to comfortably fit a 9-inch pan).
Yes, definitely! Refrigerate for up to 5 days or freeze for up to 2 months. If freezing, thaw in the fridge overnight first.
This recipe was published in 2019 and updated in February 2022.
Tips for Success
- Use VERY COLD butter. It will make the dough very flaky and buttery. I always freeze the butter 1 day prior to using. Also, use cold buttermilk (leave it in the fridge until you need to use it).
- If you’re making this recipe by hand (without a food processor), work the dough fast so that the butter stays cold and the butter doesn’t melt.
- You can make this recipe by hand or with a food processor, although pie crust made by hand tends to be a bit flakier.
I’d love to hear from you! If you loved my recipe, please consider leaving a 5-star rating and a comment down below. Sign up for my newsletter and follow along on Instagram, Facebook, or Pinterest
Flaky Buttermilk Pie Crust
Equipment
- Pastry blender and cutter if making by hand
- Mixing bowls if making by hand
Ingredients
- 2 ½ cups all-purpose flour
- spooned and leveled - 1 tablespoon granulated sugar
- 1 teaspoon Kosher salt
- 1 cup VERY cold unsalted butter, cut into small cubes (2 standard sticks) - freeze butter overnight
- ⅓ cup cold buttermilk plus 1 tablespoon - plus more as needed
Instructions
By Hand
- In a large bowl, whisk flour, salt, and sugar until well evenly combined.
- Add the VERY COLD cubes of butter (freeze it beforehand, see notes). Using a pastry blender tool, cut the butter into the flour until you get pea-sized crumbles. Note: “Cutting butter into flour” means to break up the butter into small pieces until fully coated and incorporated.
- Then, rub larger chunks of butter into the flour between your thumb and the tip of your fingers, breaking it up into pea-size crumbles or smaller. Tip: work the dough quickly so the butter stays cold.
- Add ⅓ cup plus 1 tablespoon of cold buttermilk. Mix with your hands, tightly pressing the dough, until a manageable dough forms. The dough will look very shaggy and crumbly first, but will come together as you press. If it is still too crumbly, add more buttermilk, 1 tablespoon at a time as needed.
- Transfer dough to a clean surface and press a few more times until it comes together. Divide the dough in half and form 2 flat disks. Wrap tightly with plastic wrap and refrigerate for at least 2 hours or overnight before using.
Using Food Processor
- In a large 8-cup food processor, pulse flour, salt, and sugar until evenly combined.
- Add the VERY COLD cubed butter and pulse a few times until a pea-size coarse meal forms.
- Add ⅓ cup plus 1 tablespoon of cold buttermilk. Run the food processor for several seconds continuously or until a dough starts to form. At first, it will look like it's not coming together, but it will. Stop as soon as a dough forms. Note: If it still looks crumbly after several seconds, add more buttermilk as needed, 1 tablespoon at a time.
- Transfer to a clean surface and divide the dough in half. Press the dough and form two flat disks. Wrap each disk with plastic wrap and refrigerate for at least 2 hours or overnight before using.
Notes
- This recipe makes two pie crusts for a 9-inch pie, which is great for pies that call for a bottom and top crust.
- Make sure to use VERY COLD butter, so freeze the butter the day before using. Also, use cold buttermilk. When baked, the cold pieces of butter encrusted in the dough release steam, creating little pockets of air, which is what creates flaky layers.
- Use cold buttermilk, so leave it in the fridge until you need to use it.
To make rolling easier, roll the dough into relatively flat disks. Also, flour your working surface and the rolling pin generously, otherwise, the dough could stick and break. - Crumbly dough? At first, the dough will look very crumbly and shaggy. If you’re making it by hand, press the dough together tightly until it comes together – if it’s still crumbly, add 1 tablespoon of buttermilk at a time. In the food processor, pulse continuously for a few seconds until a dough forms – if not, add 1 tablespoon of buttermilk at a time.
- Tips for rolling the dough: Work on a generously floured surface, and flour the rolling pin too. You want to avoid
- Make ahead and freezing: Refrigerate for up to 5 days (with plastic wrap) or freeze for up to 2 months (with plastic wrap and aluminum foil). If freezing, thaw overnight.

Leave a Reply