These tender, flaky and buttery cheddar chive biscuits are so incredibly delicious. You won’t be able to put them down!
You only need a few simple pantry ingredients. They are super easy to make, and come together in less than an hour. Plus, they are make-ahead and freezer friendly!
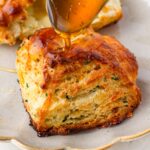
Serve these cheddar chive biscuits with butter and honey, or enjoy with your favorite comfort food meal. So good!
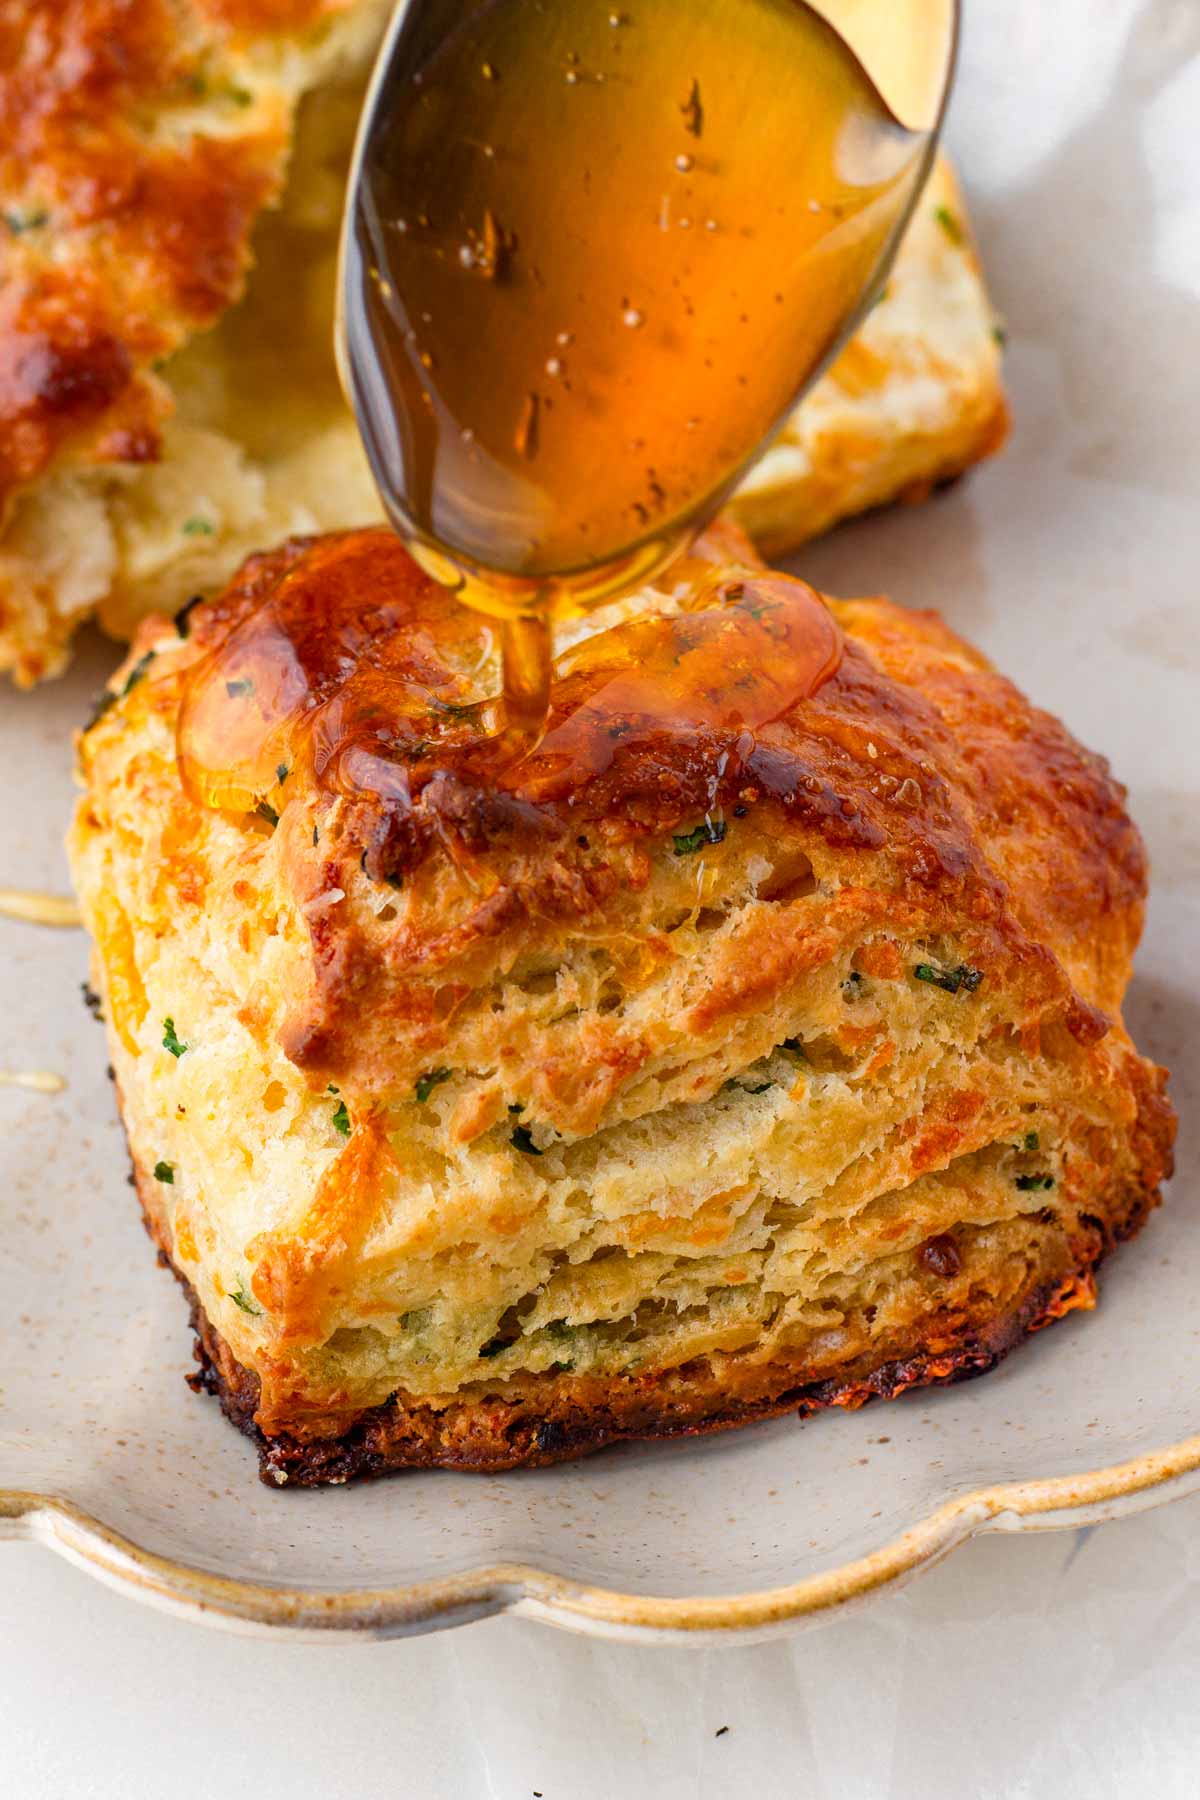
There is nothing quite like a warm biscuit! While I really like it with just some butter, l also love serving it with my Slow Cooker Chicken Stew to soak up all that stew gravy.
You’ll love the cheddar cheese and chives duo here! Grated cheddar cheese is folded into the dough along with fresh chives, giving these a savory flavor profile with a touch of freshness. The sharp flavors of the cheese and the mild onion flavors truly make the perfect biscuit.
Just like my flaky Buttermilk Biscuits, these cheddar chive biscuits use cold butter and buttermilk, as well as the laminating technique to make flaky layers. More on this below!
There is no kneading or waiting for the dough to rise here – they are easy to make in under an hour.
If you want to switch things up, use these to make my Chicken Pot Pie with Biscuits or this hearty Beef Pot Pie, which are amazing for cold winter days.
Why I love making these cheddar chive biscuits at home:
- Ready in less than an hour! You can have fresh homemade biscuits in just 40 minutes.
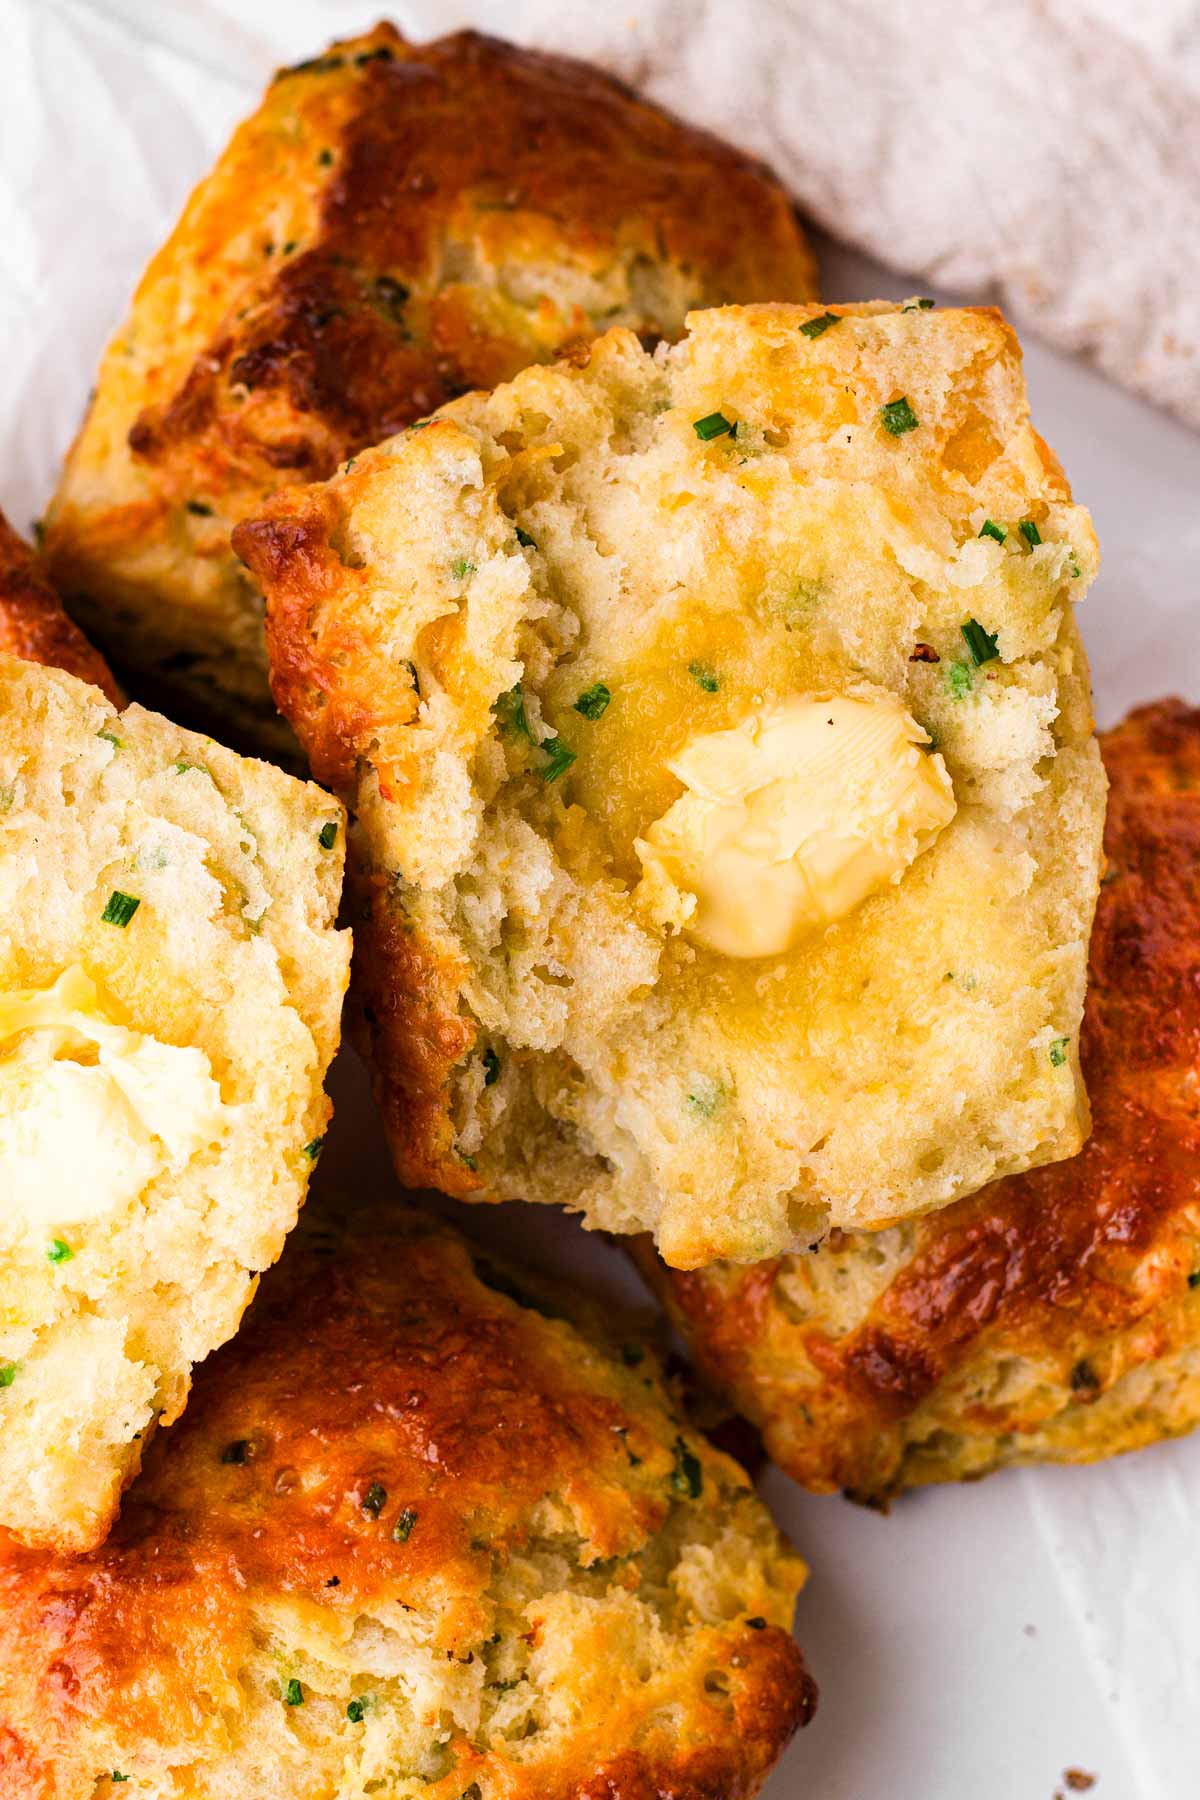
- Savory flavors and great texture. Soft, buttery and warm with savory cheese and onion-y chives in every bite. They are tender, extra flaky, and buttery.
- Make ahead and freezer friendly!
- Many ways to serve! Enjoy the cheddar chive biscuits with honey and butter, or as a side with your favorite comfort food dish.
Jump to:
Ingredients Notes
Below, I included a few ingredients notes from recipe testing that I hope you find helpful. As always, the quantities are listed in the recipe card down below.
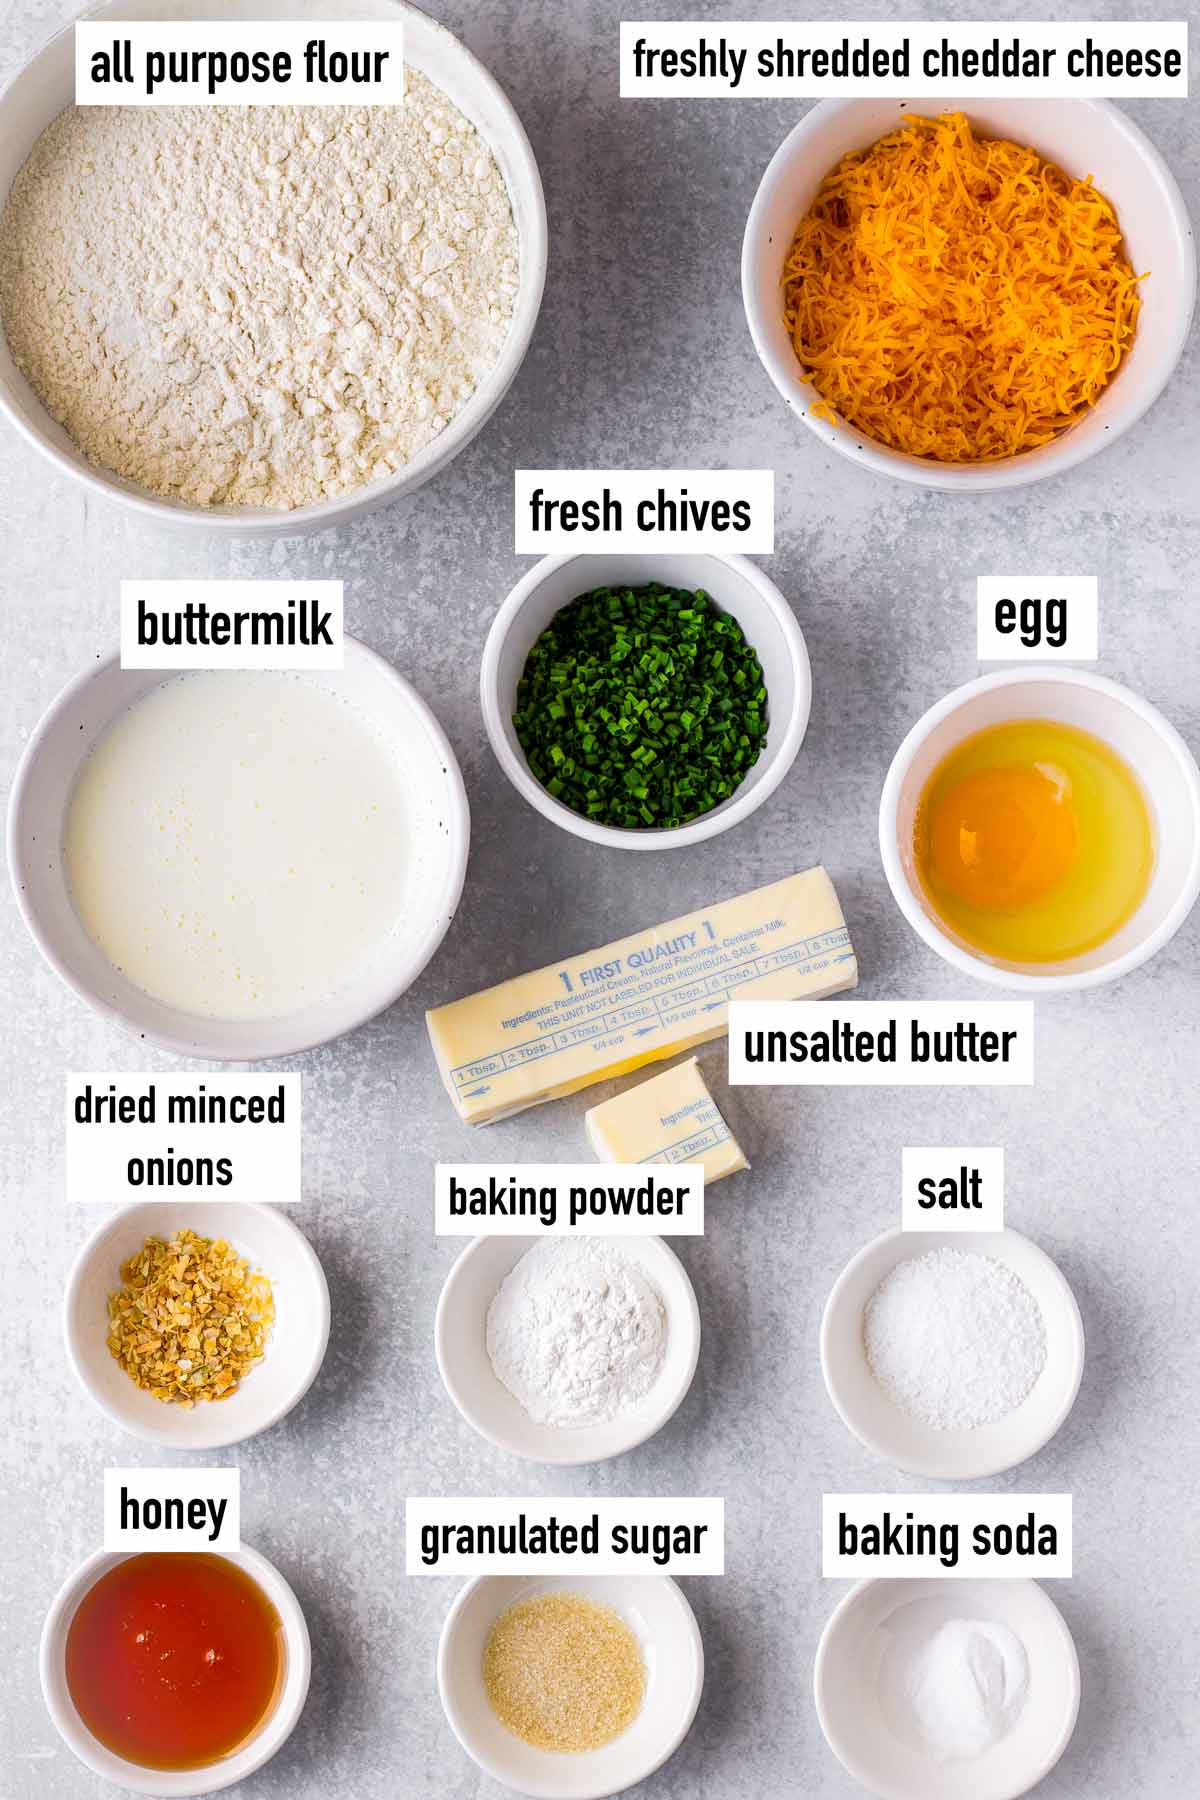
- Flour: All purpose flour works great for this recipe.
- Baking powder and baking soda: These are the leavening agents. Make sure they are not expired so the biscuits rise properly.
- Granulated sugar: For a little bit of sweetness, and to balance flavors.
- Salt: For savory flavors.
- Dried minced onion: For an extra boost of onion-y flavors.
- Unsalted butter: We need VERY COLD butter to make flaky layers. Freeze the butter before cutting into small cubes, and use immediately so it stays cold.
- Buttermilk: Also cold, straight out of the refrigerator (not the freezer). Should be full-fat for best results.
- Shredded cheddar cheese: I prefer shredding my own, but pre-packaged shredded cheese works here too.
- Fresh chives: Finely chopped. If you can’t find chives, scallions (green parts only) work too.
- Egg: For the egg wash
- Honey: Add a drizzle at the end to serve. I’d highly recommend it!
Step-by-Step Tutorial
These cheddar chive biscuits come together in a few easy steps. Let me show you how to make them. You can use a good processor or make them by hand.
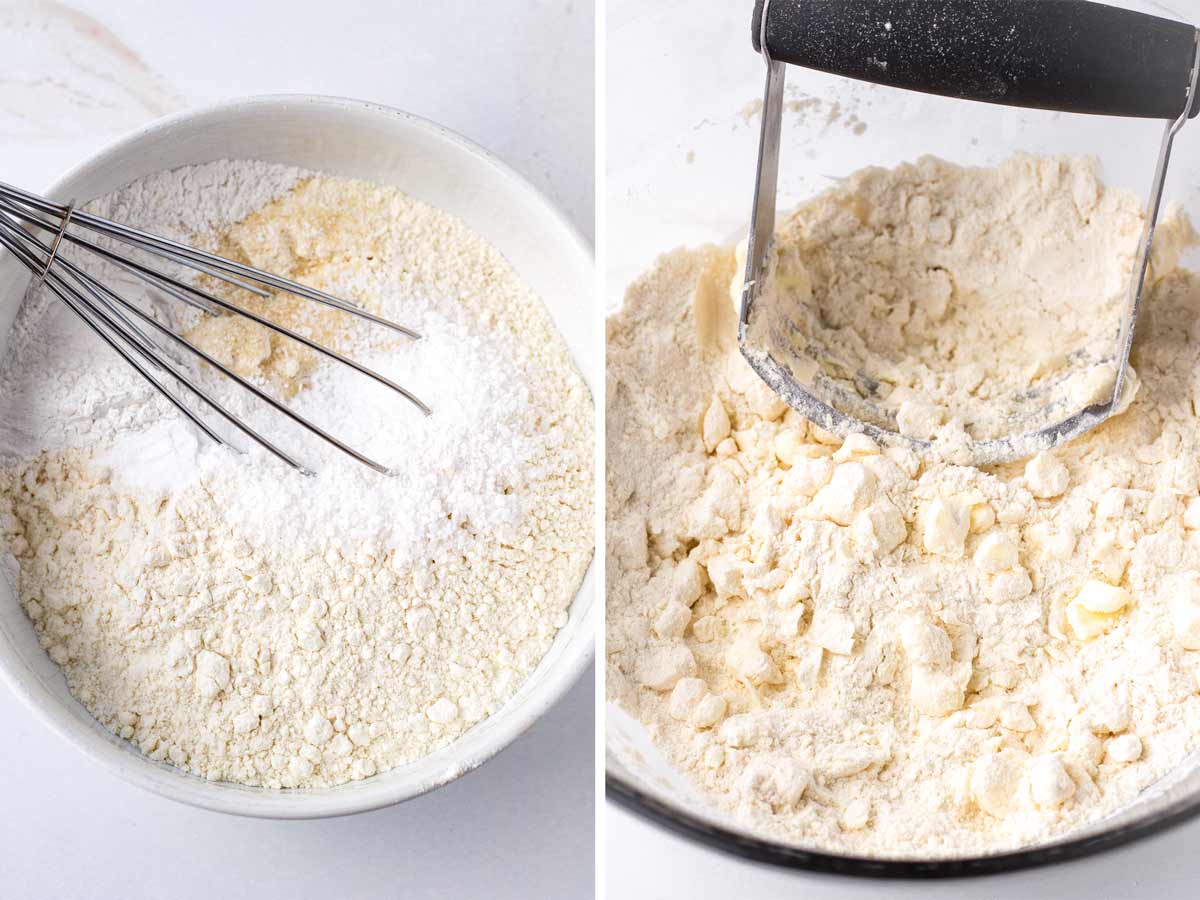
Step 1 | Whisk the dry ingredients and butter
By hand: Using a large bowl, whisk the flour, baking powder, baking soda, sugar, salt and dried minced onions until combined. Use a pastry cutter to work the COLD butter cubes into the flour, then use your fingers to break up the butter coated in flour into pea-sized pieces. This needs to be done quickly so the butter stays cold.
Food processor: Pulse until all dry ingredients are combined. Add the butter, then pulse just a few times until you get pea-sized pieces of butter coated in flour.
Step 2 | Add wet ingredients
By hand: Gradually add the buttermilk and mix until just combined. The dough should be slightly crumbly and shaggy.
Food processor: Gradually add the buttermilk into flour and butter mixture, and pulse just a few times until the dough is shaggy and crumbly.
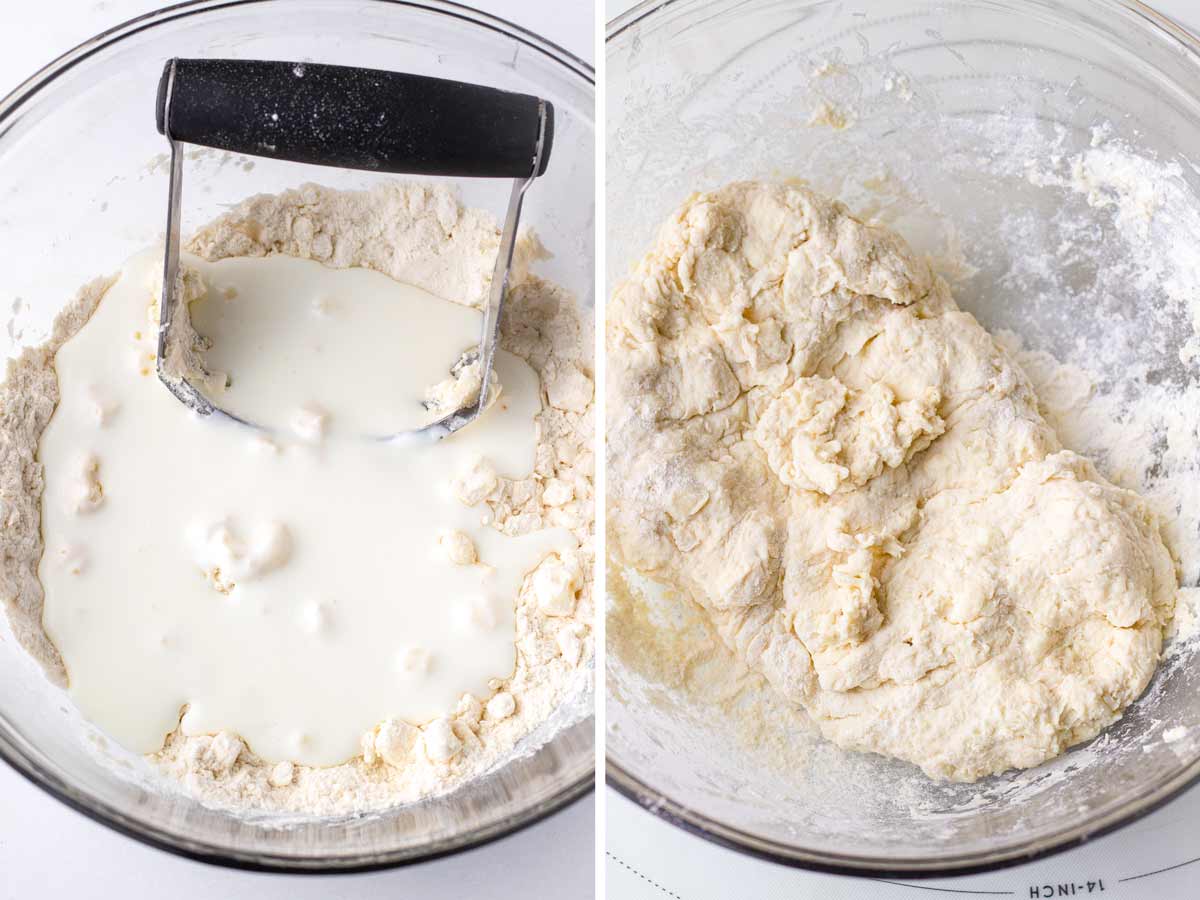
Step 3 | Add cheese and chives, laminate
Then fold in the shredded cheese and chopped chives to incorporate with the dough. This needs to be done by hand, otherwise the chives will break and turn mushy.
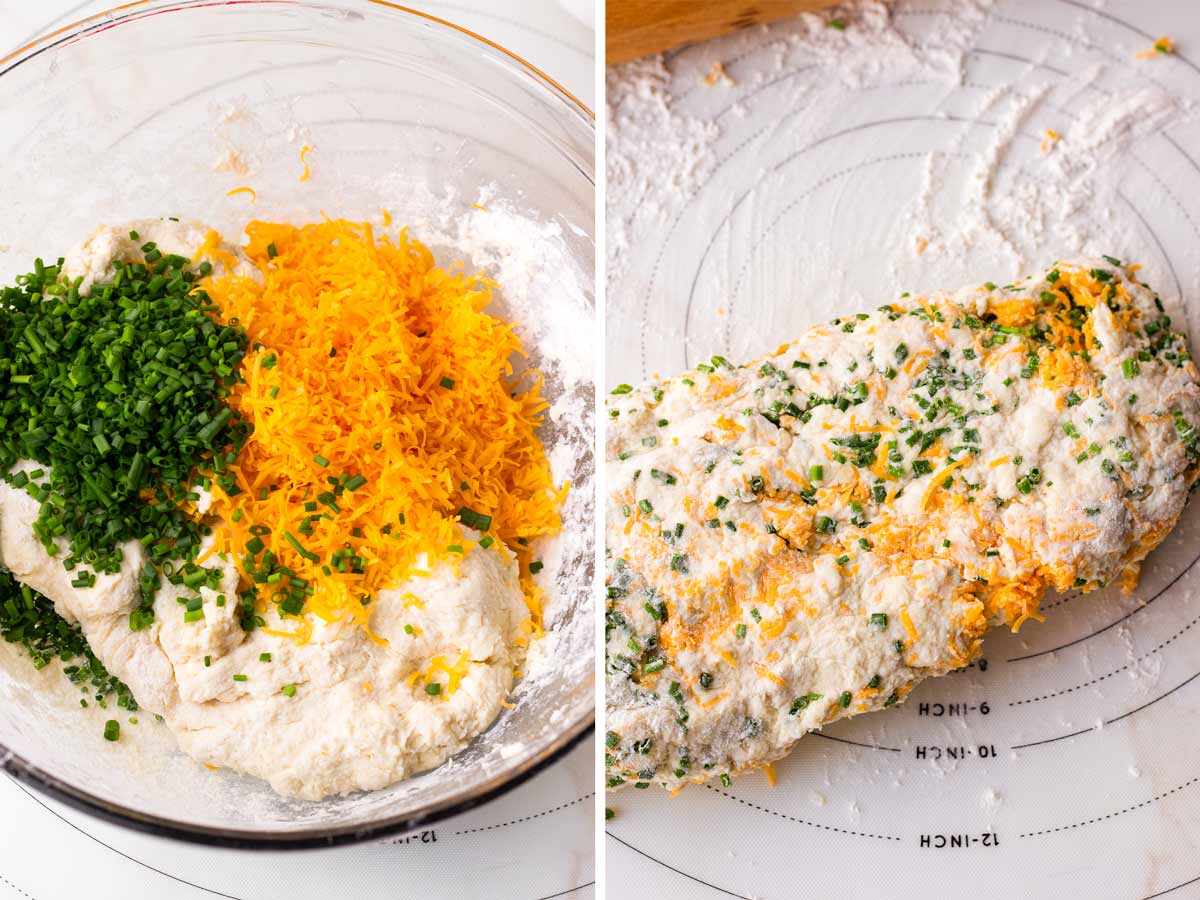
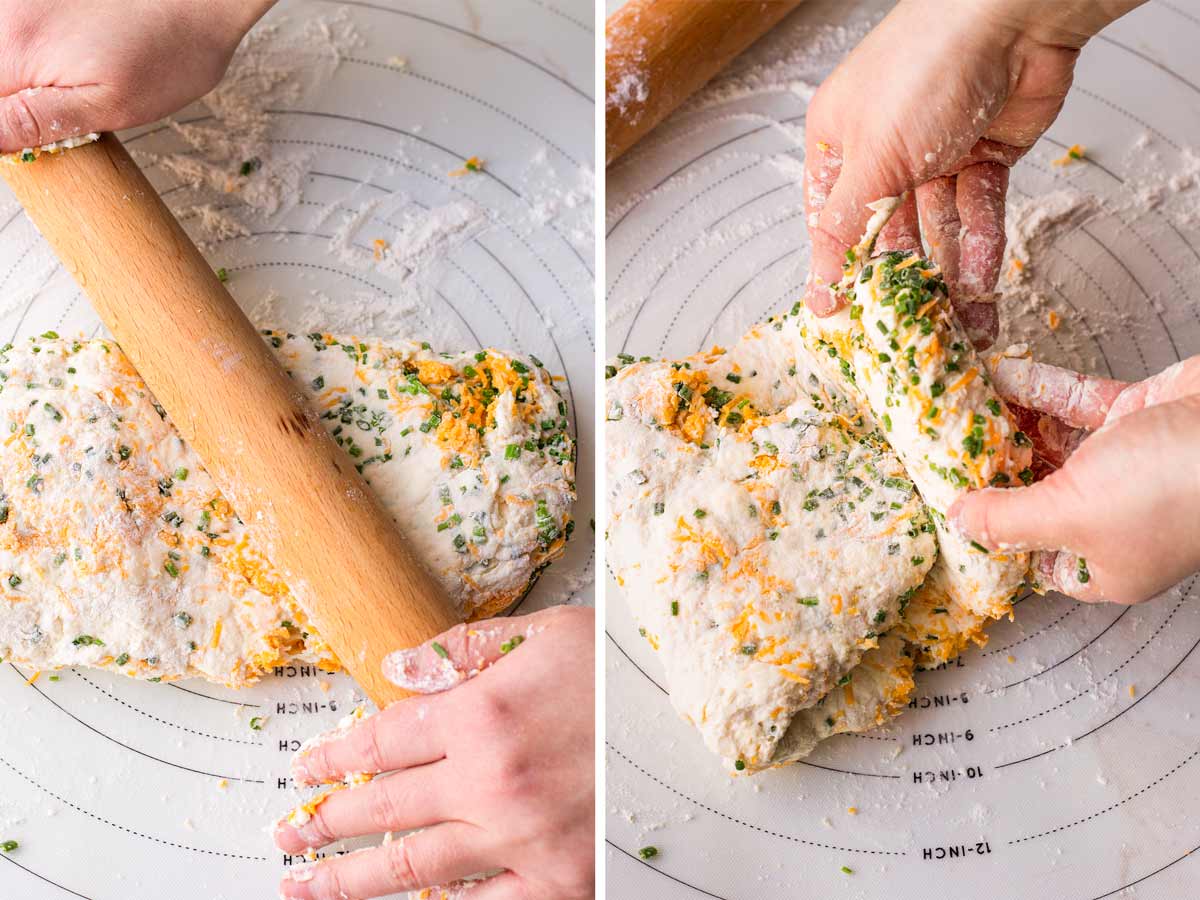
To laminate the dough, transfer onto a lightly floured surface. Sprinkle more flour on top, if needed. Using a floured rolling pin, roll the dough into a rectangle, then fold the dough over into thirds to form layers. Press with the rolling pin and repeat the layering process one more time. The final result should be a square (if making 9 biscuits) or rectangle (if making 6 biscuits), about 1 inch thick.
If at any point, the dough gets too sticky, just sprinkle more flour.
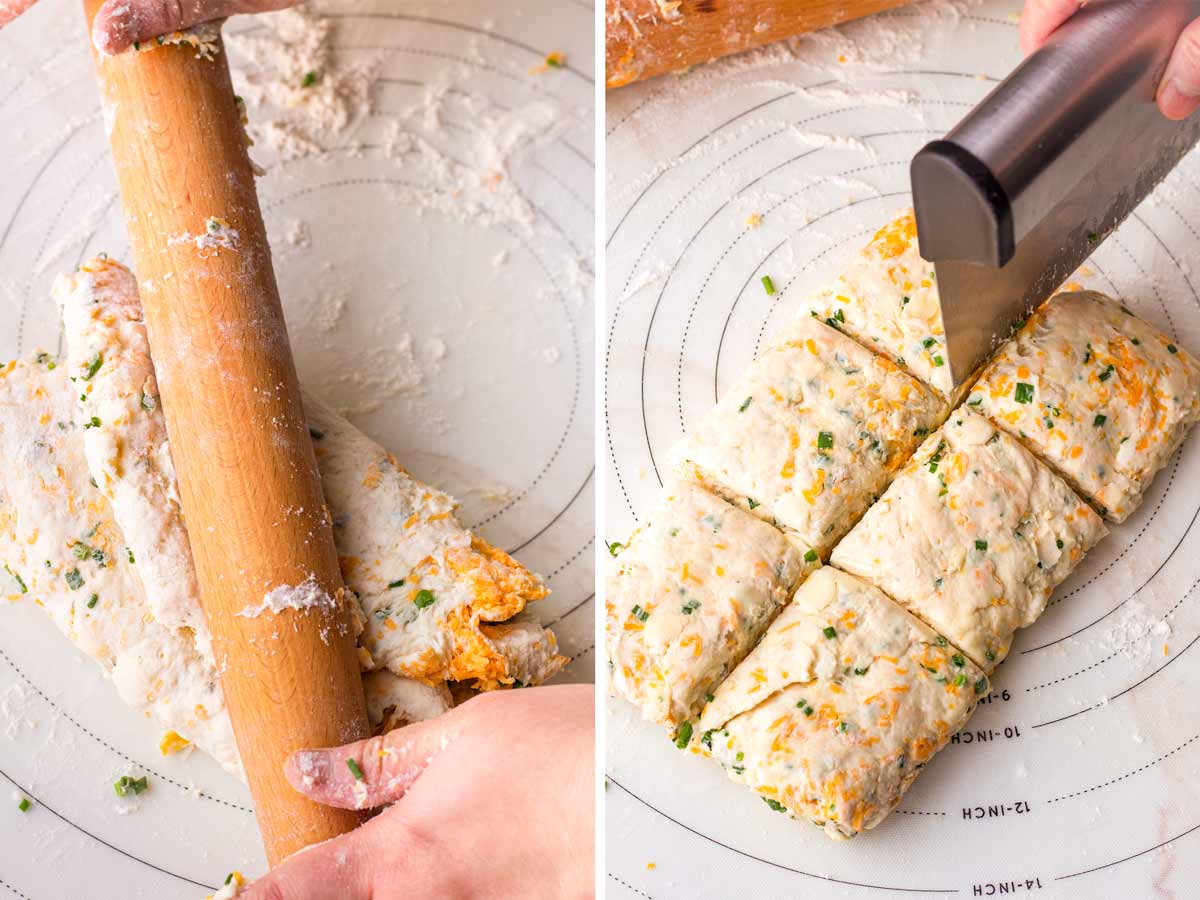
Step 4 | Cut into squares and bake
Using a bench scraper, cut into 6 or 9 equal-sized squares. Arrange on a sheet pan lined with parchment paper or a silpat mat, about 3 inches apart. Optional: freeze for 10 minutes to make sure they are extra cold before baking.
Make the egg wash and brush over the top. Bake for 18-20 minutes at 425 degrees F until risen and golden brown. Let the cheddar chive biscuits cool for a few minutes before serving.

Making by Hand vs Food Processor
You can easily make these cheddar chive biscuits all by hand or with a food processor to save time. Either way, they will turn out amazing!
I personally prefer making them by hand. This gives me control over the size of the butter pieces. Slightly bigger pieces mean larger pockets of air, which makes them extra flaky with more layers! This also guarantees the dough will not be overworked.
A food processor helps cut down on time and make this recipe super easy to make. Because of this, there is no worry over the dough getting too warm.
Laminating the Dough
Laminating is my favorite technique for making flaky biscuits. This method involves creating layers of dough and butter. As the cold butter melts in the hot oven, it releases steam, forming pockets of air that result in flaky layers.
To do this, shape the dough into a rectangle. Then, fold it into thirds, like folding a letter to mail. Press it down with the rolling pin and repeat the folding process again. The final dough should be in a rectangle shape now about 1 inch thick.
As mentioned above, keep everything very cold. Do not overmix. Work as fast as possible to keep the dough cold. If it gets warm, pop it in the freezer for a few minutes before continuing.

Make Ahead and Freezing
Make ahead: Unbaked biscuits (cut into squares or rounds) can be kept in the fridge overnight and baked the next day as directed. Baked biscuits stay fresh for 2-3 days when stored in an airtight container at room temperature.
To freeze unbaked biscuits: Freeze them on a sheet pan first so they solidify, and then transfer to freezer-safe bags for up to 2 months. To bake from frozen, add a few extra minutes to the bake time. No need to thaw first.
To freeze baked biscuits: Freeze for up to 2 months, and reheat in the oven at 325 degrees F until warm throughout.
Pairing and Serving Ideas
There are so many ways to enjoy these cheddar chive biscuits. My favorite way is with butter and a good drizzle of honey, either for breakfast or a mid-afternoon snack.
They are also great as a side for dinner, especially anything like stews or roasts. Try these:
- Spanish Chicken Stew
- Hearty Dutch Oven Beef Stew
- Apple Cider Pork Roast
- Red Wine Braised Short Ribs
- Slow Cooker Chicken Stew
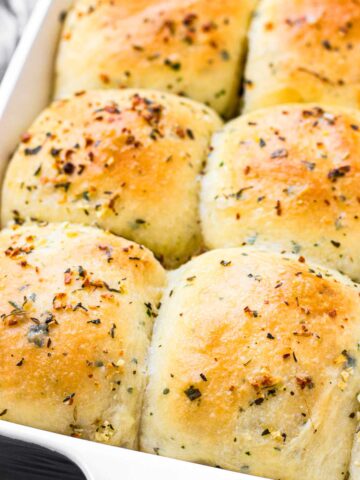
These biscuits are just as delicious as my Garlic Herb Dinner Rolls or Cheesy Garlic Bread.

Recipe FAQs
When baked, the cold butter releases steam, which creates flaky air pockets that turn into flaky layers. If the dough gets warm at any point, just pop it in the freezer for a few minutes.
Try bacon bits, extra fresh herbs, other types of cheese, or your favorite spices.
Yes, and you can also freeze them. See the “Make Ahead and Freezing” section above for details and instructions.
Yes. While I prefer freshly shredded for best texture, pre-packaged shredded cheese work too. Pre-packaged cheese contains extra starches, but it shouldn’t affect the texture of the biscuits too much.
Tips for Success
- Use VERY COLD butter. Freeze it the night before or for at least 30 minutes before using. Also, use cold buttermilk – there is no need to freeze, but make sure it’s just coming out of the refrigerator cold.
- Use freshly grated cheese if you can, for best texture. If you’re short in time, pre-packaged shredded cheese will work too.
- When laminating, feel free to sprinkle more flour if dough feels sticky, and flour your rolling pin as well.
- Don’t overwork the dough. There is no need to knead. Mix until just combined.
- Use a sheet pan. Don’t use a baking dish as the tall edges prevent proper heat flow and the biscuits won’t rise well.
- Use parchment paper or a silpat mat so the bottom of the biscuits doesn’t burn.
I’d love to hear from you! If you loved my recipe, please consider leaving a 5-star rating and a comment down below. Sign up for my newsletter and follow along on Instagram, Facebook, or Pinterest
Cheddar Chive Biscuits
Equipment
- Parchment paper or silpat mat
- Food processor or by hand
Ingredients
- 3 cups all-purpose flour - plus more as needed
- 1 tablespoon baking powder - preferably aluminum-free
- ½ teaspoon baking soda
- 1 teaspoon granulated sugar
- 1 ½ teaspoons Kosher salt
- 1 teaspoon dried minced onion
- 10 tablespoons VERY COLD unsalted butter - frozen and cut into small cubes
- 1 cup cold buttermilk - plus more as needed and for egg wash
- 1 cup freshly shredded cheddar cheese
- ⅓ cup chopped fresh chives
- 1 large egg - for the egg wash
- Honey - for drizzling at the end
- Butter - for serving
Instructions
- Preheat oven to 425 degrees F. Line a large sheet pan with parchment paper or a silpat mat.
- In a large bowl, whisk flour, baking powder, sugar, salt, and dried minced onions.
- To the dried ingredients, add the COLD butter cubes. Using a pastry blender, cut the butter into smaller pieces and incorporate it into the flour. Then, rub the butter and flour with your fingers until you get pea-sized pieces. Note: You can also pulse just a few times with a food processor.
- Gradually add the cold buttermilk, and incorporate until JUST combined. Fold in the shredded cheese and chives You should have a shaggy and slightly crumbly dough. Note: If using a food processor, make sure not to overmix.
- Laminate the dough. Transfer dough to a lightly floured surface, and sprinkle some more flour on top. Using a floured rolling pin, roll the dough into a rectangle, then fold the dough over into thirds to form layers, sprinkling more flour as needed. Press with the rolling pin, and repeat the layering process one more time. Finally, roll into a square or rectangle, about 1 inch thick.
- Using a bench scraper, cut the dough into 6 or 9 equal-sized squares. Arrange on the lined sheet pan, about 3 inches apart.
- Optional but recommended: Pop it in the freezer for 10 minutes to make sure they are extra cold before baking.
- To make the egg wash, whisk 1 egg with 1 tablespoon buttermilk. Brush over the biscuits.
- Bake for about 18-20 minutes, or until risen and golden brown. Let cool slightly and serve warm with a drizzle of honey and butter.
Notes
- You can use freshly shredded or store-bought pre-shredded cheese here, although fresh is best.
- Keep the butter frozen for at least 30 minutes before using, or overnight. The buttermilk should stay refrigerated until ready to use.
- Bake the biscuits on parchment paper or a silpat mat to prevent the bottoms from burning.
- Make Ahead: Make ahead the unbaked biscuits and keep in the fridge overnight. The next day, brush with egg wash and bake as directed.
- Storage: Let biscuits cool then place in an airtight container for 2 days at room temperature.
- Freeze baked biscuits: Freeze in a freezer-friendly bag for up to 2 months. Thaw in the fridge and warm them up in the oven at 325 F for a few minutes.
- Freeze unbaked biscuits: Freeze them on a sheet pan first so they solidify, and then transfer to bags for up to 2 months. Bake from frozen, adding a few extra minutes.




Tania says
These are buttery and so flaky! We make a big batch and freeze it for later. You can taste the oniony chives and flavor. They are amazing!