
When planning your game day menu, these Philly Cheesesteak Sliders are a must! They’re easy to make, shareable, and always a crowd favorite.
With minimal prep, you can pull off the ultimate game day spread! Whether you’re in it for the game or the food, these sliders are a guaranteed win.

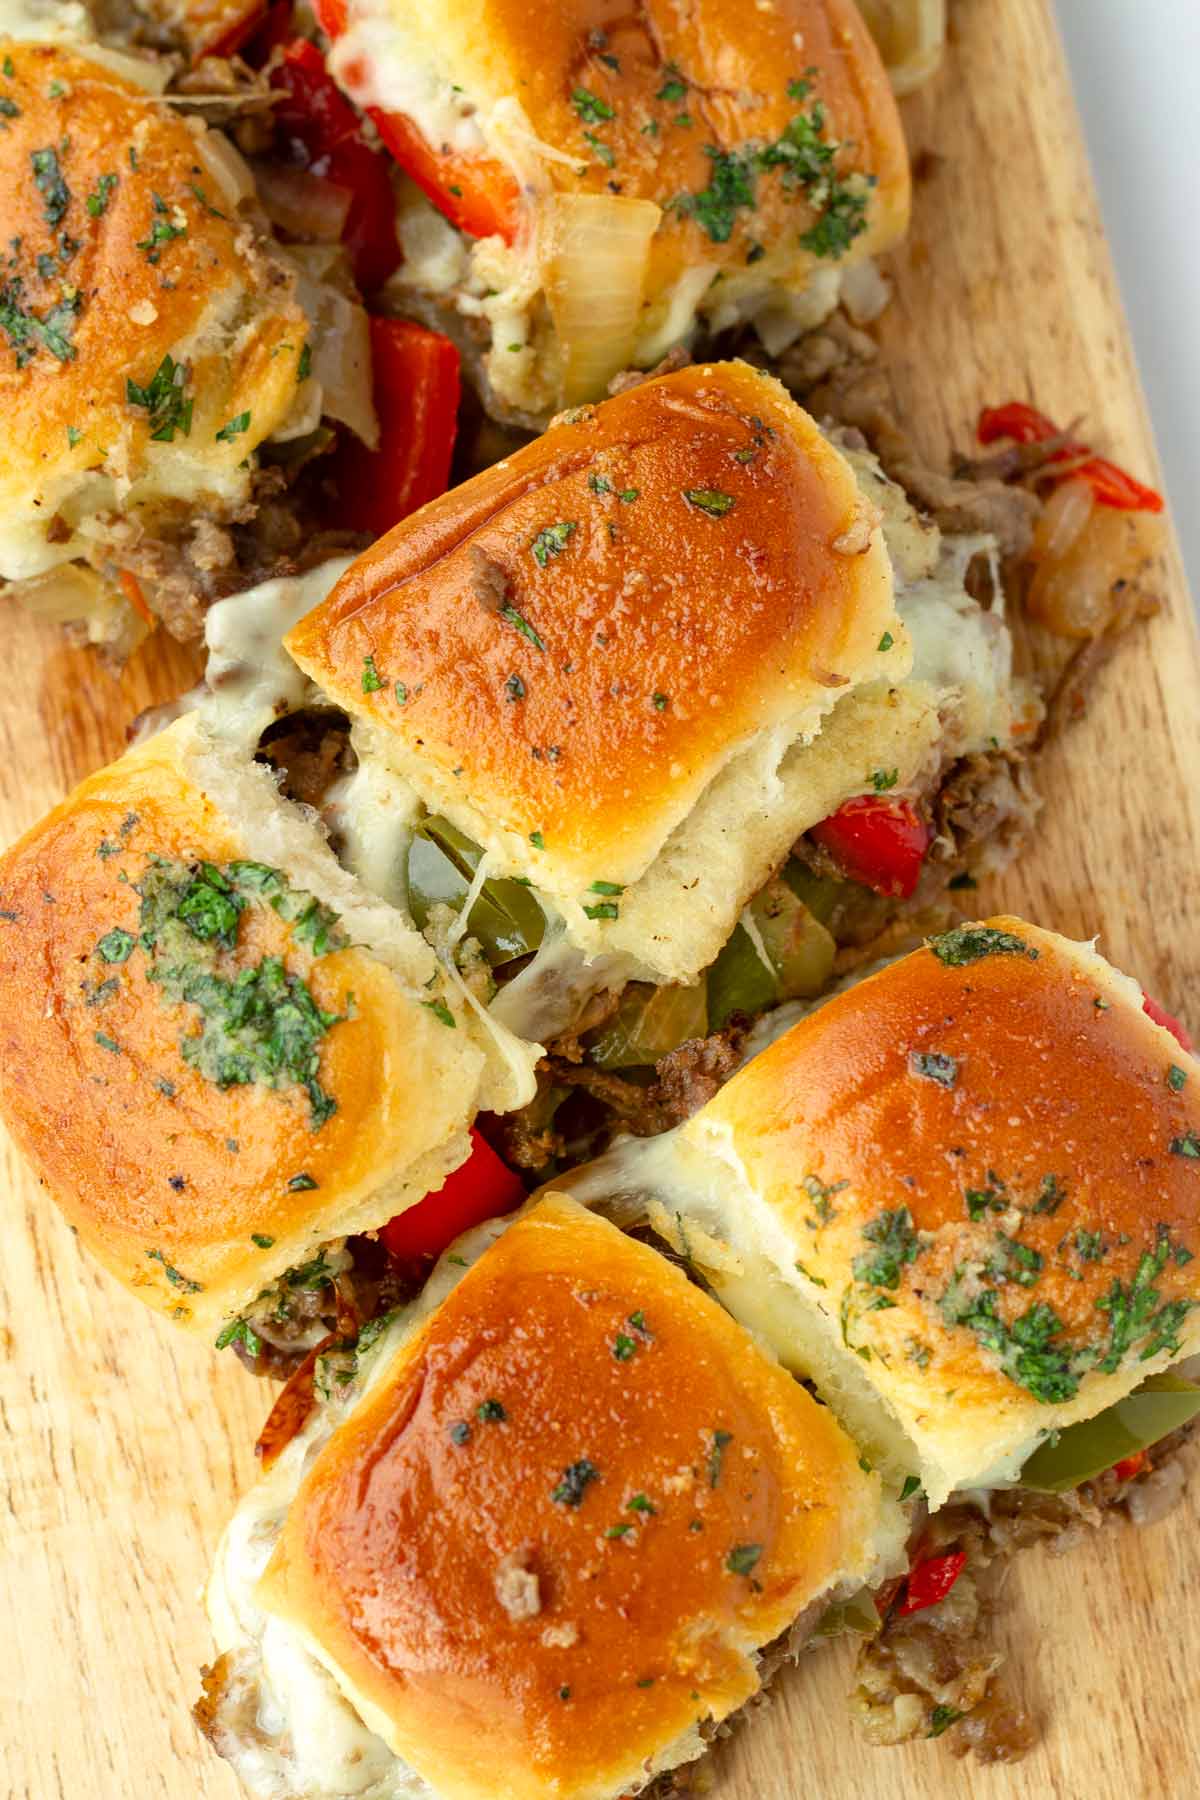
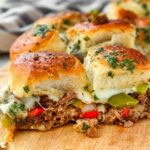
These fun and delicious Philly cheesesteak sliders are the shareable version of the classic Philly cheesesteak! Made with shaved beef, melty cheese, and sautéed bell peppers and onions, all tucked into buttery slider buns.
I love using Hawaiian rolls for a touch of sweetness, but brioche slider buns work just as well. It’s a flexible slider recipe, so feel free to make it your own with extra seasonings or toppings.
If you love these Philly cheesesteak sliders, I think you’ll also love our Chicken Bacon Ranch Sliders and Cuban Pork Sliders. They also made a delicious and easy dinner!
Why I Love This Recipe
- Quick and easy. Cook up a few things in the skillet, assemble, and let the oven do the rest of the work!
- Savory, cheesy, and tender. These Philly cheesesteak sliders have tons of flavor and amazing texture.
- Great for any occasion. Game days, parties, potlucks, or just easy dinners!
Jump to:
Ingredient Notes
You only need a few simple ingredients to make Philly cheesesteak sliders. Below, I included a few notes that I hope you find helpful when grabbing your ingredients.
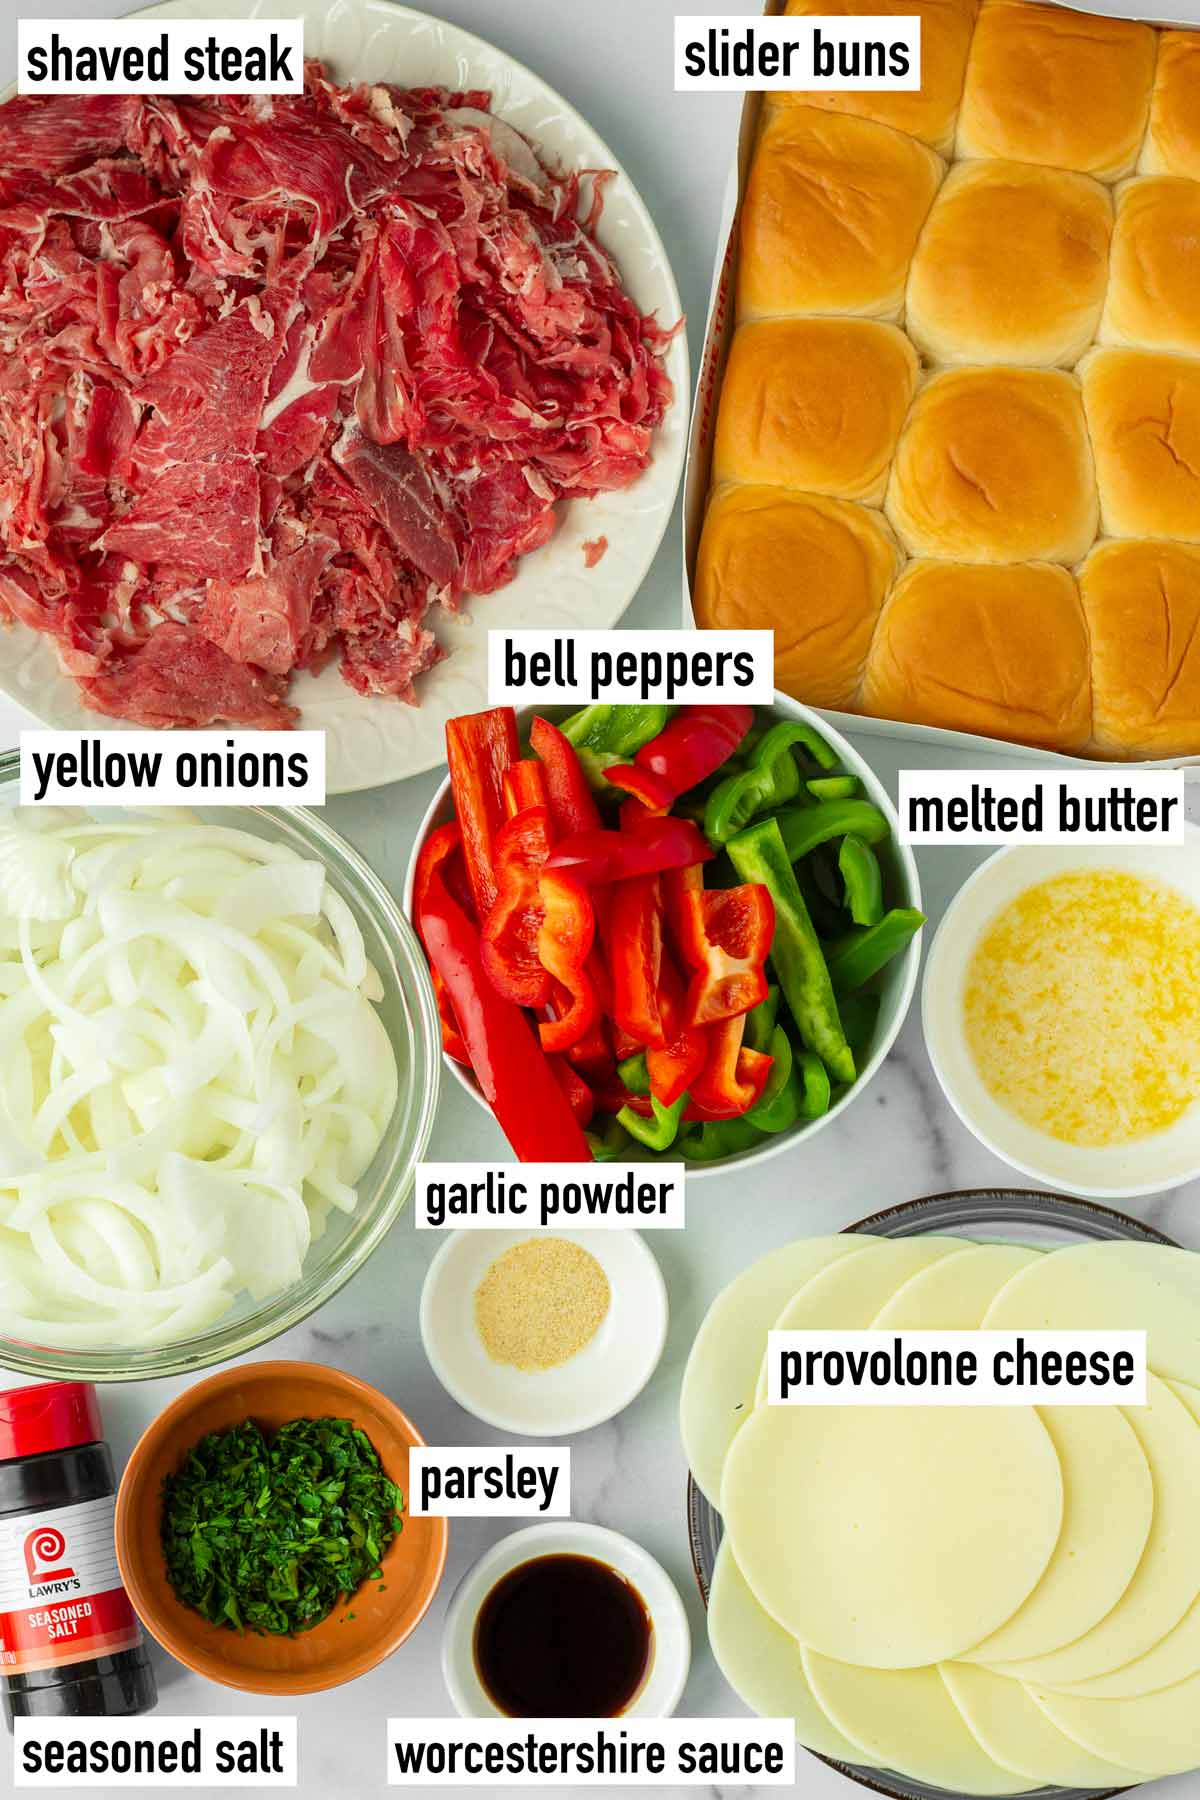
- Shaved steak: If you can find it, these already come thinly sliced for that classic taste. If you’re thinly slicing steak at home, place it in a freezer for about 30 minutes, then slice thinly with a sharp knife.
- Lawry’s seasoned salt and garlic powder: The combination of these 2 spices add lots of flavor while still keeping it simple and classic.
- Worcestershire sauce: Adds another touch of amazing flavor to the beef.
- Green bell pepper, red bell pepper and yellow onions: Slice them up into strips, about the same size, so they cook evenly in the skillet.
- Sliced provolone cheese: This is my go-to for Philly cheesesteak sliders, but feel free to use other types of cheese.
- Slider buns: I use King’s Hawaiian buns, but you can use your favorite rolls. Brioche slider buns are another great choice.
- Melted butter, garlic powder and fresh parsley: For brushing on the top of the slider buns.
- Olive oil, salt, pepper
Ingredient quantities are listed in the recipe card down below, as always.
How to Make Philly Cheesesteak Sliders
Prepping for these easy Philly cheesesteak sliders takes just 25 minutes, and the rest is just oven time. Let’s make it!
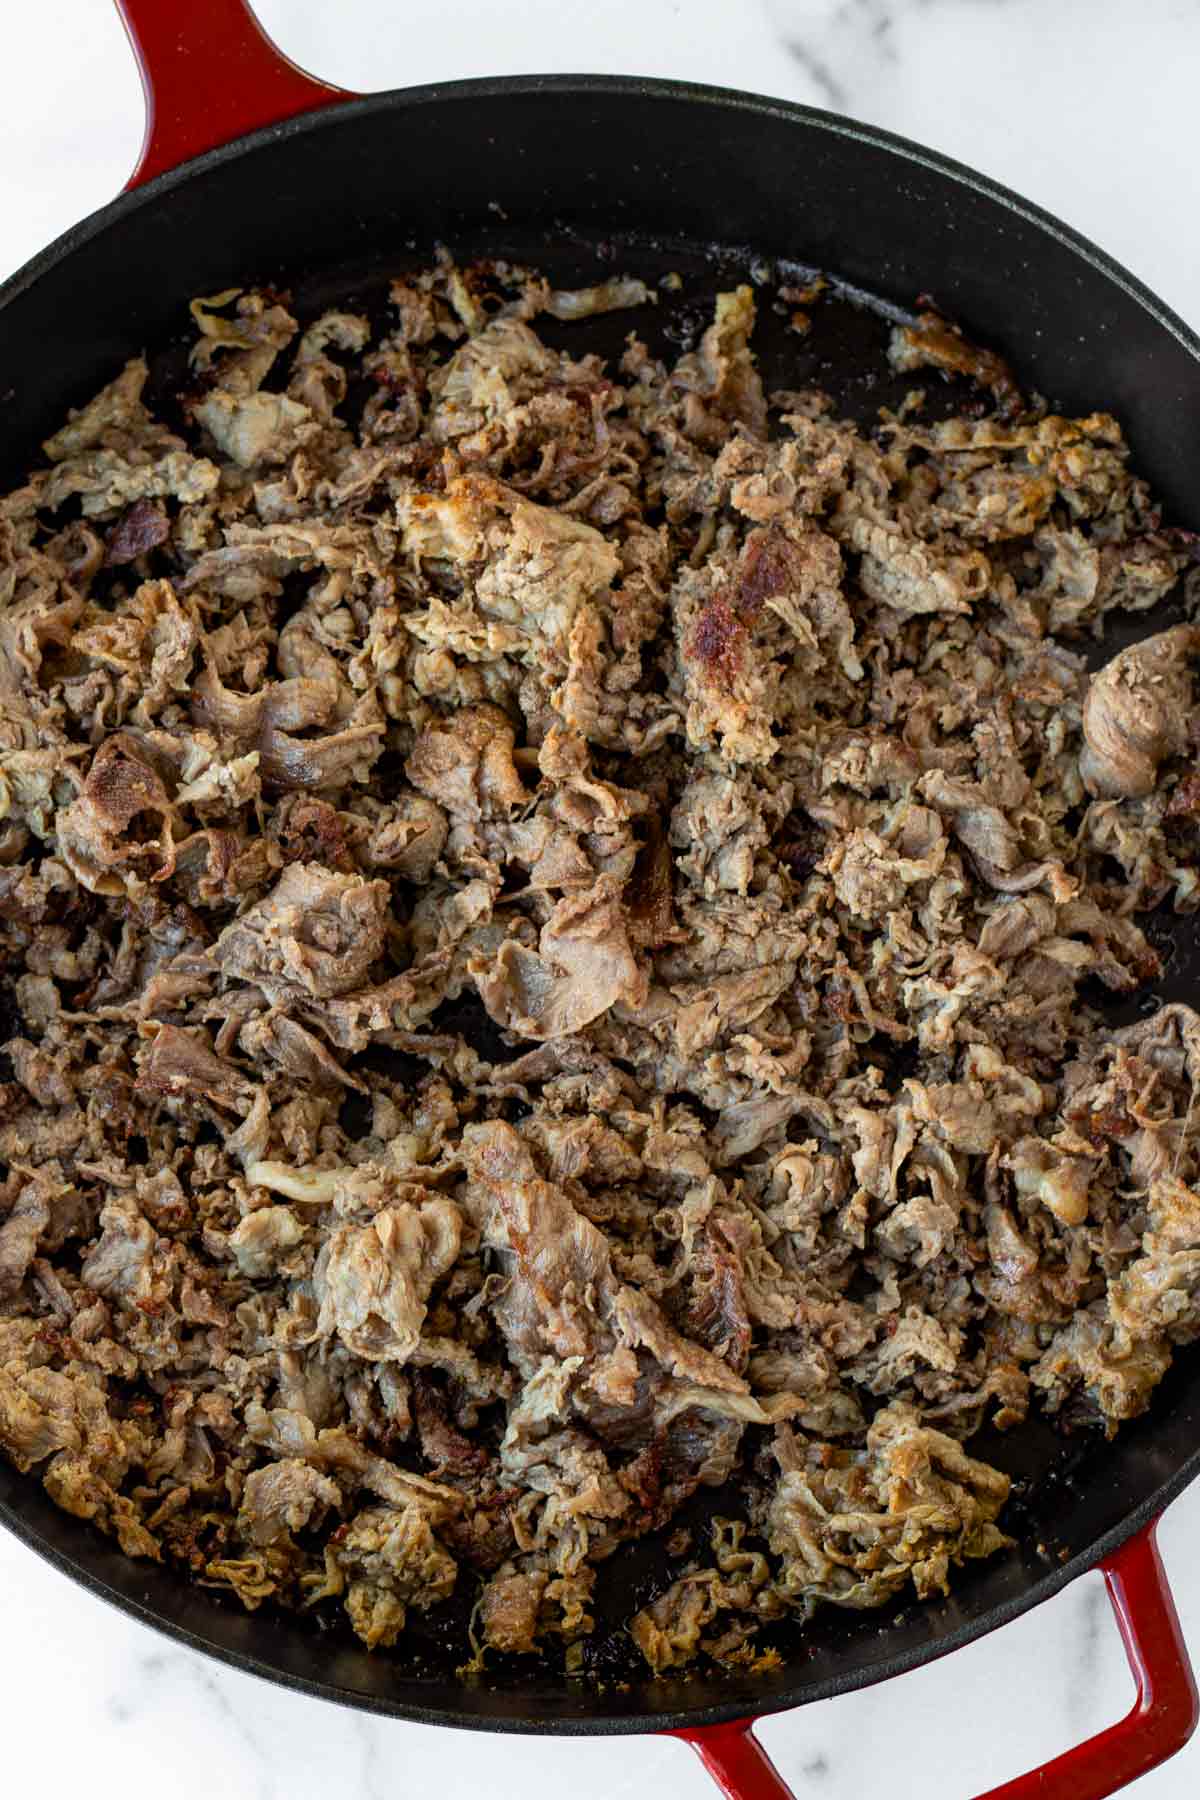
Step 1: Cook steak. Preheat the oven to 350 F. Heat olive oil in a large skillet over medium-high, cook the shaved steak until browned, seasoning generously with seasoned salt, garlic powder, and black pepper. If it starts releasing moisture, absorb with paper towel.
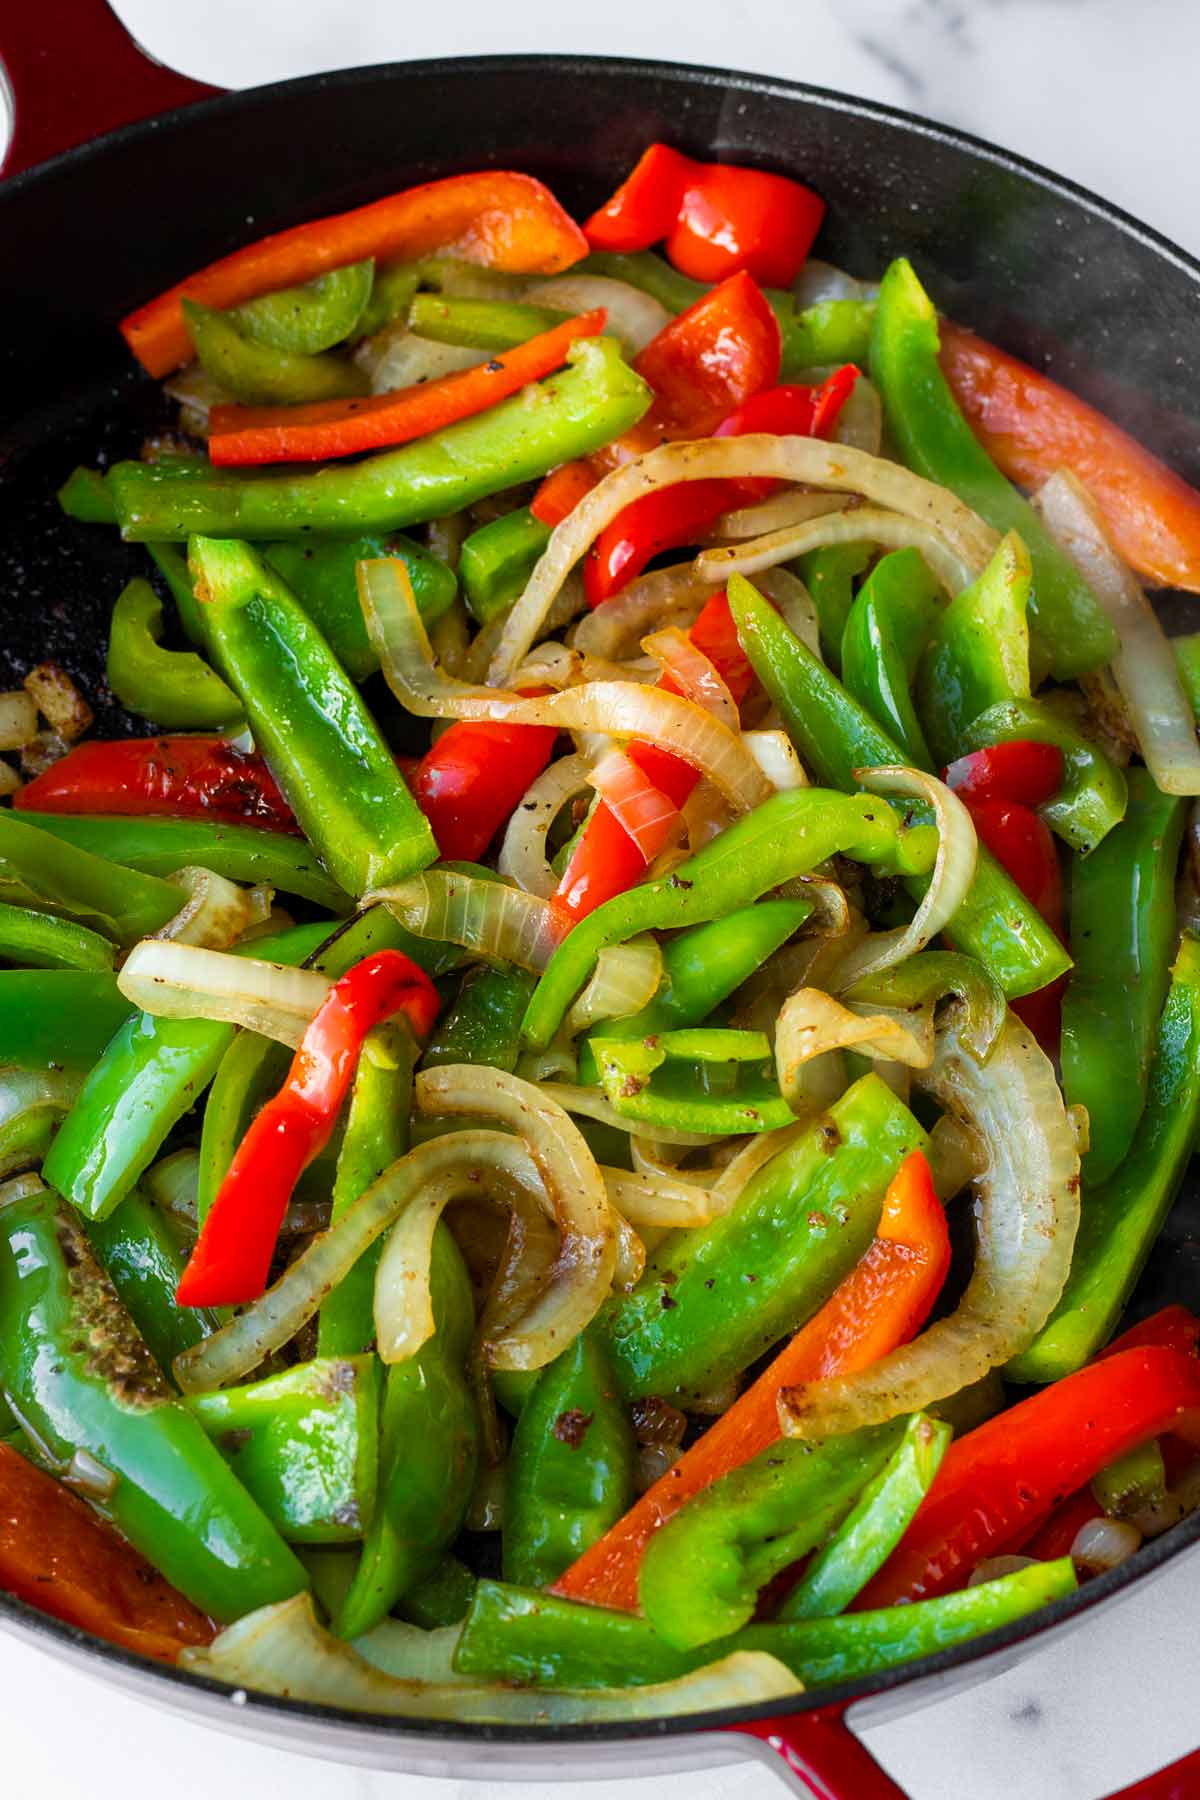
Step 2: Cook peppers and onions. In the same skillet, cook the sliced peppers and onions until tender and browned. Season to taste.
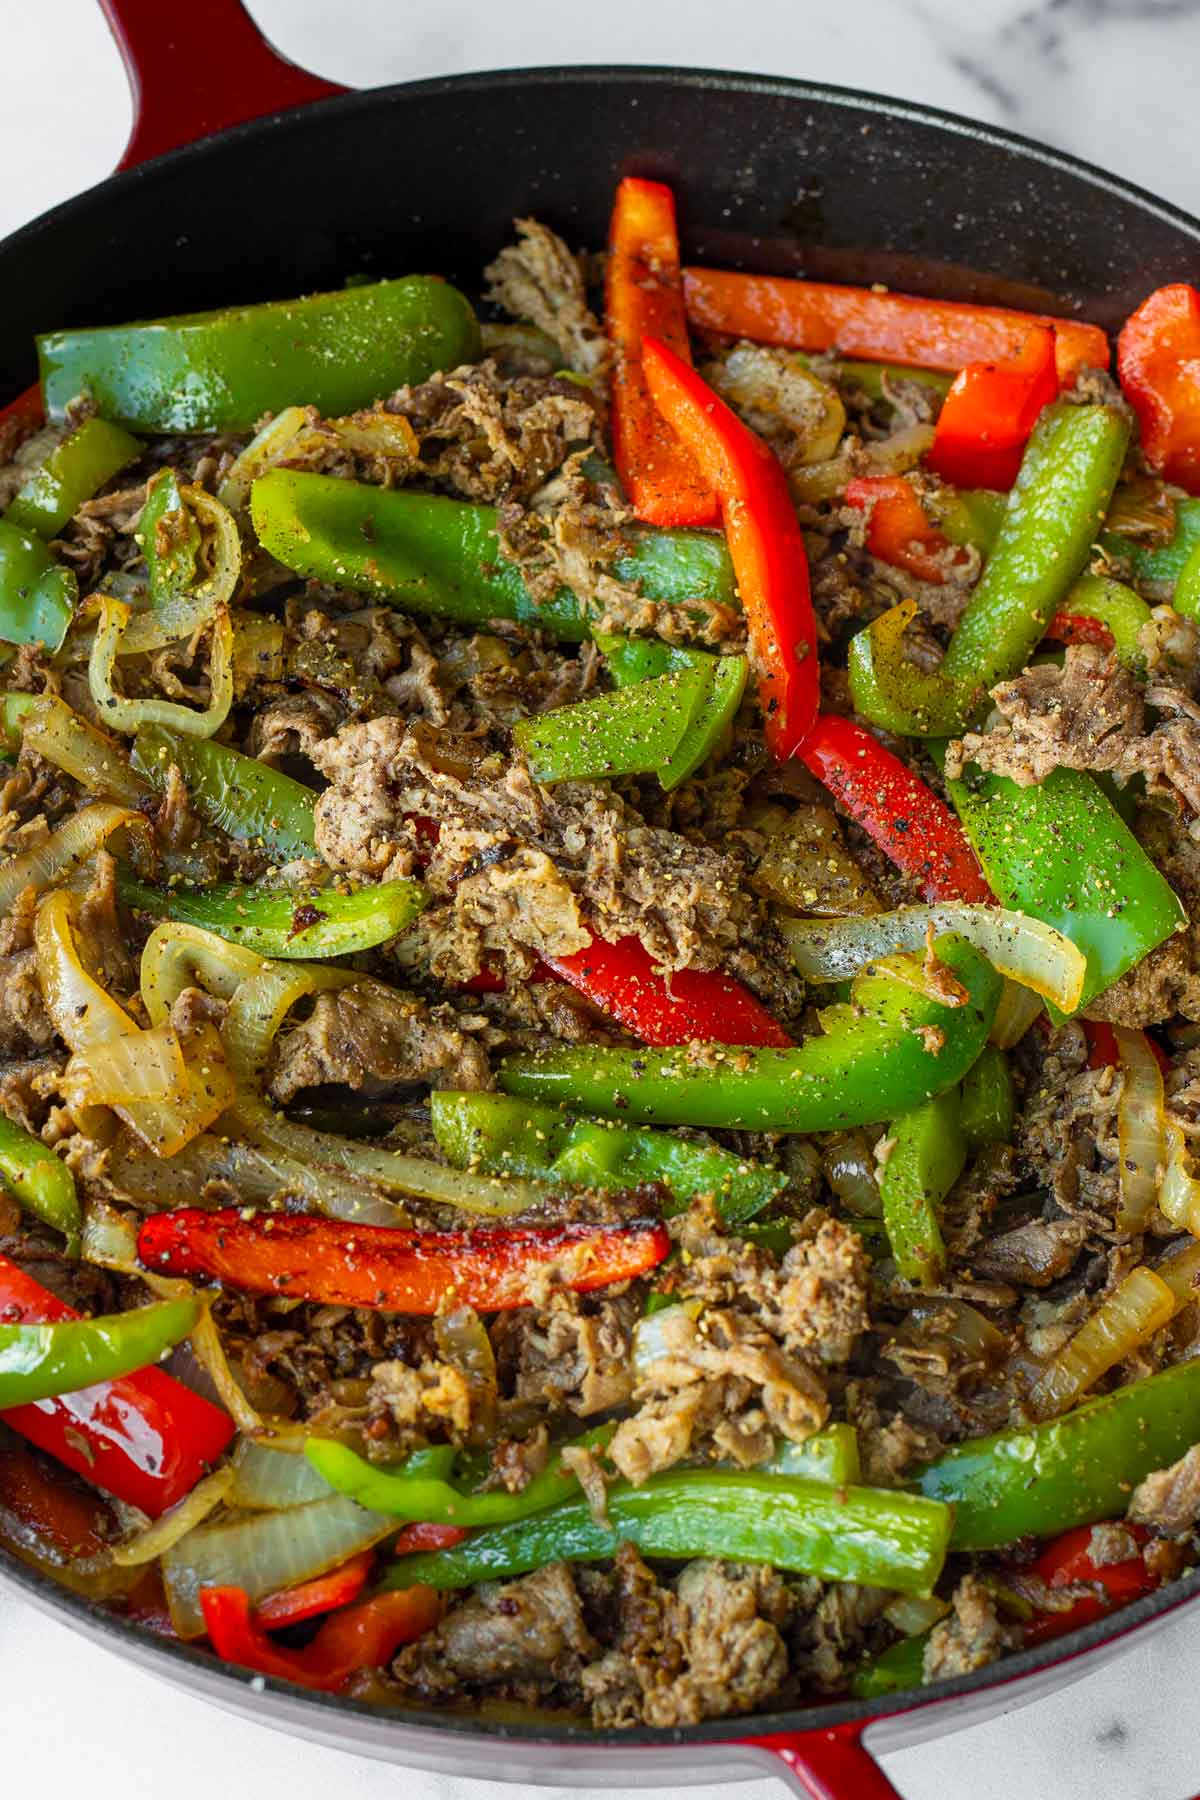
Step 3: Combine and season. Add the cooked beef back, and stir to combine with the peppers and onions. Stir in the Worcestershire sauce.
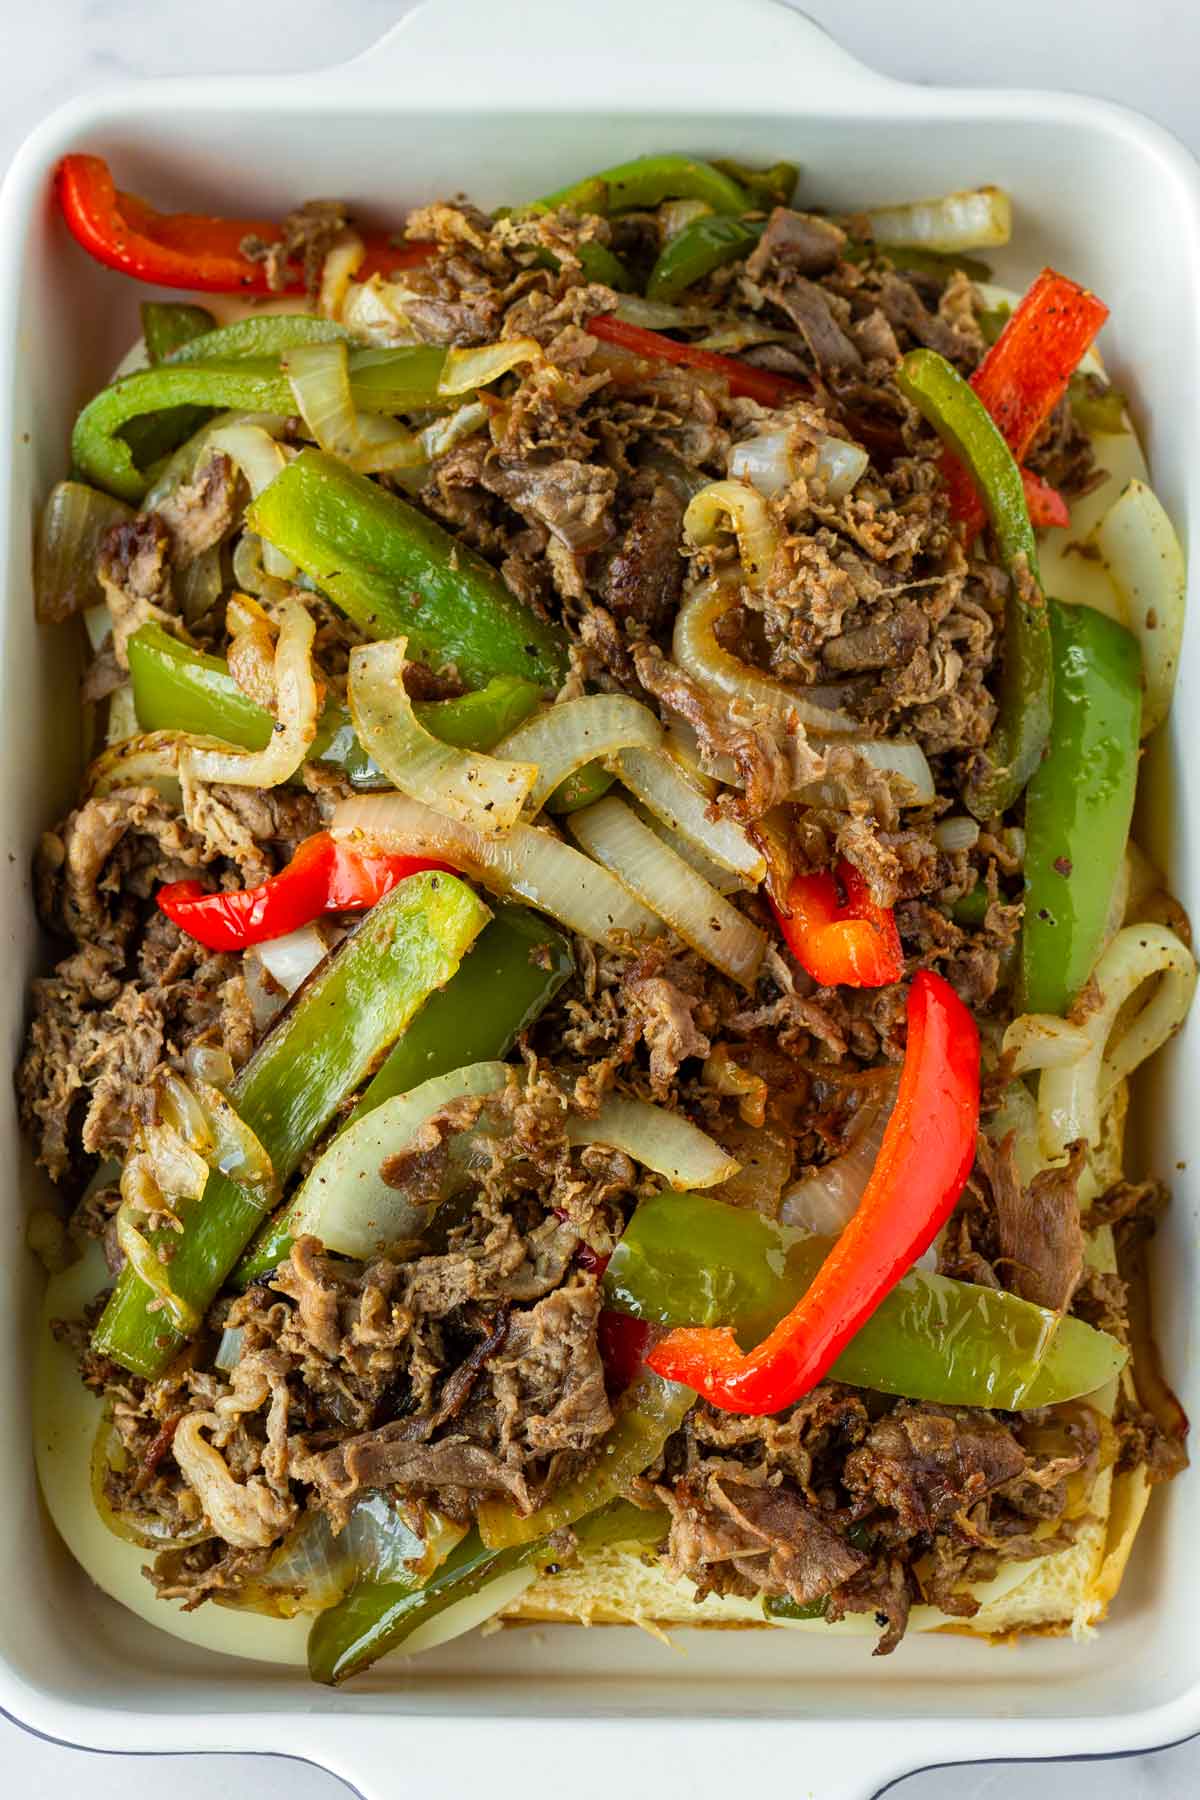
Step 4: Assemble. Spit the slider rolls in half horizontally. Place the bottom layer in a baking dish, and layer with sliced cheese, then add beef and veggies.
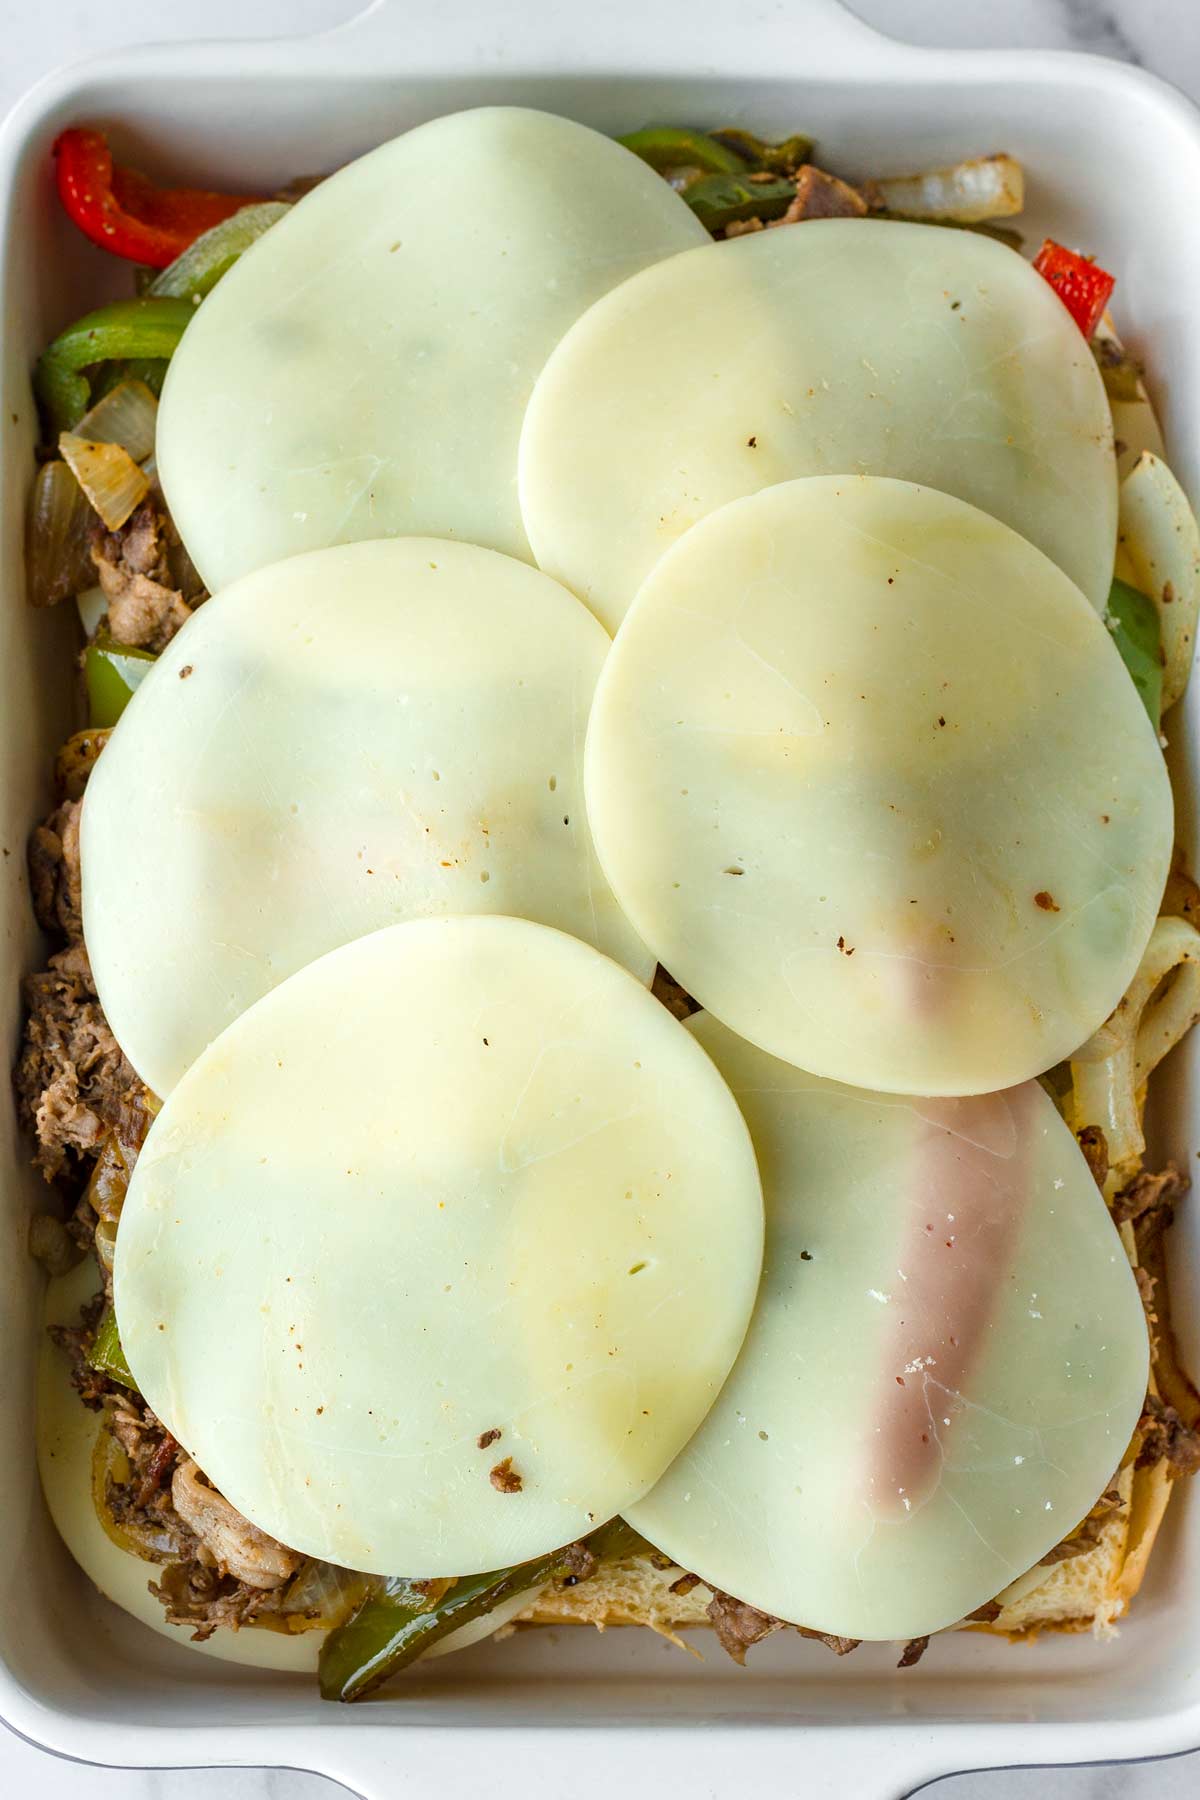
Step 5: Top layer. Top with another layer of cheese. We’re doing two layers of cheese here! Top with the buns.
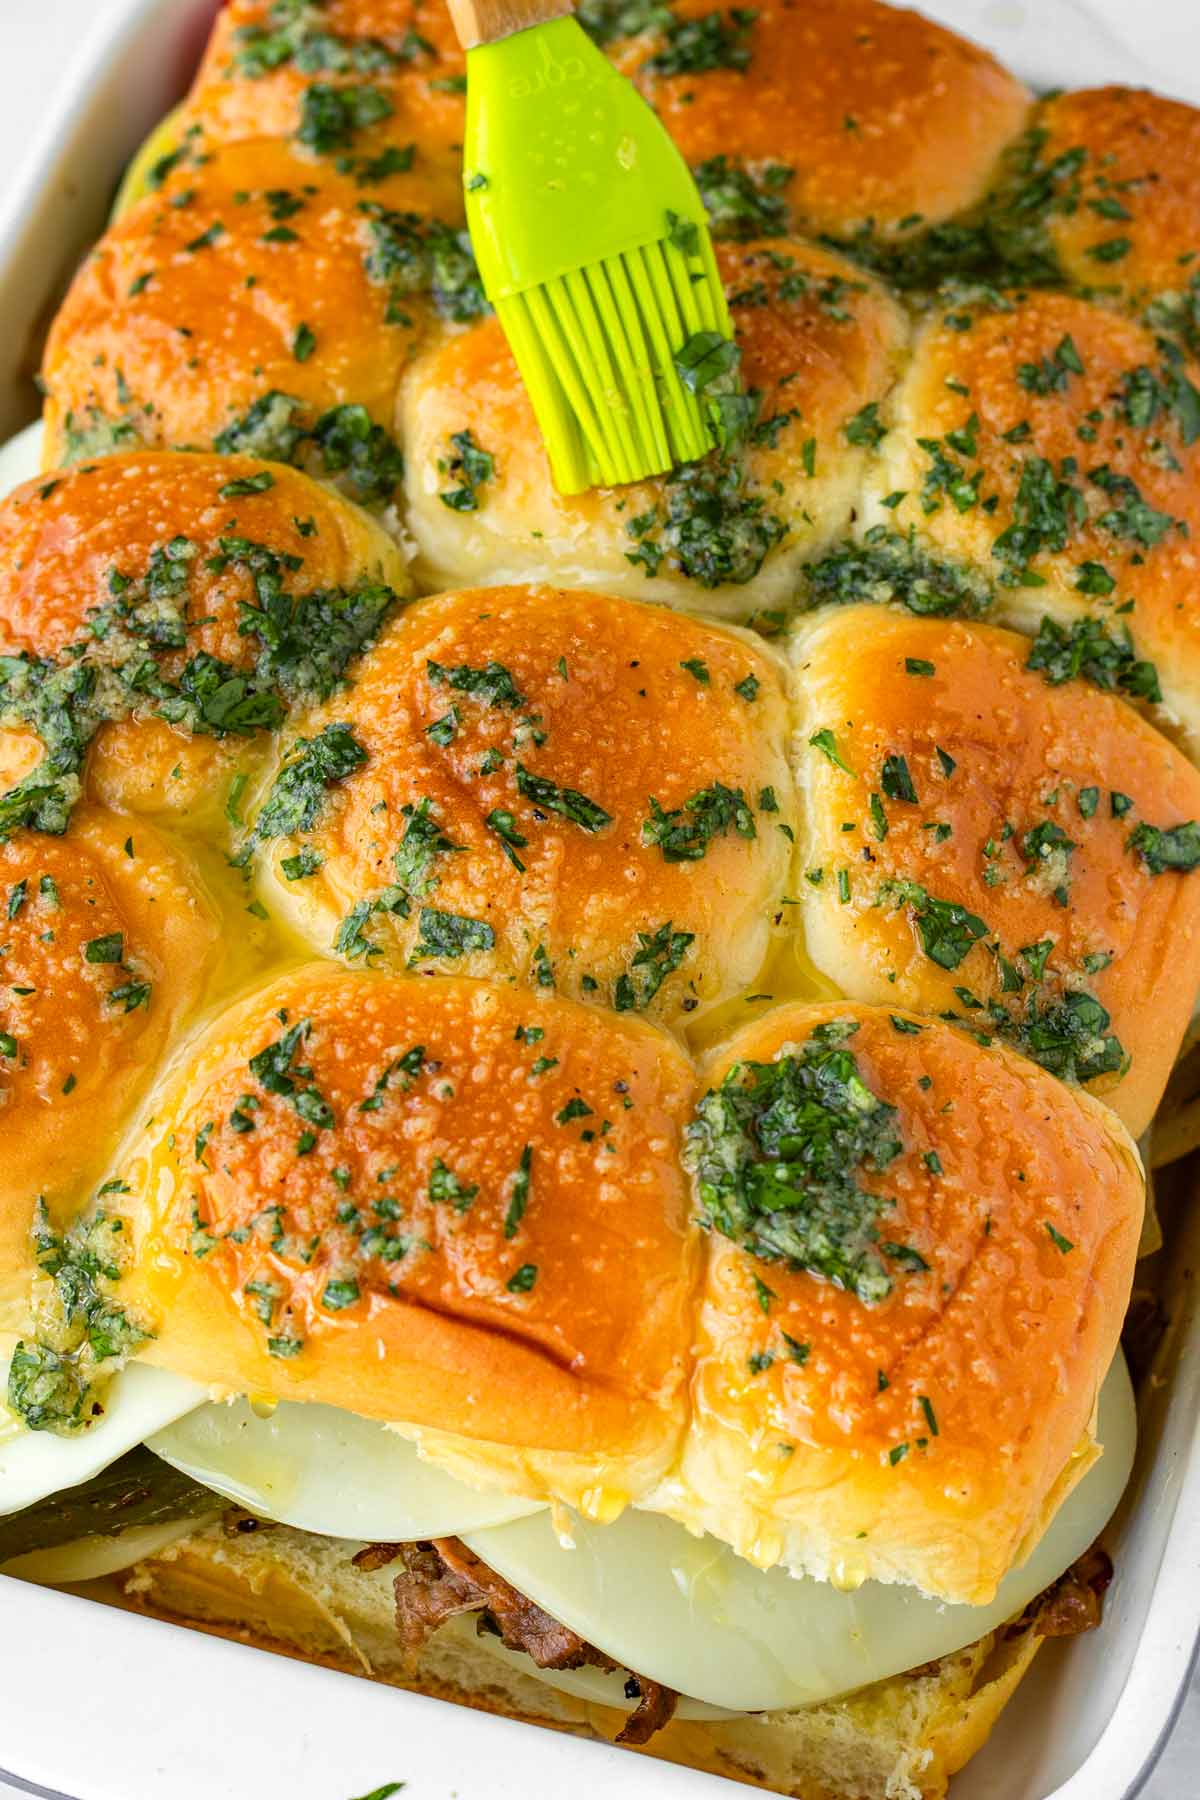
Step 6: Brush and bake. Whisk melted butter with garlic powder and parsley, and brush over the buns. Cover and bake for 16 minutes. Remove foil and bake for another 10-12 minutes until golden brown and melty.
Let your Philly cheesesteak sliders cool just slightly and serve while they are still warm, cheesy and melty!
Tips for Success
- Store-bought shaved steak is your bet for this recipe, but you can also slice it yourself.
- Slice your own beef: Freeze the meat for about 30 minutes before slicing. It’ll be much easier to cut thin, even slices.
- Upgrade the cut: If you’re slicing it yourself, ribeye is a great choice for the best flavor and tenderness.
- Avoid soggy sliders: Pat the cooked beef dry to remove excess moisture. Also, layer cheese on the buns before adding the beef and peppers, and again on top. This helps create a barrier that keeps the sliders from getting soggy.
- I love using King’s Hawaiian buns to make Philly cheesesteak sliders, but brioche slider buns work great too.
- Don’t skip the melted garlic butter on top! It make a HUGE difference in flavor and helps brown the buns to perfection.
Make Ahead Tips
Assemble ahead in the baking dish in the morning, cover, and refrigerate them for a few hours until you’re ready to bake them. Make sure all the excess moisture form the beef is fully absorbed, or they can get soggy.
Bake ahead and warm up later. Bake them completely as directed, then wrap them in foil to keep them warm in the oven on low. If needed, reheat at 325 degrees F until warmed through.
Recipe FAQs
Absolutely! It’s a good idea to do it while the meat is still a bit frozen to make it easier to get thin and even slices.
Yes! Provolone is classic, but you can swap it for Swiss, white cheddar, mozzarella, or even Cheese Whiz.
Sirloin or NY strip are great choices. For a fattier and richer cut, try ribeye.
Absorb any excess moisture from the meat when cooking. Additionally, layer cheese slices in between the sliders and the meat, bottom and top. The cheese acts as a barrier to keep the buns from getting soggy.
More Game Day Recipes


Other great recipes: Chorizo Queso, Buffalo Chicken Egg Rolls and Garlic Parmesan Wings.
I’d love to hear from you! If you loved my recipe, please consider leaving a 5-star rating and a comment down below. Sign up for my newsletter and follow along on Instagram, Facebook, or Pinterest
Philly Cheesesteak Sliders
Equipment
Ingredients
- 1 pound shaved steak - see notes
- Olive oil - for the pan
- Lawry’s seasoned salt - to taste – or your favorite seasoned salt blend
- 1 teaspoon garlic powder - plus more to taste
- 1 large green bell pepper - sliced
- 1 large red bell pepper - sliced
- 1 medium yellow onion - sliced
- 2 tablespoons worcestershire sauce
- 16 slices sliced provolone cheese
- 1 package - 12-count slider buns, I use King’s Hawaiian rolls
Garlic butter for brushing:
- 4 tablespoons warm melted butter
- 1 teaspoon garlic powder
- 1 teaspoon parsley finely chopped
Instructions
- Preheat oven to 350 degrees F.
- Heat olive oil in a large skillet over medium-high. Add the shaved steak and cook until browned. If excess moisture releases, absorb with paper towel. Season with seasoned salt and garlic powder. Remove and set aside. Tip: Make sure there isn’t excess moisture, otherwise the sliders can get soggy.
- In the same skillet, heat more oil and cook the sliced peppers and onions until tender and browned. Season to taste.
- Return cooked beef into the skillet and stir to combine with the pepper and onions. Add in the worcestershire sauce and cook for another 1 minute or so to let the flavors come together.
- Slice the slider rolls in half horizontally to split it open. On the bottom layer, add provolone cheese, followers by the beef and veggie mixture, then another layer of provolone. Place the top buns on.
- Whisk the warm melted butter with garlic powder and parsley. Brush evenly over buns on top.
- Cover with foil and bake for 15-16 minutes. Uncover and bake for another 10 minutes or until the tops are golden. Let cool slightly before serving. Enjoy!
Notes
- Most grocery stores sell already shaved beef. If you can find it, that would be ideal, but you can also do it yourseld.
- How to thinly slice beef at home: Freeze the meat for about 30 minutes to make it easier to slice, then using a sharp knife thinly slice into even slices.
- How to prevent soggy sliders: Make sure the beef is drained and the cheese is layered under and over the filling before baking.
- Make ahead: Assemble the sliders a few hours ahead. When ready to serve, bake as directed until heated through and the cheese is melted.
- Bake ahead and keep warm: Bake them completely as directed, then wrap them in foil to keep them warm in the oven on low. If needed, reheat at 325 F until warmed through.
- Reheating: Reheat in a 325 F oven, covered. Avoid microwaving to prevent soggy buns.
- Storage: Store any leftovers in an airtight container in the refrigerator for up to 3 days.


Leave a Reply