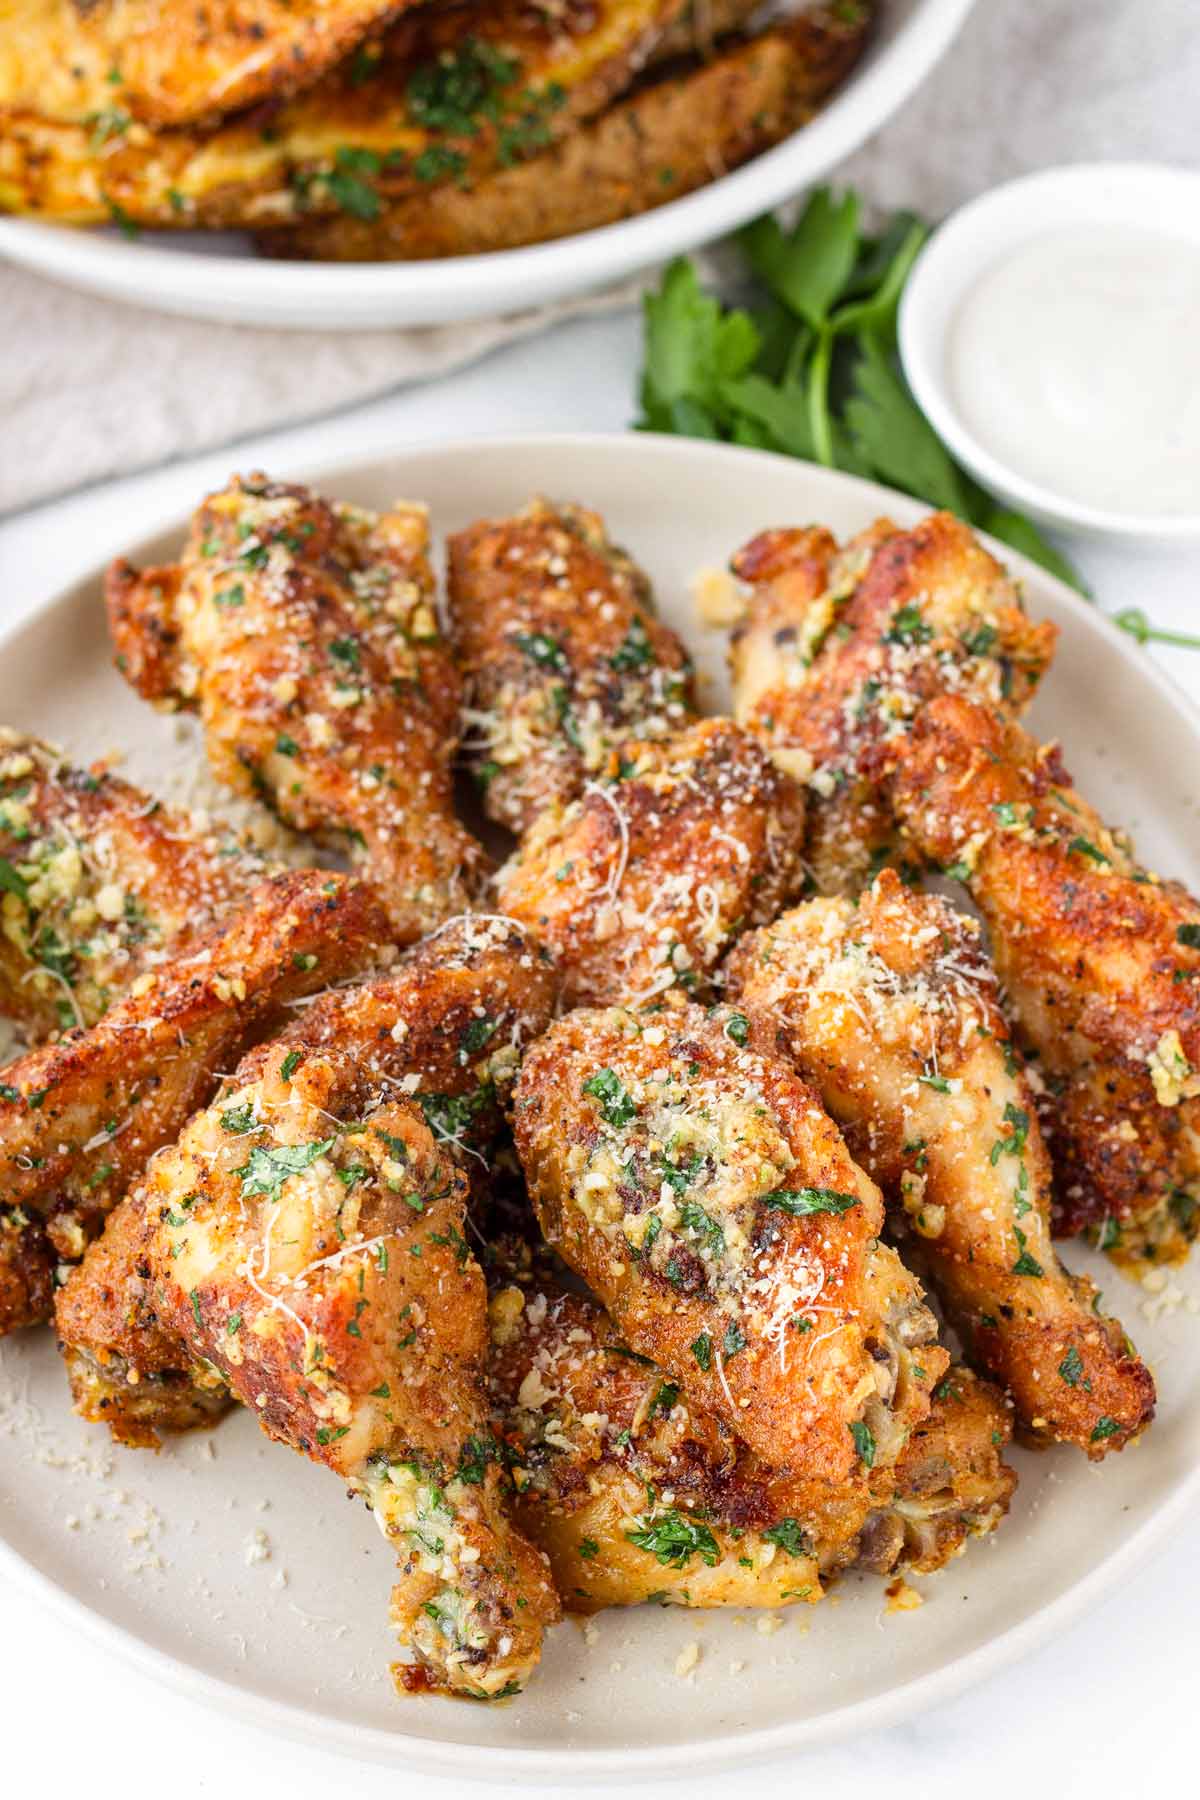
These Garlic Parmesan Wings are absolutely incredible! They are extra crispy, golden brown, and juicy, all thanks to one simple trick I share below.
The chicken wings are oven-baked to perfection, and finished with a homemade garlic parmesan sauce. They are SO good and perfect for game day!
The easy garlic parmesan sauce is tossed with the baked wings and returned to the oven for just a few minutes so all that saucy goodness gets incorporated. So good!
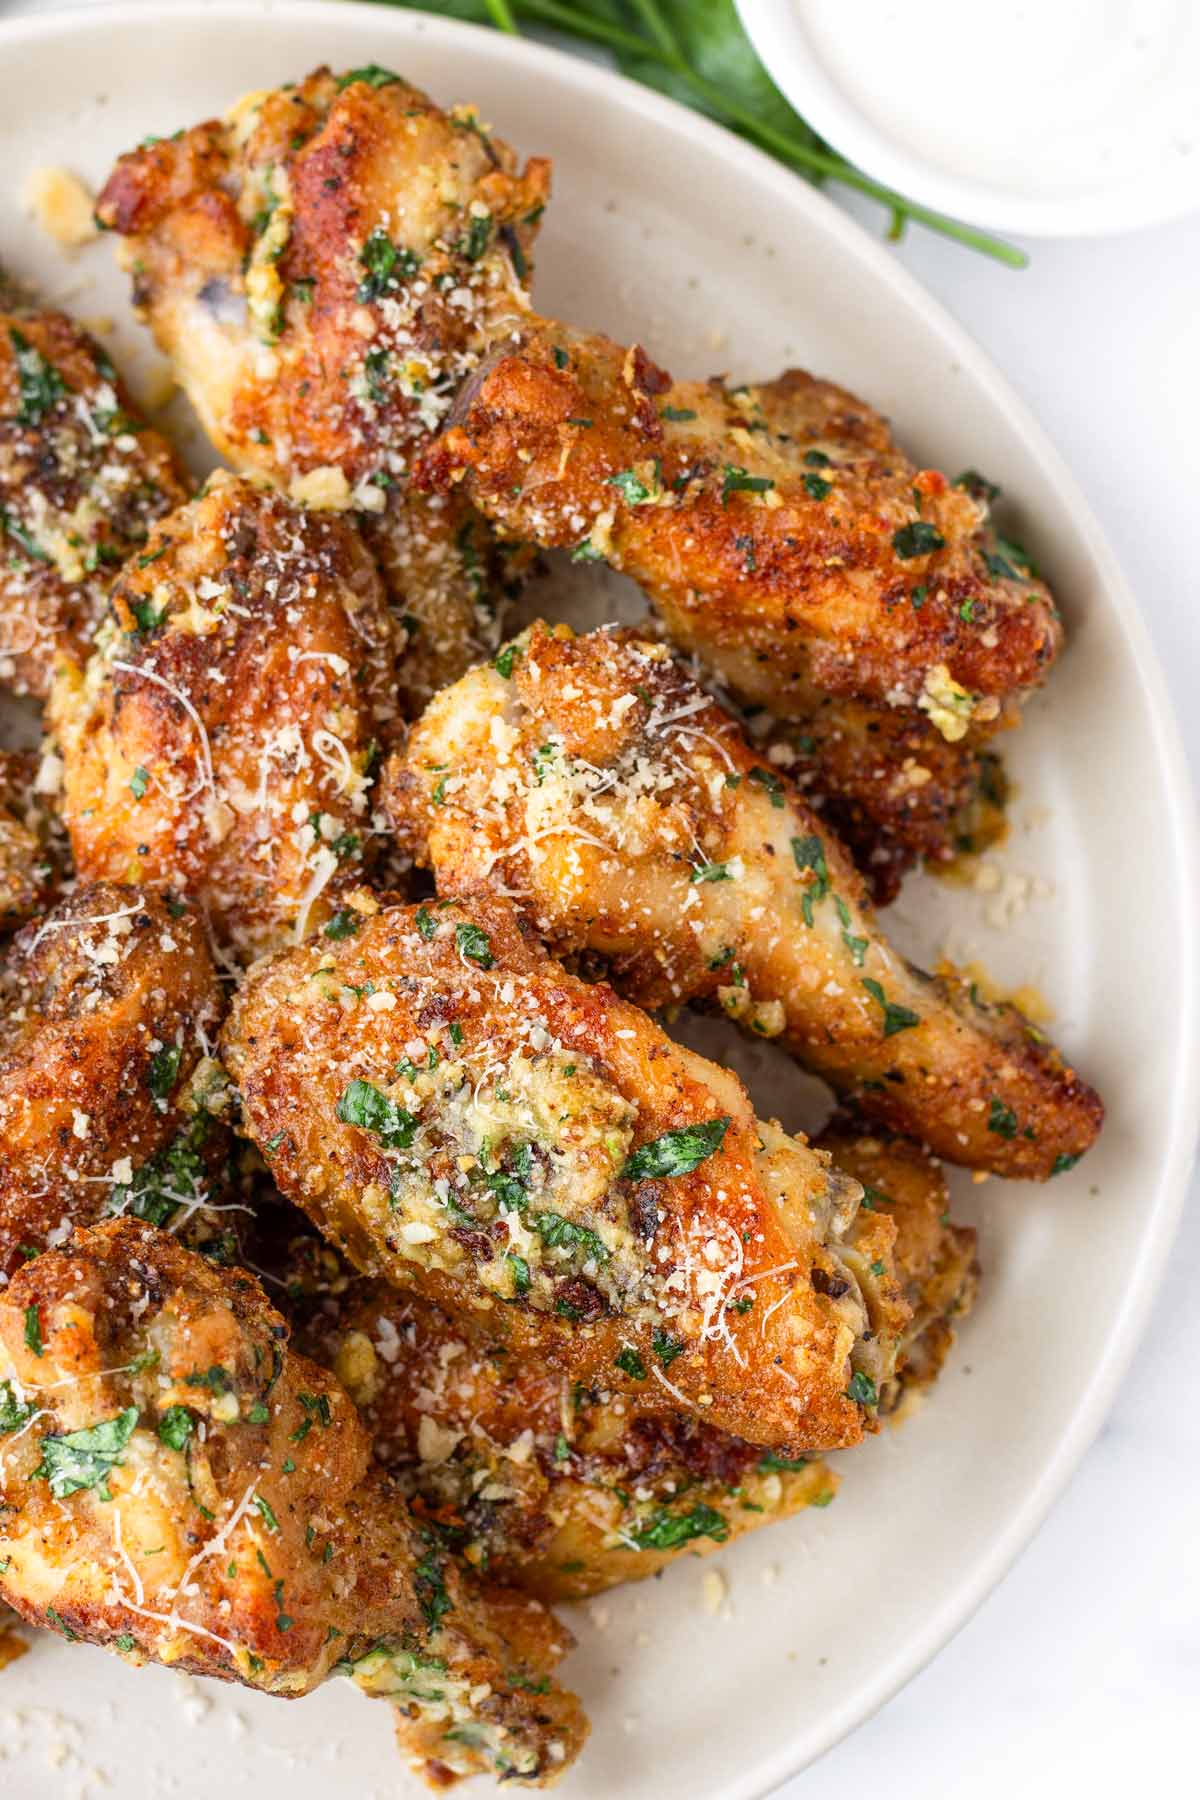
These garlic parmesan wings are out-of-this world delicious! They always turn out super crispy, crunchy, and golden brown. And the best part is the garlicky, buttery and cheesy parmesan sauce that they are coated in.
Below I share all the tips and tricks to make the BEST oven-baked garlic parmesan wings ever, better than at any restaurant. It’s incredibly easy and does not require any deep frying at all.
Not sure if a lot of people know about this one easy trick to make the crispiest oven-baked chicken: adding baking powder! I learned this trick a few years ago, and now that’s the only way I do it.
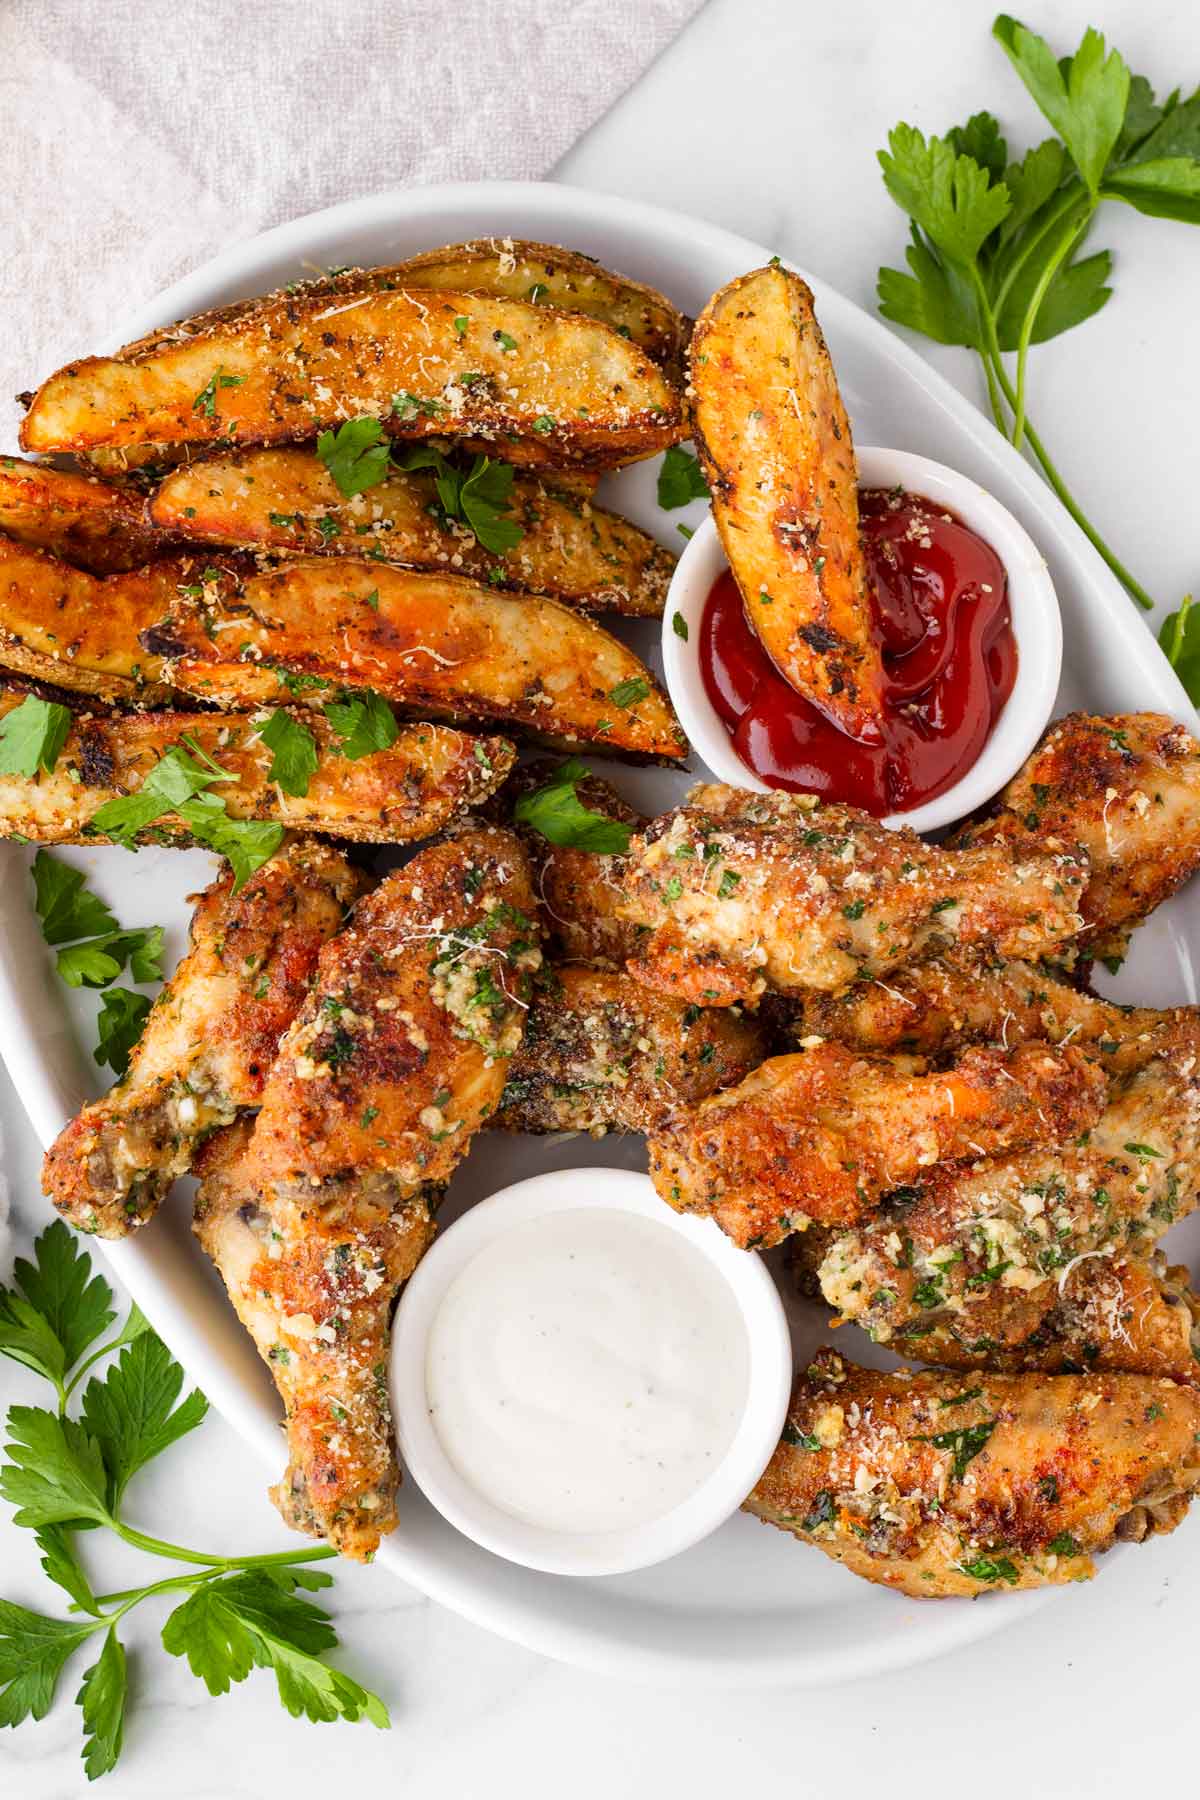
I like to serve these garlic parmesan wings with roasted potato wedges and a good side of ranch. And of course, we can’t leave out the baby carrots and celery – a classic combo!
Looking for more amazing game day recipes? Try my Air Fryer Nuggets, Chorizo Queso, and Pepperoni Pizza Rolls.
Why we LOVE homemade garlic parmesan wings:
- These wings are extra crispy thanks to our secret ingredient: baking powder! Details below.
- The wings are oven-baked or air-fried until perfectly crunchy and golden brown. No need to use the deep fryer here.
- The garlic parmesan sauce is garlicky, cheesy, and buttery all in one. When tossed with the crispy oven-baked chicken wings, it’s absolute perfection.
- Great for parties and feeding a large crowd, and perfect for game day!
Jump to:
The Secret to Extra Crispy Chicken Wings
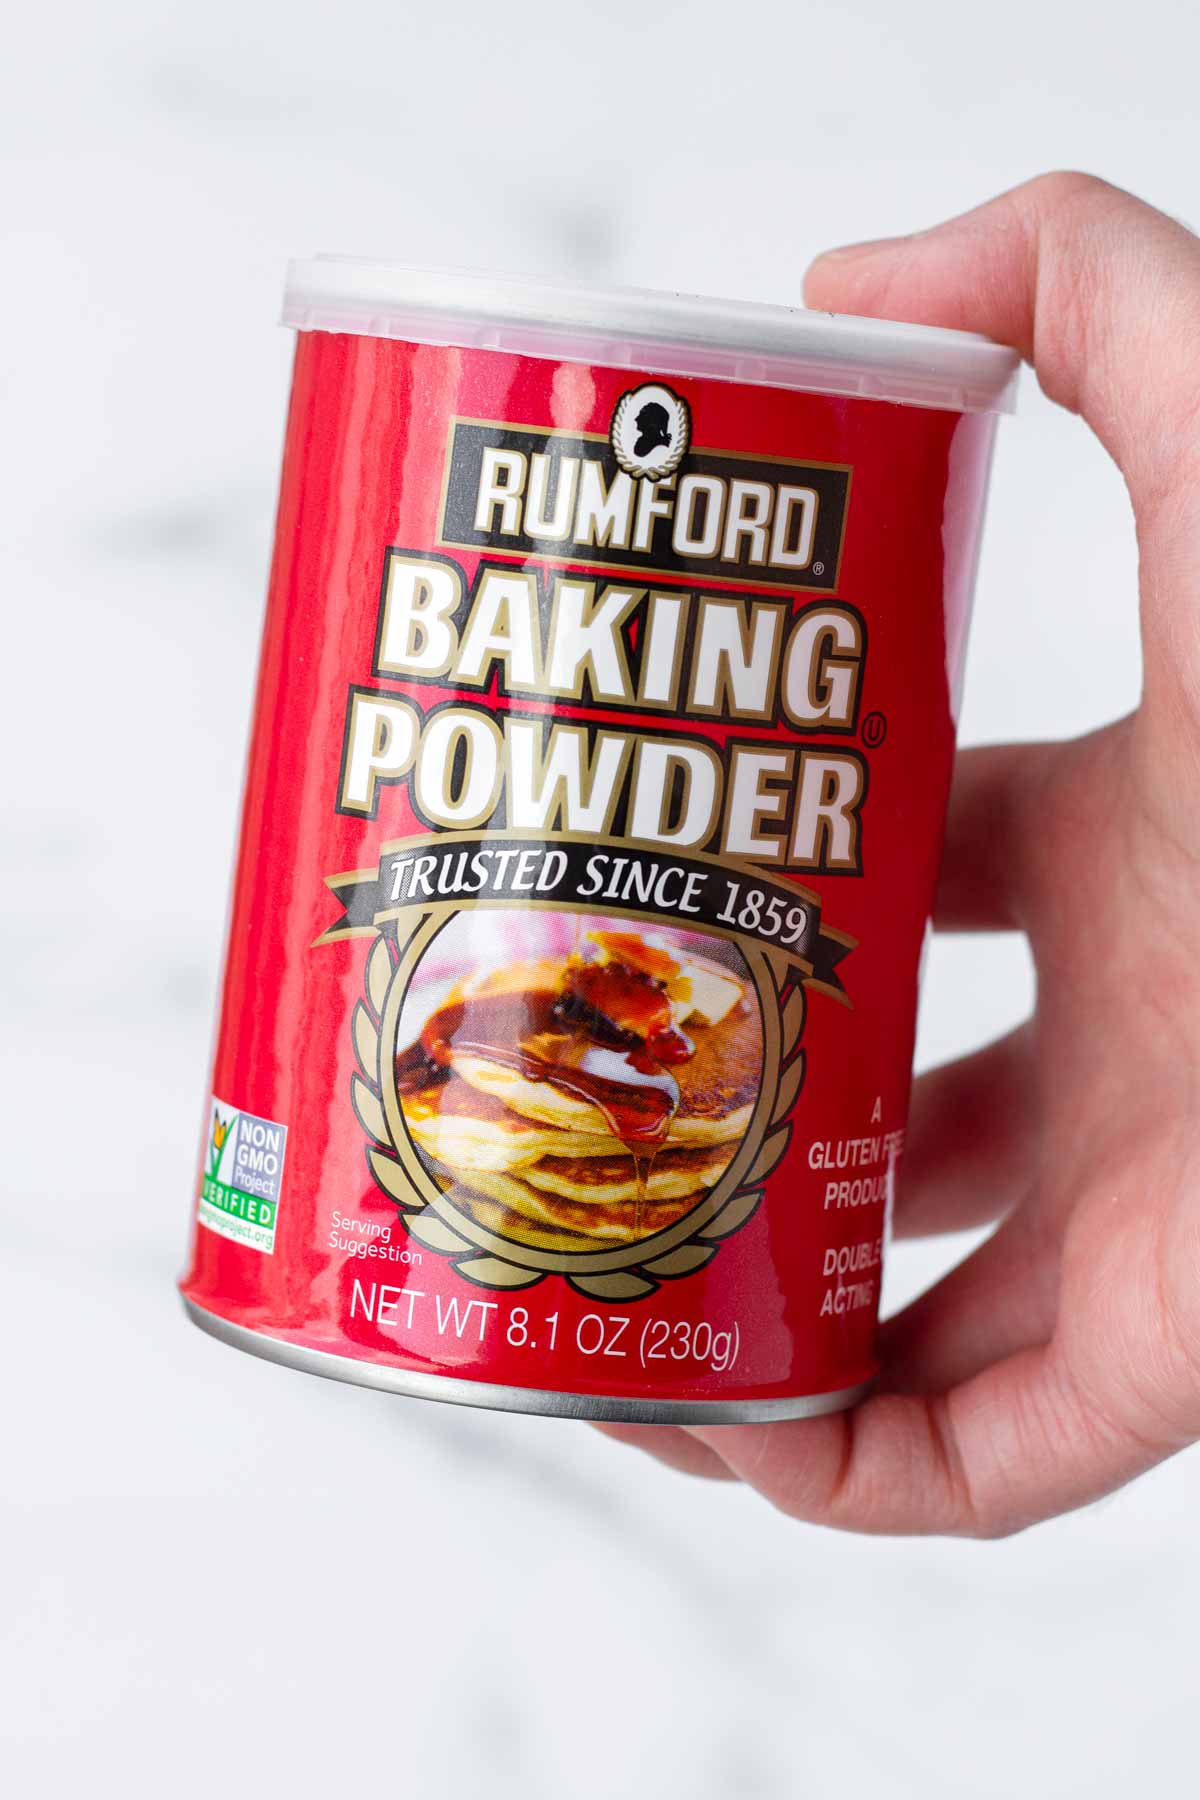
There is ONE secret ingredient to make extra crispy chicken wings: aluminum-free baking powder!
With this trick, there is no need to use the deep-fryer or much oil. These garlic parmesan wings are oven-baked and just as crispy, golden brown, and crunchy.
Why use baking powder? Baking powder aids in the crispiness of chicken wings by drying out the skin and starting the Maillard reaction, which is a chemical process that causes the skin to turn golden brown and crispy when exposed to heat. This process also helps to puff up the skin, making it even crunchier.
And why “aluminum-free,” you may ask? Some brands contain aluminum (often listed as “sodium aluminum sulfate” in the product label), which leaves a metallic aftertaste. Check the ingredient label before purchasing to make sure it doesn’t contain any aluminum.
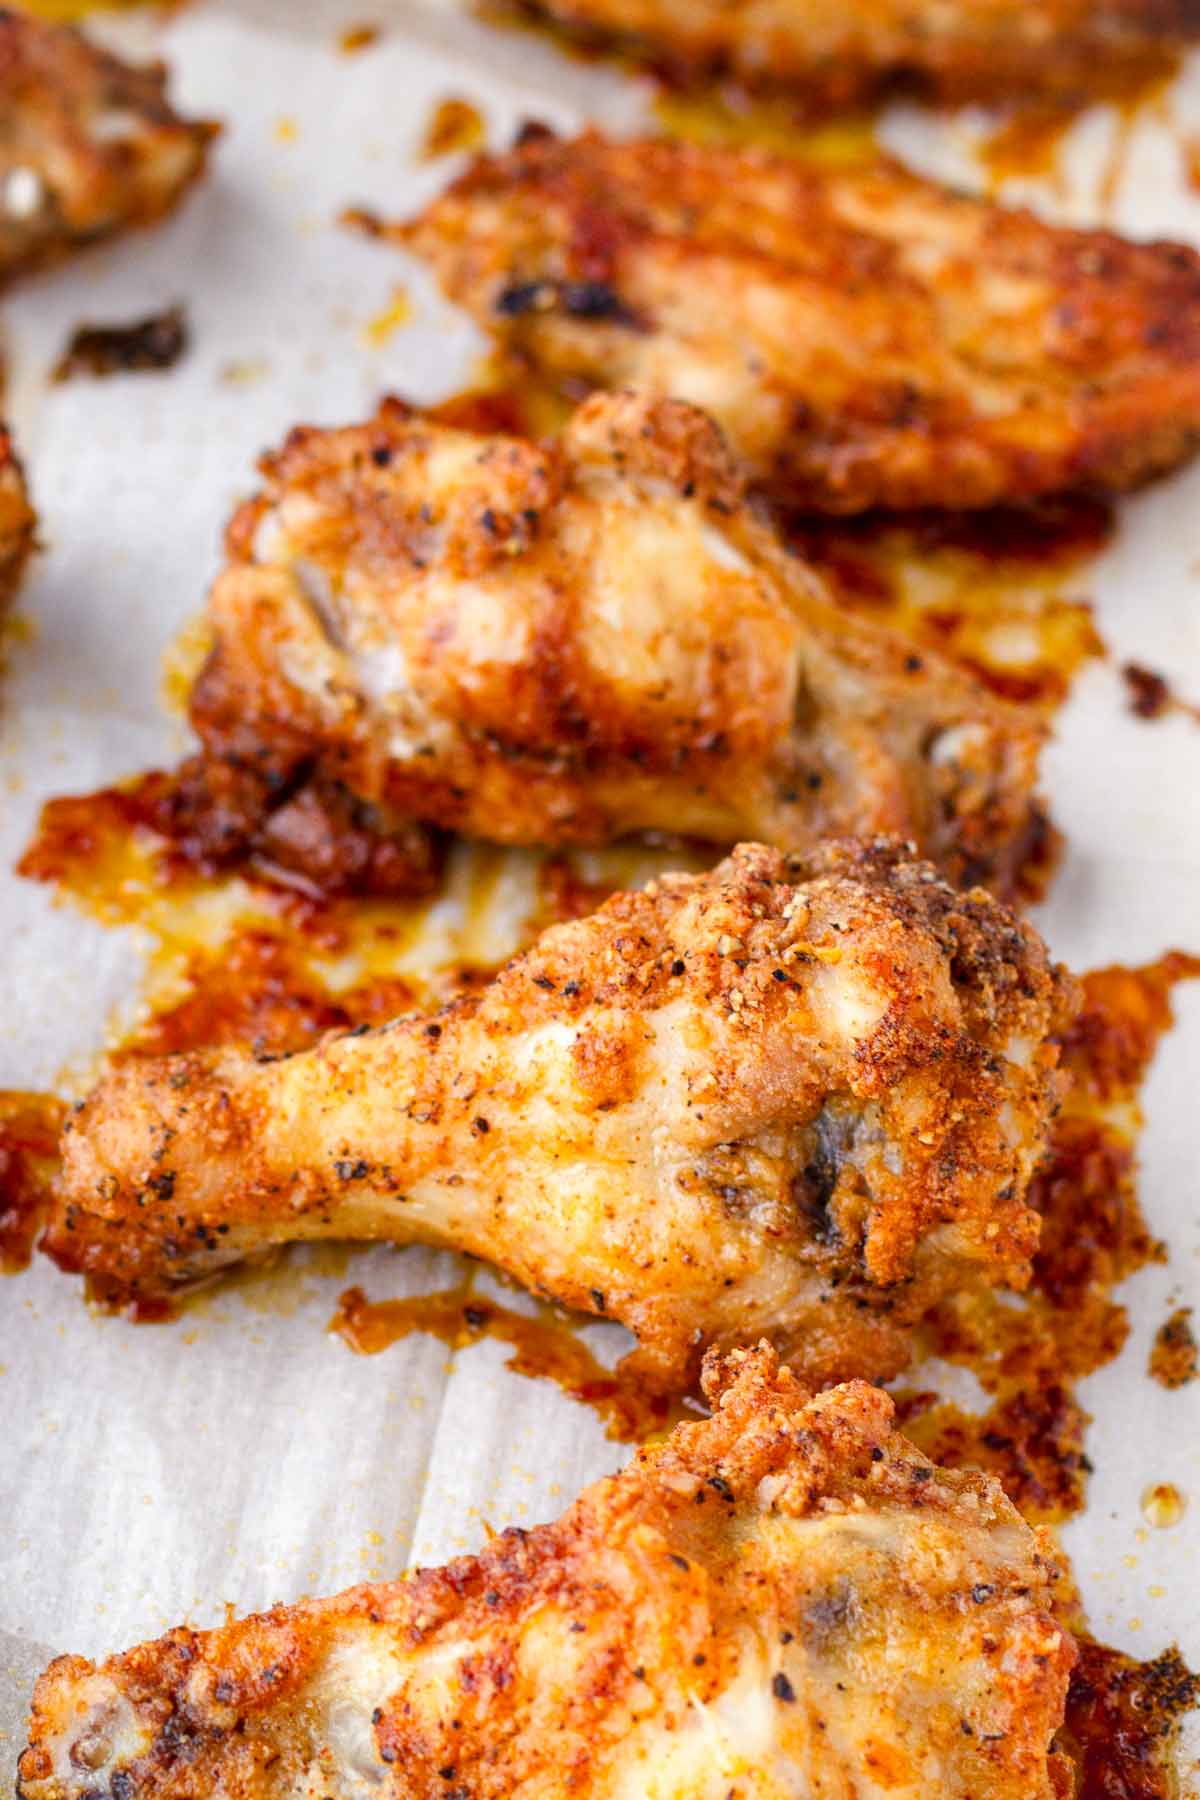
Aside from the baking powder method, here are additional tips and tricks to maximize crispiness:
- Thoroughly pat dry the chicken wings before adding any seasoning. Moisture is the enemy of crispiness.
- Bake at high temperature. At least 400 degrees F, which is what I use for this recipe.
- To prevent the skin from sticking, line your baking sheet with parchment paper. Alternatively, arrange the wings on an oven-proof wire rack set on top of the sheet pan. This will allow airflow evenly, making the chicken wings even crispier!
- Don’t overcrowd the pan. If the wings are too close together, they will steam instead.
I’ve also tested this recipe with cornstarch instead of baking powder, and while it does a pretty decent job, the skin doesn’t turn out nearly as good. So, baking powder always!
Ingredient Notes
I hope these quick notes from recipe testing are helpful, especially when picking up the ingredients at the grocery store. Per usual, quantities are listed in the recipe card down below.
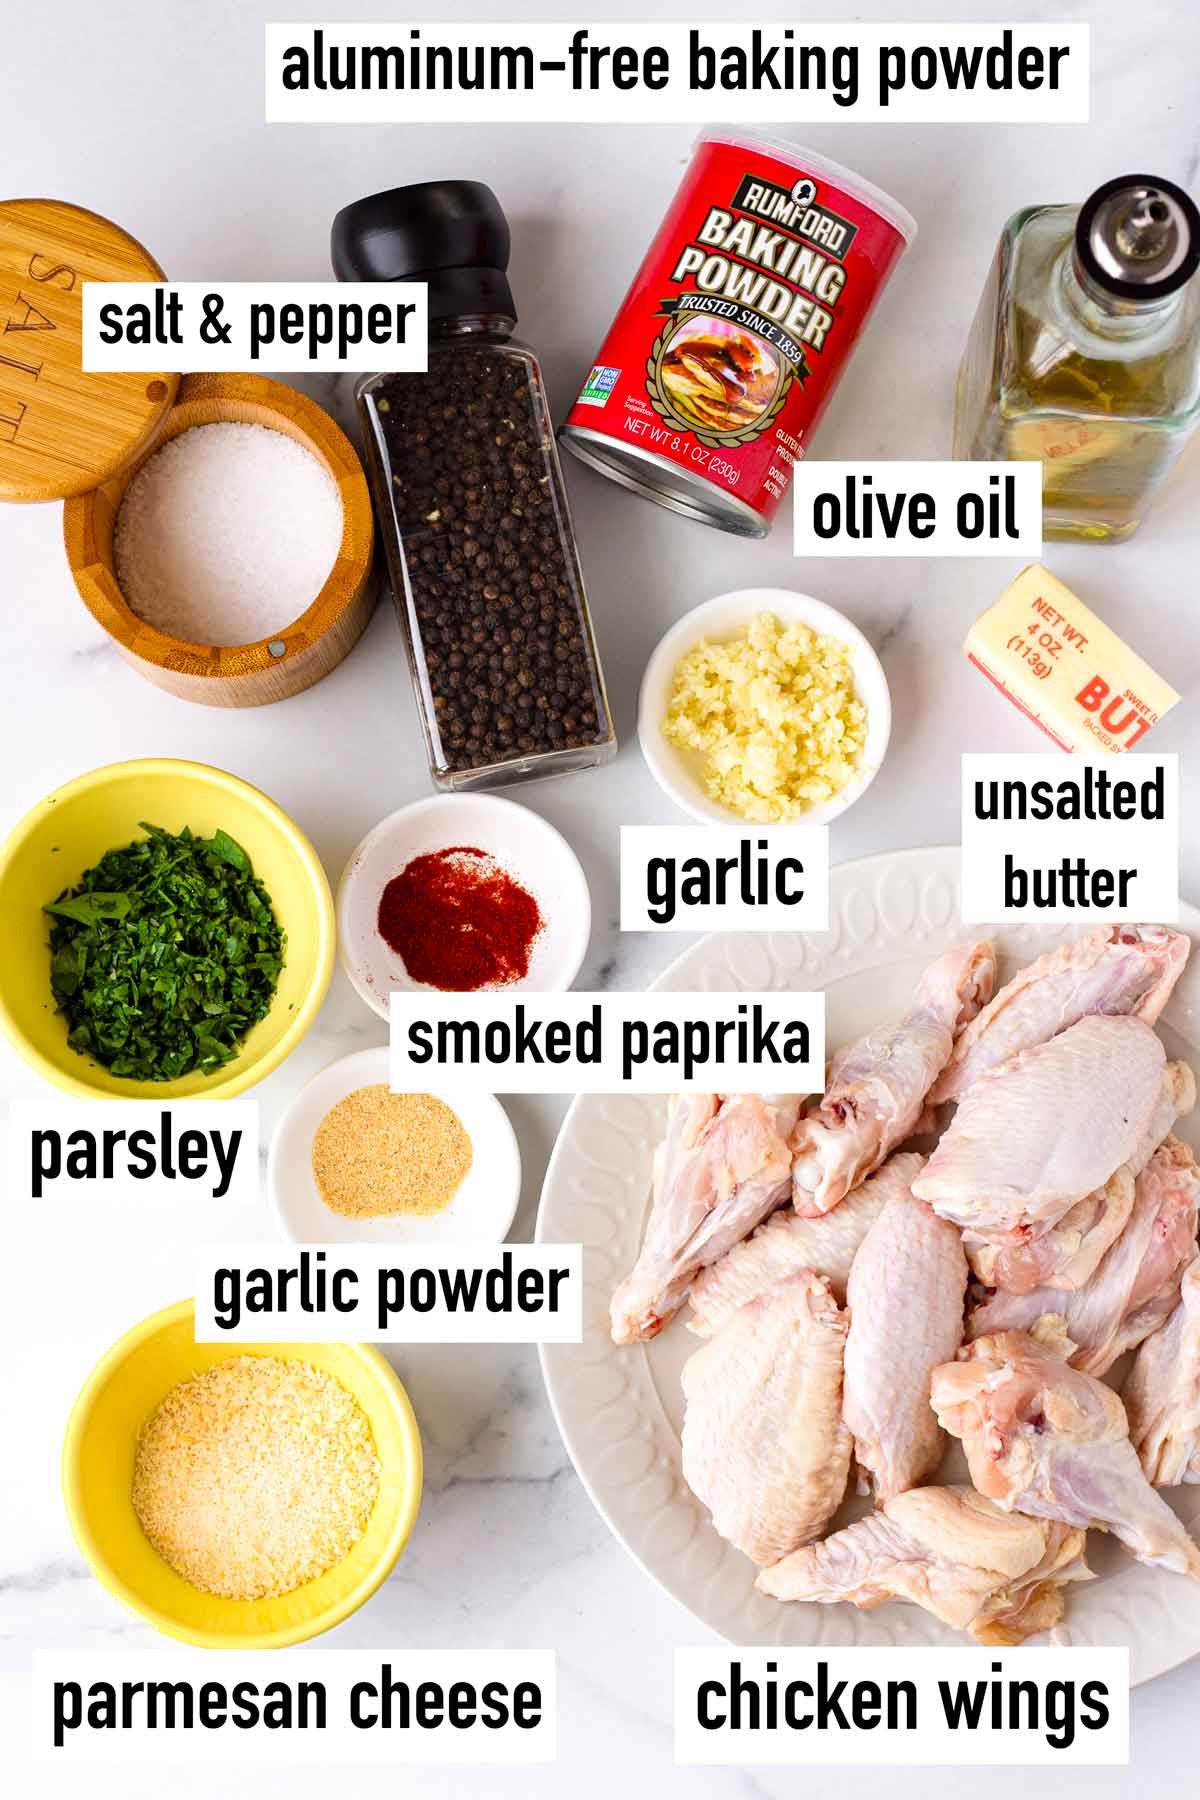
- Chicken wings: Most stores sell whole chicken wings, meaning that the flat part of the wing, wing tip, and drumettes are still joined together. If this is the case, be sure to cut them into wingettes and drumettes (discard the little wing tips) to ensure even cooking.
- Aluminum-free baking powder: Opt for aluminum-free baking powder to achieve that coveted crunch without any unwanted aftertaste. Check the ingredient list in the back to make sure it doesn’t contain “sodium aluminum sulfate.”
- For the rub: Olive oil, garlic powder, smoked paprika, kosher salt, and ground black pepper. Feel free to use any other seasonings you’d like.
- For the garlic parmesan sauce: Melted unsalted butter, finely grated parmesan cheese, minced garlic, and chopped Italian parsley.
- Italian parsley: Finely chopped parsley adds a touch of freshness as garnish.
Step-by-Step Tutorial
Here’s a tutorial on how to make the best garlic parmesan wings ever right at home. They turn out so much better than anything you can get at restaurants!
Step 1 | Season chicken wings
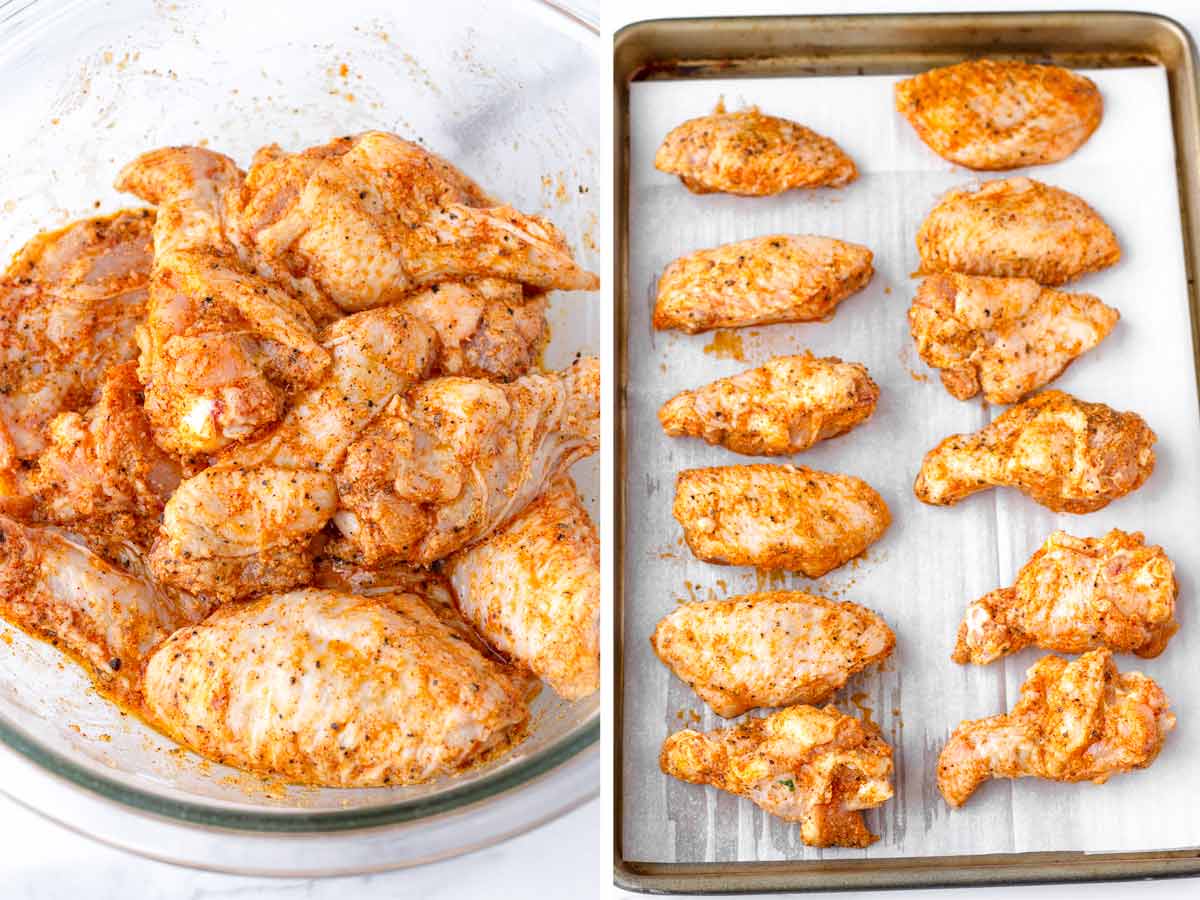
Preheat oven to 400 degrees F. Start by patting the chicken wings dry with paper towels thoroughly. This is important – moisture is the enemy of crispiness.
Then, in a bowl, toss them with olive oil, baking powder, garlic powder, smoked paprika, kosher salt, and black pepper until evenly coated.
Prep ahead (optional): At this point, you can let the seasoned chicken sit in the fridge overnight. In fact, this will make them even crispier because it will help the skin dry out even more. Arrange the seasoned chicken wings on a tray in one single layer and refrigerate, uncovered, overnight.
Step 2 | Bake until crispy
Arrange chicken wings on a large sheet pan lined with parchment paper or on an oven-proof wire rack set on top of the pan. They should be about 2 inches apart – overcrowding can lead to steaming, and you definitely don’t want that here. Bake in the preheated oven for about 35 minutes, flipping halfway through for even cooking.
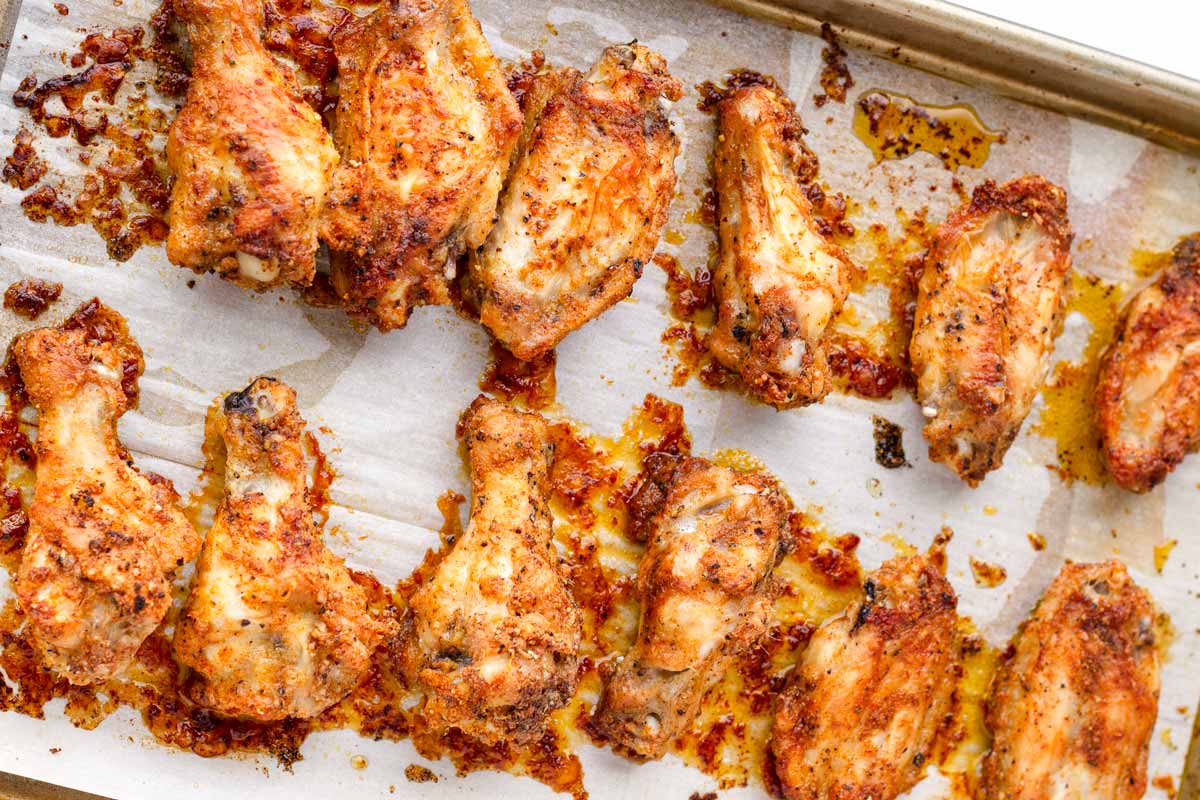
Step 3 | Toss with sauce
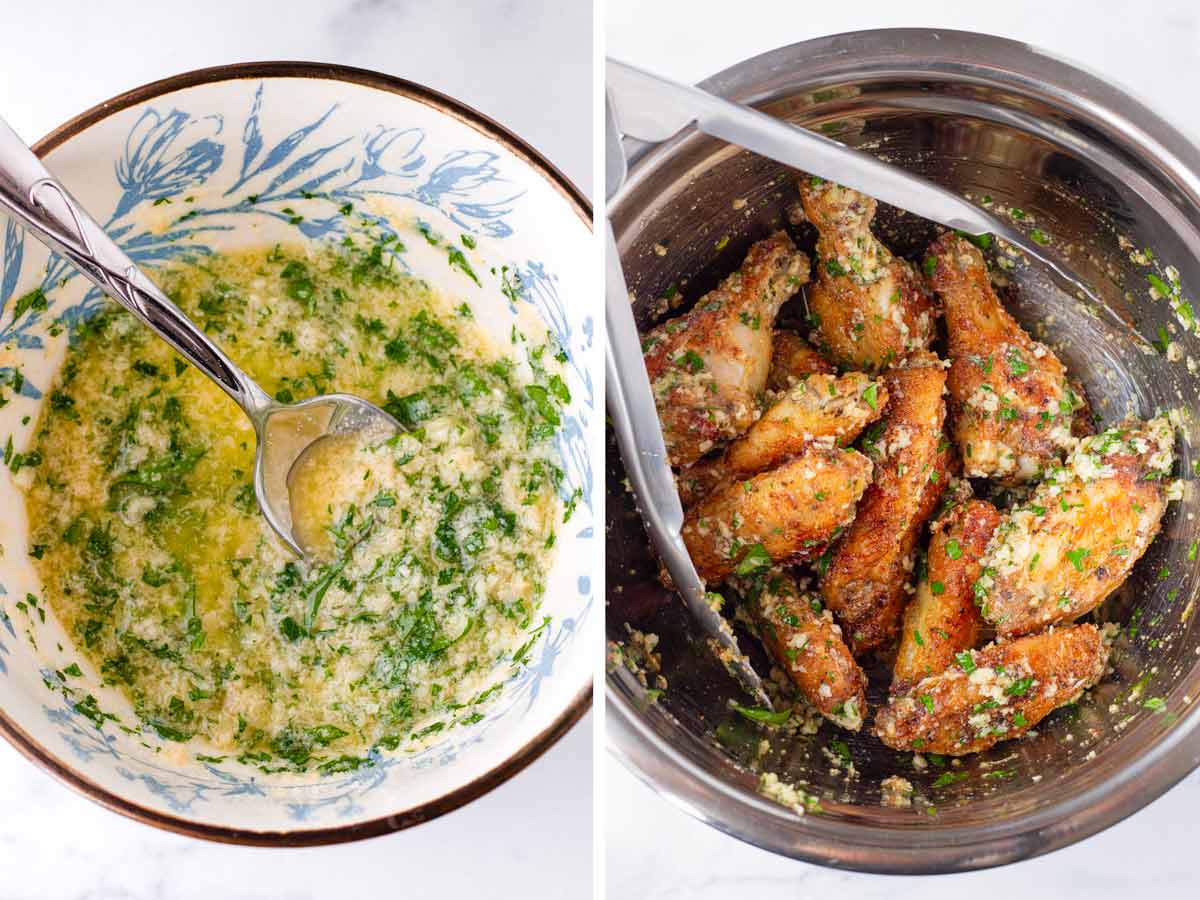
Meanwhile, prepare the garlic parmesan sauce by combining melted butter, grated parmesan cheese, minced garlic, and chopped parsley in a bowl.
Once the wings are done, take them out of the oven and transfer to a large bowl. Drizzle the sauce over and toss to combine until evenly coated.
Step 4 | Finish in the oven
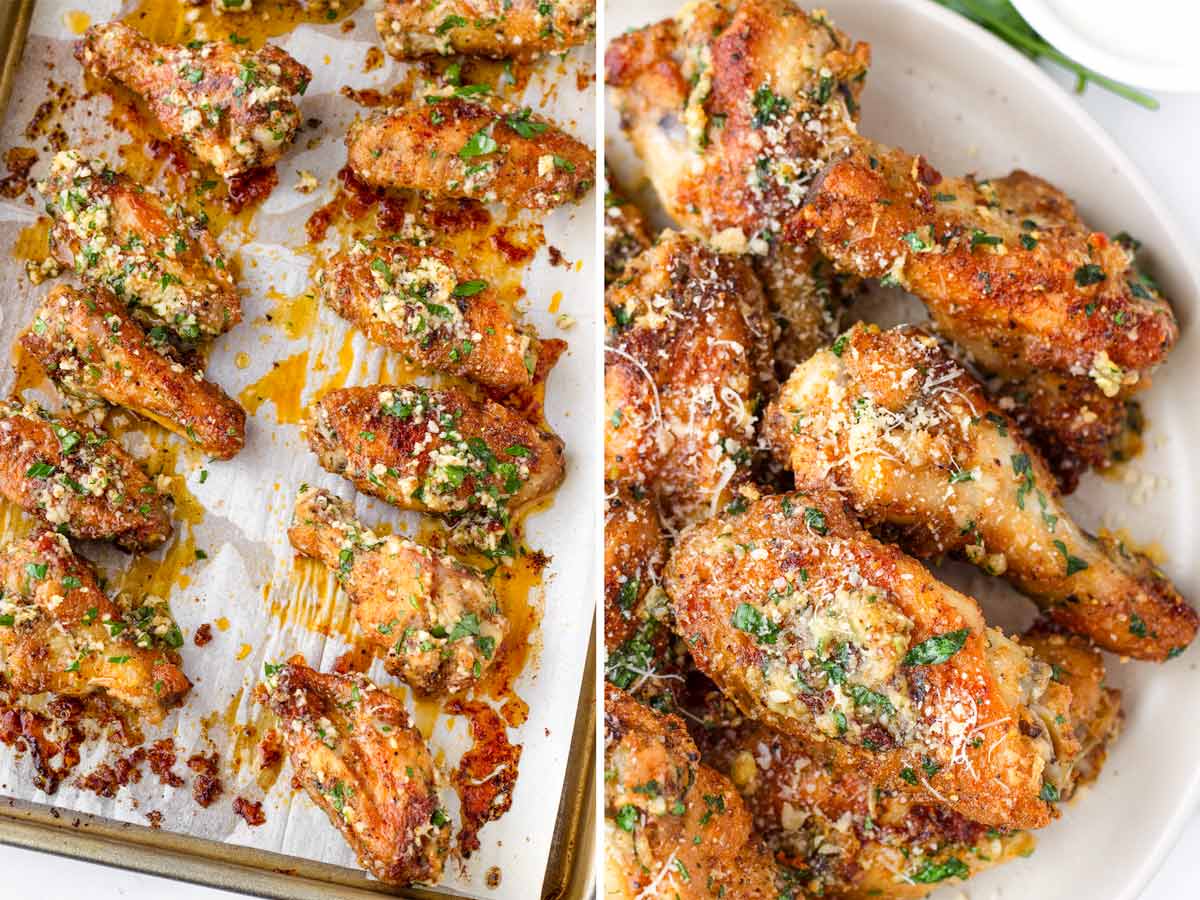
Transfer the sauced wings back to the sheet pan and finish cooking in the oven for another 5 minutes. To serve, garnish with more grated parmesan on top and finely chopped parsley. Enjoy them while still warm and extra crispy. So good!
Optional Air Fryer Method
To adapt this recipe for an air fryer, follow the same steps for seasoning and air fry at 390 degrees F for about 15 to 18 minutes until crispy, flipping halfway through. Toss with the garlic parmesan sauce as directed, and air fry for another 2 minutes.
How to Reheat Leftovers
Do not use the microwave to reheat, as this can make them very soggy.
Instead, reheat the garlic parmesan wings in the oven at 375 degrees F until the chicken is warm throughout, about 15 minutes. You can also use the air fryer at 375 degrees F for 8 to 10 minutes. They may not be as crispy as when freshly baked, but they will still turn out pretty good!
Recipe FAQs
Baking powder is the secret ingredient used to ensure oven-baked chicken wings come out extra crispy and golden brown. Aluminum-free baking powder doesn’t leave a metallic aftertaste that its counterpart does.
Check the ingredient label to make sure it doesn’t contain “sodium aluminum sulfate.” My go-to brand is Rumford.
I’ve tested this recipe with cornstarch instead of baking powder, and it works pretty well all things considered. However, baking powder makes them even crispier, which is why I always use this method no matter what.
Season the chicken with all the spices, including the baking powder. Arrange on a tray in one single layer and refrigerate, uncovered, overnight. This will make them even crispier because it will help the skin dry out even more. The next day, bake as directed, adding a few extra minutes as needed.
This recipe was originally published in 2018 and updated in November 2023 to include new photos and information, plus a few recipe modifications.
Tips for Success
- Use aluminum-free baking powder. This is a crucial ingredient. Check the product ingredient label and make sure it doesn’t contain “sodium aluminum sulfate” as one of the ingredients. Also, be sure to use baking powder and NOT baking soda.
- Thoroughly pat dry the chicken wings before seasoning. Removing as much moisture as possible will yield crispier wings.
- Line the sheet pan with parchment paper or place an oven-proof wire rack on top of the pan. This will prevent the skin from sticking.
- Do not overcrowd the pan, otherwise they will steam instead. Arrange each wing about 2 inches apart.
I’d love to hear from you! If you loved my recipe, please consider leaving a 5-star rating and a comment down below. Sign up for my newsletter and follow along on Instagram, Facebook, or Pinterest
Crispy Garlic Parmesan Wings
Equipment
Ingredients
- 2 pounds chicken wings, cut into wingettes and drumettes - discard the wing tips
- 3 tablespoons olive oil
- 1 tablespoon aluminum-free baking POWDER - see note below
- 1 teaspoon garlic powder
- 1 teaspoon smoked paprika
- 1 teaspoon Kosher salt
- ½ teaspoon ground black pepper
Garlic parmesan sauce:
- ¼ cup unsalted butter, melted and cooled
- 2 cloves garlic, finely minced
- 3 tablespoons finely grated parmesan cheese - plus more for garnish
- 2 tablespoons finely chopped Italian parsley - plus more for garnish
Instructions
- Preheat oven to 400 degrees F. Line a large sheet pan with parchment paper.
- In a large bowl, toss the chicken wings with olive oil, baking powder, garlic powder, smoked paprika, Kosher salt and black pepper.
- Arrange the chicken wings on a large sheet pan, spacing them about 2 inches apart (use 2 sheet pans if needed). Bake for 35 minutes, flipping halfway through.
- Meanwhile, make the garlic parmesan sauce: In a bowl, mix the sauce ingredients until evenly combined. Set aside.
- Remove the baked chicken wings from the oven and transfer them to a large bowl. Toss with the prepared garlic parmesan sauce until evenly coated. Return the coated chicken to the sheet pan, and finish baking in the oven for another 5 minutes until the sauce is incorated and the chicken is fully cooked through.
- Serve with grated parmesan cheese and parsley on top. Enjoy!
Notes
- Baking powder: Check the product ingredient label and make sure it doesn’t contain “sodium aluminum sulfate” as one of the ingredients.
- How to reheat leftovers: In the oven at 375 degrees F until warm, about 15 minutes. Or in the air fryer at 375 degrees F for 8 to 10 minutes or until warm throughout.
- Prep ahead: You can season the chicken with all the spices, including the baking powder. Arrange the seasoned chicken wings on a tray in one single layer and refrigerate, uncovered overnight. In fact, this will make them even crispier because it will help the skin dry out even more. Bake as directed, adding a few extra minutes to the baking time as needed.
- Baking powder: Cornstarch will work in a pinch, but not as great in my experience.
- Feel free to use additional seasonings of your choice for the chicken rub.



Gayle Sikkema says
Seasoning and sauce are spot on. However, the wings should be cooked longer or at higher temp to get crisper. Will definitely make again with that adjustment.
Cindy says
Air fryer? Thx
Tania says
Hi! Air fryer instructions are included under the “Optional Air Fryer Method” section in this post.
Ash says
What if I don’t have aluminum free baking powder, should I use cornstarch instead or use the baking powder I have?
Carol A Ciccone says
OMG..delish! I used chicken drumsticks instead of wings. I served it with homemade mac and cheese with garlic infused collards. Fabulous dinner! Thank you!!
Lance says
If your baking powder has the sodium aluminum sulfate, what happens?
Tania says
It will leave a metallic aftertaste
Sadie says
Hi will this sauce last in the fridge?
Tania says
Hi Sadie – I’d say a 1-2 days, and it will need to be reheated when you’re ready to use it.
Tania says
Hi Josh! Back down to middle rack no broil! 🙂
Anna Zook says
Can i make these in a crockpot??
Tania says
Hi Anna! I haven’t tested this recipe in a crockpot, so I am not 100% sure. I would imagine that they may not turn out crispy if cooked in a crockpot. I hope you give this recipe a try! 🙂
Jill says
Ooh that sauce sounds amazing! Can’t wait to try it!
Tania says
Thank you! Let me know how it turns out 🙂