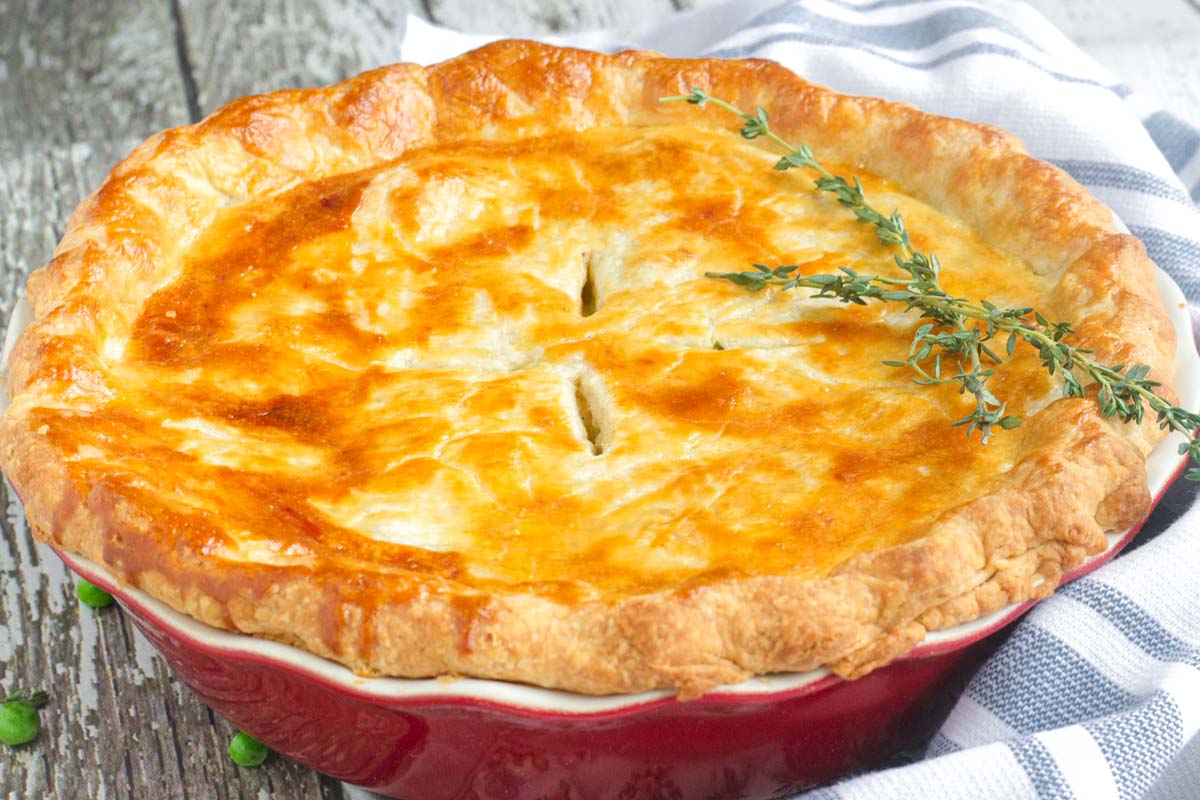
There’s nothing better and more comforting than a homemade Chicken Pot Pie! It’s creamy and delicious, and it’s made with a super flaky homemade buttermilk pie crust.
The chicken pot pie filling is so creamy and out-of-this-world delicious! The homemade buttermilk pie crust is extra flaky, tender, and so buttery.
You’ll love this double crust chicken pot pie. It’s the ultimate comfort food, and I guarantee everyone will be coming back for seconds!
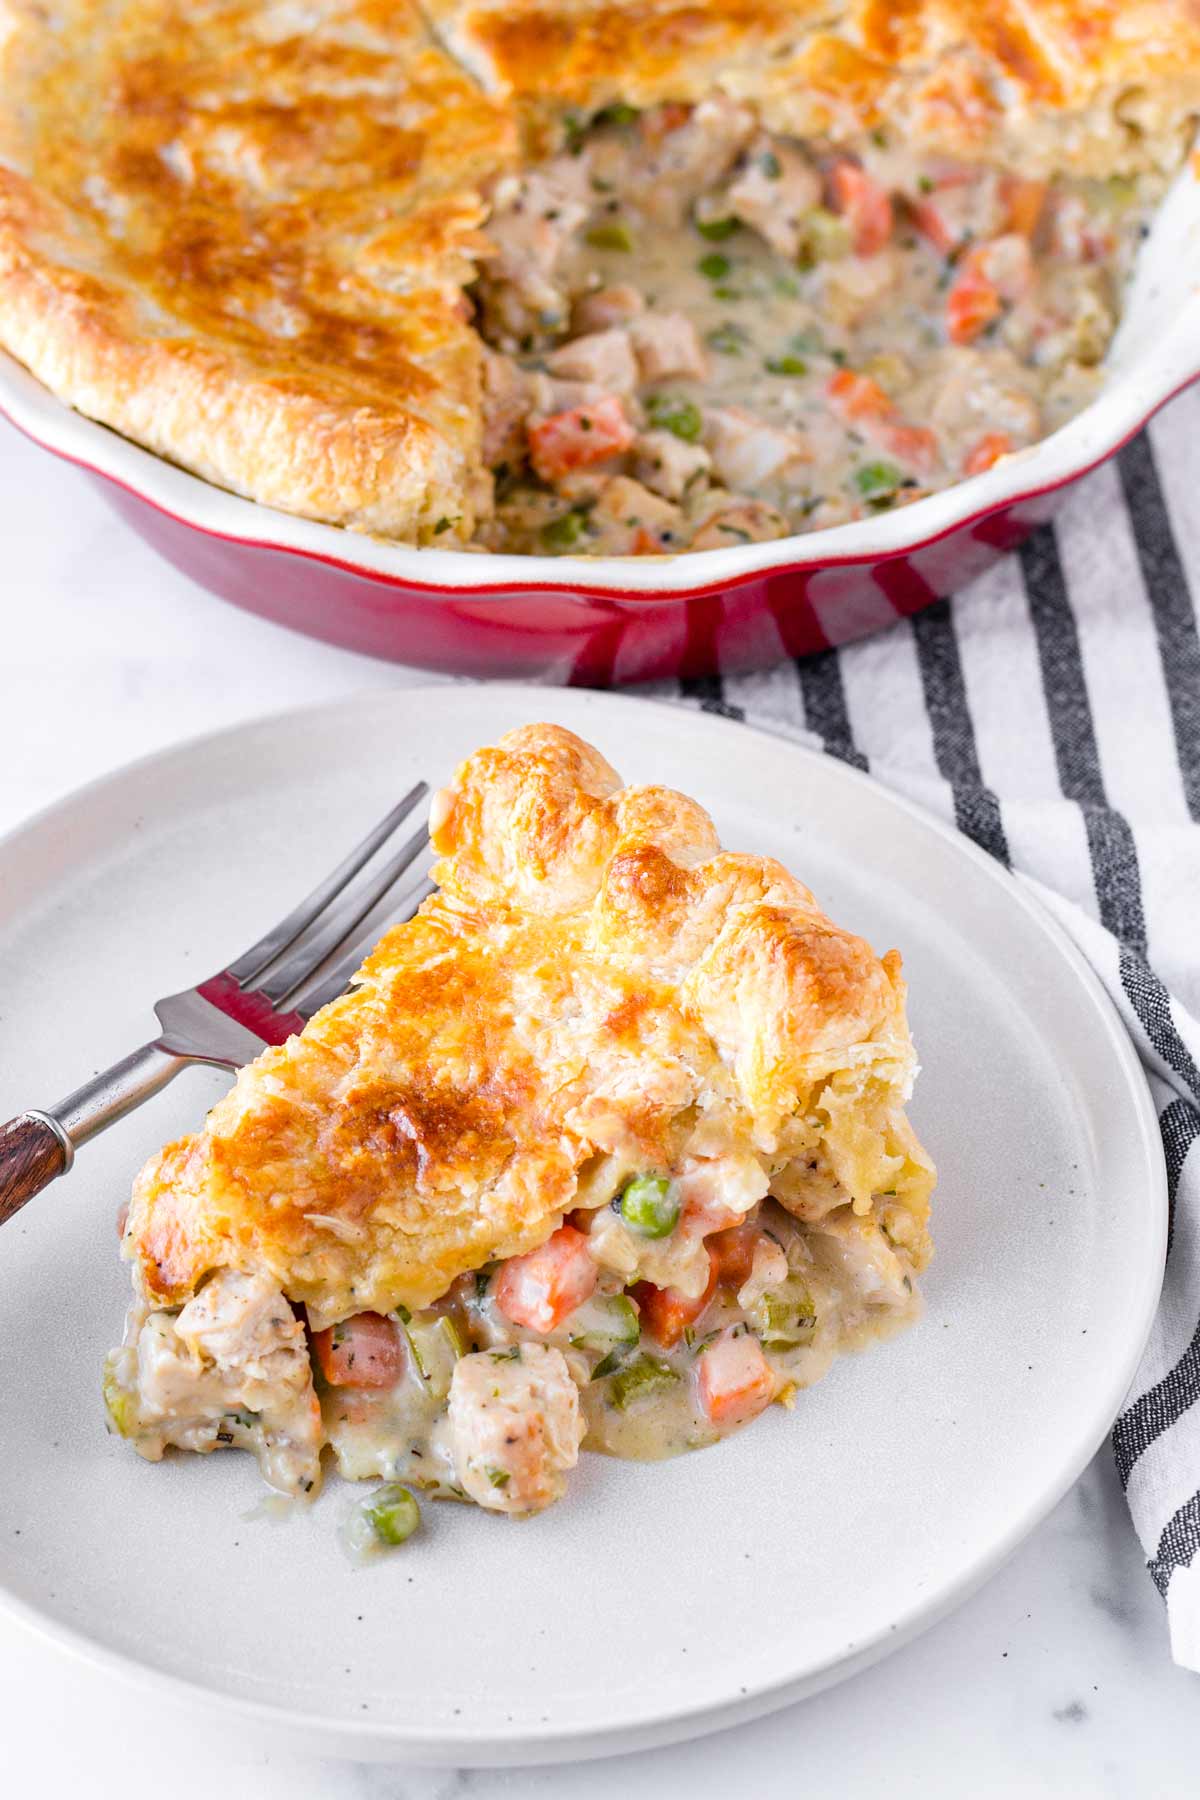
One of my winter-time cravings is this homemade chicken pot pie. It’s always got to be homemade – I have yet to find a restaurant out there that makes a good pot pie.
Any kind of chicken pot pie warms my soul – I love this biscuit chicken pot pie as much as this traditional double crust chicken pot pie recipe I am sharing today.
This recipe uses my homemade buttermilk pie crust recipe. It’s a flavorful, tender, and ultra flaky crust that takes this pot pie to a whole new level. As for the filling…let’s just say I could eat the entire filling on its own. More on it down below!
Here’s why you’ll love this homemade chicken pot pie:
- The filling is creamy and thick so it doesn’t turn into “soup.”
- The make-ahead buttermilk double pie crust is amazing (top and bottom). Tender, flaky, and oh so buttery! It’s also very easy to roll and work with.
- The chicken pot pie is make-ahead and freezer friendly.
If you’re on a comfort food kick, try this Dutch Oven Whole Roast Chicken, Dutch Oven Pot Roast, or Classic Beef Stew.
Jump to:
- Flaky and Buttery Double Pie Crust
- Creamy Chicken Pot Pie Filling
- Ingredient Notes
- Step-by-Step Instructions
- Do I Need to Blind Bake the Bottom Crust?
- Variations and Shortcuts
- Make Ahead and Freezing Instructions
- Pairing and Serving Ideas
- Recipe FAQs
- Tips for Success
- Homemade Chicken Pot Pie with Buttermilk Pie Crust
Flaky and Buttery Double Pie Crust
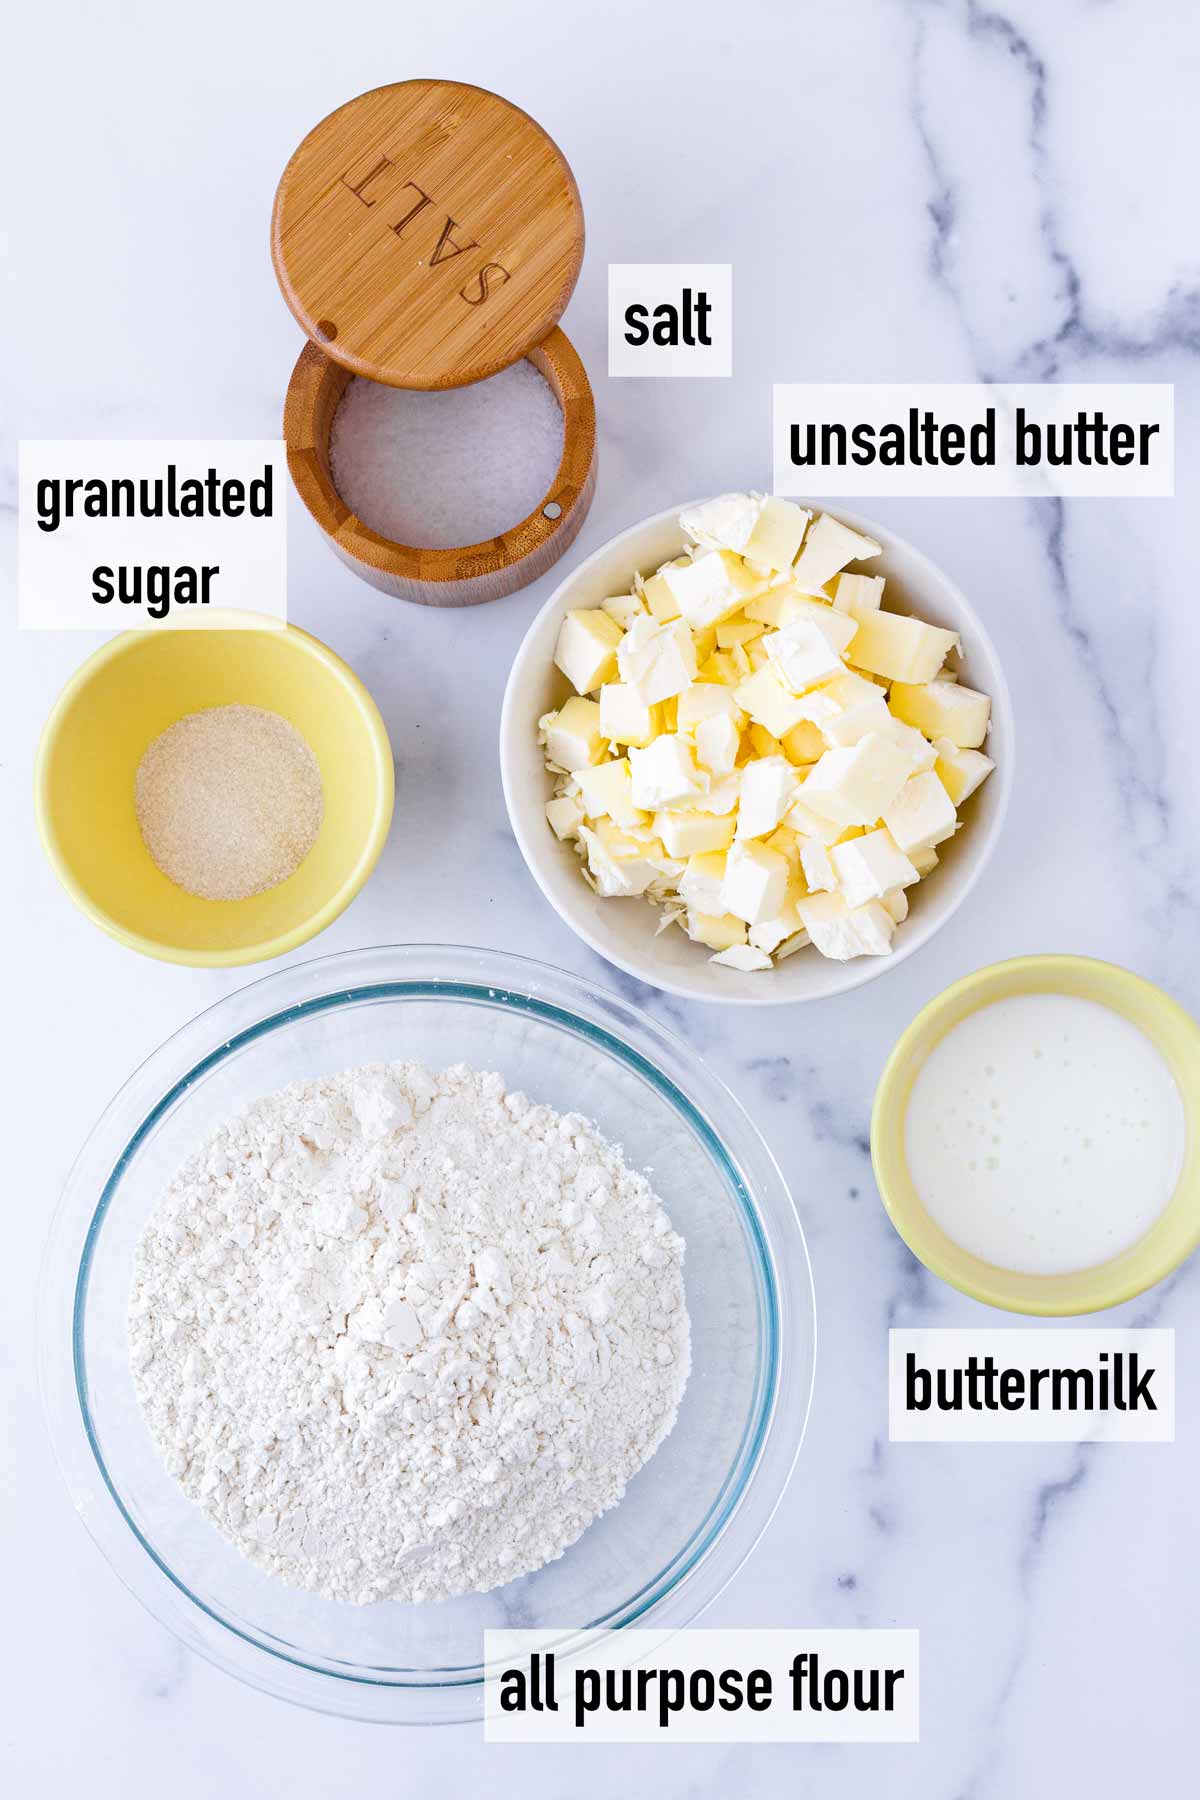
This is a double-crust chicken pot pie, with a bottom and a top crust. I use my buttermilk pie crust, which is super flaky, delicious, and tender thanks to the buttermilk and butter.
With this pie crust recipe, you’ll get 2 disks for the top and bottom for a 9-inch pie.
You can make the dough up to 5 days in advance or freeze it for up to 2 months. It’s super easy to make, and you can either use a food processor or make it by hand.
Creamy Chicken Pot Pie Filling
Out of all the pot pies I have made in my life, this one is seriously the BEST. It’s creamy, rich, and SO delicious.
It holds well, so you won’t get a soupy filling. The trick is making sure you make a generous filling. The more chicken and veggies inside, the thicker it will be…and the better the pot pie will hold up when sliced.
It all starts with the seasoned pan-seared chicken! I’m not a huge fan of using rotisserie chicken for chicken pot pie because it can be bland. I prefer pan-searing seasoned chicken. The seared crust adds LOTS of flavor to the filling. Trust me, it makes a HUGE difference.

Ingredient Notes
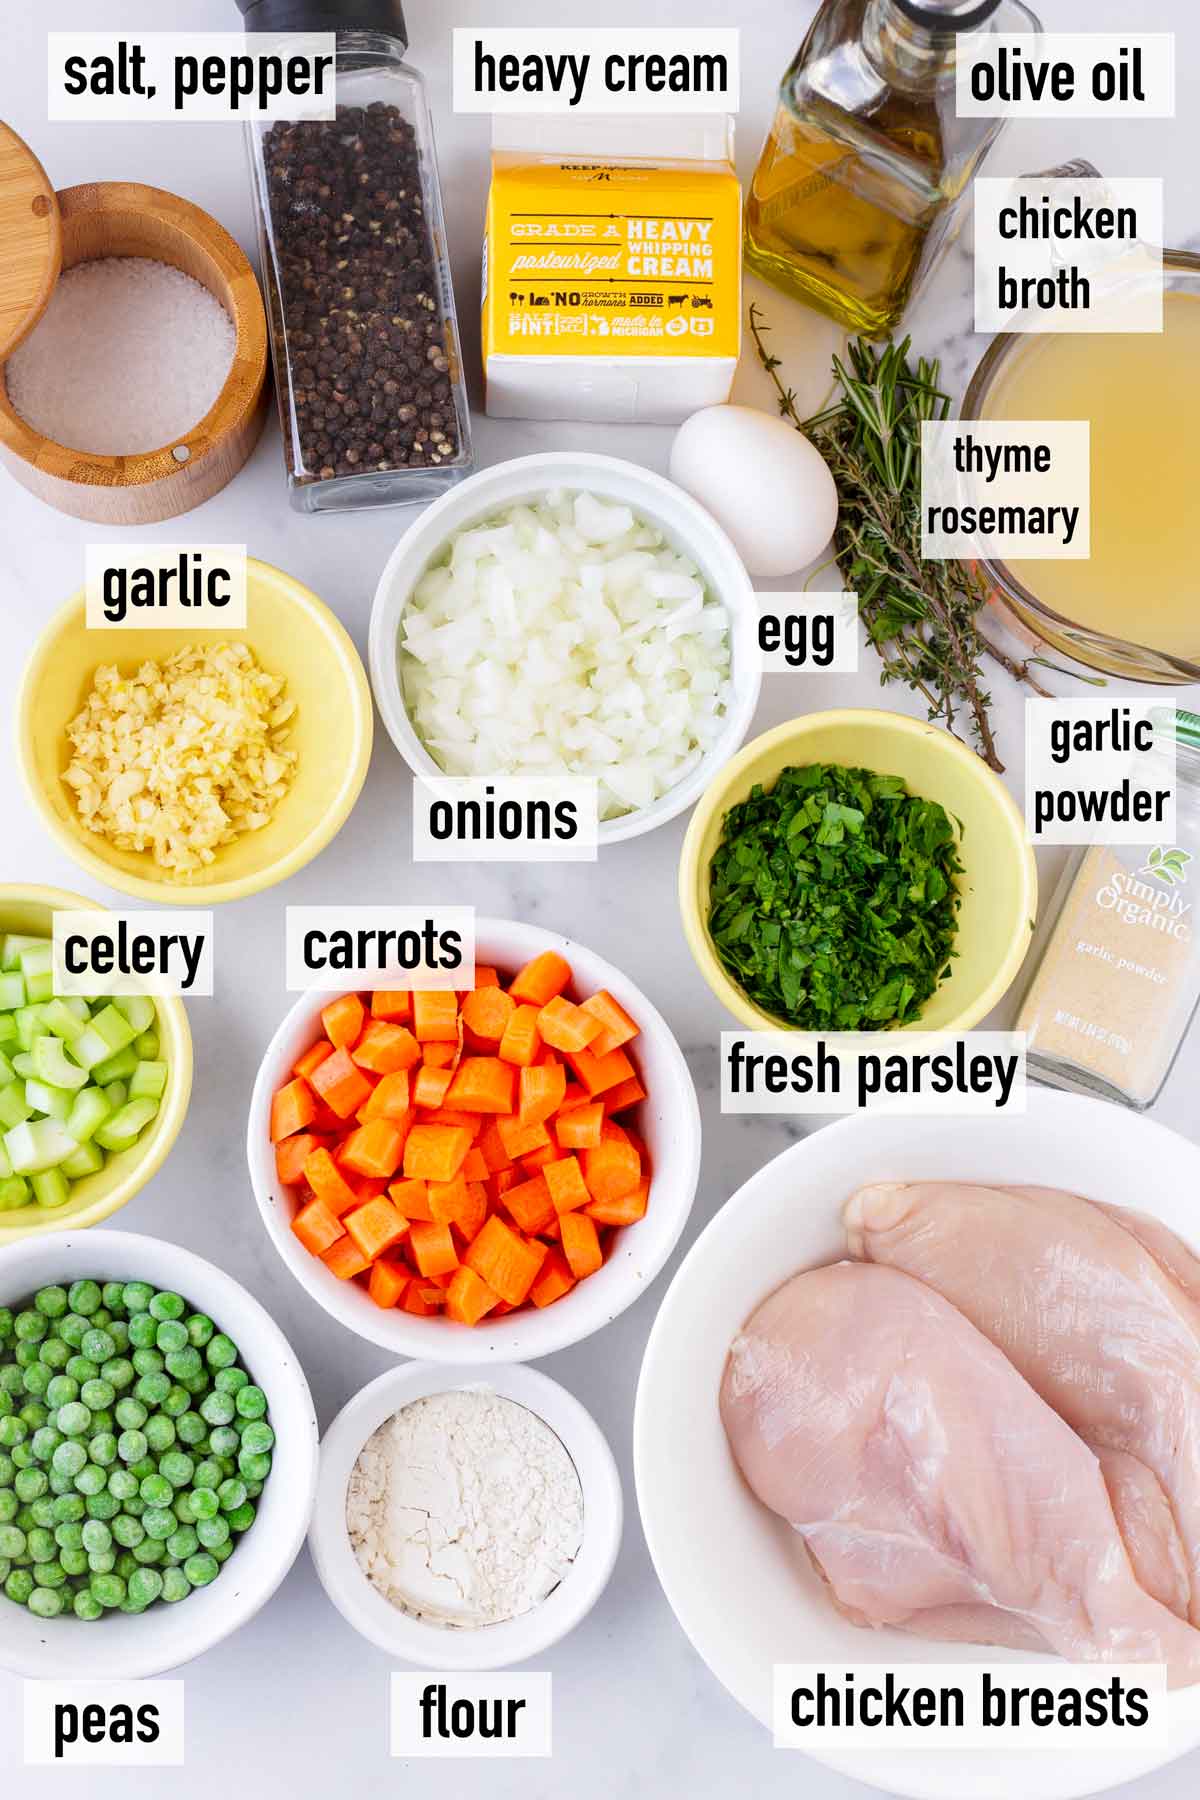
The complete ingredient list can be found in the recipe card down below, but I want to share a few quick notes:
- Chicken breasts: Use 2 large chicken breasts or 3 medium ones. If the filling doesn’t have enough chicken, the mixture won’t be thick enough for the amount of liquid.
- Thyme and rosemary: I use fresh herbs here since it makes a big difference in flavor, but dried herbs work too.
- Double Pie Crust: The dough needs to chill for at least 2 hours or overnight in the fridge. Make it up to 5 days in advance or freeze for up to 2 months.
Step-by-Step Instructions
Step 1 | Make the buttermilk pie crust dough
Follow these directions to make the buttermilk pie crust. Let the dough chill for at least 2 hours before using, as directed in the link. I make it the day before.
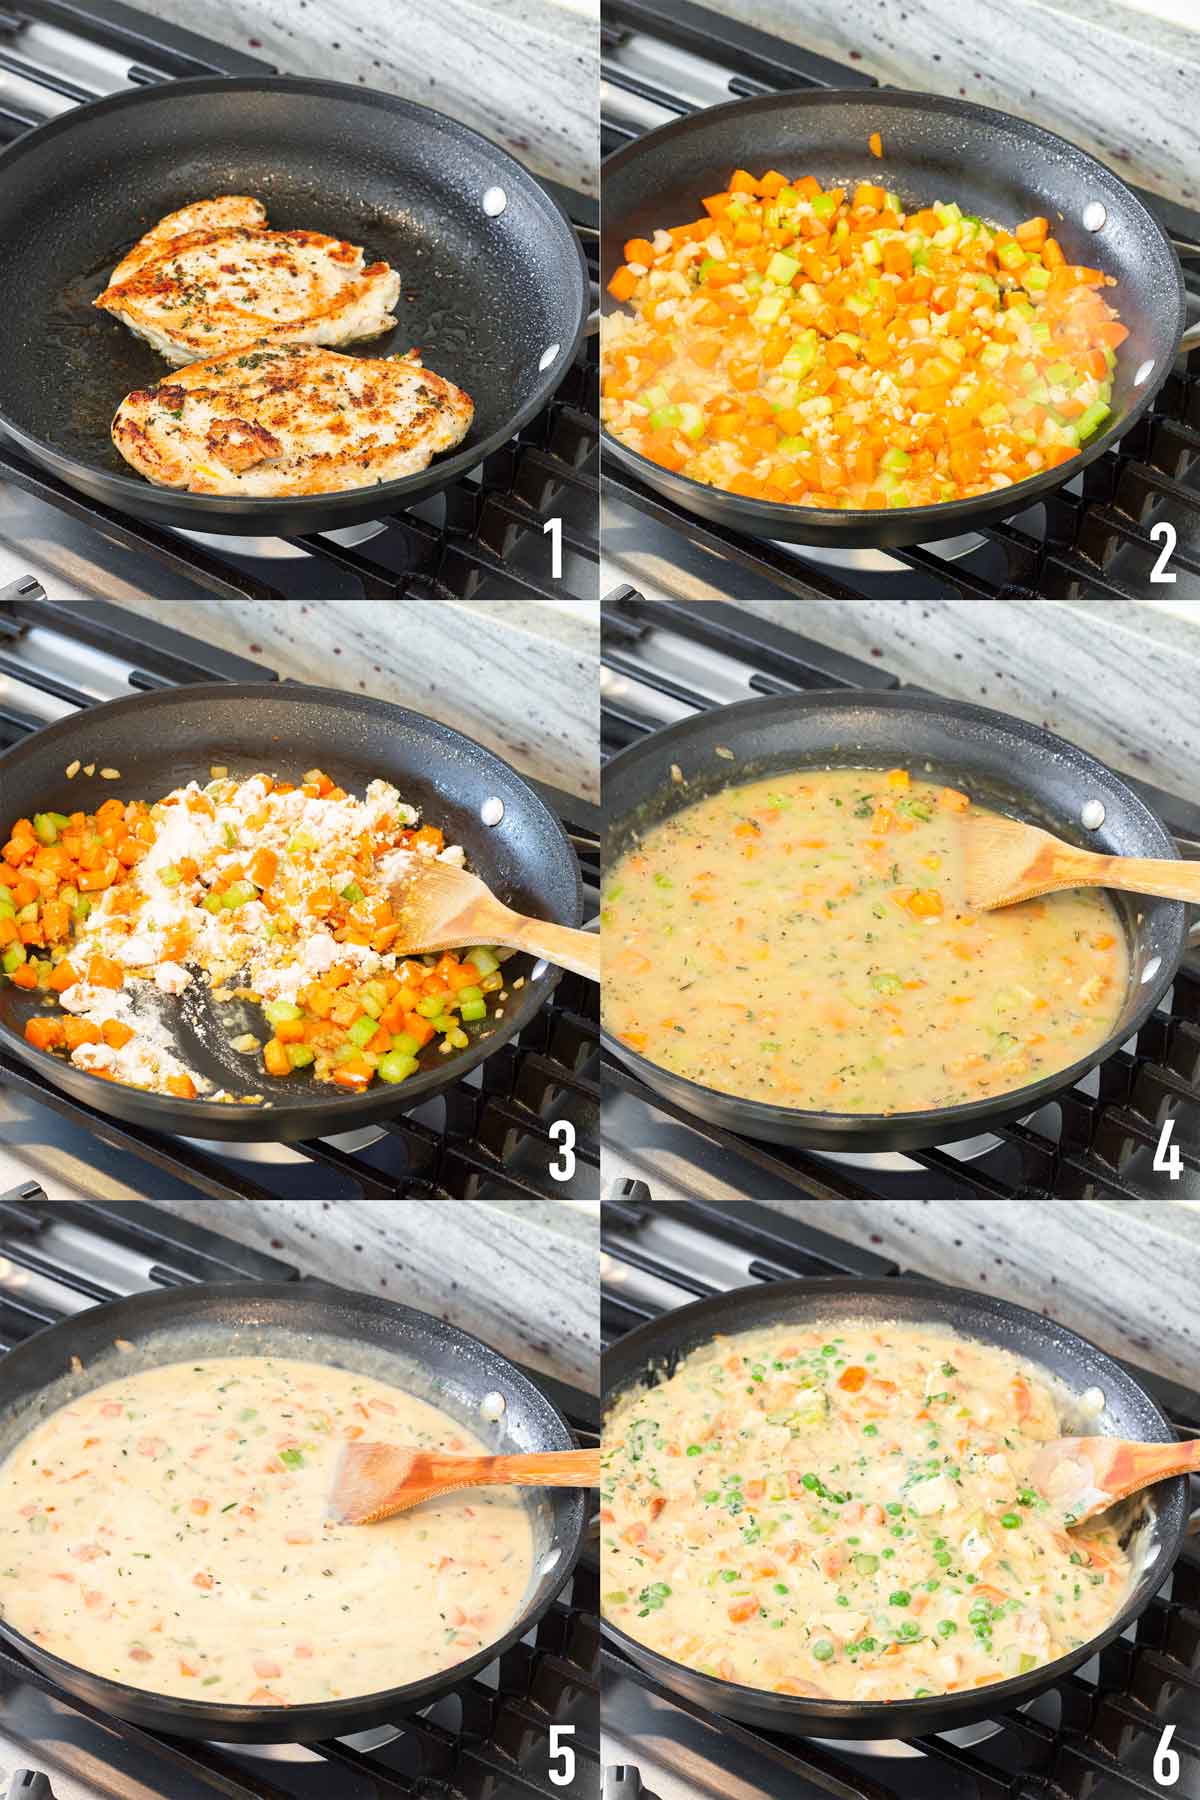
Step 2 | Make the chicken pot pie filling
- In a large deep skillet, cook the seasoned chicken (fresh thyme, salt, pepper, garlic powder, olive oil) on a skillet, about 6-8 minutes per side. Set aside and let it rest.
- Wipe skillet and melt the butter. Cook the celery, carrots, onions, and garlic until softened, about 8 minutes.
- Add flour and toss to coat the vegetables.
- Gradually add broth, stirring to dissolve the flour. Add thyme, rosemary, salt, and pepper.
- Add heavy cream. Simmer for 5 minutes.
- Return chicken (cubed) to the skillet, plus parsley and peas. Season to taste. Let cool slightly.
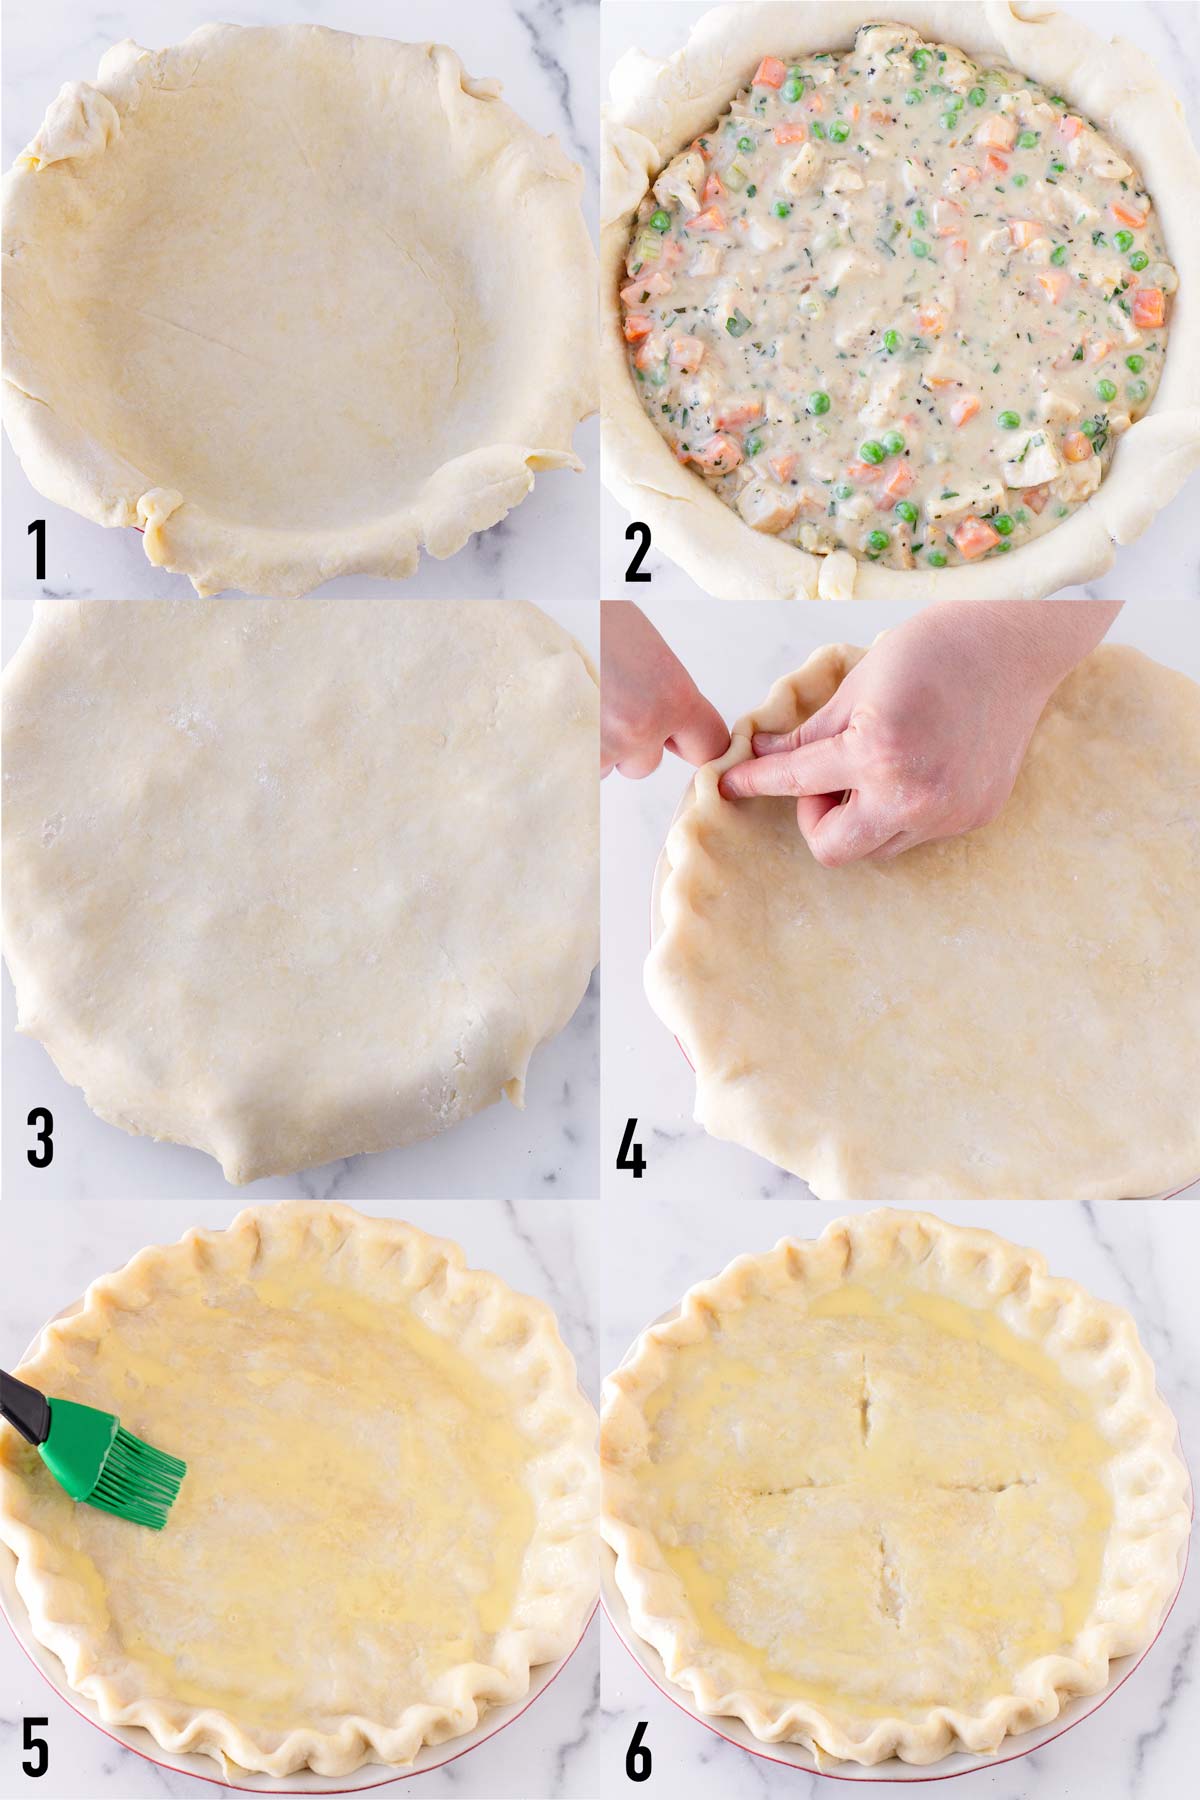
Step 3 | Assemble
- Roll both disks into 12-inch circles. Place the dough (one of them) on top of a 9-inch pie pan. There should be overhang.
- Fill the pie with the chicken pot pie filling.
- Cover with the second rolled out dough.
- Tuck and fold the overhang of the top dough under the bottom pie dough to loosely seal the pie. Then, crimp the edges to seal tightly with your fingers or with a fork. Tip: I like a curvy design around the edges. I press between my thumb and index finger with my knuckle.
- Brush with egg wash.
- Cut slits on top
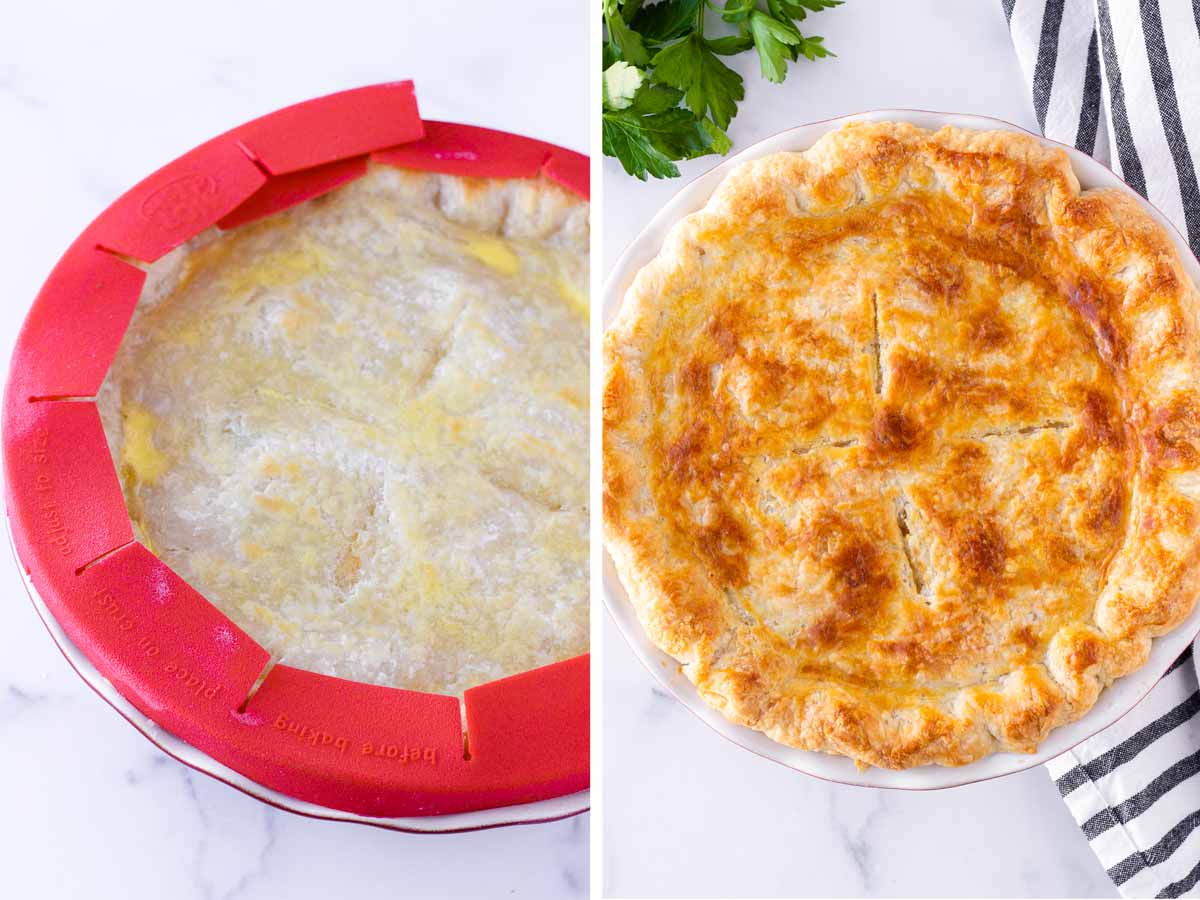
Step 4 | Bake
Bake at 400 degrees F for 35-40 minutes. 15 minutes into the baking time, cover edges with a pie crust shield or foil to prevent edges from browning too soon.
Do I Need to Blind Bake the Bottom Crust?
There is no need to blind bake the bottom. The bottom will cook fully during the baking time. Plus, if you blind bake the bottom, it will be difficult to seal the edges with the top dough.
Follow these guidelines and you should be good to go:
- Don’t make the filling too thin. It should be creamy and thick.
- Make sure your oven is fully preheated, plus 15-20 minutes. Some ovens don’t fully preheat even though they say they are.
- Place the pie on top of a large preheated sheet pan. The hot sheet pan will transfer heat to the bottom of the pie. This also prevents any spills onto your oven.
If you’d still like to blind-bake the bottom crust, here are some tips:
- Prick the bottom of the dough with a fork. Then, place parchment paper on top, followed by pie weights – without pie weights, the dough will collapse.
- Cut any excess overhang from the dough. You want some overhang to seal the edges later, but not too much.
- Par-bake for 12-15 minutes at 400 degrees F.
- Sealing the edges: Tuck the top dough under the par-baked crust, if possible. Then use a fork to seal the edges tightly. A curvy sealed edge will not work in this case.
Variations and Shortcuts
Try these add-ons: Pre-boiled potatoes or frozen diced potatoes, frozen corn kernels, diced green beans instead of peas, turkey breast (cubed) instead of chicken.
Shortcuts:
- Store-bought pie crust, as long as it’s good quality
- Frozen mixed vegetables instead of carrots, celery, and peas
- Rotisserie chicken or leftover chicken breast. Add extra seasoning and herbs to the filling if needed.
Make Ahead and Freezing Instructions
- The filling can be prepared 1-2 days in advance and refrigerated.
- The pie crust dough can be made 5 days in advance and refrigerated, or frozen for up to 2 months (thaw in the fridge overnight).
- The assembled unbaked pie can be made 1 day in advance and refrigerated, but don’t brush with egg wash until ready to bake. Bake as directed, adding an extra 5-10 minutes or as needed to the bake time.
- Freezing: Assemble and wrap the UNBAKED PIE with aluminum foil (use 2 layers of foil). When ready to bake, let the pie sit on the counter for 30 minutes. Then, bake FROZEN and COVERED (don’t remove aluminum) foil for 35 minutes at 400 degrees F. Remove foil, brush with egg wash, and bake for another 30 minutes until heated through and golden brown on top.
Pairing and Serving Ideas
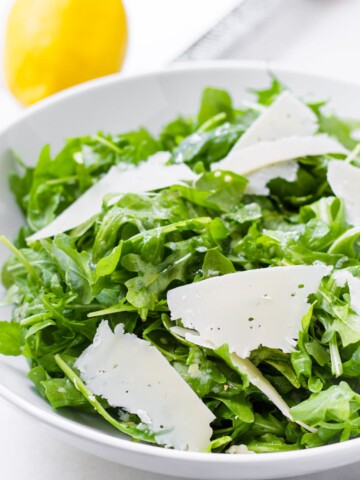
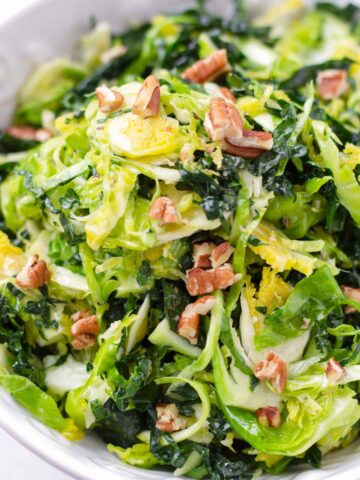
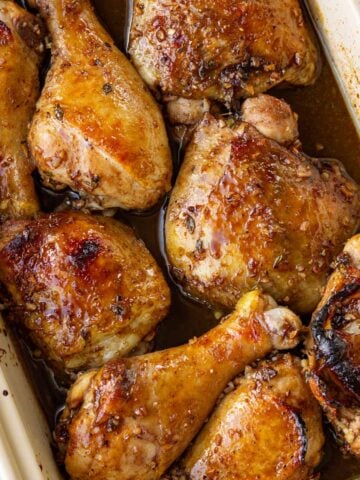
I often serve this homemade chicken pot pie on its own, but if you’re looking for side dish ideas, definitely check these out:
Recipe FAQs
This recipe makes a 9-inch double crust chicken pot pie. I’d highly recommend this 9-inch Emile Henry Pie Pan – I use it every time I make pies.
I’d highly recommend it. Heavy cream contains fat, which will give you a deep golden brown color and shiny exterior. A pie crust brushed with just beaten eggs can turn a bit pale.
I’d recommend this silicone pie crust shield. Edges tend to brown quicker, so you need to cover them about 15 minutes into the baking time. You can also wrap the edges with aluminum foil, but I find that a bit difficult to do (it doesn’t stay in place and takes forever to get it wrapped).
There is no need to blind bake the bottom. The bottom will cook fully during the baking time. For more details, see the “Do I Need to Blind Bake the Bottom?” section above or in the recipe card notes below.
Definitely! If the chicken is bland, add extra herbs and seasoning to the filling.
This recipe was published in 2019 and updated in February 2022 with photos and information, plus a few recipe modifications.
Tips for Success
- Use enough chicken and vegetables, so the filling is thick and full for the amount of liquid and cream in the recipe.
- Egg wash: Add a splash of heavy cream to the beaten eggs. This will help the crust get extra golden brown and shiny.
- Use a pie crust shield: Edges tend to brown quicker, so they need to be covered or protected about 15 minutes into the baking time.
- Refrigerate the dough for at least 2 hours or overnight. I’d highly recommend making it the day before.
- There is no need to par-bake the bottom crust – it cooks fully during the bake time. Plus, if you blind bake the bottom, it will be difficult to seal the edges with the top dough. See “notes” below for details.
I’d love to hear from you! If you loved my recipe, please consider leaving a 5-star rating and a comment down below. Sign up for my newsletter and follow along on Instagram, Facebook, or Pinterest
Homemade Chicken Pot Pie with Buttermilk Pie Crust
Equipment
- Large sheet pan to place under the pie dish
Ingredients
- Buttermilk pie crust - makes 2 disks
- 1 egg - for egg wash
- 1 to 2 teaspoons heavy cream - for egg wash
Chicken pot pie filling
- 2 large skinless chicken breasts - or 3 medium breasts, see note
- ½ teaspoon garlic powder
- ½ teaspoon fresh thyme leaves
- Salt and pepper
- Olive oil
- 2 tablespoons unsalted butter
- 1 small onion, small diced
- 3 medium carrots, peeled and diced
- 2 stalks celery, diced
- 3 to 4 cloves garlic, minced
- ⅓ cup all-purpose flour
- 2 cups chicken broth
- ½ cup heavy cream - plus more as needed
- 1 teaspoon fresh thyme leaves
- ½ teaspoon minced fresh rosemary
- ¼ cup chopped fresh parsley
- ¾ cup frozen peas
Instructions
Make the double pie crust
- Make the buttermilk double pie crust following this recipe at least 2 hours in advance or preferably overnight. Note: If the refrigerated dough is too hard or solid to roll (this happens when refrigerated overnight), let it sit on the counter for 15 minutes.
Make the filling
- Preheat oven to 400 degrees F.
- Pound chicken breasts to ½ inch thick evenly. Season chicken with garlic powder, fresh thyme, and salt and pepper (about ½ teaspoon salt and ¼ pepper per breast). Drizzle with some olive oil and let it sit on the counter for about 15 minutes to let the flavors absorb.
- In a large deep skillet, heat about 1-2 tablespoons of olive oil over medium heat. Cook the chicken, about 6-8 minutes each side, until fully cooked through. Transfer to a plate and let it rest for 10 minutes. Cut into cubes.
- Wipe the skillet clean. Melt the butter to medium heat. Add the onions, carrots, celery, and garlic. Cook until tender, about 8 minutes, stirring occasionally.
- Stir in the flour until vegetables are coated and cook for about 30 seconds, stirring. Gradually add chicken broth, stirring to dissolve the flour. Add thyme, rosemary, salt, and pepper.
- Stir in the heavy cream until evenly combined. Bring to a boil and then reduce to a simmer. Simmer over medium-low heat, uncovered, for about 6-7 minutes until thickened, stirring occasionally.
- Add the cubed cooked chicken, parsley, and the frozen peas into the mixture. Simmer for another 1-2 minutes, stirring. Season with more salt and pepper if needed. Remove from heat and set aside to let it cool slightly.
Assemble and bake
- Roll both disks into 12-inch circles over a well floured surface (flour the rolling pin too).
- Place the dough (one of them) on a 9-inch pie pan. There should be overhang around the sides. Fill the pie with the chicken pot pie filling. Cover with the second rolled out dough.
- Tuck and fold the overhang of the top dough under the bottom pie dough to loosely seal the pie. Then, crimp the edges to seal tightly with your fingers or with a fork. Tip: I like a curvy design around the edges, pressing between my thumb and index finger with my knuckle.
- Egg wash: Mix beaten egg and 1 teaspoon heavy cream. Brush the pie with the egg wash, including the edges. This will give it a shiny golden brown color. Some of the egg wash will pool around the edges – that’s fine, as long as it’s not too much.
- Place the pie dish on top of a large aluminum sheet pan (to prevent spills and transfer heat to bottom of pie crust). Bake at 400 degrees F for a total of 35 minutes. 15 minutes into baking time, cover edges with a pie crust shield (or aluminum foil) to prevent edges from browning too soon. Tip: I’d highly recommend using a pie crust shield. You can also wrap the edges with aluminum foil, but I find that difficult to do (it doesn’t stay in place and takes forever to get it wrapped).
- Let sit at room temperature for 15 minutes before slicing. Enjoy!
Notes
- Use enough chicken and vegetables, so the filling is thick and full for the amount of liquid and cream in the recipe. You need about 4-5 cups of cubed chicken, from 2 large chicken breasts or 3 medium ones.
- Pie crust: I’d highly recommend this buttermilk pie crust recipe. It’s super flaky and buttery, and also make-ahead and freezer friendly.
- Egg wash: Add a splash of heavy cream to the beaten eggs. This will help the crust get extra golden brown and shiny.
- Use a pie crust shield: Edges tend to brown quicker, so they need to be covered or protected about 15 minutes into the baking time.
- Make ahead: The assembled unbaked pie can be made 1 day in advance and refrigerated, but don’t brush with egg wash until you’re ready to bake. Bake as directed, adding an extra 5-10 minutes. Alternatively, the filling and pie crust can be made ahead separately and assembled later.
- Freezing instructions: Assemble and wrap the UNBAKED PIE with aluminum foil (use 2 layers of foil). When ready to bake, let the pie sit on the counter for 30 minutes. Then, bake FROZEN covered (don’t remove aluminum) foil for 35 minutes at 400 degrees F. Remove foil, brush with egg wash, and bake for another 30 minutes until heated through and golden brown on top.
- Pie crust: Good quality store-bought double pie crust (top and bottom).
- Frozen mixed vegetables instead of carrots, celery, and peas.
- Fresh thyme and rosemary: Use dried herbs (use less, dried herbs are strong), adjusting the quantity to taste.
- Rotisserie chicken or leftover chicken breast. You need about 4-5 cups. Add extra seasoning and herbs to the filling if needed.











Lyan Deboer says
This is hands down THE BEST chicken pot pie I’ve ever had. The filling was thick, creamy and full of a ton of flavor and the crust was perfection!! No need to par bake the bottom at all, it turned out perfect and was flaky deliciousness. Thank you for the recipe!!
Tania says
Thank you so much, Lyan!
Monica Contois says
Delicious! Can I use beef instead of chicken?
Tania says
Hi Monica! I don’t see why not!
Mary says
Do you think I could freeze the filling alone to make later?
Tania says
Hi! Yes, that’s fine. You can thaw the filling in the fridge overnight before using.
Lisa says
Tania! this pot pie recipe is absolutely delicious! you take it to a gourmet level. I follow it exactly and I am never, ever disappointed,neither are my guests. Brava!
Roxanne Schoedler says
Can I use half and half instead of heavy cream?
Tania says
Hi! You could, but it may be a bit too thin or watery. I’d highly recommend using heavy cream for best results.
Alexandria says
Just what I was looking for! The filing tasted wonderful. I added a splash of buttermilk to the heavy cream and the flavor and thickness was perfect.
Tania says
Thanks so much! Glad you enjoyed it.
Giapia says
I am trying this recipe tomorrow for dinner and am sooo excited! I too, am very particular about my chicken pot pies and don’t like a thin watery filling but I am so excited about the buttermilk pie crust recipe! Thanks so much!
I’ve always baked bone in/skin on chicken breast for pot pies and made a compound butter with the seasonings to penetrate the tougher white meat of the chicken, with fresh herbs.
Thank you for this recipe!!!!
Tania says
Hope you like it!
Judy M. says
This pie is simply the best! I sub the green peas with brocolli and blind bake the case first. Both pastry and filling was delicious.. Thank you for this great recipe.!
Tania says
Thank you for making it, Judy!
Erin levine says
This was amazing I added potatoes and used a puff pastry just on top. Best ever
Tania says
Thank you, Erin!
Anna says
Hi Tania, what if I don’t own a food processor, could I use a Vitamix or stand mixer? Thank you!
Tania says
Hi Anna! You can make it by hand too. In fact, sometimes when I make it by hand, I get an even flakier crust! I have instructions in my Flaky and Buttery Pie Crust guide (link). If making it by hand, you may need a pastry blender tool, but if you don’t have one, you can simply cut the cold butter into very small cubes and rub the flour into the cubed butter with your fingers.
I wouldn’t recommend using a Vitamix or a stand mixer.
Dahnielle says
Hi, I’m making this for a family in need of meals. I’m wondering if I should freeze it and give her baking instructions or bake it and then give her instructions for reheating? Any advice would be appreciated.
Tania says
Hi Danielle! If the chicken pot pie will be eaten within a day or 2, I’d recommend baking it because it stores pretty well in the fridge. If not, an alternative would be freezing it unbaked: Make sure the filling is completely cooled before you fill it, cover the unbaked pie in aluminum foil tightly and freeze for up to 1 month. Thaw in the refrigerator overnight or until no longer frozen, and then bake as directed.
Haili Matlock says
I absolutely enjoyed this recipe. I mixed it up a bit and added cream of chicken, spinach, and peas to the filling and it turned out amazing!
Tania says
Thank you so much for your kind words, Haili! The addition of spinach sounds so good!
Cheryl says
Can u make this ahead of time ?
Tania says
Hi Cheryl! Yes! You can make the filling the day before and store it in a container, in the fridge. Likewise, the dough can also be made ahead of time – keep it wrapped in the fridge. When ready to make, first preheat the filling to get it started – you can do this on the stovetop. Next, roll out the pie dough and assemble the pie with with the pre-made filling. Then bake per the instructions.
Abigail says
How would you adjust to add potatoes? I really enjoy them in my pot pies!
Tania says
Hey Abigail! I would recommend pre-boiling cubed potatoes and adding them to the filling at the end, along with the cooked chicken and peas.
Elmarie Basson says
Absolutely delicious! I added the meat from 2 whole chickens and just added extra stock/ white wine. I also suggest blind baking the case to avoid a soggy base.
Tania says
Thank you so much, Elmarie! I am so happy to hear that! And great idea, I’ll try blind baking the crust next time I make it! 🙂