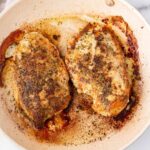
I’ve been using this essential stove top pan seared chicken breast recipe for years, and it has never failed me.
I’m sharing all the tips and tricks to make the perfect, juicy, tender, and flavorful chicken breasts right on your stove top.
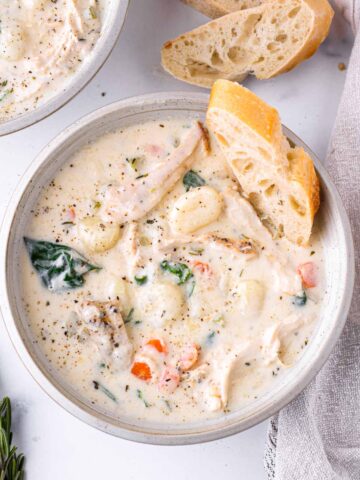
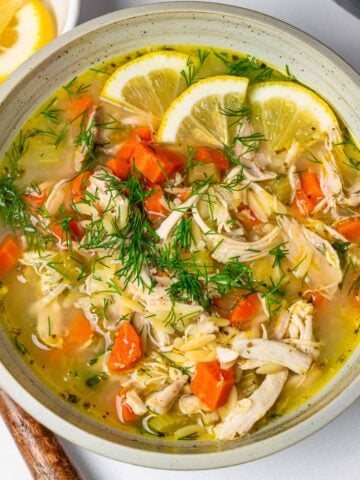
This pan seared chicken breast is such a versatile recipe. We use it to serve with so many meals, including salads, pastas, and soups.
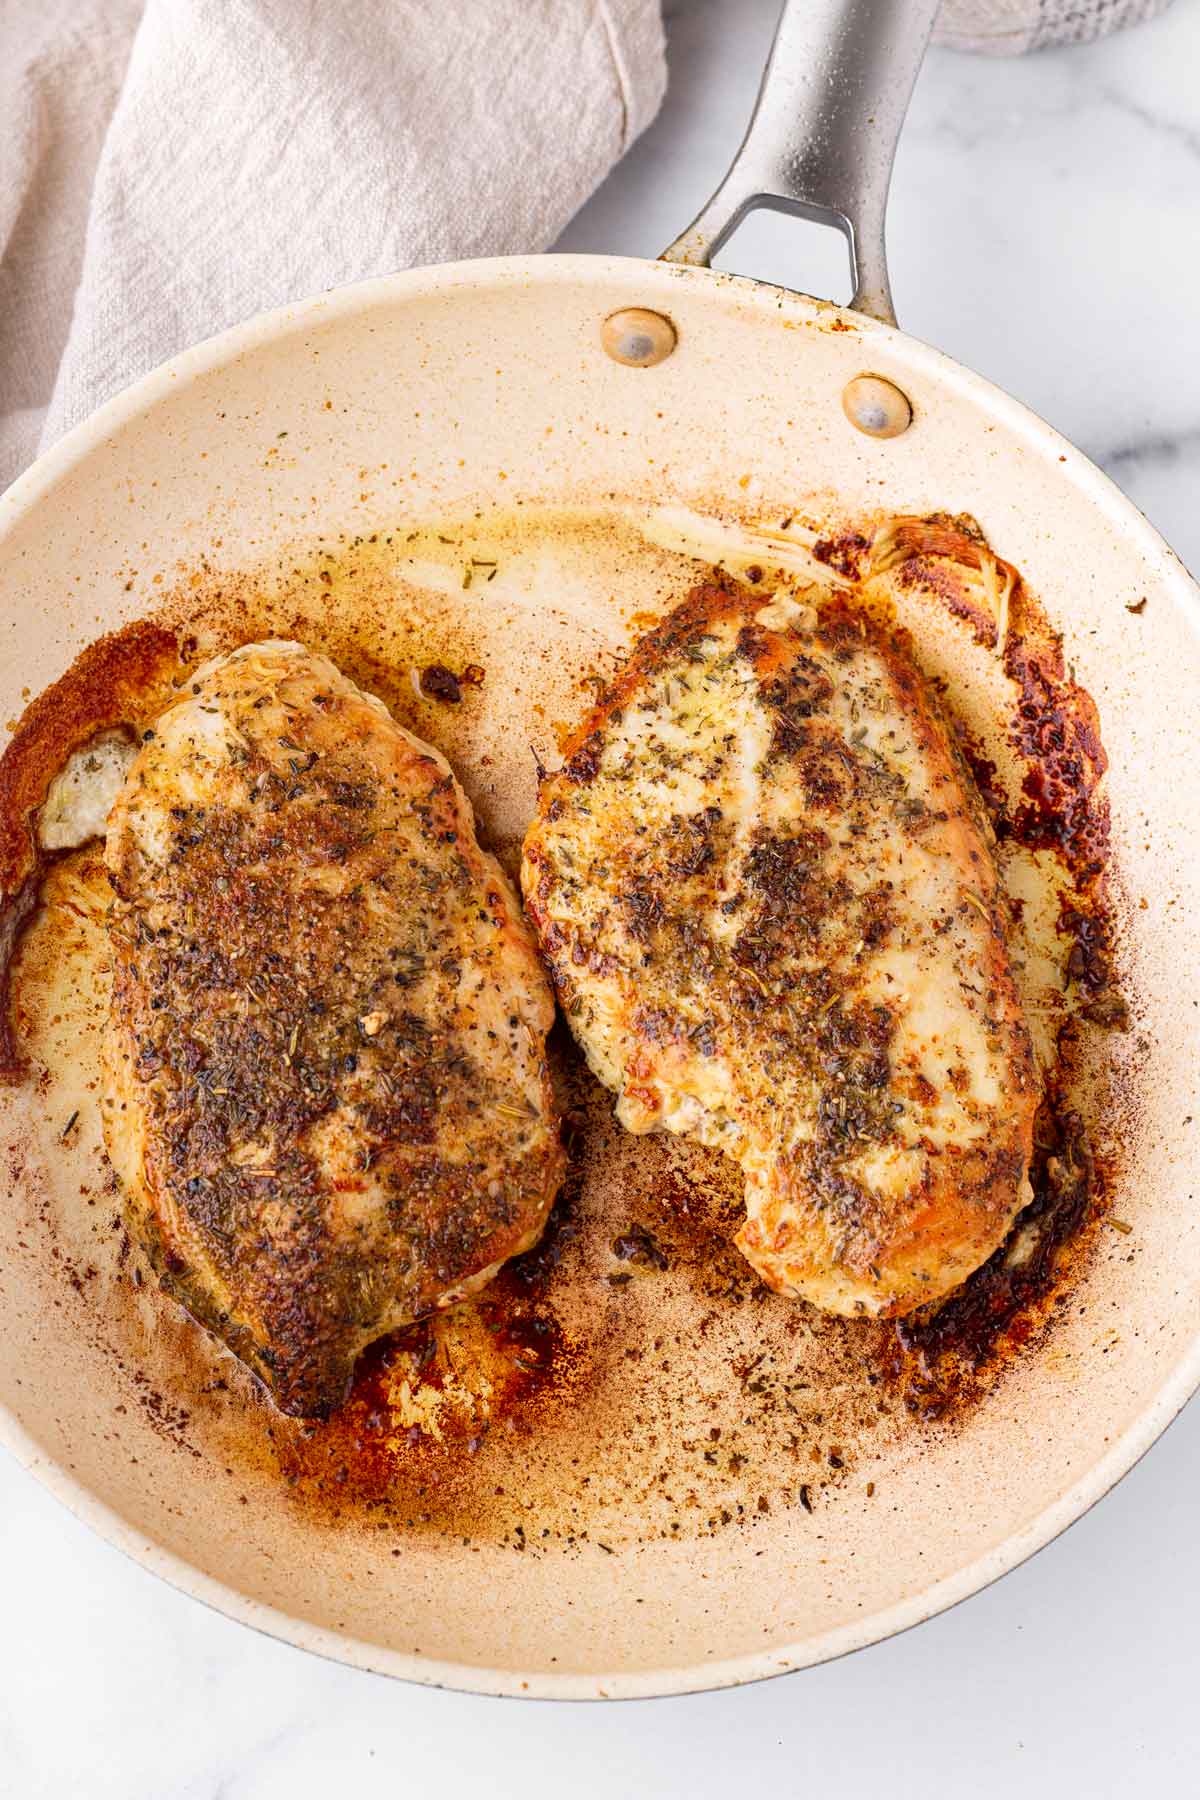
A fundamental cooking skill is knowing how to pan sear chicken breasts. I don’t know about you, but I use this method several times a week. Chicken is our favorite protein, and we use it in everything.
But how often has your chicken turned out dry and tough? Yup, I’ve been there too.
Well, today, I am sharing all my best tricks and tips for making the best stove top seared chicken breasts ever. Always juicy, tender, and flavorful.
It’s very simple. No marinating or brining required. You only need your favorite seasoning blends, and the right tools (hint: a meat mallet or tenderizer).
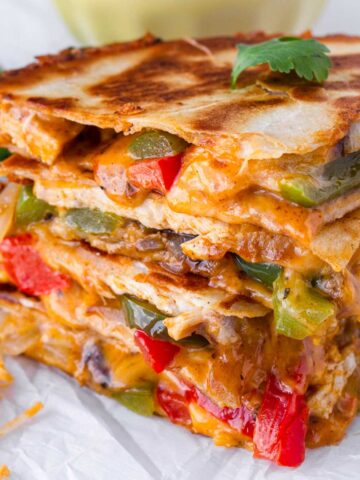
Also, pan seared chicken breasts are so versatile! They can be paired with a variety of dishes. We like to use our favorite Chicken Taco Seasoning for this recipe, which we often turn into the best Chicken Quesadillas ever!
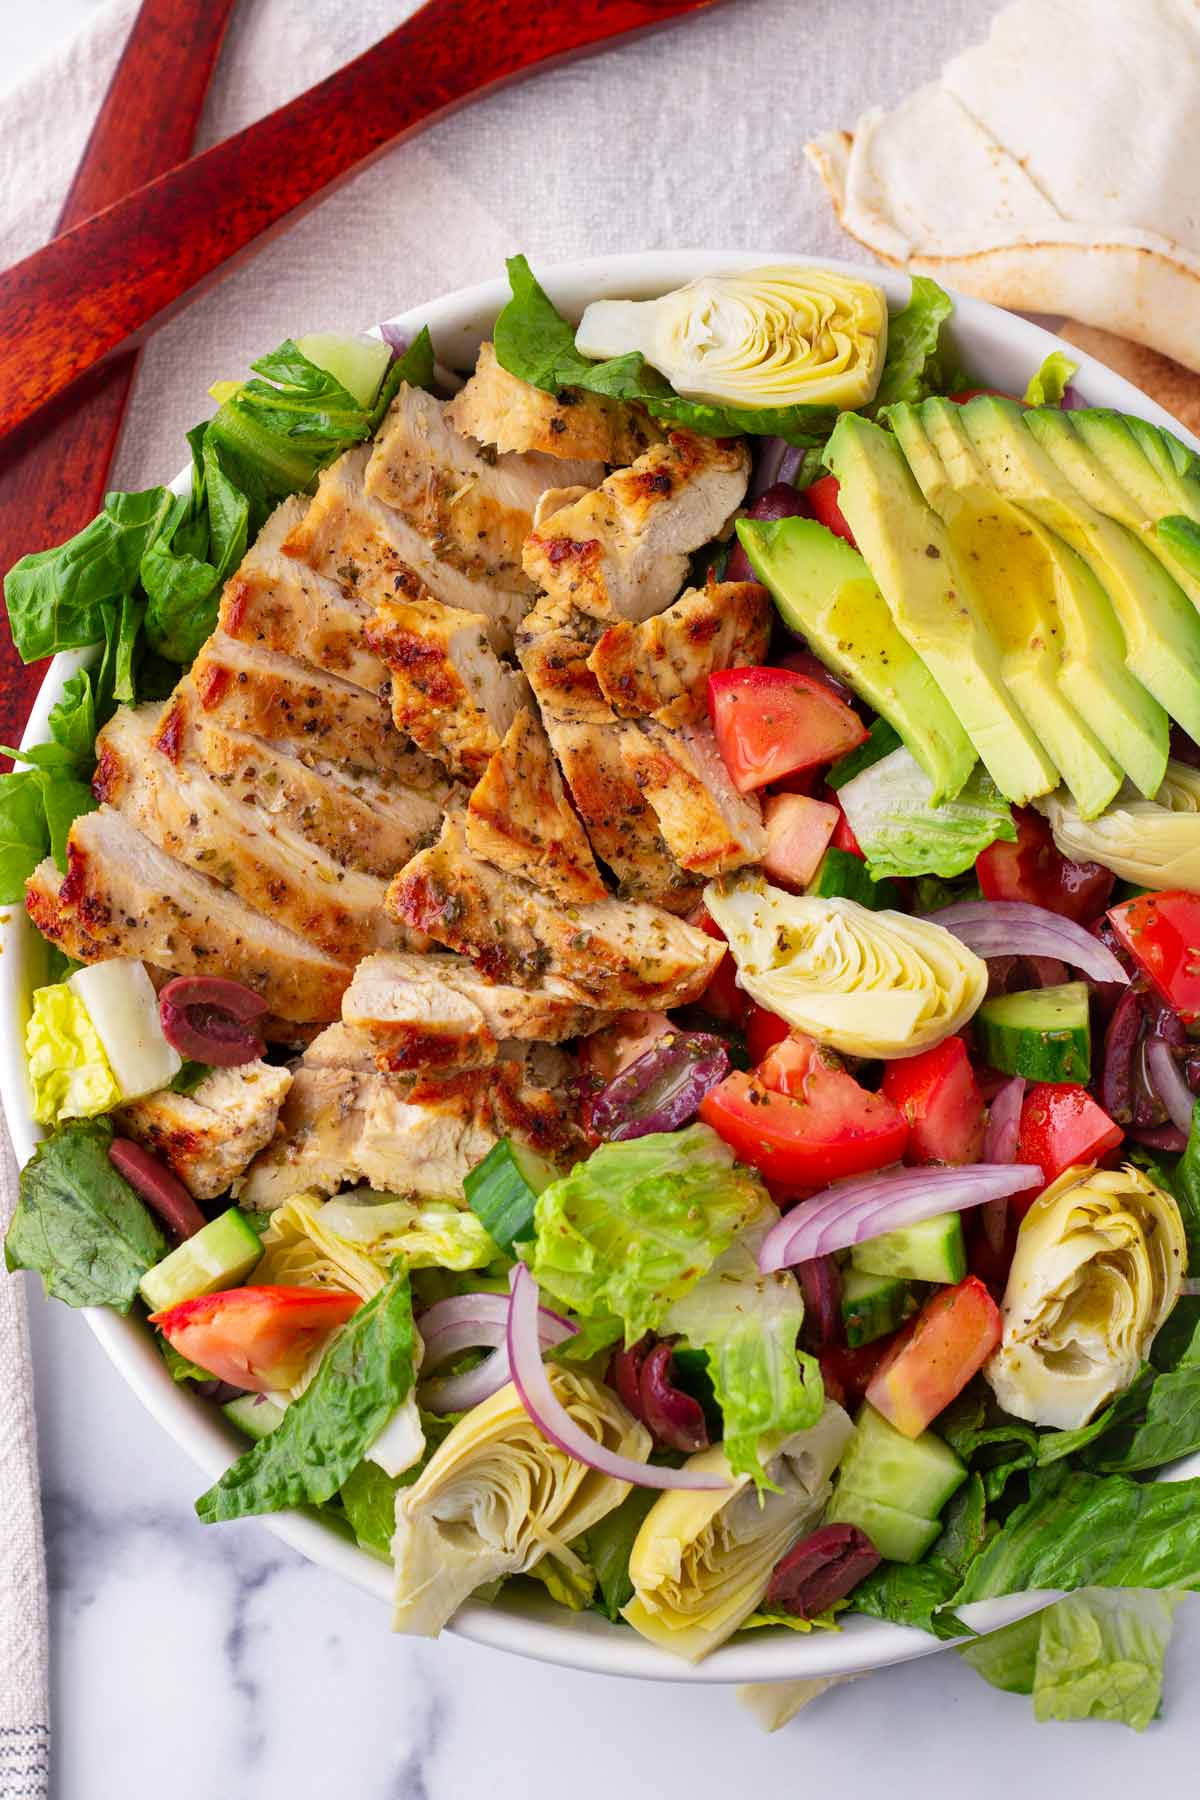
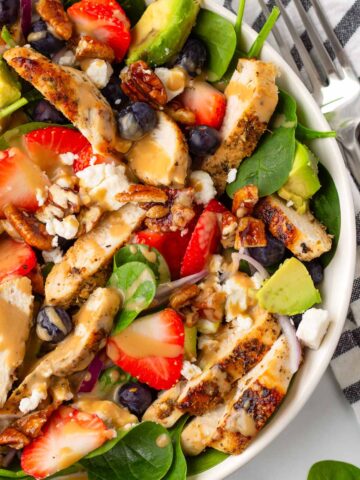
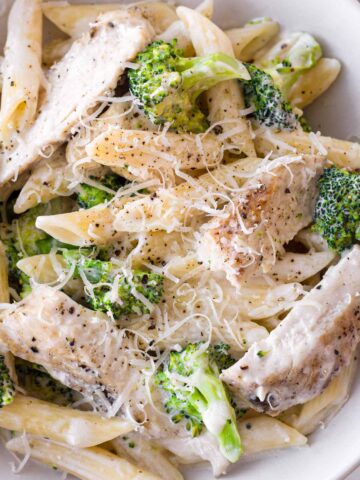
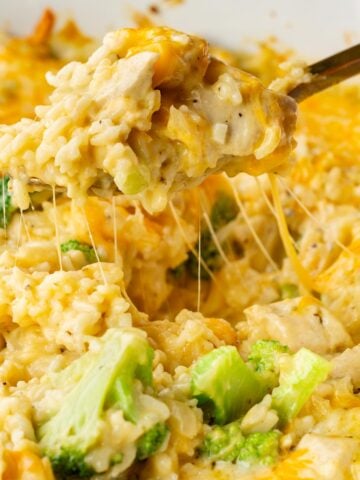
Use this pan seared chicken breast recipe as a guideline for lots of other amazing dishes. For salads, try my Strawberry Chicken Salad or Mediterranean Chicken Salad. It’s also great for pasta, such as this Chicken Broccoli Alfredo. It’s also great for Chicken Caesar Wraps!
Why we love this simple pan seared chicken breast recipe:
- Juicy, moist, tender: I’m sharing all you need to know to make the best pan seared chicken.
- Flavorful: Even a simple seasoning blend can make this dish really delicious.
- No need to brine. They will come out perfectly juicy with just simple seasonings and a few tricks.
- It’s quick! Ready in just 20 minutes.
- Versatile: Pan seared chicken can be used in a variety of dishes, such as salads, pastas, soups, and so much more.
- Make ahead friendly!
Jump to:
Secrets to Juicy Pan Seared Chicken Breast
- Even thickness: Pounding the chicken to ¾ inch thick prevents overcooking. If the chicken breast is too thick, it will take much longer for the center to fully cook, resulting in overcooked meat overall.
- Cook over medium heat to prevent the outside from browning too fast before the center is fully cooked. This will also prevent the exterior from getting tough.
- Don’t overcook: Use a timer, and always use an instant read thermometer to be precise with doneness.
- Let the seared chicken rest for 5 to 10 minutes before slicing to allow the juices to redistribute.
- Season generously: Use Kosher salt and pepper, and a generous amount of your favorite seasonings so it’s flavorful throughout.
- Let the chicken cook undisturbed on each side, so that it has a chance to develop a good golden brown crust.
Recommended Kitchen Tools
Using the right equipment ensures that your pan seared chicken breasts always turn out perfectly juicy and tender. Here are the essentials:
- Meat tenderizer: Use one that has little texture ridges, which helps to break down tough fibers.
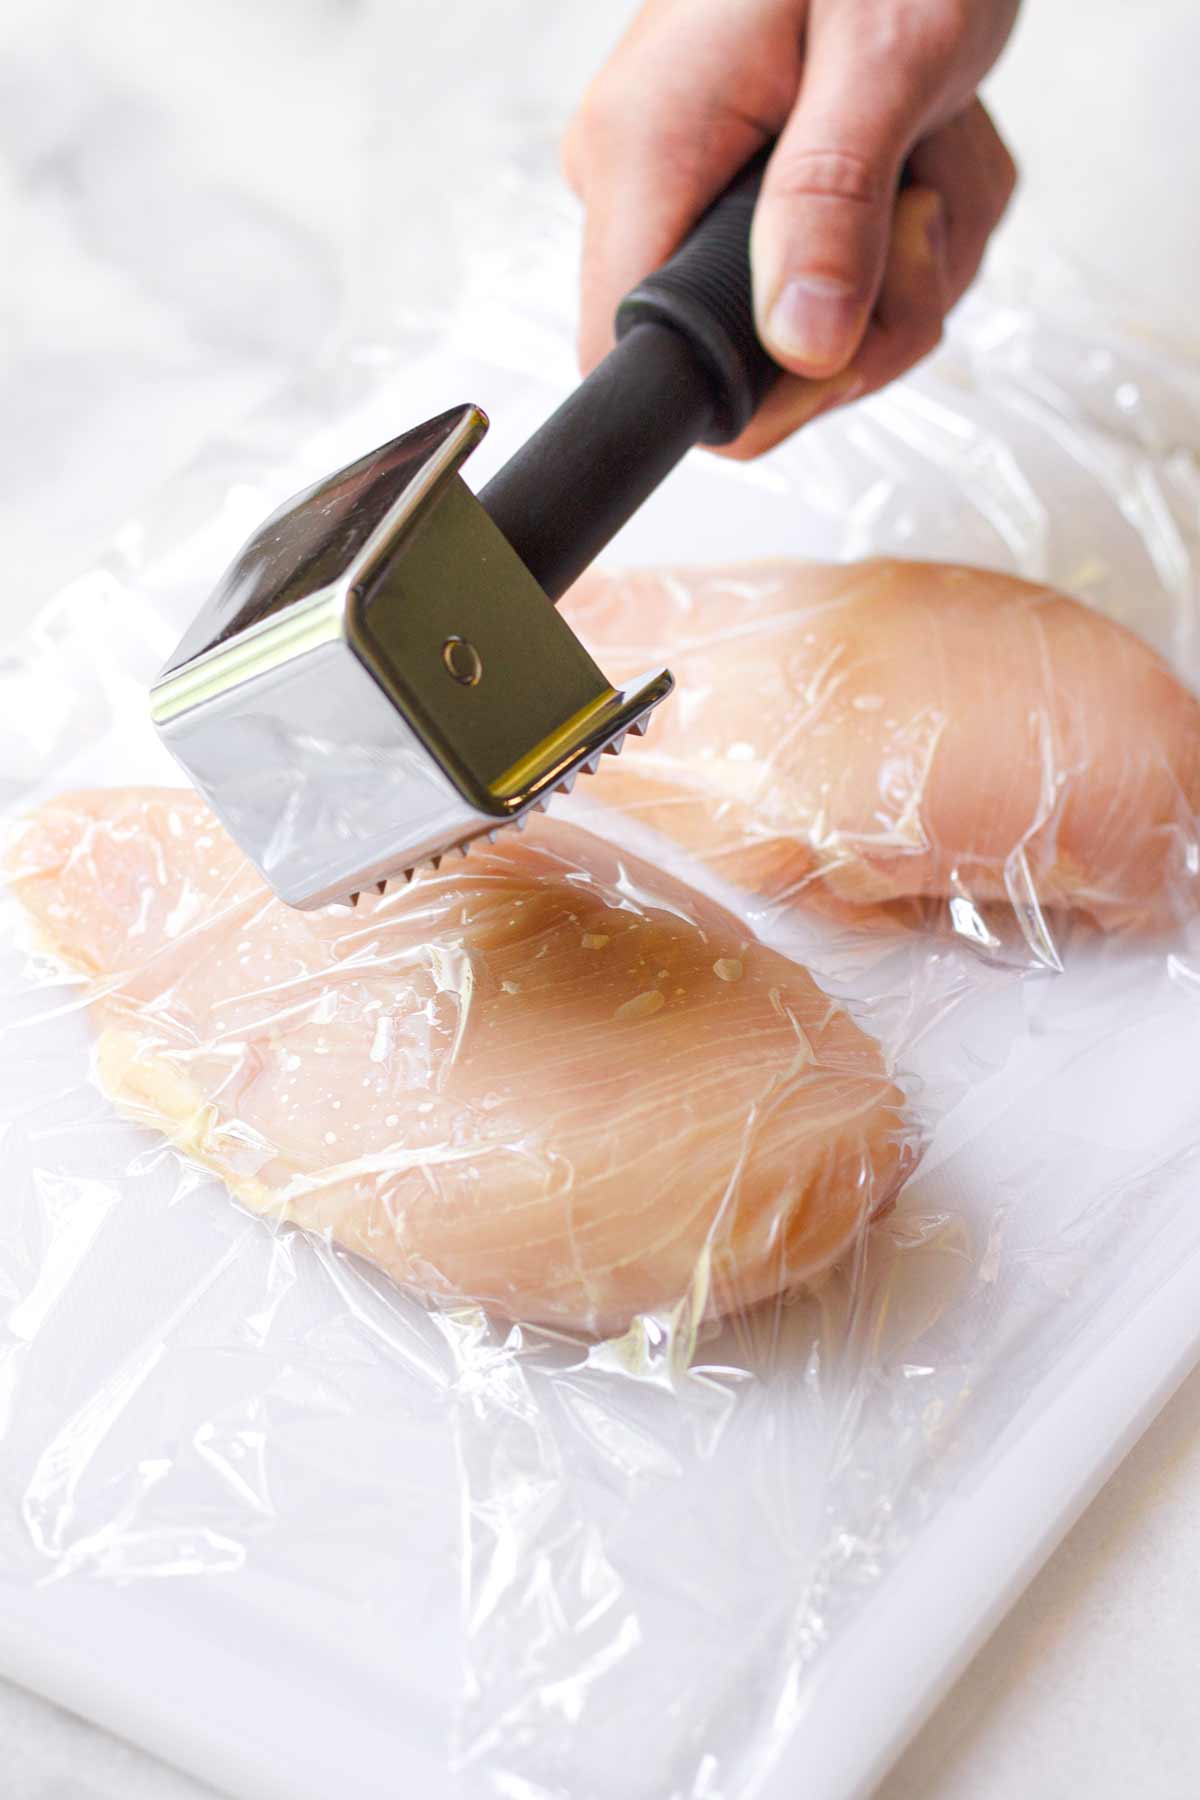
- Plastic wrap: Safety first! Cover the chicken with plastic wrap before pounding to prevent bacteria cross-contaminating your kitchen countertops.
- Skillet: I use a non-stick 12-inch skillet most of the time, but you can also use a cast iron or stainless steel skillet.
- Instant read meat thermometer: Overcooking leads to dry and tough chicken, so having a thermometer handy is super helpful.
Ingredient Notes
This pan seared chicken breast recipe is a basic one, and you can use your favorite seasoning blends if you want. Here’s what you’ll need:
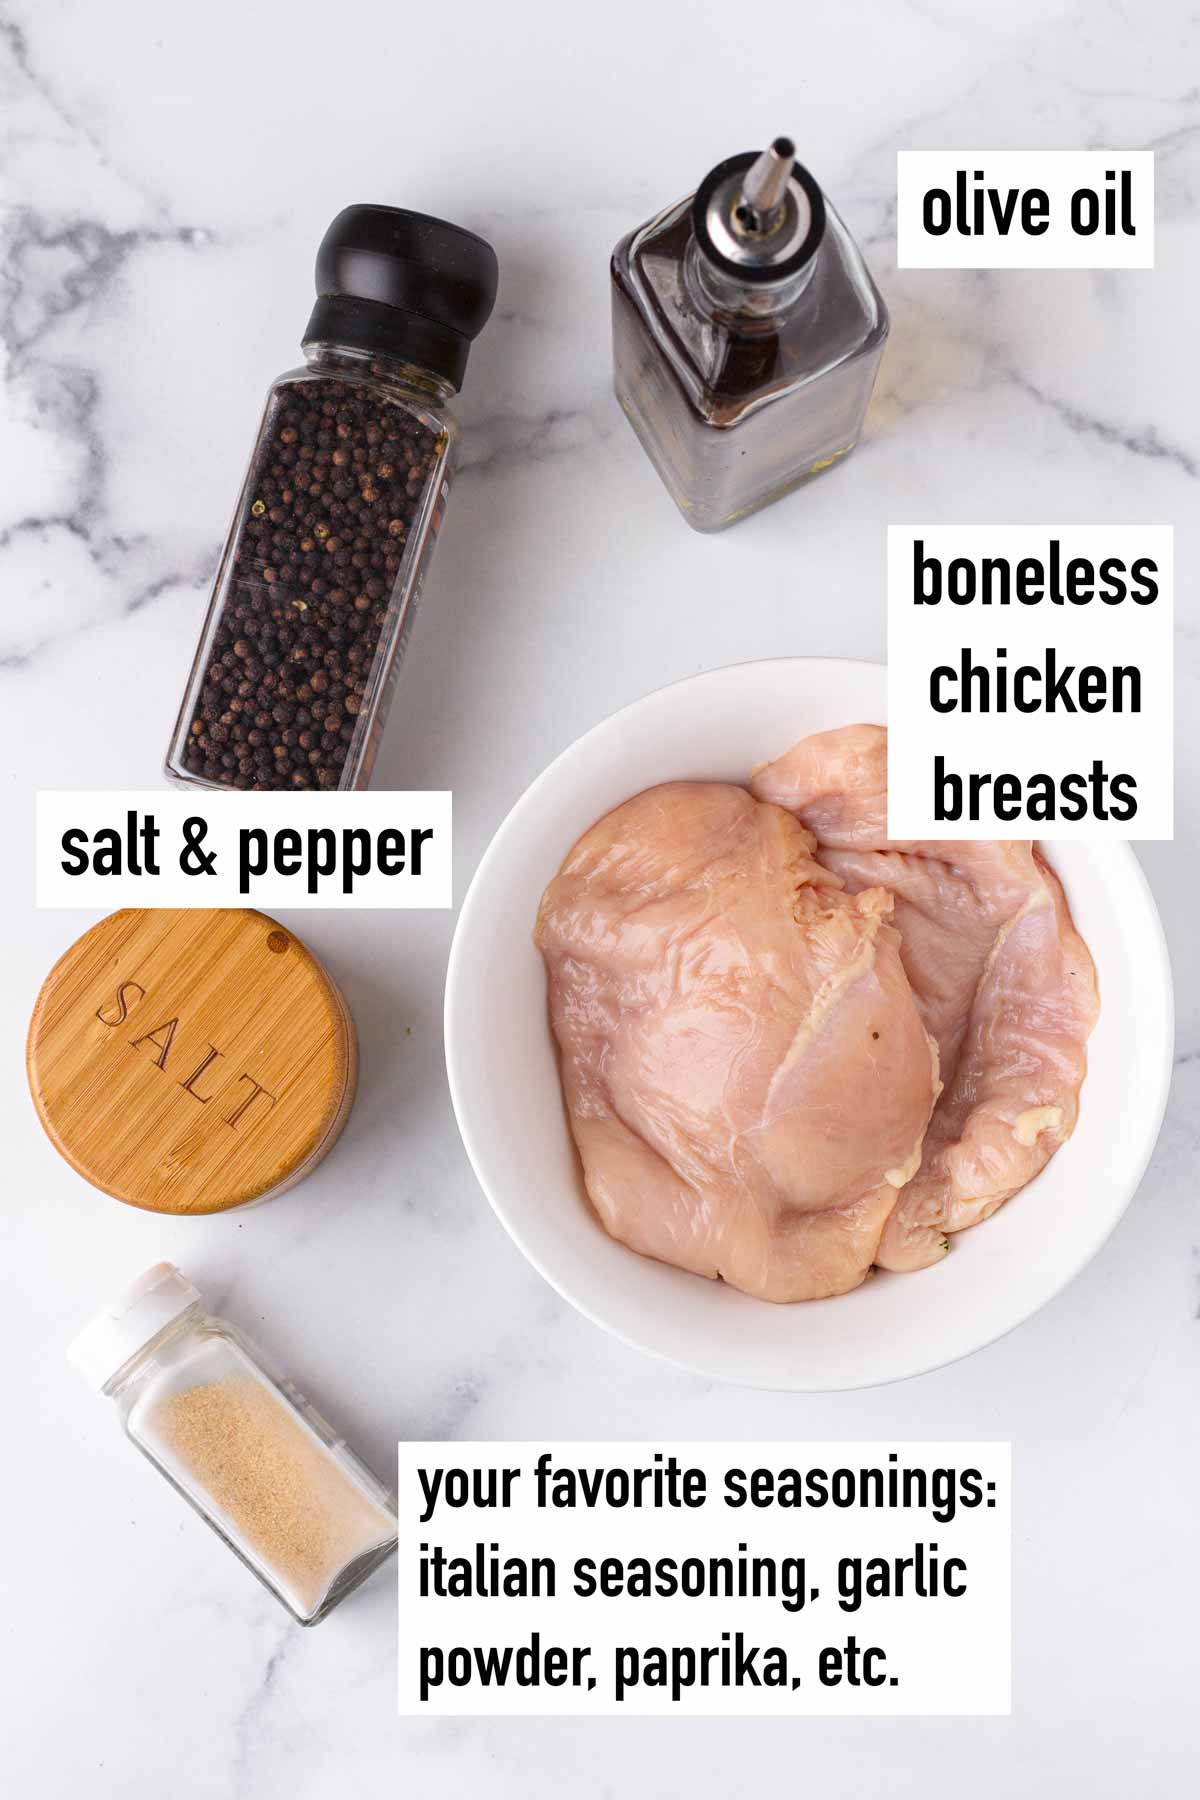
- Chicken breasts: Boneless and skinless. For searing, I’d recommend using medium sized chicken breasts so they can be easily pounded to even thickness.
- Kosher salt: Per chicken breast, I use about ½ teaspoon (¼ teaspoon per side).
- Ground black pepper: About ¼ teaspoon, but feel free to use more.
- Your favorite spices: I usually go for garlic powder, Italian seasoning, and paprika.
- Olive oil: For searing. I would not recommend using butter, since butter tends to burn fast.
Step-by-Step Tutorial
Cooking chicken on the stove is super simple, and can be done in just 20 minutes. Here’s a quick tutorial.
Step 1 | Pound chicken breasts
Using a meat mallet or tenderizer, pound the chicken breast to even thickness, about ¾ inch thick. Remember to cover chicken with plastic wrap before pounding.
Step 2 | Season generously
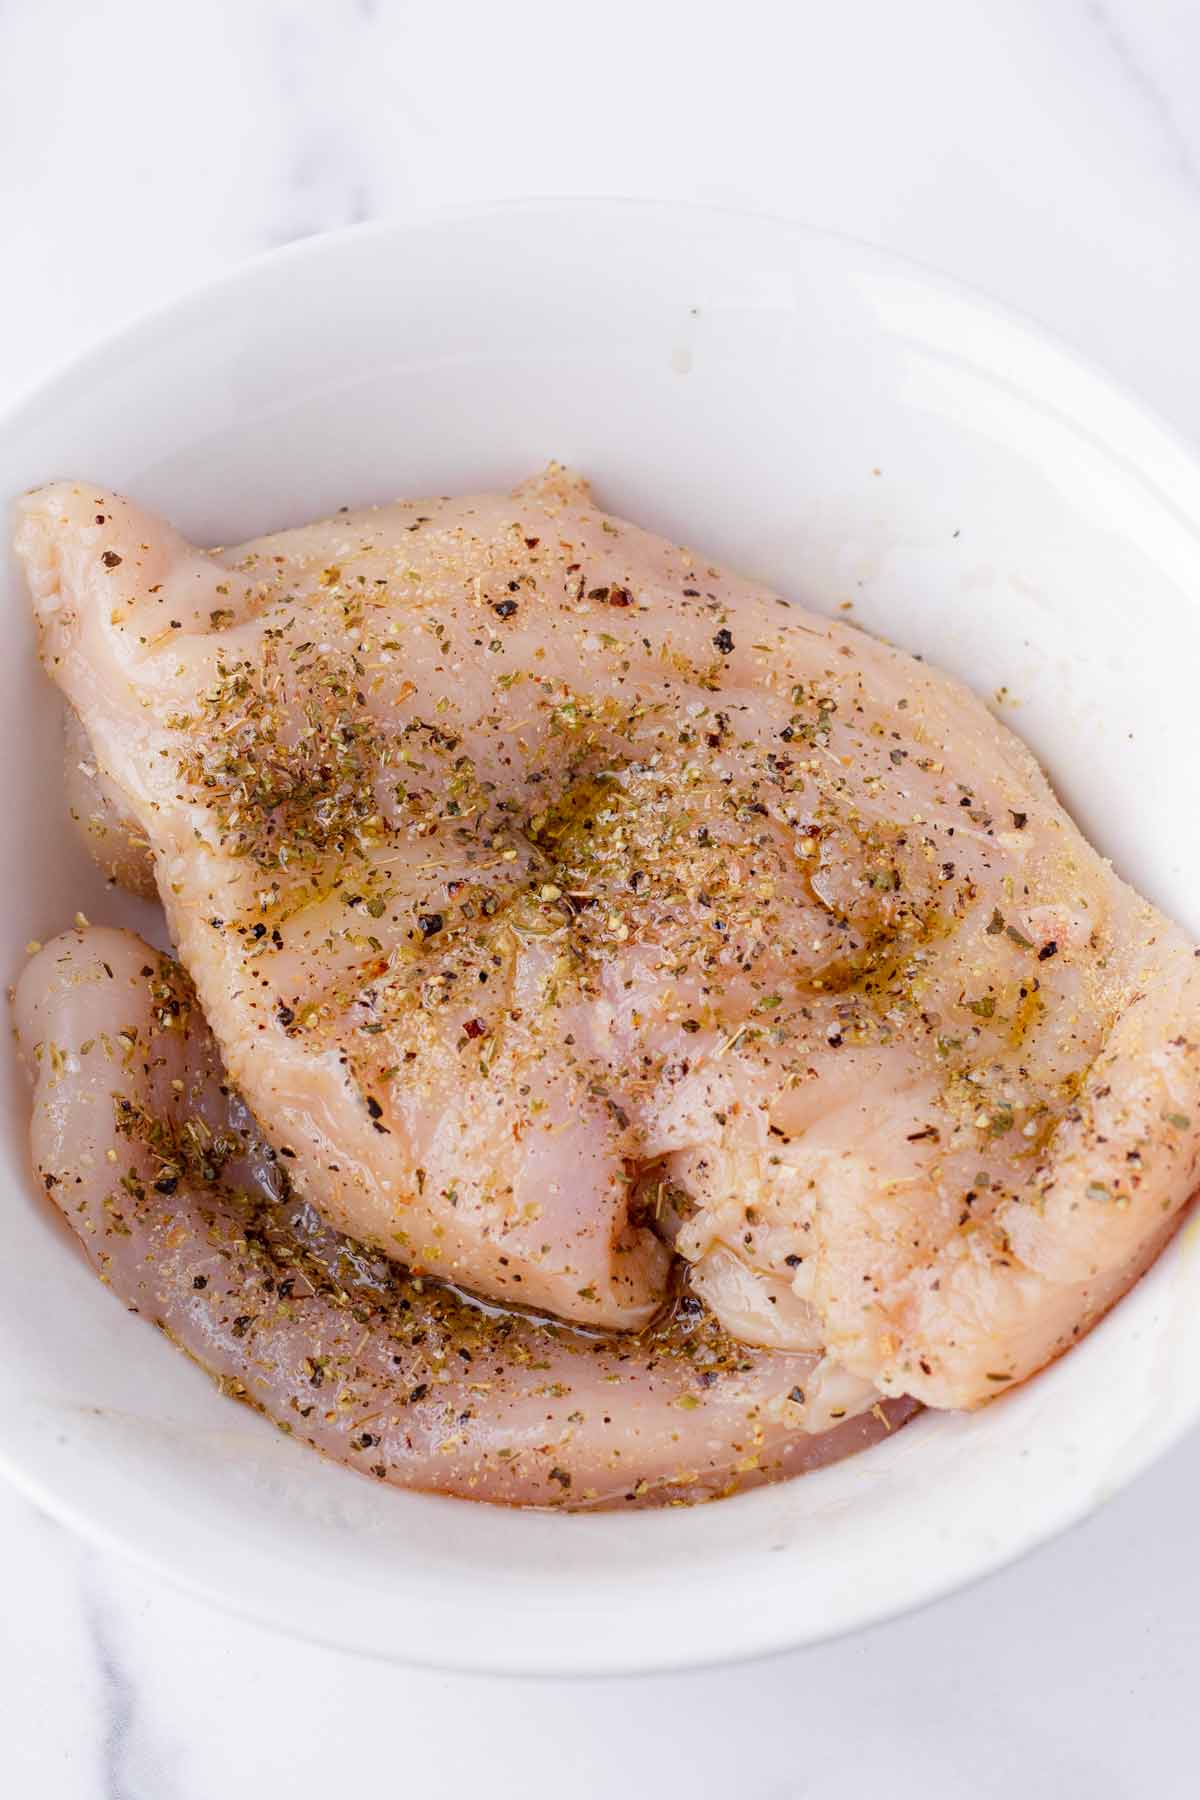
Rub both sides of the chicken breasts a few drizzles of olive oil, Kosher salt, pepper, and your favorite spices. This is where you can get creative with how to season it.
How much salt do you need? Use ½ teaspoon of Kosher salt per chicken breast (¼ teaspoon per side).
Step 3 | Pan sear over the stove top
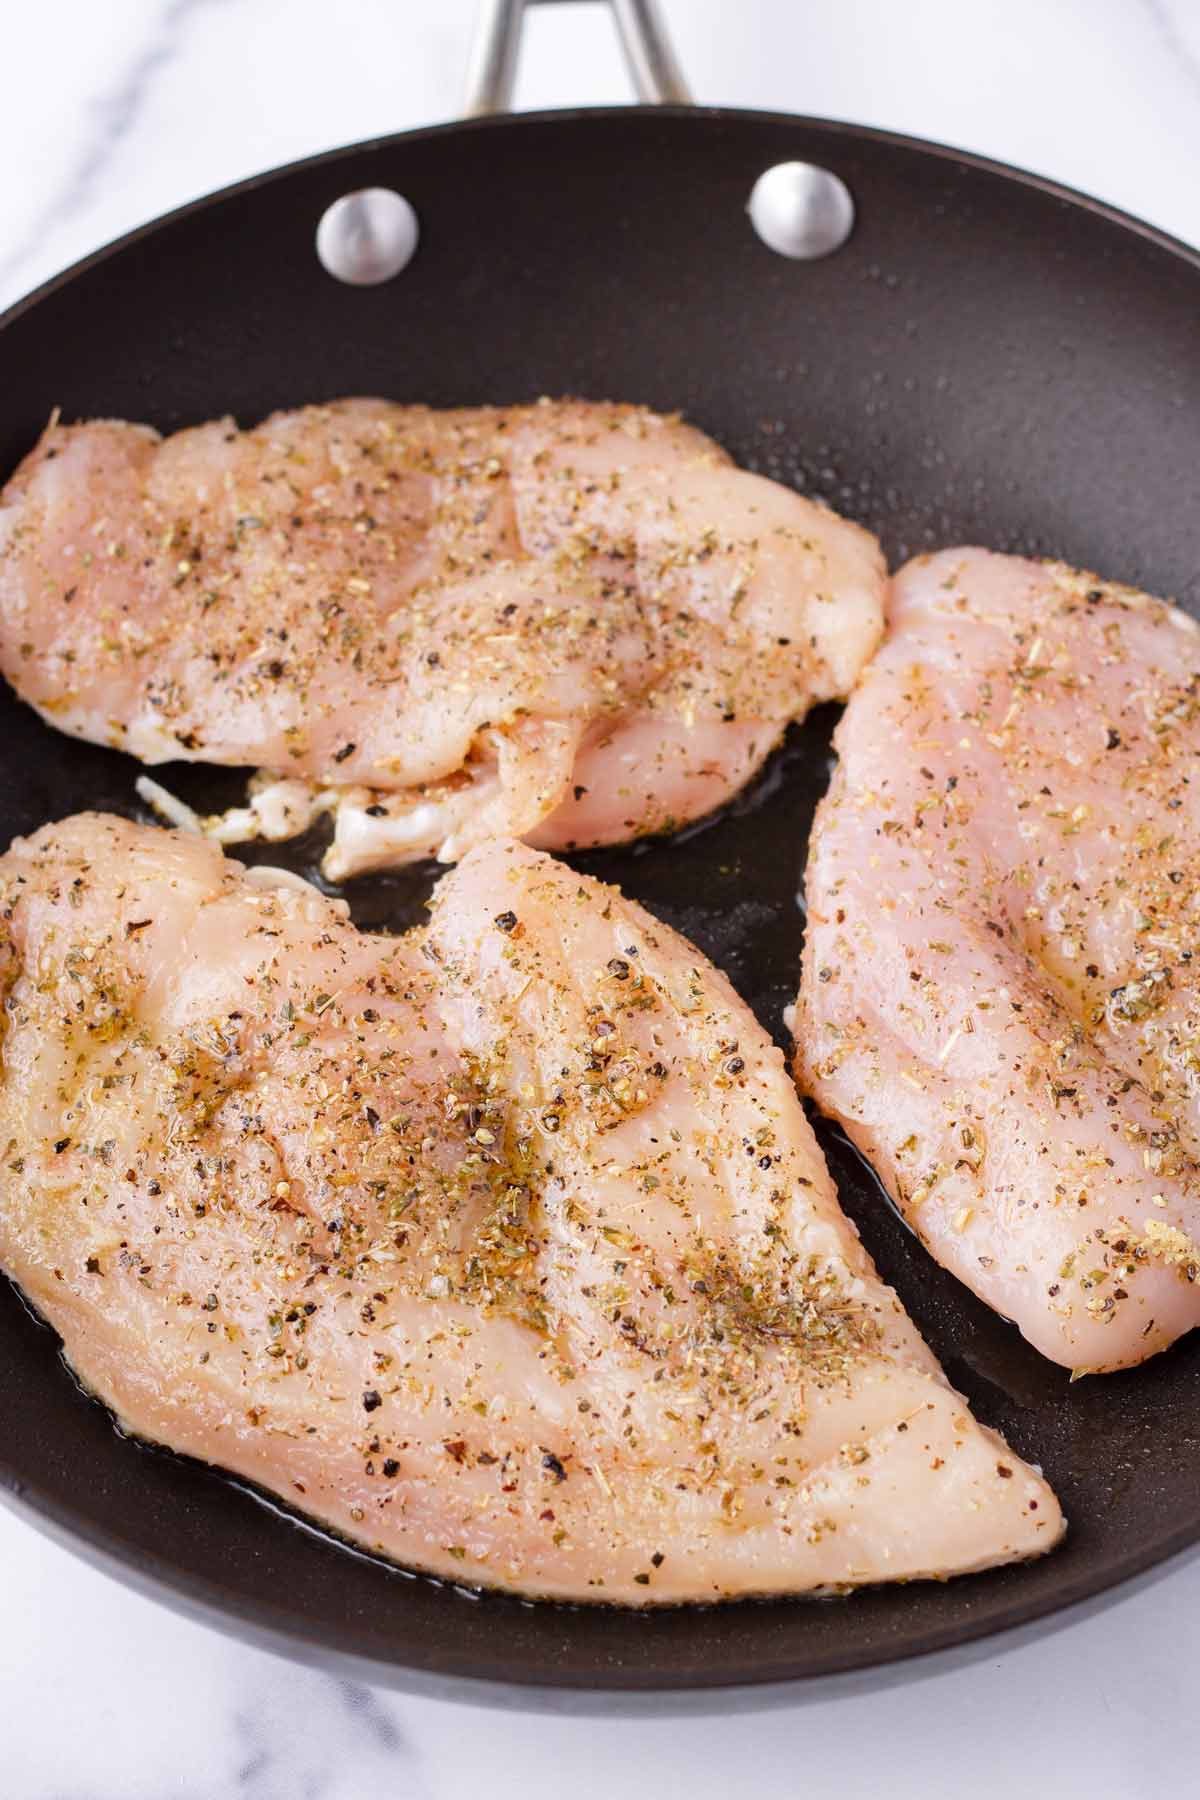
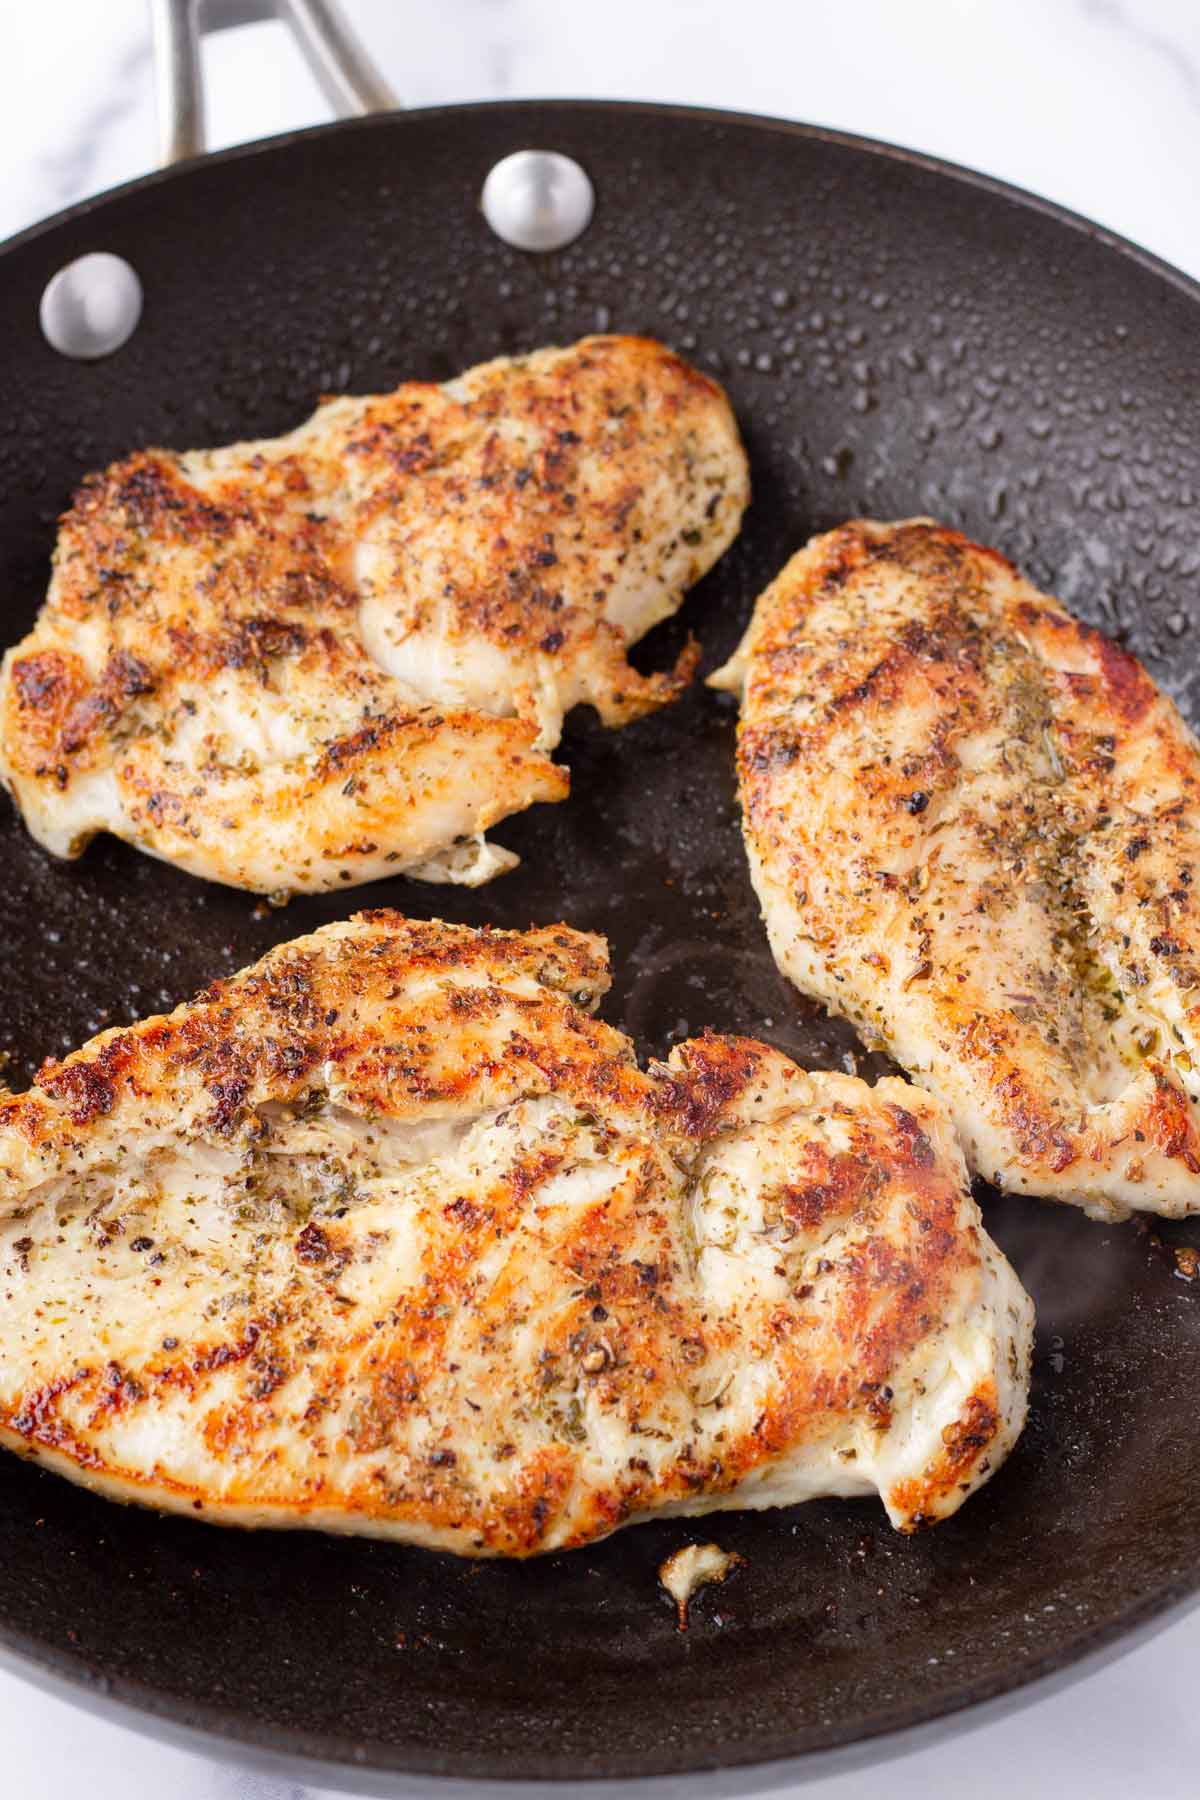
Heat about 2 tablespoons of olive oil in a large pan over medium heat. The pan should be large enough. If too crowded, the chicken will steam instead. Cook the chicken for about 5 to 7 minutes on each side, or until internal temp reaches 165 degrees F.
Quick tip: Let the chicken cook undisturbed on each side, so that it has a chance to develop a good golden brown crust. This also ensures that the chicken cooks evenly on both sides.
Step 4 | Let it rest
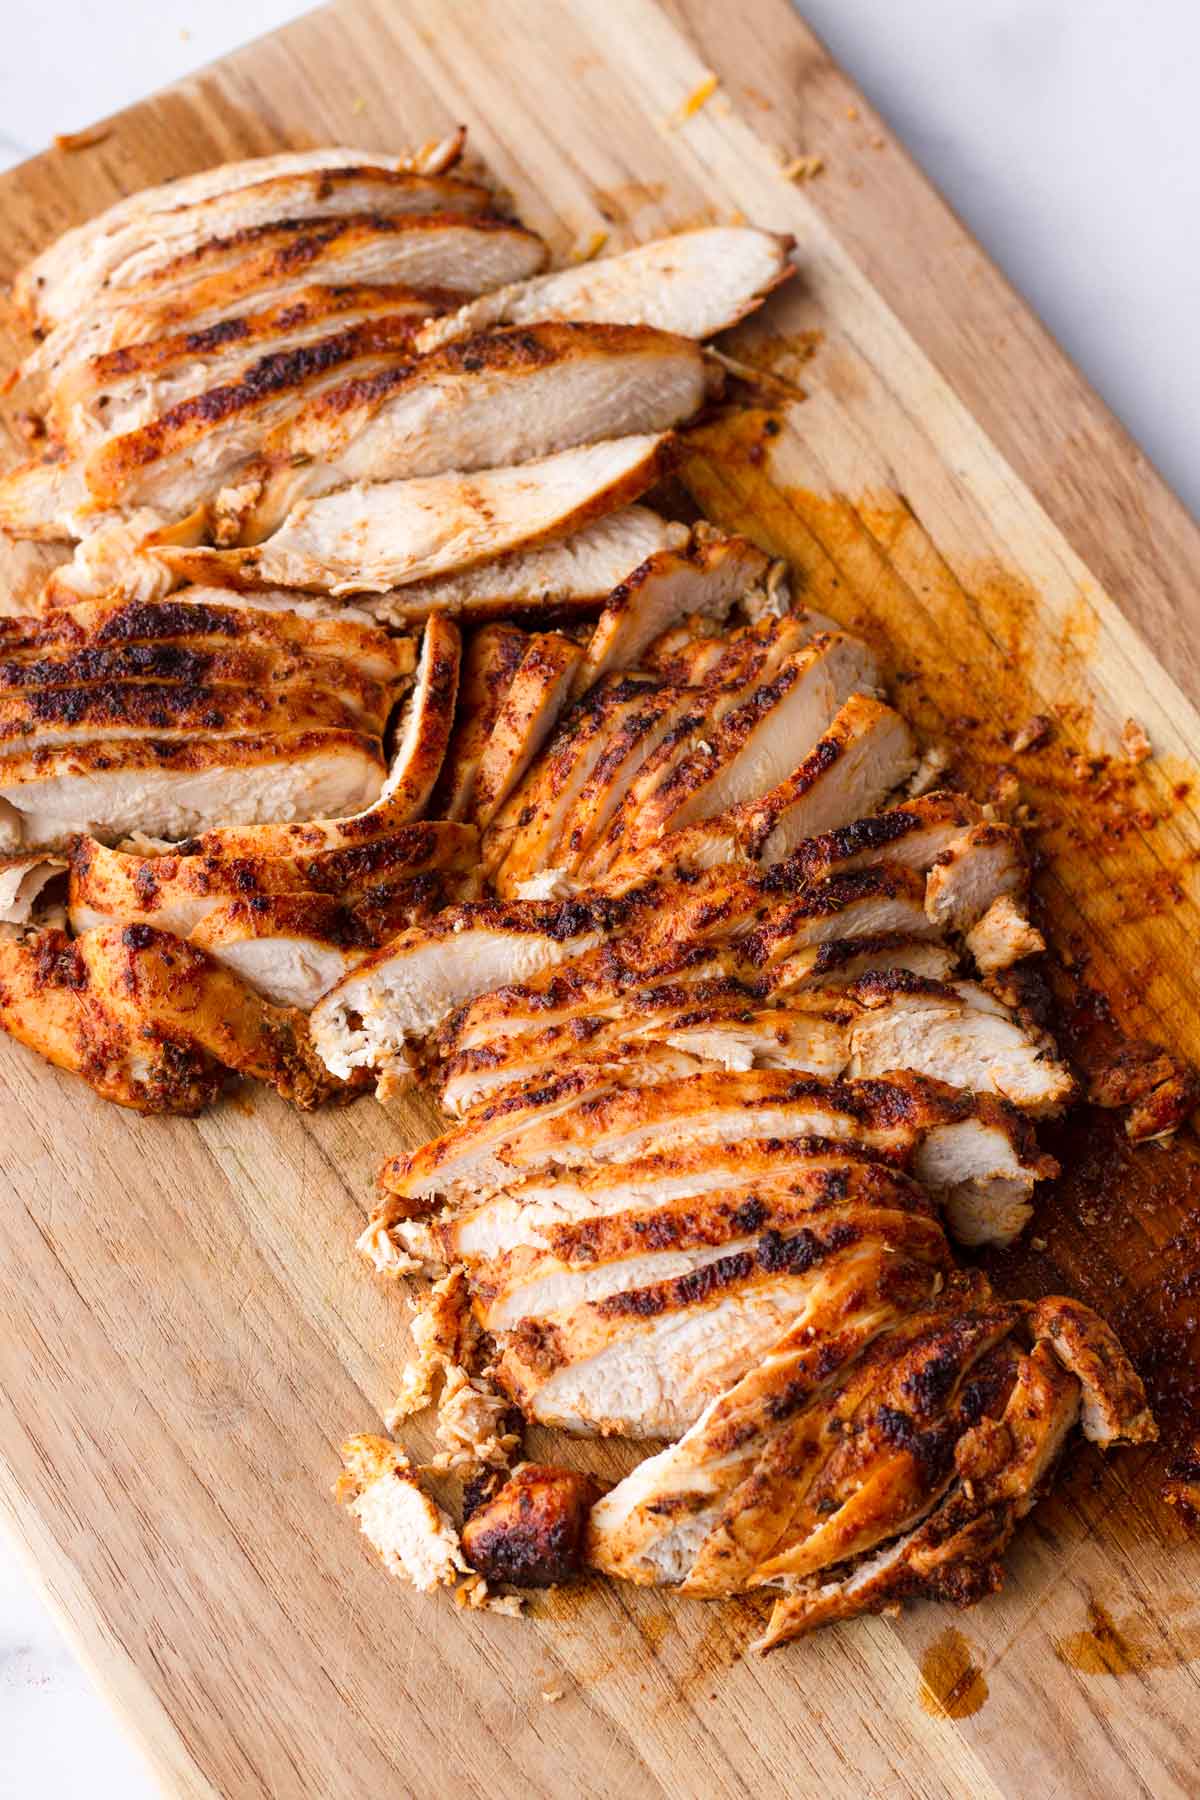
Transfer chicken to a plate and let it rest for 10 minutes before slicing. This allows the juices to redistribute, resulting in a juicier and more tender chicken breast. Cover with aluminum foil to keep the chicken warm. Serve with sides, or with salads, pastas, or soups.
How Long to Cook Chicken on the Stove
If you follow the instructions in the recipe card below, it should take about 5 to 7 minutes per side. You’ll know it’s time to flip when you see the upper edges of the chicken start to turn white.
Of course, always use a meat thermometer to be sure. Chicken is safe to consume when the center reaches 165 degrees F.
Favorite Seasoning Blends and Marinades
These are my favorite seasoning blends and marinades for chicken!
Seasoning blends:
- Chicken Taco Seasoning for a Mexican flavor profile. Yum!
- Burger seasoning: You can use this all-purpose seasoning on chicken too, not just burgers! This one is more on the milder side.
- Fresh herb seasoning: Fresh thyme, rosemary, and oregano, Kosher salt, pepper, garlic powder.
- Dried herb seasoning: Dried Italian seasoning or herbs de provence, Kosher salt, pepper, garlic powder.
- Paprika: Smoked paprika, garlic and onion powder, oregano, salt and pepper.
- Your favorite store-bought chicken rubs or seasonings.
Marinades:
- My favorite Lemon Marinade for chicken.
- This Teriyaki Sauce doubles up as a marinade! Same with my Chinese Stir-fry Sauce.
- For a bright citrus-based marinade, use the same one I use in my Shrimp Marinade or Pork Chop Marinade.
Make Ahead Tips
Prep ahead: Pound chicken breasts and season with spices or marinades overnight (note: If using a citrus-based marinade, marinate for up to 2-3 hours only).
Make ahead: You may also pan sear the chicken breasts up to 2 days ahead and reheat in the microwave oven.
Pairing and Serving Ideas
There are so many side dishes that go incredibly well with pan seared chicken. These are my favorite pairings:
- Vegetables: Parmesan Roasted Asparagus, Rainbow Carrots, and Cauliflower Gratin.
- Rice and potato: Herb Roasted potatoes, Mexican Rice.
- Mashed potato lovers: Try my Red Mashed Potatoes or Fluffy Mashed Potatoes, or upgrade to my Loaded Mashed Potatoes!
- For Brussel sprouts lovers: Balsamic Glazed Brussel sprouts, or our absolute favorite, Roasted Butternut Squash and Brussels Sprouts.
- Pasta sides: Buttered Egg Noodles
More recipes to make with seared chicken breasts:
Recipe FAQs
¾ inch thick chicken breasts should take about 5 to 7 minutes per side to cook.
Pan sear chicken breasts over medium heat. If you use high heat, the exterior will brown too fast and burn before the center has a chance to fully cook.
My go-to seasoning blend is (per chicken breast for both sides): ½ teaspoon Kosher salt, a few grinds of pepper, ½ teaspoon dried Italian seasoning, and ¼ teaspoon garlic powder. You may also try my favorite Chicken Taco Seasoning.
I use a non-stick 12-inch frying pan, but any type of pan will work…cast iron pan, stainless steel pan, or even a stove top grilling pan.
Meat tenderizers have a textured side designed to break down fibers effectively. It also helps to pound to even thickness, which is essential.
This recipe was published in 2019 and updated in August 2023 to include new photos and information, plus a few recipe modifications.
Tips for Success
- Make sure the chicken breasts are pounded to equal ¾ thickness for even cooking.
- Buy medium sized chicken breasts for best results. If too thick, you may slice them.
- Use medium heat to cook the chicken evenly throughout. If you use high heat, the exterior will dry out and burn before the center has a chance to fully cook.
- Don’t overcrowd the pan: Cook in batches if needed. Overcrowding can steam the chicken rather than sear it.
- Let the chicken cook undisturbed on each side, so that it has a chance to develop a good golden brown crust. This also ensures that the chicken cooks evenly on both sides.
I’d love to hear from you! If you loved my recipe, please consider leaving a 5-star rating and a comment down below. Sign up for my newsletter and follow along on Instagram, Facebook, or Pinterest
Pan Seared Chicken Breast (Stove Top)
Ingredients
- 2 medium chicken breasts - boneless, skinless
- 1 teaspoon Kosher salt
- ½ teaspoon ground black pepper
- Spices to taste - Italian seasoning, garlic powder, paprika, etc
Instructions
- Pat dry the chicken breasts. Cover with plastic wrap, and using a meat mallet or tenderizer, pound to even thickness to about ¾ inch thick.
- Season chicken with a few drizzles of oil oil, Kosher salt and pepper on both sides. For each chicken breast, I use ½ teaspoon Kosher salt and about ¼ teaspoon freshly ground black pepper. If desired, season with other spices too, such as garlic powder, Italian seasoning, paprika, etc. See notes below for more seasoning ideas.
- Optional: Let the seasoned chicken sit for 15 minutes before cooking. This will make the chicken even more flavorful.
- Heat 2 tablespoons of olive oil in a large non-stick skillet over medium heat. Once the pan is hot, cook the chicken breasts, about 5 to 7 minutes per side, or until internal temp reaches 165 degrees. Tip: Let them cook undisturbed on each side so you get a nicer golden brown crust.
- Remove from the pan and let it rest for 5 to 10 minutes before serving. This will ensure the juices redistribute, making it even juicier. If desired, cover with foil to keep it warm. Enjoy!
Notes
- Cooking times: If you follow the guidelines in the recipe, it should take 5 to 7 minutes per side over medium heat.
- Always use a meat thermometer (preferably instant read) to make sure the chicken is cooked to 165 degrees F in the center.
- Be generous with the seasoning so it’s flavorful.
- Prep ahead: Pound chicken and season with spices overnight.
- Make ahead: Cook chicken up to 2 days ahead and reheat in the microwave oven.
- Freezing: Allow them to cool completely before transferring them to a freezer-safe storage bag. Freeze for up to three months.
- Seasoning ideas:
-
- Chicken Taco Seasoning
- Fresh thyme, rosemary, and oregano, Kosher salt, pepper, garlic powder.
- Dried Italian seasoning or herbs de provence, Kosher salt, pepper, garlic powder.
- Smoked paprika, garlic and onion powder, oregano, salt and pepper.
- Your favorite store-bought chicken rubs or seasonings.





Charles Suggs says
Really great method for taking otherwise bland chicken breasts into drool worthy main course meat!
Thank you!
Jenn says
Wonderful! I will only sear chicken like this from now on!!! Thank you 🙂
YoNea Cummings says
Seems simple and looks delicious!! I can’t wait to try this recipe .. Can’t go wrong with juicy and flavorful chicken!! Thank you for sharing !
John A. says
I have made chicken with almost exactly the same steps as yours. What I like to do is lightly coat the breasts after pounding with flour. I am not going for a breaded effect but I have seen a similar recipe to yours which calls for a light coating of flour after pounding.
For seasoning I love Johnny’s Jamaica Me Crazy Lemon Pepper.
JoAnn Berge says
This is so easy to make and it tastes DELICIOUS! It is MOIST and tasty. I highly recommend this recipe and I will definitely be using this again!
Tania says
Thank you so much, JoAnn!