This Roasted Butternut Squash Soup is an absolute seasonal favorite. It’s got incredibly amazing flavors and it’s so comforting and cozy. It’s perfect for fall!
Nothing complicated here. This a very easy recipe that involves only 8 simple ingredients and a few easy steps from start to finish.
It’s also make-ahead friendly and freezer-friendly, so make a big batch and enjoy this comforting soup all season long!
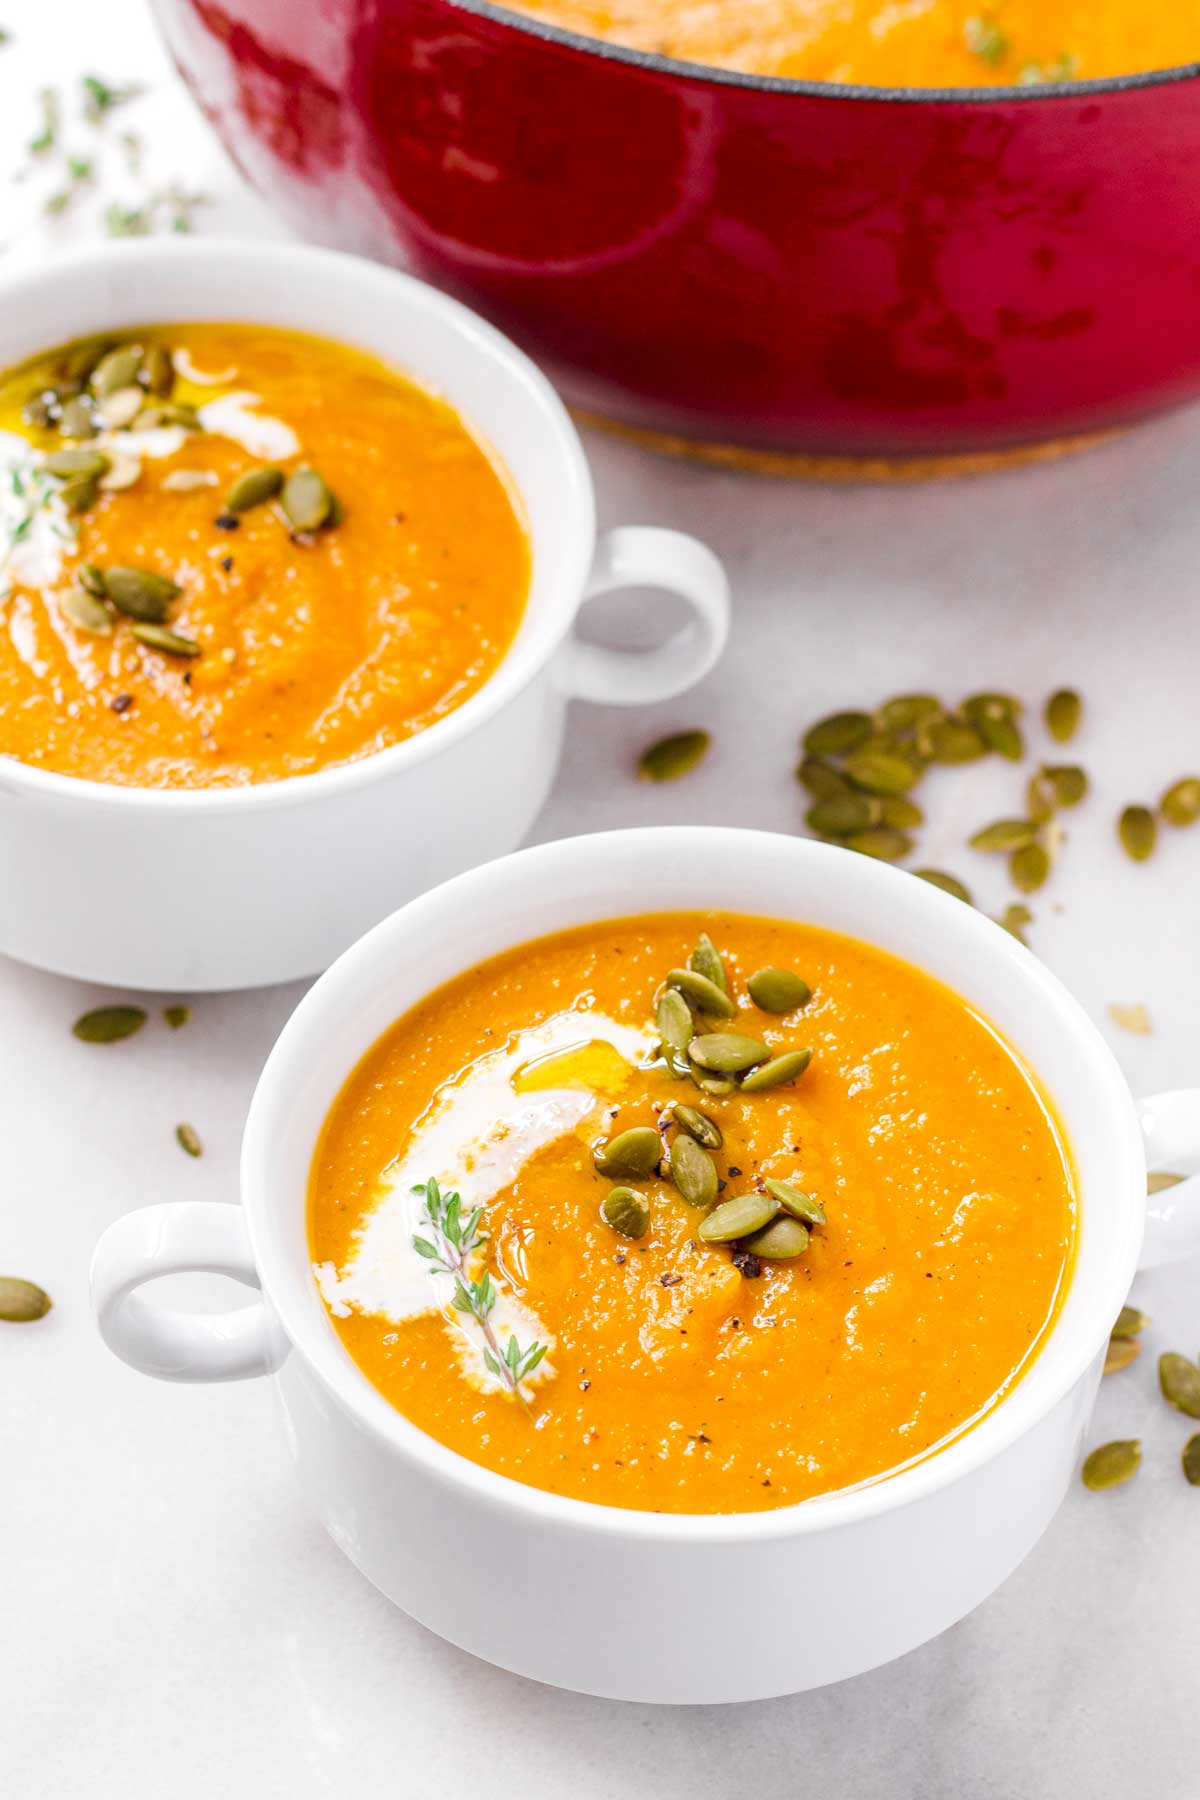
It’s soup season and what better ingredient to use than butternut squash! It’s my favorite seasonal fall ingredient to cook with. We’ve been making this butternut squash and Brussels sprouts side dish quite a lot, as well as butternut squash risotto.
Now, let me tell you more about this comforting roasted butternut squash soup. It’s PACKED with flavor like no other.
The secret to making the best butternut squash soup is roasting all the veggies first. This process brings out all the natural, sweet flavors of the vegetables in this recipe. I share more details about this below!
Why this roasted butternut squash soup is our favorite fall soup:
- Highly customizable! Add your favorite spices, pack it with extra veggies, or be creative with your toppings.
- Great texture: This soup is blended until perfectly smooth.
- You only need 8 ingredients: It’s a no-fuss soup, made with just a few ingredients that are packed with delicious flavors. Just roast, blend, and simmer. Simple.
We like to serve it for dinner with warm Italian bread, or my favorite…this artisan no-knead cranberry walnut bread. A good fall harvest salad is a great pairing too!
Other cozy soups we’ve been loving this season: Hearty Beef Barley Soup, Turkey Orzo Soup, Bacon Potato Chowder.
Jump to:
The Secret: Roasting Everything
As mentioned above, the key to making an ultra flavorful butternut squash is roasting all the vegetables.
Roasting brings out amazing flavors, all that natural sweetness of the squash and the onions, and the fragrant flavors of garlic. You’ll love all that beautiful caramelization that just adds intense flavors and dimension to the soup.
Plus, this technique makes everything so much simpler. All you need to do is roast, blend, and simmer. There’s no need to mince or saute anything.
Ingredient Notes
Below are a few helpful ingredient notes from recipe testing. As always, the ingredient quantities can be found in the recipe card down below in this post.
- Garlic: We’ll roast a whole head of garlic, so do not peel it. If you’re worried it may be too overpowering, use a smaller one or half.
- Olive oil, salt and pepper for roasting and seasoning
- Butternut squash: A medium 3-pound squash will do, peeled and cut into 1 inch cubes.
- Yellow onion: I prefer yellow onions because they are sweeter than white or red onions, but feel free to use either if you like more onion flavors in your soup.
- Fresh thyme: You can also add rosemary or sage. Dried herbs work here too – use about half the amount of dried herbs to substitute for fresh herbs.
- Chicken or vegetable broth: 4 to 6 cups, adjust to desired consistency. Note that you’ll need extra broth when reheating roasted butternut squash soup, as it tends to thicken more when refrigerated.
Step-by-Step Instructions
Step 1 | Prep the garlic for roasting
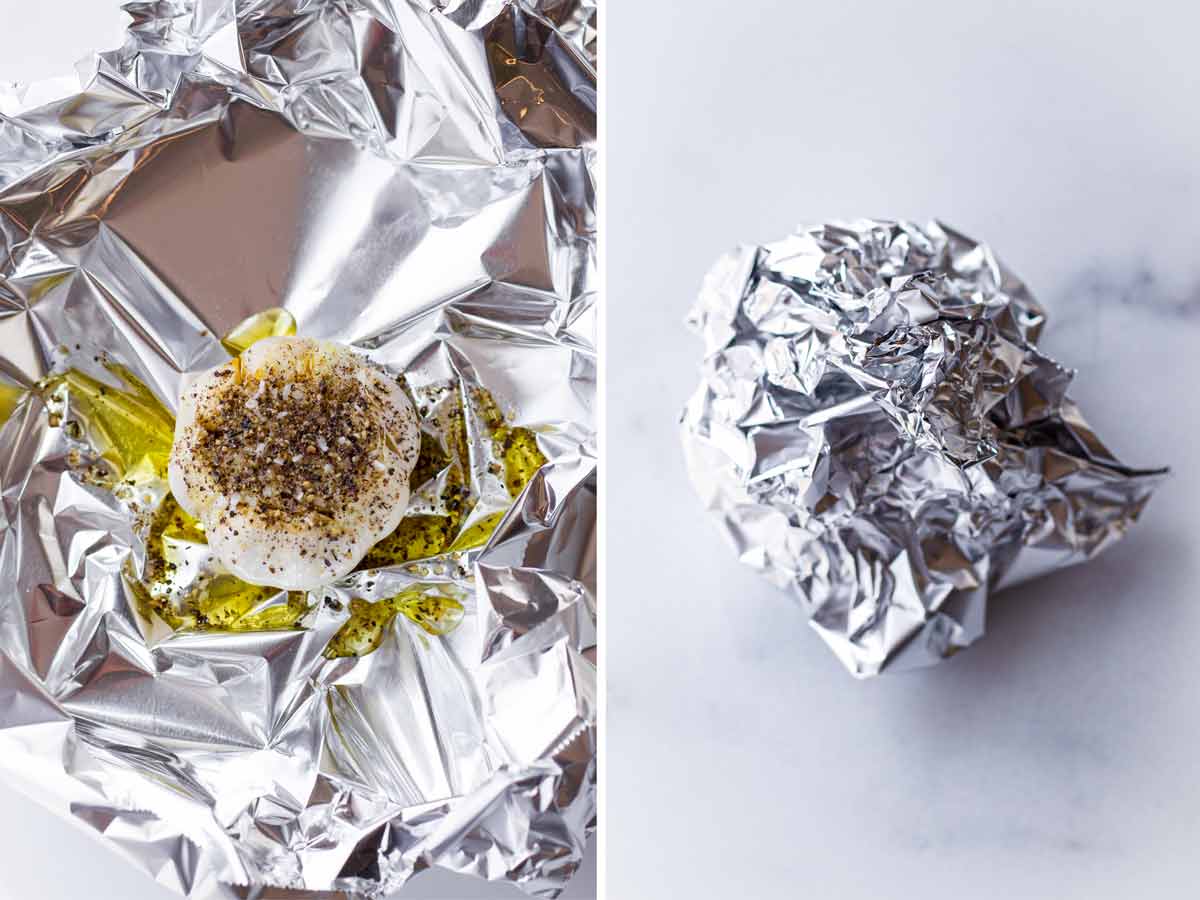
Peheat oven to 425 degrees F. Then prep the garlic for roasting. Grab a whole head of garlic, skin included, and cut off ¼ inch from the top so the garlic cloves are exposed. Place it on top of aluminum foil and drizzle generously with olive oil, and sprinkle salt and pepper. Fold up the foil and seal tightly. Set aside.
Step 2 | Roast all the vegetables
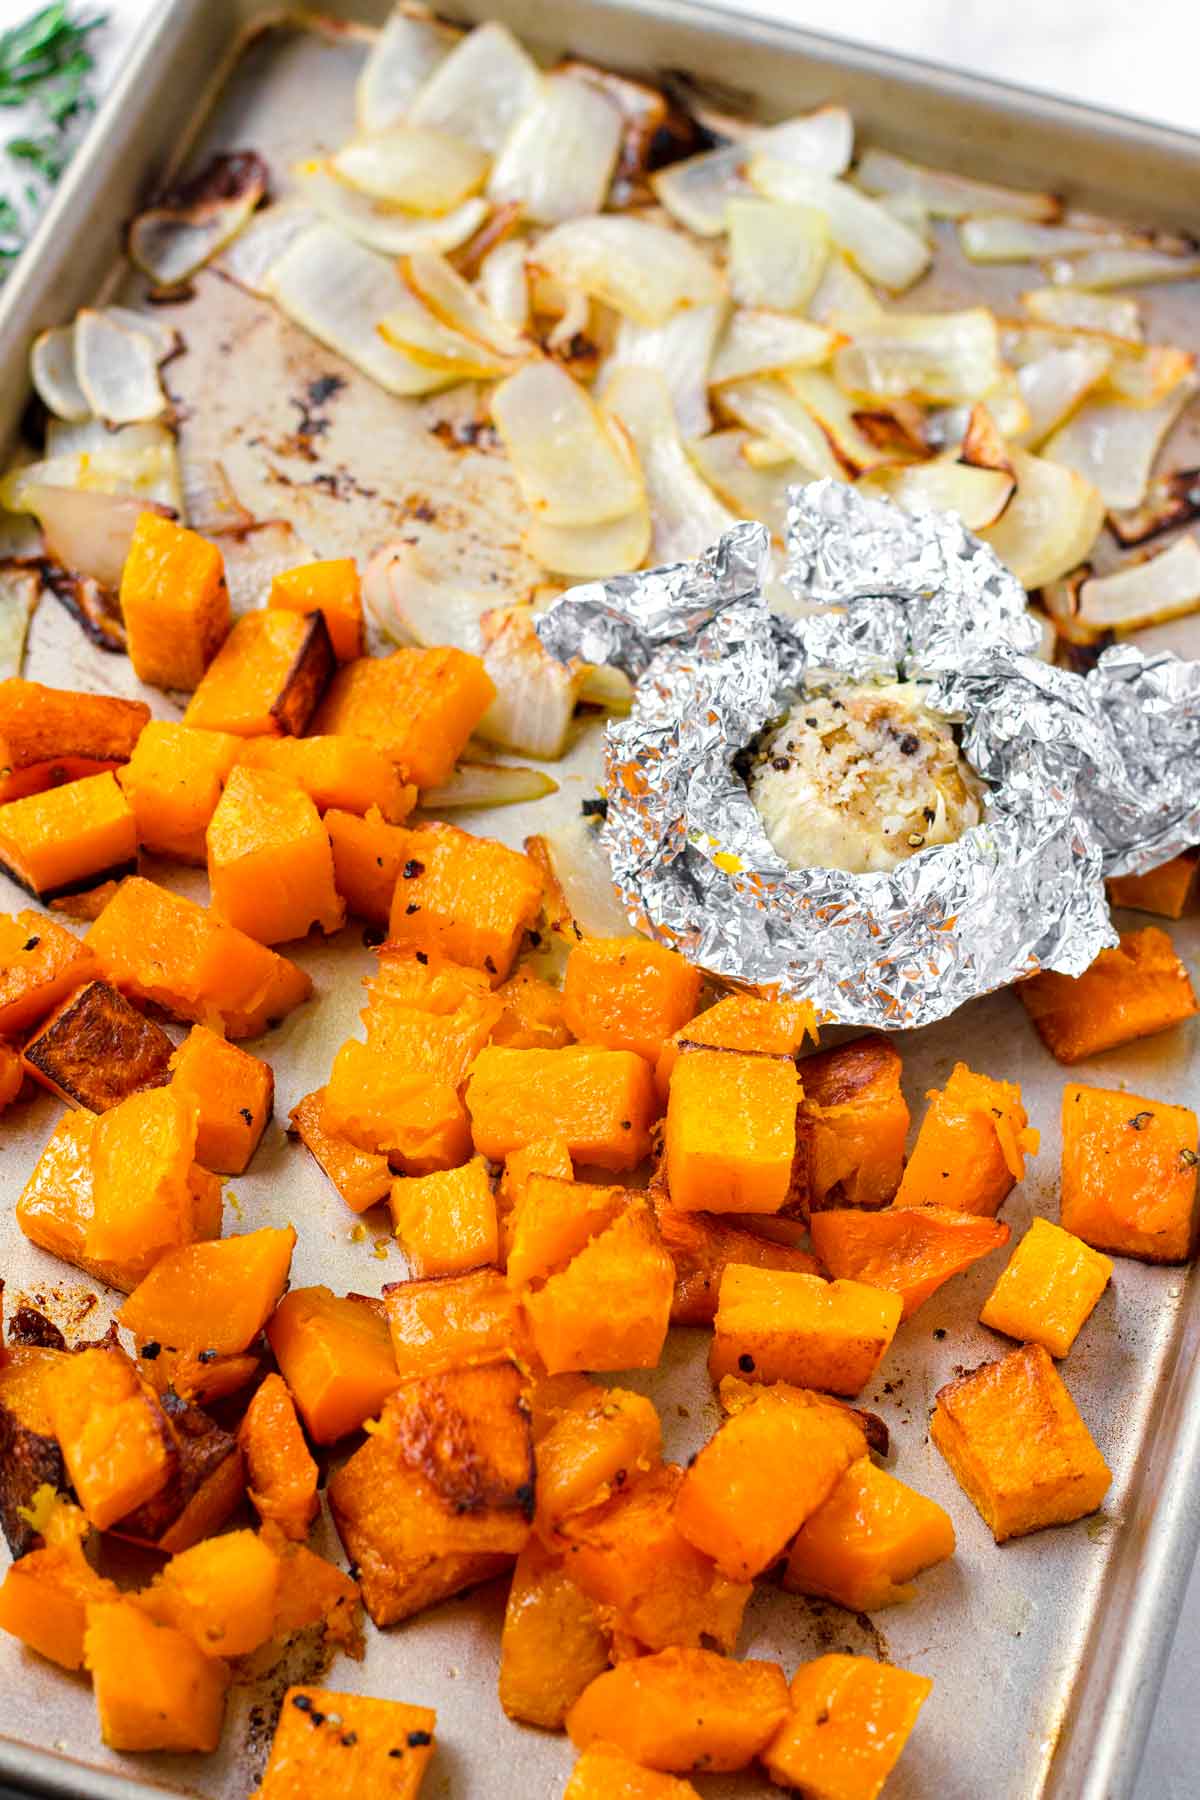
In a large sheet pan, toss the cubed butternut squash and onions with olive oil, salt, and pepper. Make room for the prepared head of garlic and place it on the sheet pan. Do not overcrowd the pans. If needed, use 2 sheet pans.
Roast for 30 to 35 minutes, tossing halfway through, until caramelized and softened. The garlic may need another 5 minutes, for a total of 40 minutes.
Step 2 | Blend roasted veggies and broth
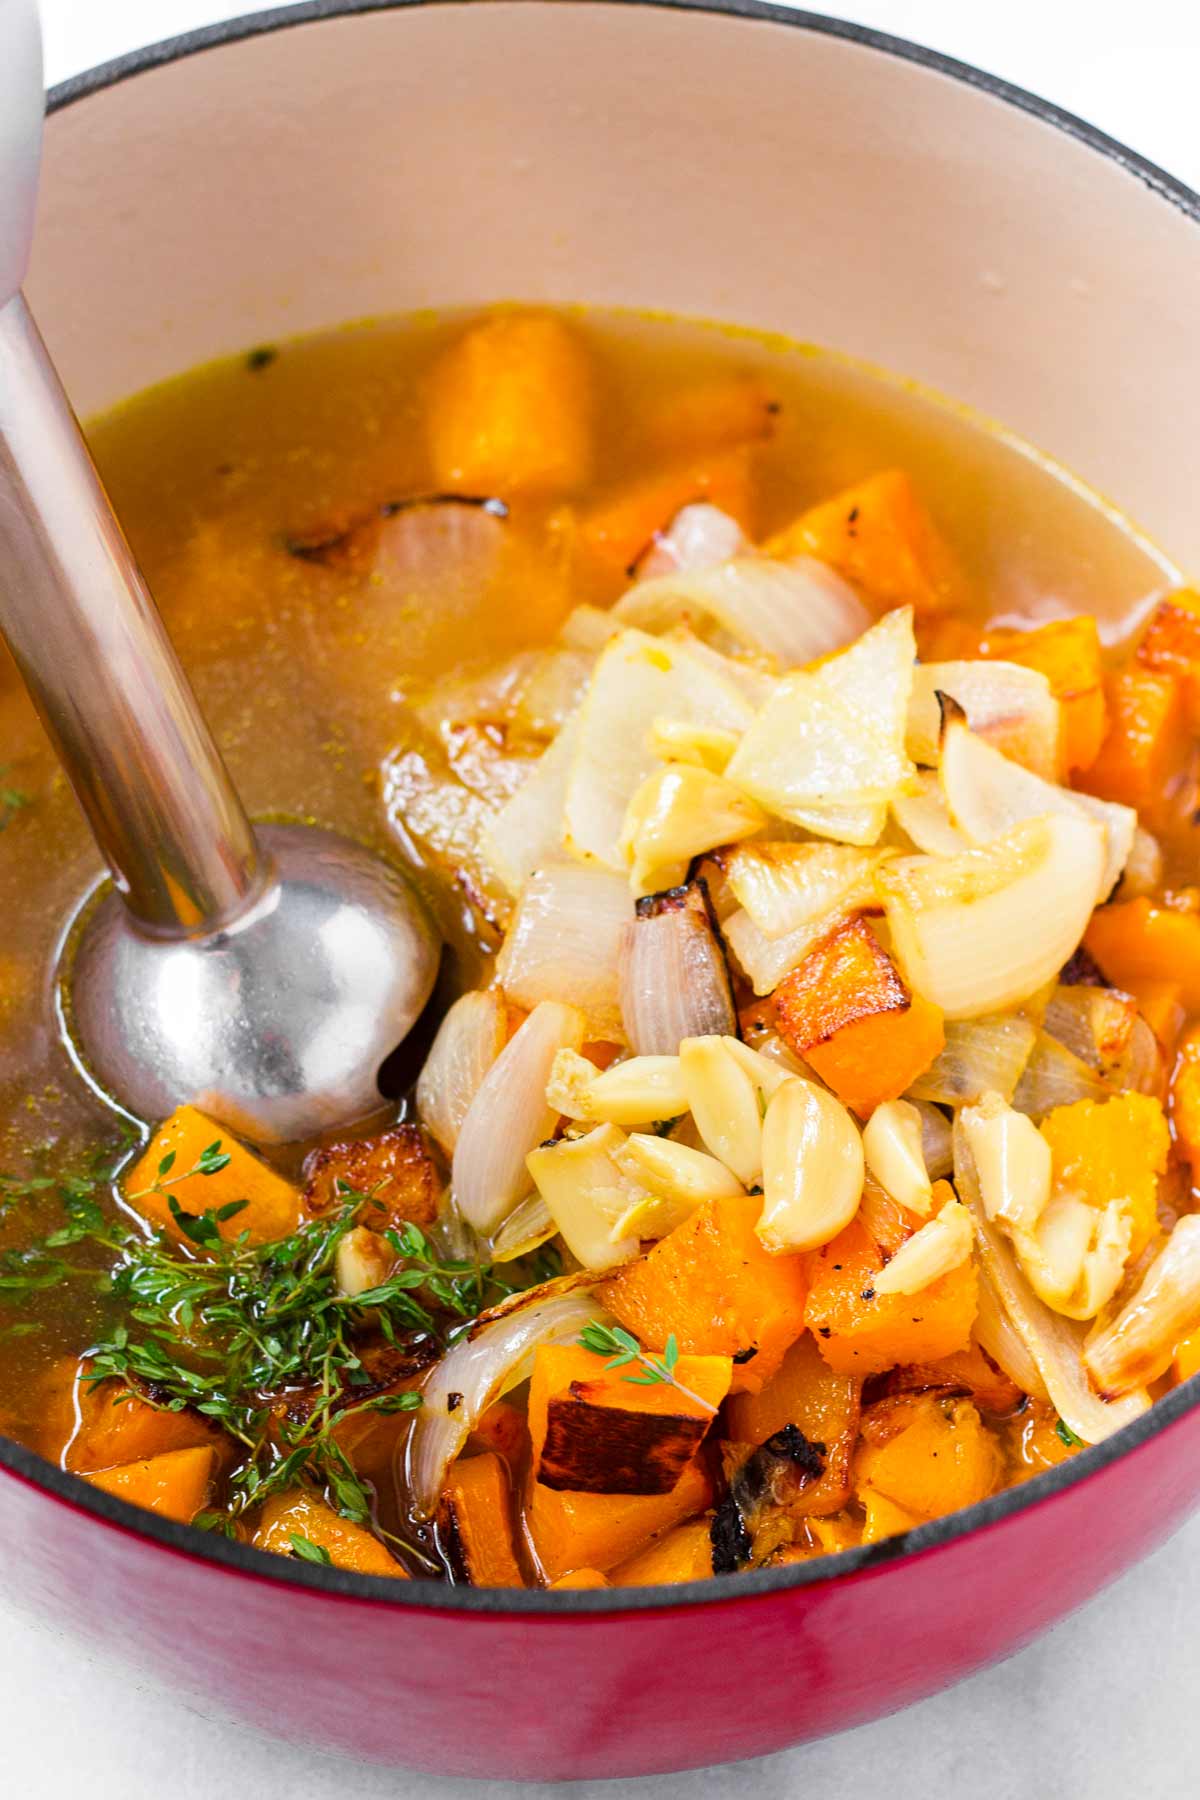
Transfer the roasted butternut squash and onions to a large pot. As for the garlic, remove the foil and squeeze out the roasted cloves into the pot, leaving the skin behind. Then, add broth and fresh thyme.
Using an immersion blender, blend everything until smooth. Adjust the consistency by adding more broth as needed. Some people like their roasted butternut squash soup thicker, others a bit thinner. Up to you!
Step 3 | Stir and simmer
Bring the soup to a boil and then reduce heat to a simmer. At this point, you can add spices such as cumin, cinnamon, nutmeg, or a dash of cayenne pepper for heat (to taste). Season with more salt and pepper to taste.
Simmer with the lid partially covered for 10 to 15 minutes, until all the flavors have come together. Stir occasionally. Serve with garnish and toppings of your choice.
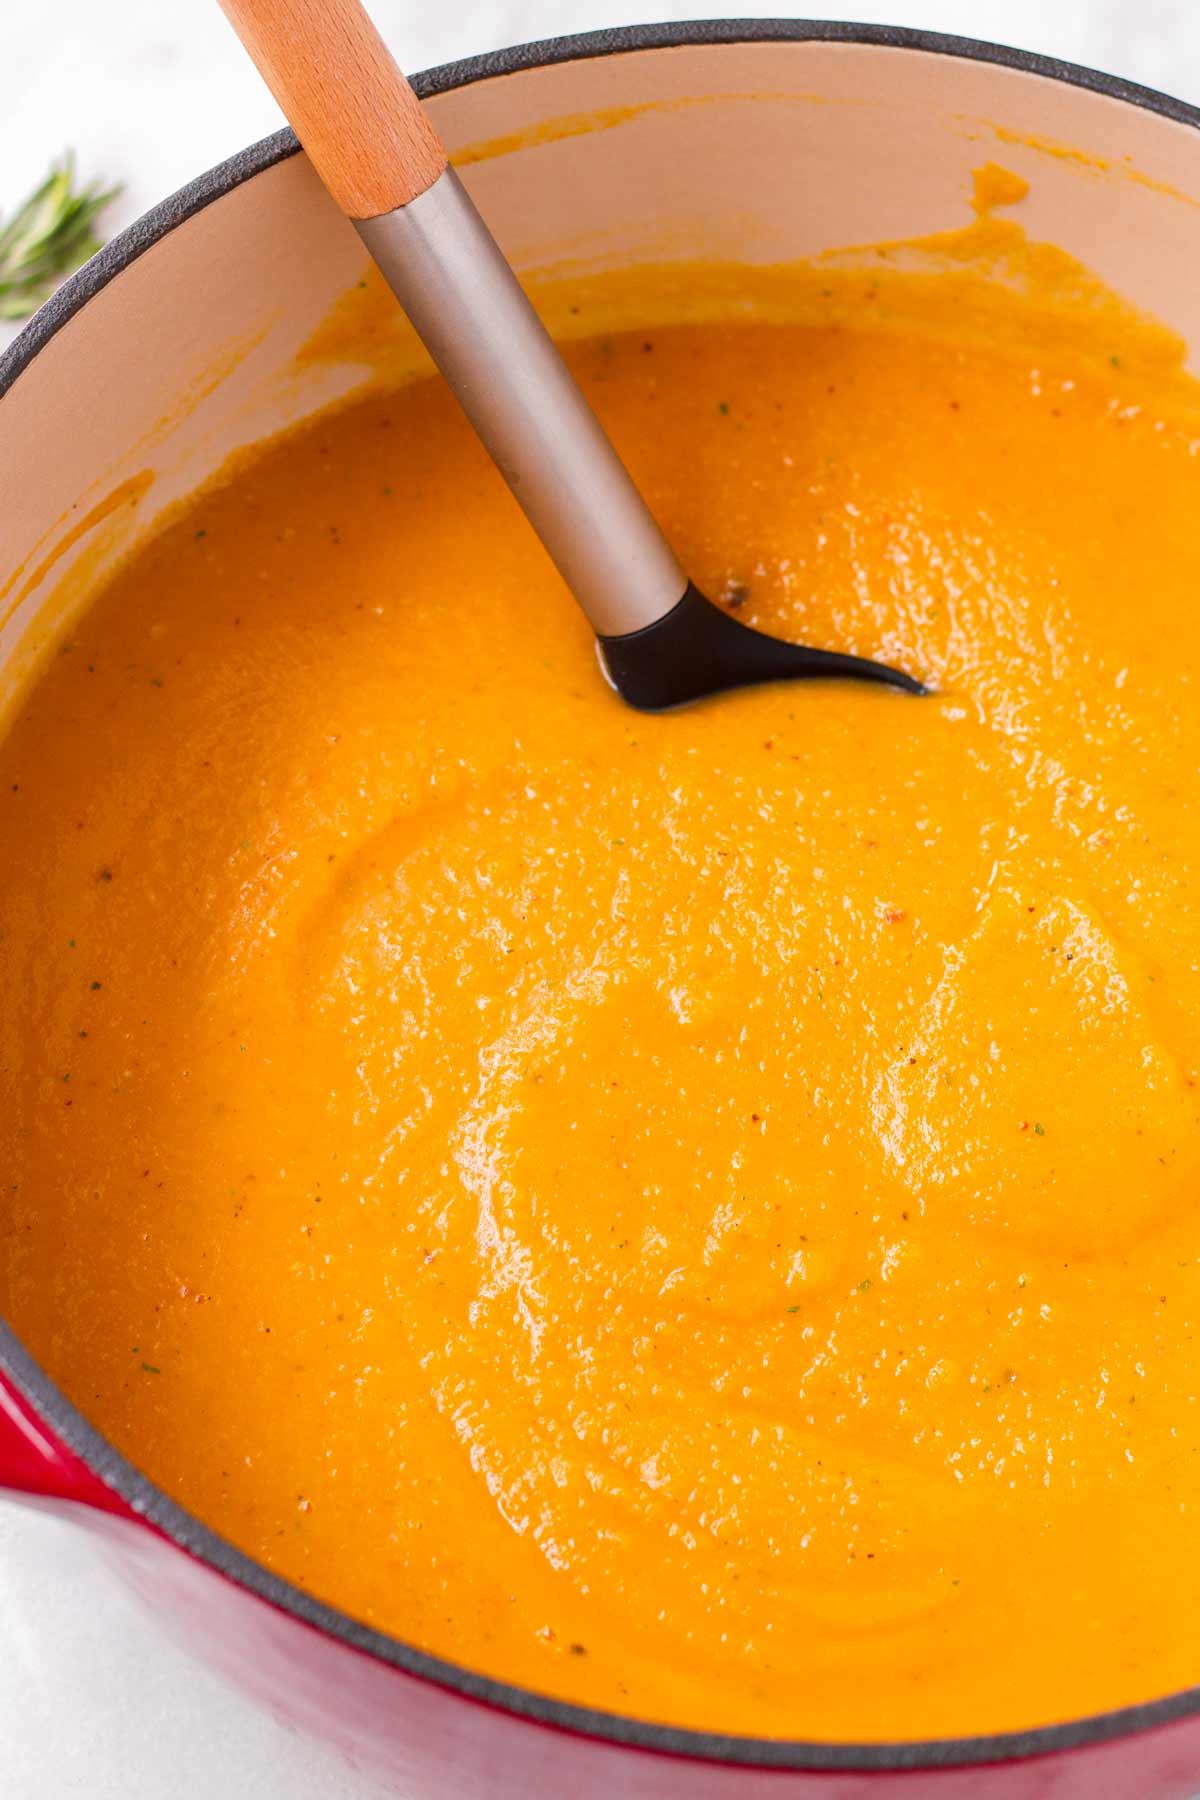
Add-ons and Customizations
What I love about this roasted butternut squash soup is that it’s highly customizable. Give these variations a try:
- Roast other veggies along with it, such as carrots, parsnips, or celery.
- Add spices: While the soup is simmer, add a few dashes of your favorite spices to taste. Try cumin, cinnamon, nutmeg, or a dash of cayenne.
- Add 2 or 3 tablespoons of unsalted butter while the soup it’s simmering. Butter adds a lot of flavor and silkiness.
- For a touch of sweetness, add a small drizzle of maple syrup to incorporate subtle sweet tones! I do this all the time.
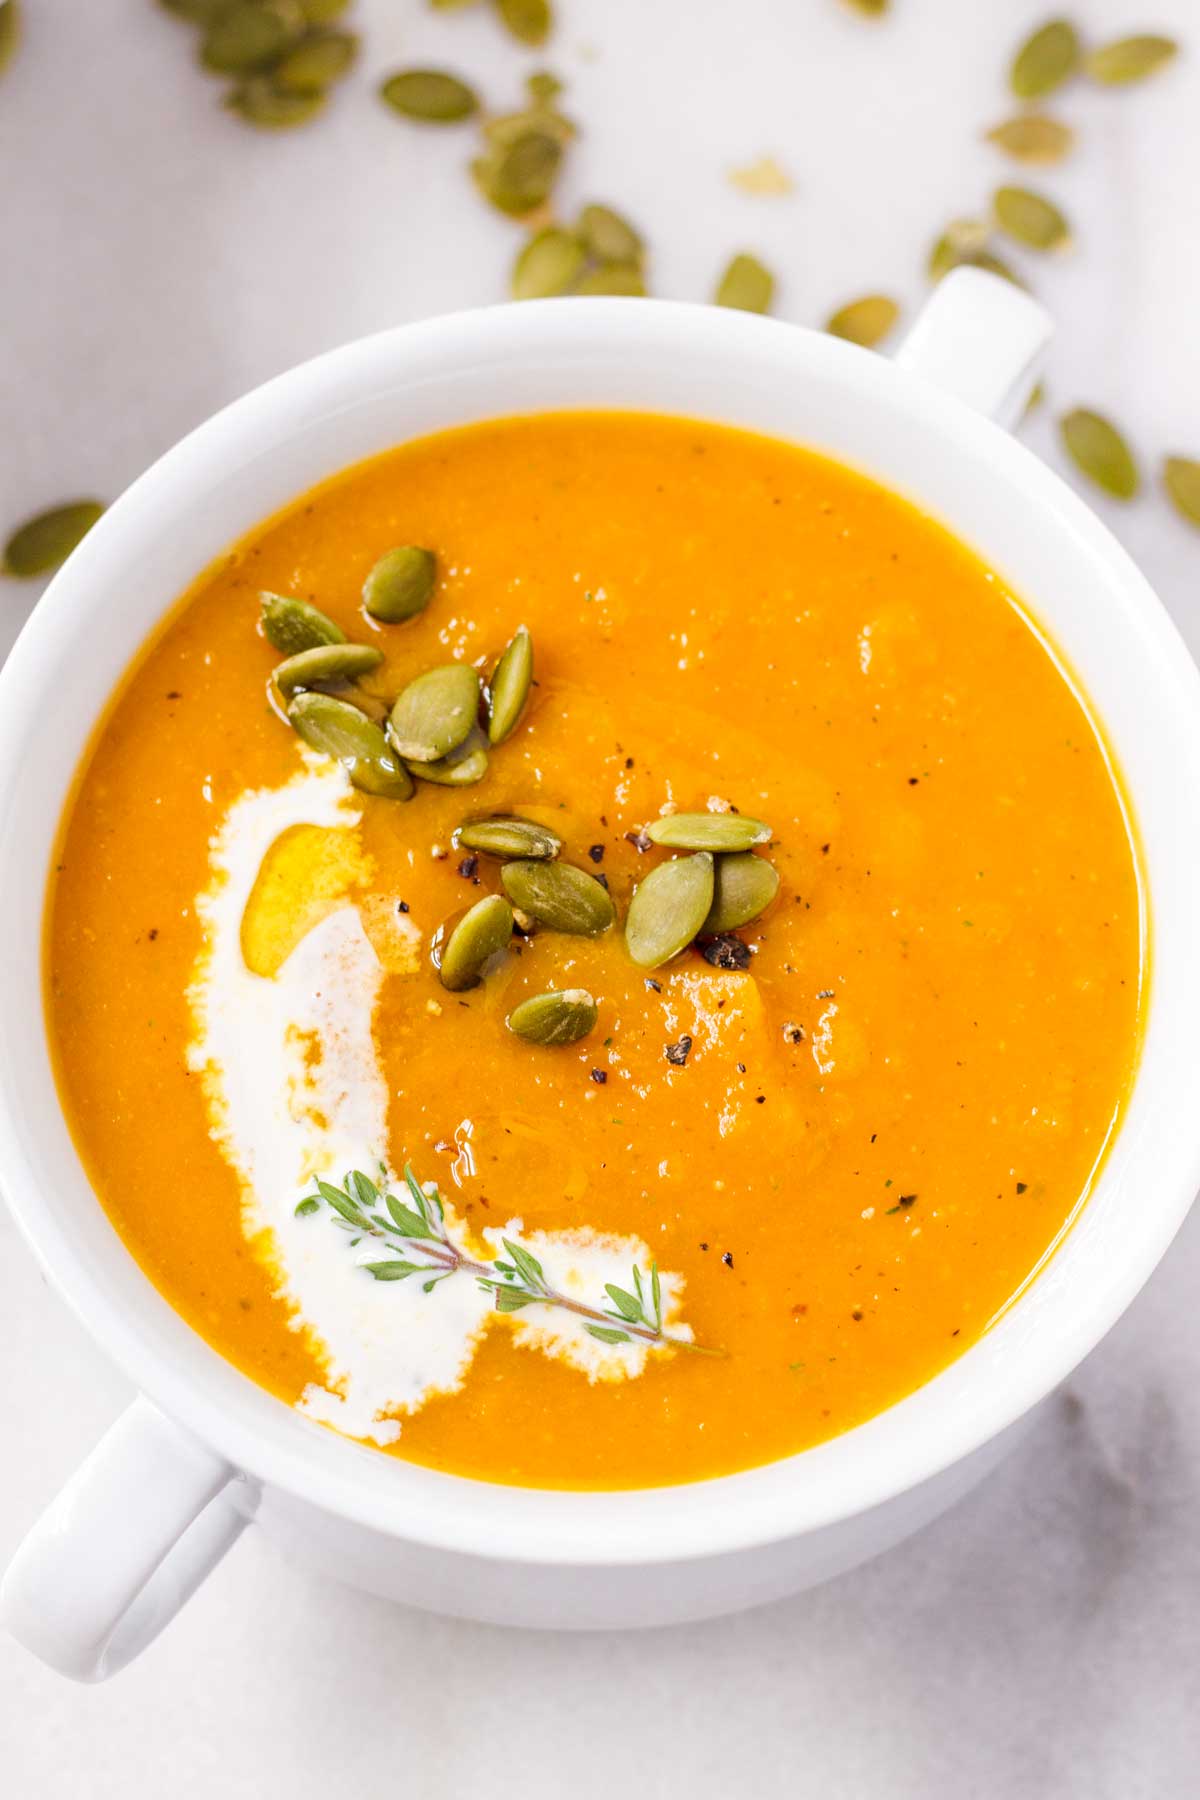
As for garnish and toppings, here are some ideas:
- A drizzle of heavy cream or coconut milk
- A drizzle of olive oil
- Roasted pumpkin seeds (also known as pepitas), sunflower seeds, or toasted nuts
- Store-bought or homemade croutons
- Crumbled cooked bacon
Make Ahead and Freezing
Yes, this roasted butternut squash soup is both make-ahead and freezer friendly! I always make a big batch and freeze for later.
Make ahead: Make the butternut squash soup the day before. Let it cool and refrigerate in an air-tight container. Leftovers will last for 3 to 4 days in the fridge.
To reheat the soup, I’d recommend doing so over the stovetop in a pot. Add a few splashes of broth to loosen it up (adjust to desired consistency), as the soup tends to thicken once it’s refrigerated.
Freezing: Let the soup cool down completely and then store in freezer-friendly containers. I like to use Souper Cubes to keep everything pre-portioned and make it easy to reheat later. Thaw in the refrigerator overnight, or reheat from frozen in a pot. Add a few splashes of broth when reheating, as the soup may thicken in the freezer.
Pairing and Serving Ideas
My go-to thing to serve with butternut squash soup is bread, a simple and humble pairing. Try a warm loaf of artisan or Italian, soft honey rolls, garlic herb rolls, homemade buttermilk biscuits, cornbread, or my favorite of all time…my no-knead cranberry walnut bread!
To keep it light, go for a soup and salad pairing. Try a fall-themed salad, such as this Fall Harvest Salad or Apple Kale Salad.
Other cozy soups you should try this fall and winter:
Recipe FAQs
I’d highly recommend using an immersion blender. It makes blending so much easier and safer. However, you can always opt to use a regular countertop blender – do it in batches and be careful since it will be hot.
While it’s simmering, add your favorite spices. Try a dash of cumin, cinnamon, or nutmeg. For heat, add a little bit of cayenne pepper. As for herbs, try rosemary or sage…fresh or dried. Sometimes, I also like to add garam masala for bolder flavors.
A whole 3-pound butternut squash is equivalent to about 4 to 5 cups diced (uncooked).
Yes, you can freeze it for up to 3 months. Thaw in the refrigerator and reheat, or reheat from frozen. I’d recommend reheating the soup over the stovetop with a few splashes of broth to loosen it up.
Yes, use a little less than half the amount called in the recipe.
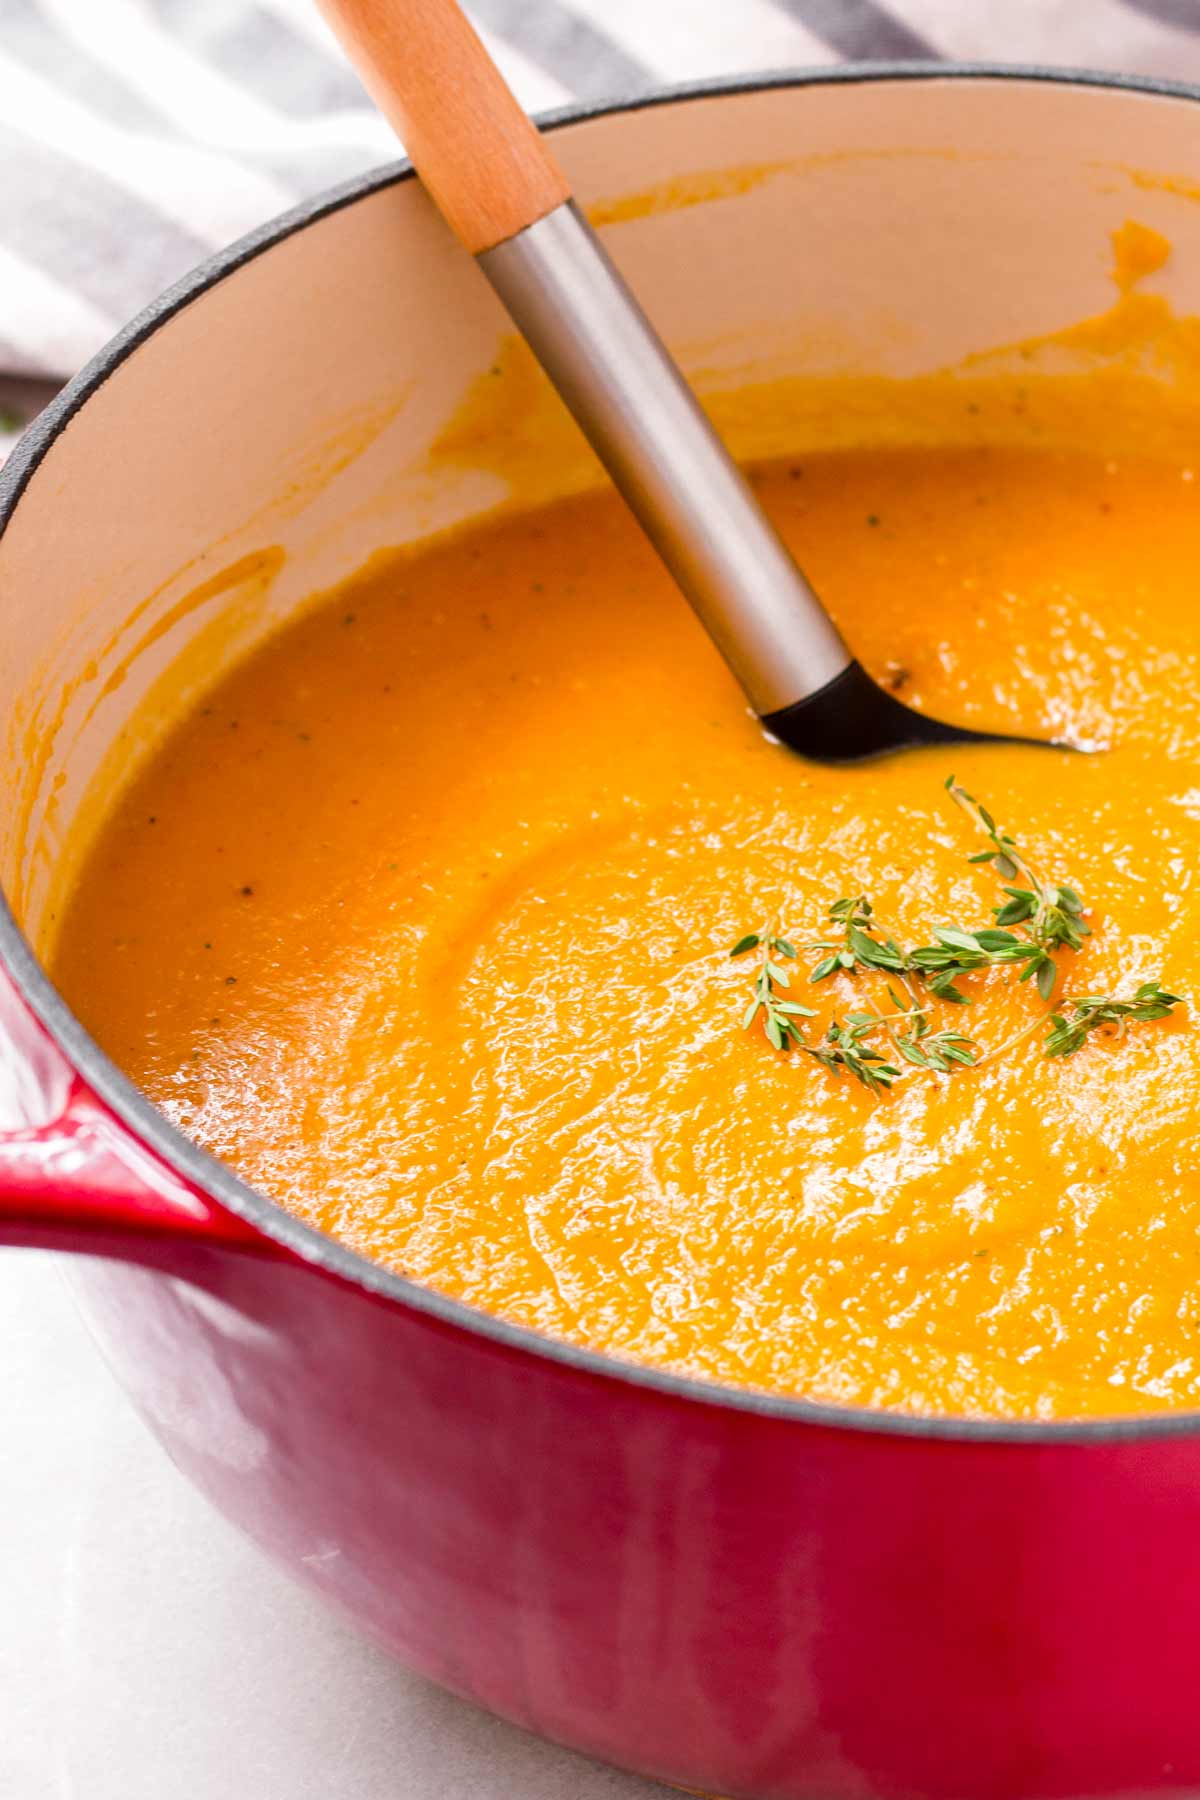
This recipe was published in 2020 and updated in November 2022 to include new photos and information.
Tips for Success
- We’re garlic lovers over here! But if you’re worried about it being too garlicky, try using a small head of garlic or half of a regular-sized head of garlic.
- Adjust the amount of broth to the consistency of your liking. It’s really a matter of preference. You can also add half-and-half or heavy cream to it.
- I’d highly recommend using an immersion blender. It’s so much easier and safer. A countertop blender will work too – do it in batches for best results.
- When reheating the soup, stir in some more broth, as it thickens when refrigerated. I’d recommend reheating over the stovetop for best results.
I’d love to hear from you! If you loved my recipe, please consider leaving a 5-star rating and a comment down below. Sign up for my newsletter and follow along on Instagram, Facebook, or Pinterest
Roasted Butternut Squash Soup
Equipment
- 5-quart pot Dutch oven or any large pot
Ingredients
- 1 small head whole garlic - do not peel, see notes below
- Olive oil
- Salt and pepper
- 1 medium butternut squash, peeled and cut into 1 inch cubes - about 3 pounds
- 1 medium yellow onion, peeled and roughly chopped
- 2 teaspoons fresh thyme leaves - or ¾ teaspoon dried
- 4 to 6 cups chicken or vegetable broth - plus more as needed to taste
Instructions
- Preheat oven to 425 degrees F.
- Prep the garlic for roasting: Cut ¼ inch off the top of the garlic to expose some of the cloves. Do not peel it. Place it on aluminum foil and generously drizzle with about 1 tablespoon of olive oil, ½ teaspoon salt and a few grinds of freshly ground black pepper. Fold up the foil and close tightly by twisting it from the top. Set aside.
- On a large sheet pan, toss the butternut squash and onions with a few drizzles of olive oil, and salt and pepper to taste. Make some room and place the prepared garlic on the sheet pan. Tip: Do not overcrowd the pans, otherwise the veggies will steam instead. Use 2 sheet pans if needed.
- Roast for 30 to 35 minutes, or until vegetables are softened, turning midway through. You may need to remove the onions a few minutes early. The garlic may take closer to 40 minutes.
- Transfer the roasted butternut squash and onions to a large pot. For the garlic, remove the foil and squeeze out the garlic cloves into the pot. Then, add the broth and thyme. Tip: If you’re worried it may be too garlicky (we’re garlic lovers over here!), add half of the garlic first and then add the rest if necessary, to taste.
- Using an immersion blender, blend everything until smooth. At this point, add more broth if needed until desired consistency. Season with salt and pepper to taste.
- Bring to a boil and then reduce heat to simmer for 10 to 15 minutes, until all the flavors come together. Note: if you don’t have an immersion blender, use a regular blender, blend in batches.
- Serve immediately. I garnished my butternut squash soup with pumpkin seeds, thyme, olive oil, and heavy cream. Enjoy!
Notes
- A medium 3-pound whole butternut squash is equivalent to about 4.5 to 5 cups diced (uncooked).
- Amount of garlic: If you’re worried about the soup being too garlicky, use a smaller head of garlic or half of one. You can also gradually add the amount of roasted garlic cloves to taste.
- Using an immersion blender is highly recommended for ease, convenience, and safety. But a countertop blender will work too – be careful and always work in batches.
- Adjust amount of broth desired consistency: How much liquid you use is totally up to you. You can even add a splash of half and half, heavy cream, or coconut milk to make it extra cozy.
- Make ahead: Cool down completely and refrigerate in an airtight container. I usually make it 1 day in advance to maintain freshness.
- Leftovers: Butternut squash soup leftovers will keep in the fridge for 3 to 4 days.
- Reheating tips: I’d recommend reheating over the stovetop. Add a few splashes of broth to loosen it up, as this soup tends to thicken when refrigerated.
- Freezing: Freeze for up to 3 months. Thaw and reheat, or reheat from frozen in a pot.
- Roast other vegetables along with it, such as carrots, parsnips or celery.
- Add spices: Cumin, cinnamon, or nutmeg. Just a pinch for flavor.
- Toppings and garnish: Pumpkin seeds, sunflower seeds, toasted nuts, croutons, bacon, a drizzle of cream and olive oil







JoAnna says
This is so yummy! Earthy, full of flavor and easy!
Carrie says
Roasted onion and garlic adds very nice flavor.
Nathalie says
Wow…loved this recipe! Super simple and the roasted garlic sent it over the top! I like mine extra creamy so I added a 1/2 pint heavy whipping cream…DANG!!! Thank you for sharing!
Shante says
Wow this is one the best soups I’ve had in my life. So good.
Rebecca says
I made this, and the head of garlic was a great component of the soup. The garlic flavor is mellowed and made more complex by roasting the head first. Granted, I love garlic. If you’re super sensitive or think garlic is “smelly,” you could always use less. Like with all recipes, it’s best to take your own preferences into account when adding flavor ingredients (like garlic).
The flavor of the soup was awesome, and it’s super simple to make. I’ll definitely be having more. Great job, and thank you for sharing your recipe!
Karina says
The soup could off been really good,I made the recipe last night, and just putting the whole head of garlic makes it super smelly, I don’t know if it should be garlic gloves instead of the whole head. I added more chicken broth to see if the taste gets better even though I added the 4-5 cups of chicken broth.