If you want to upgrade your favorite savory dishes with ease, roasted garlic is the way to go! It adds that deep and rich boost of flavor that can take anything to the next level.
Roasting garlic is very easy, straightforward, and hands-off. Plus, it can be made ahead so you can use it on your recipes all week long, or even frozen for later use.
Ready to transform your meals? Let me show you have to do it in a few simple steps! Plus, let me tell you…your kitchen will smell AMAZING!
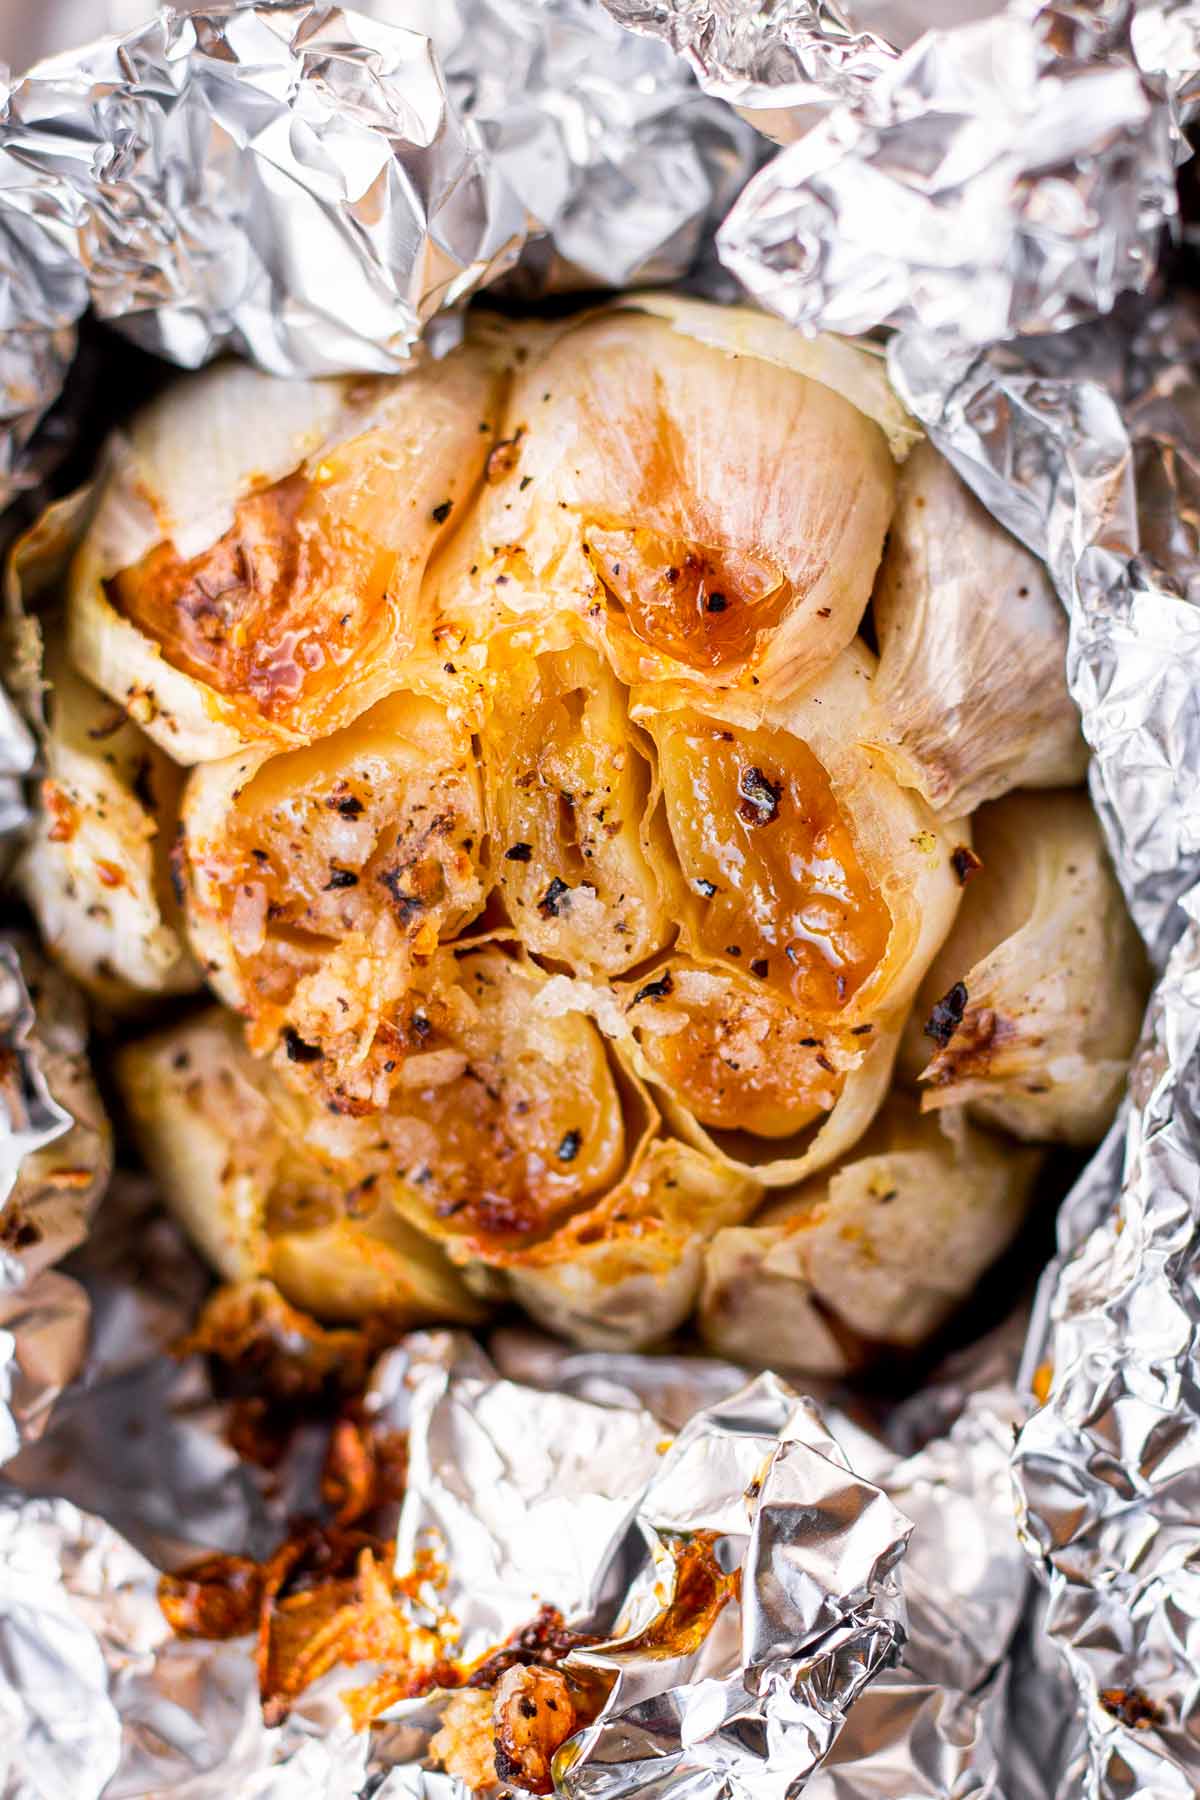
If there’s one culinary technique every home cook should know of, it’s roasting garlic. And I mean whole heads of garlic. The roasting process removes the overpowering flavor of raw garlic, leaving only its pure garlicky, caramelized goodness.
From pasta sauces to roasted vegetables, roasted garlic elevates any recipe it touches. It’s got that unique richness, depth, and subtle sweetness.
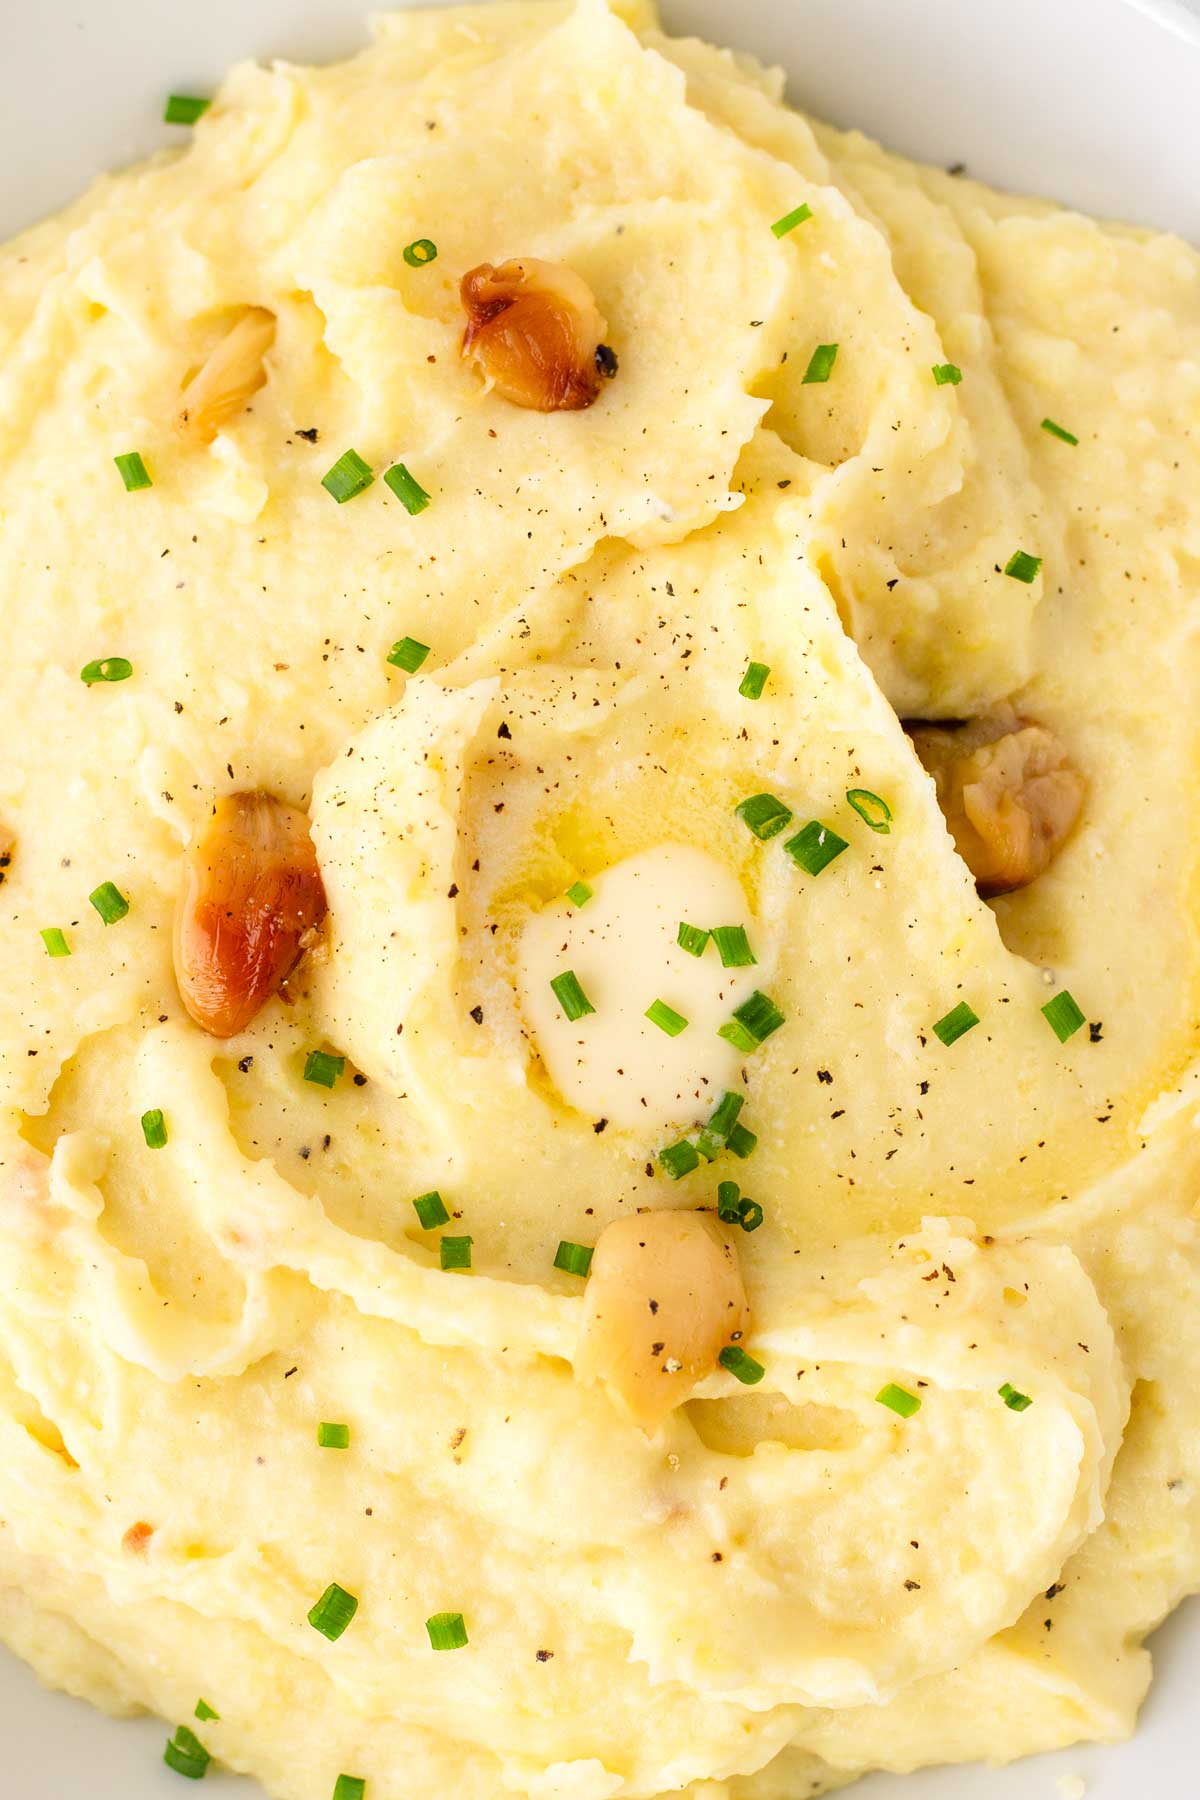
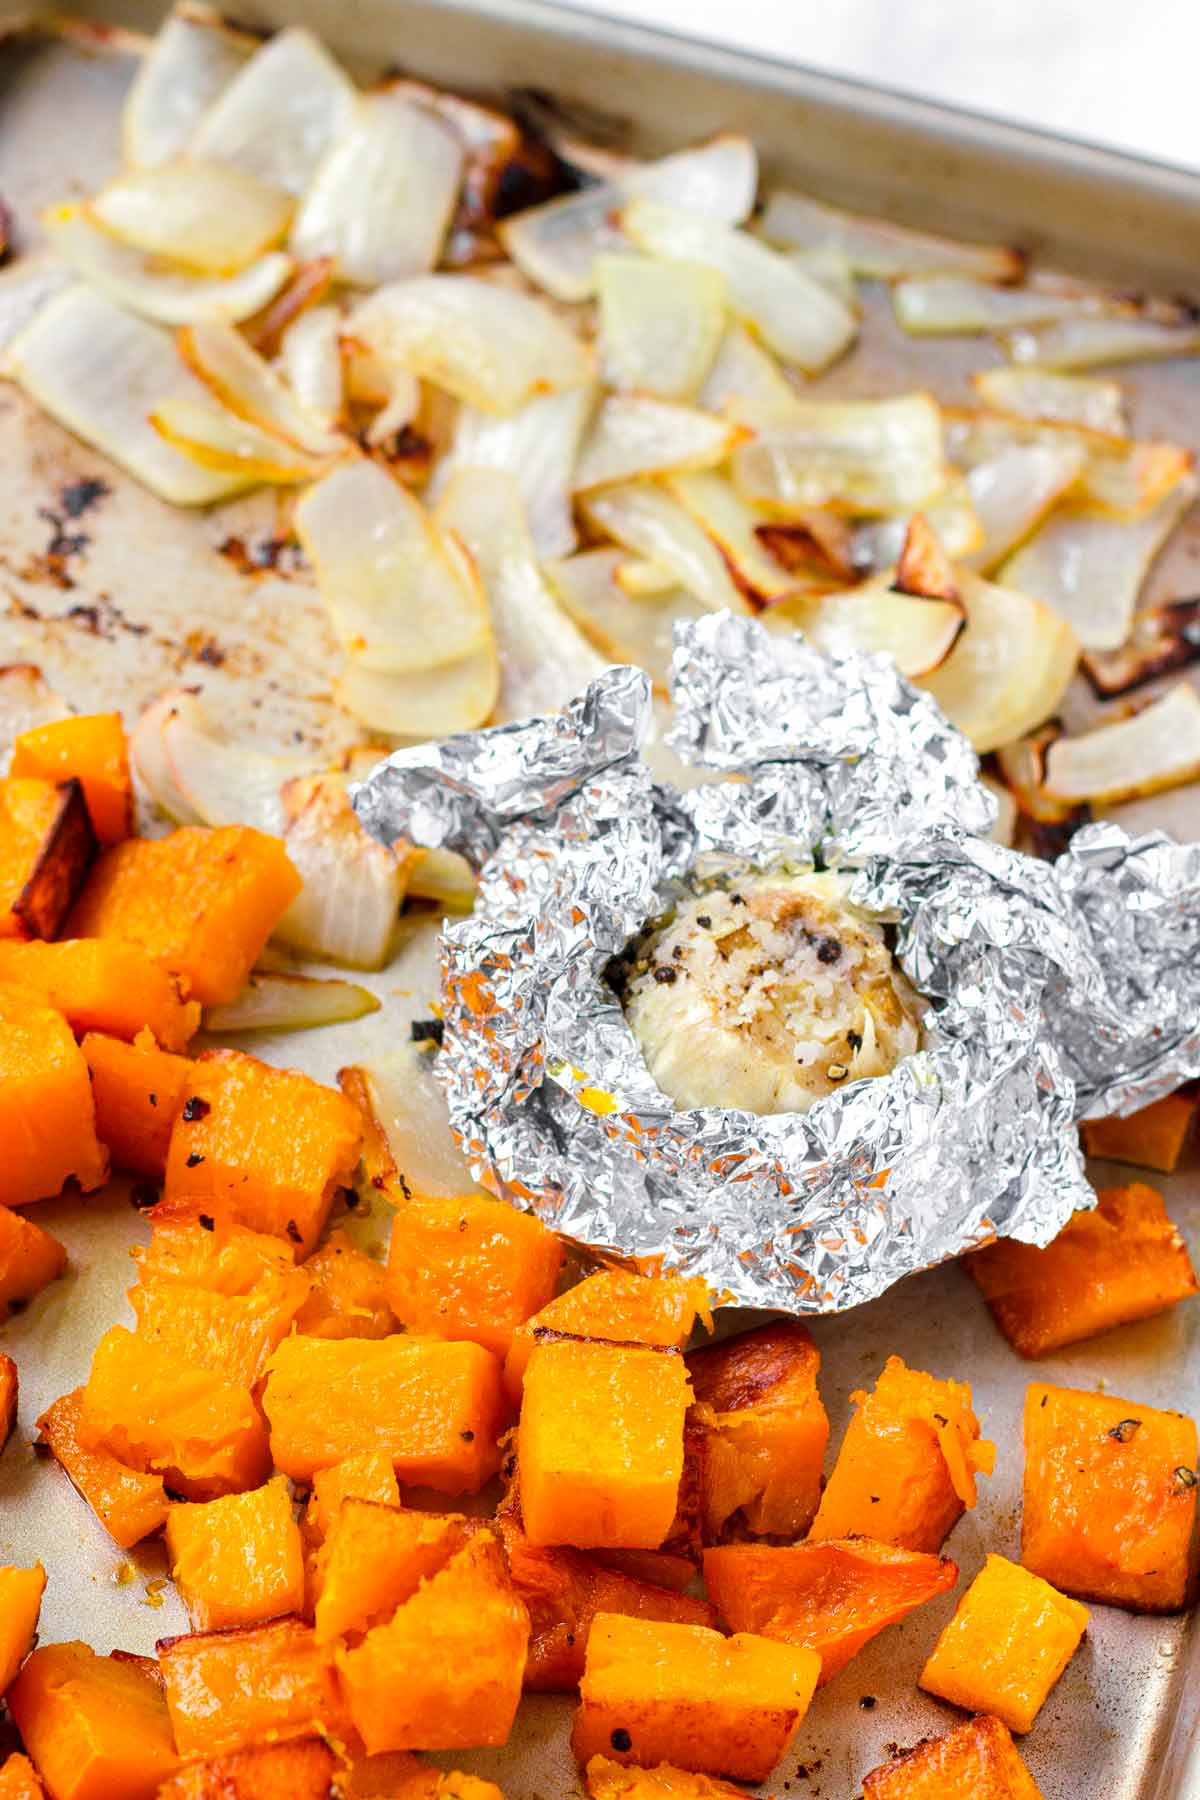
If you love mashed potatoes, then Garlic Mashed Potatoes is the way to go. And if you like soups, then try my favorite Roasted Cauliflower Soup and Butternut Squash Soup, both of which pack a generous amount of roasted garlic.
In addition to its delicious flavor, the great thing about it is that it’s make-ahead and freezer friendly. Make a big batch and use it for your favorite recipes throughout the week!
Why we love roasting garlic for our dishes:
- Intense flavors: Roasting garlic intensifies its natural sweetness while mellowing its sharpness, resulting in a flavor profile that’s robust and complex.
- Use it to elevate any savory dish: Roasted garlic can be used in so many savory dishes, from spreads and sauces to soups and stews, improving overall taste without overpowering.
- Super easy and hands off: With just a few simple steps, you can effortlessly add a gourmet touch to anything.
- Make-ahead and freezer friendly: Super convenient ingredient to have on hand at any time.
Jump to:
Favorite Recipes Using Roasted Garlic
I love using roasted garlic whenever I can. It just packs that extra punch of flavor that I absolutely love. After roasting, I squeeze out the garlic cloves and mash it into a paste to incorporate into dishes.
Soups and sauces are my go-to’s, but it’s also amazing to make garlic bread and mashed potatoes. Here are some of my faves:
- Roasted Garlic Mashed Potatoes, also great in Red Mashed Potatoes or Fluffy Mashed Potatoes
- Roasted Cauliflower Soup: Cauliflower and garlic are a match made in heaven!
- Roasted Butternut Squash Soup: A great way to elevate seasonal soups.
- Dip and sauces, such as Romesco Sauce and Chorizo Queso.
- Spread on my favorite Cheesy Garlic Bread before baking.
- Great for packing extra flavor in roast chicken, such as my Dutch Oven Chicken or Lemon Roast Chicken. Mix some roasted garlic paste into the softened butter, and rub it under the chicken’s skin before roasting.
Ingredient Notes
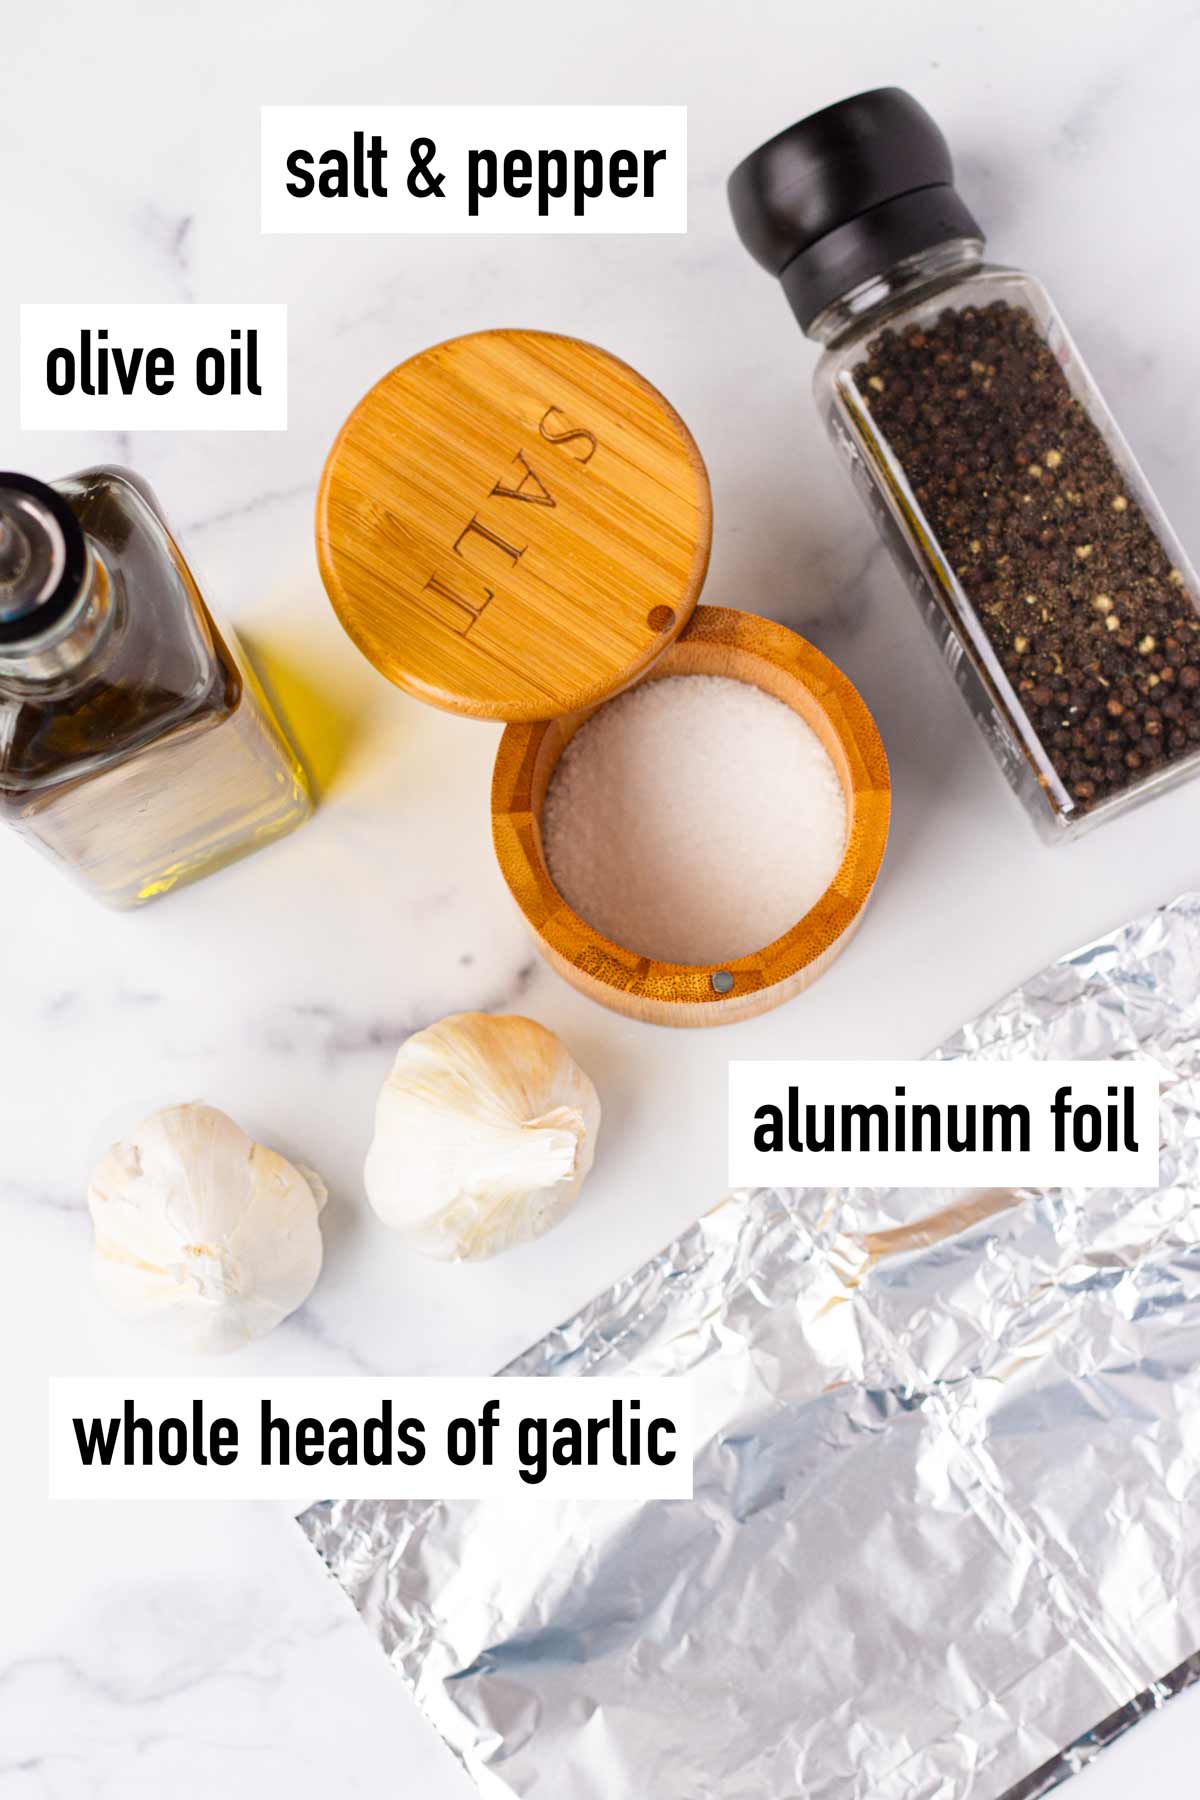
You only need 4 basic ingredients. Here are a few helpful ingredient notes for this easy oven roasted garlic recipe.
- Whole heads of garlic, unpeeled: Choose garlic that is fresh, plump, and has tight, unbroken skin.
- Olive oil: I like the subtle aroma that olive oil adds, but you can use vegetable or canola oil too.
- Salt and pepper: I prefer Kosher or sea salt and freshly ground black pepper. Feel free to sprinkle in additional spices, such as thyme or rosemary.
- Aluminum foil: The key to amazing flavor is to lock in the heat and taste. To do this, tightly wrap a whole head of garlic in a heat-conducting material, like aluminum foil. You can also use an oven-safe cocotte with a lid, as long as you can secure the lid.
Step-by-Step Tutorial
Roasting garlic at home couldn’t be any easier. While it does take about 40-45 minutes to roast, it’s a very hands-off and straightforward process. Here’s a quick tutorial on how to make it.
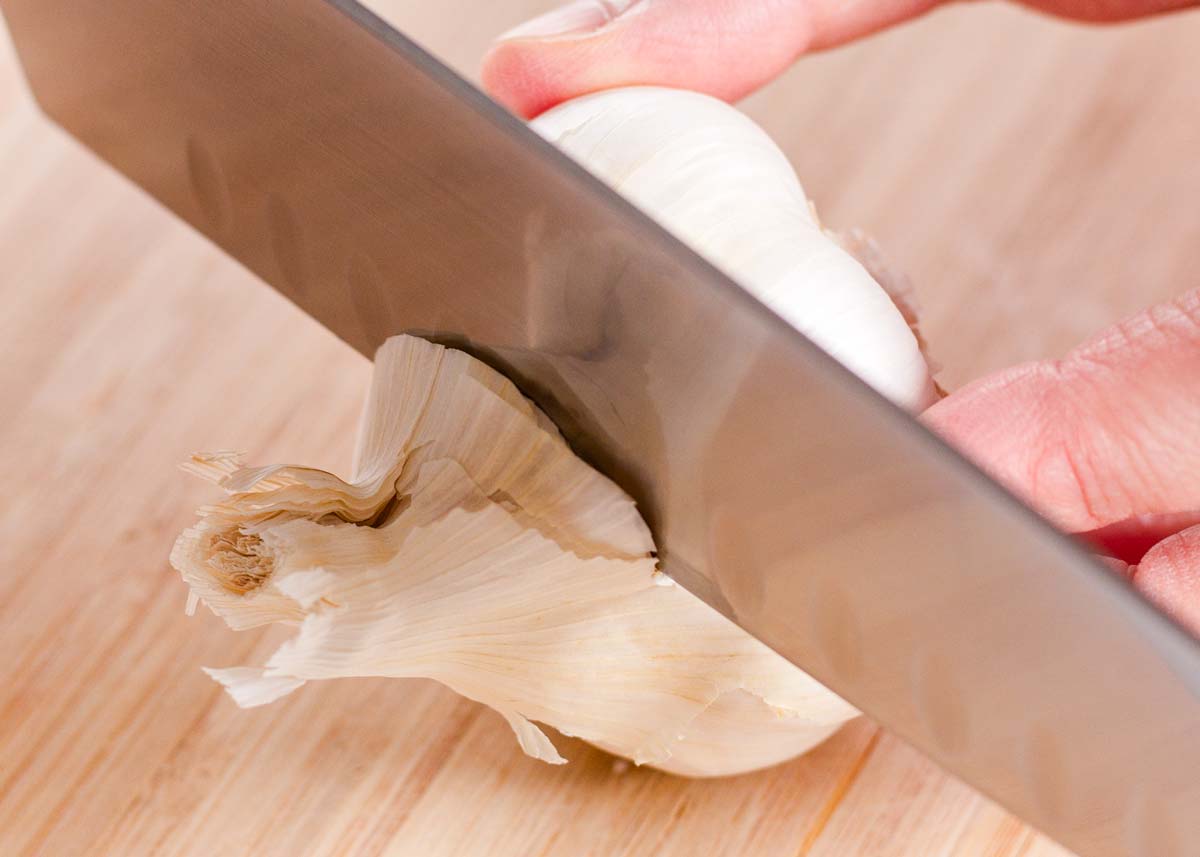
Step 1 | Cut off the top of the garlic
Preheat oven to 400 degrees F. Using a sharp knife, cut the top off the garlic head, exposing the cloves. This step will help the oil and seasonings to penetrate the garlic during the roasting process.
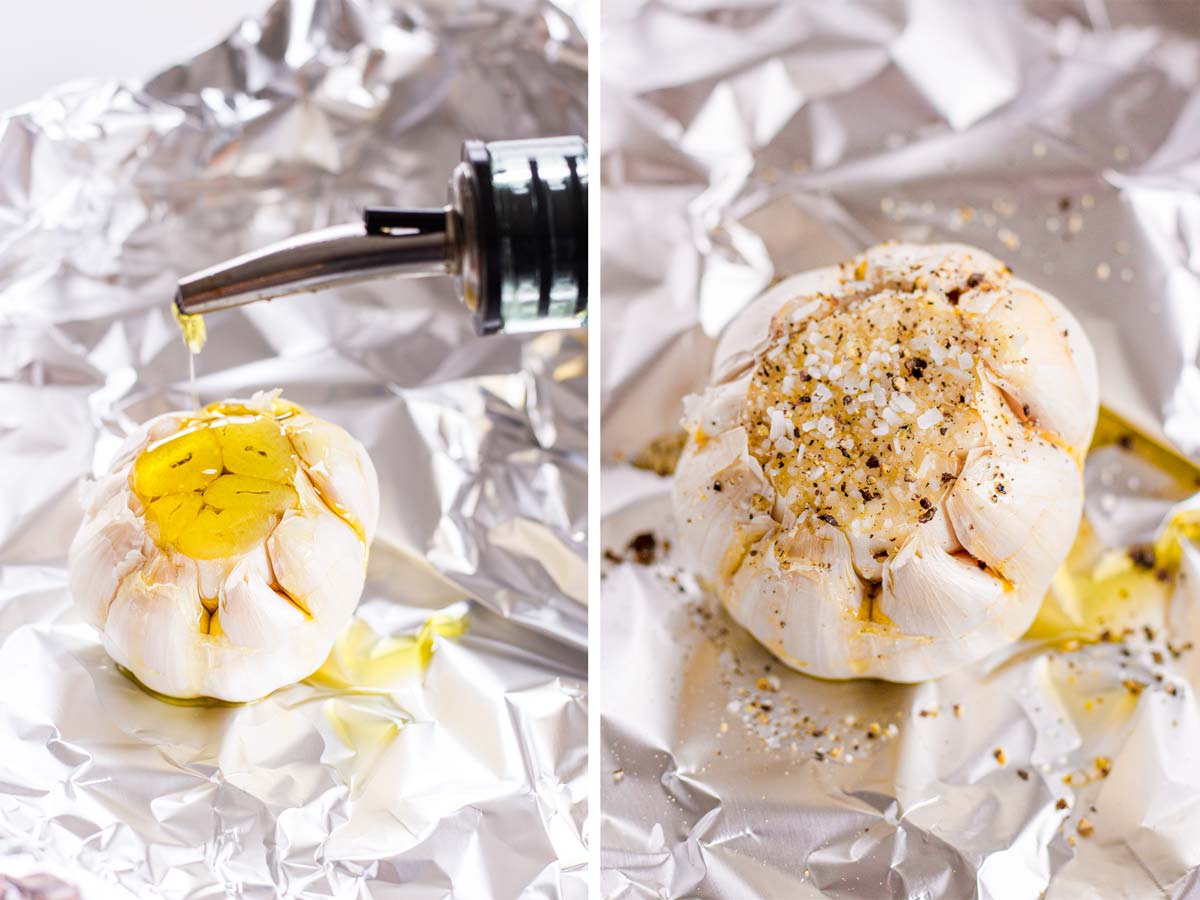
Step 2 | Drizzle oil and season
Place the garlic head on a sheet of aluminum foil. Drizzle generously with olive oil, ensuring each clove is coated. Season with a generous pinch of salt and ground black pepper.
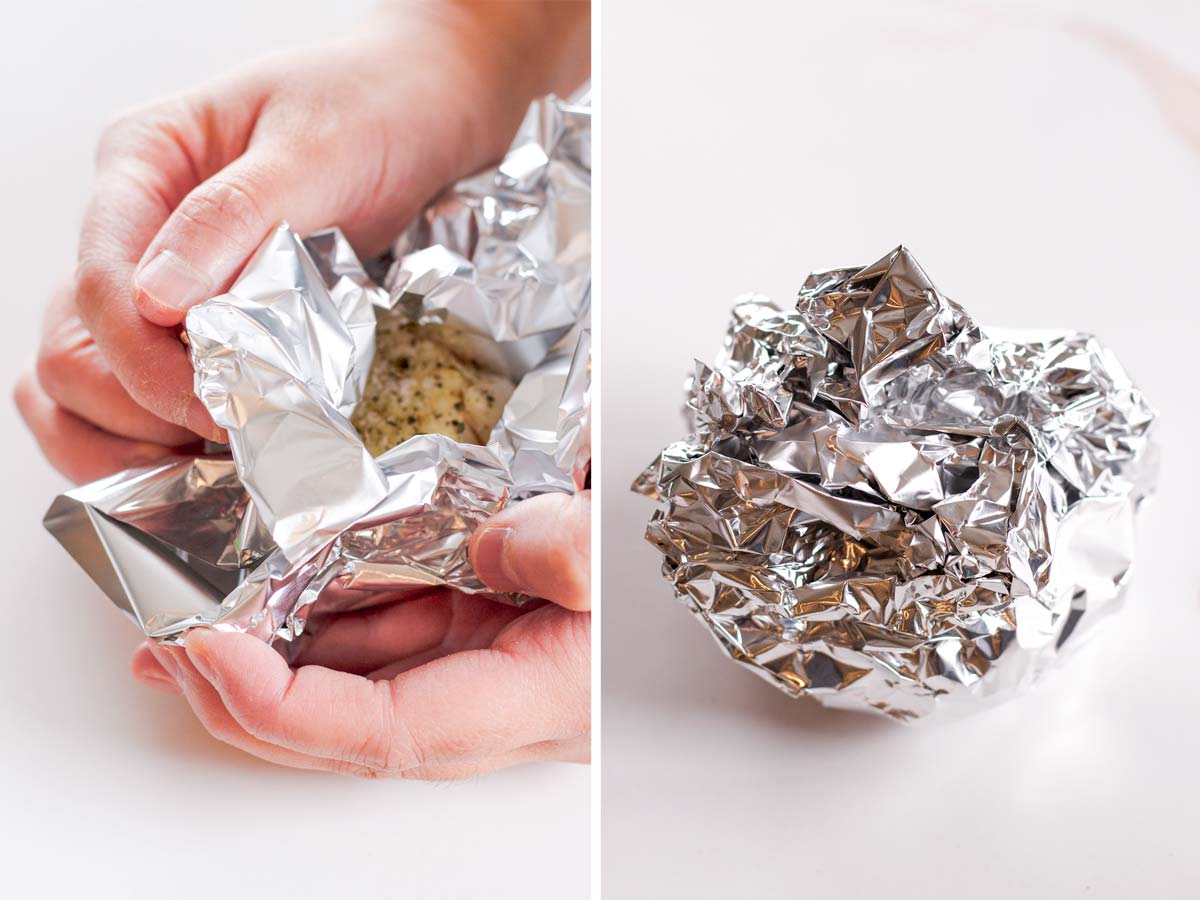
Step 3 | Wrap with foil and roast
Wrap each garlic head securely and tightly with aluminum foil, creating a sealed pouch. This enclosure ensures that the garlic roasts evenly, preventing it from drying out. It also traps all that flavor development inside.
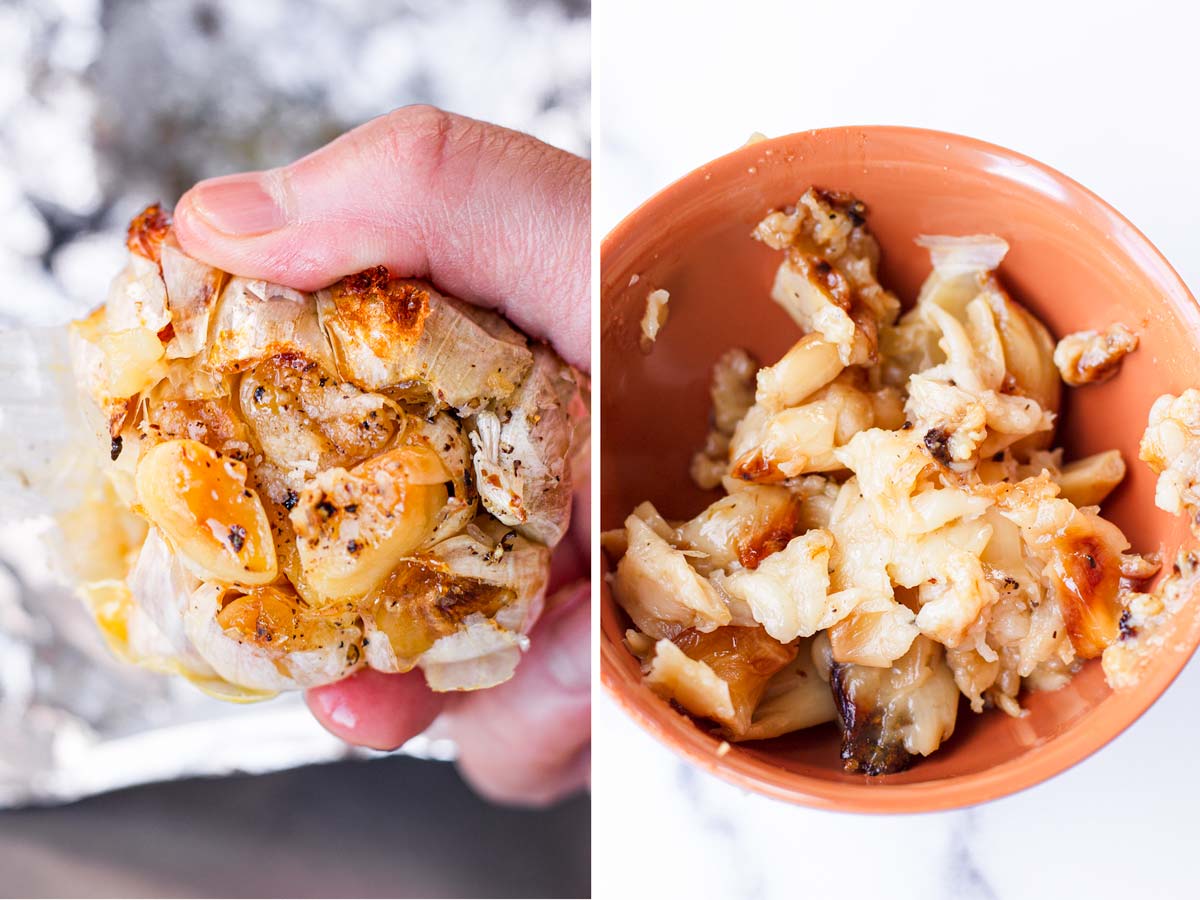
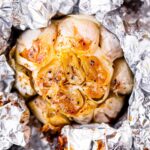
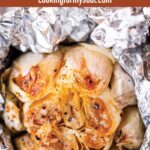
Place the foil-wrapped garlic on a baking sheet, and roast in a preheated oven for 40 to 45 minutes or until the cloves become soft and golden brown. Let it cool down and then squeeze the garlic out of the skin. Use it in soups, sauce, or any of your favorite dishes.
Roasting a Whole Head vs Individual Cloves
You can roast a whole head of garlic or individual cloves. Either way works really well, but I do find roasting a whole bulb with the skin yields deeper flavor.
- Roast a whole head: This is how I like to do it, and how it’s written in the recipe card down below. It’s easy, and roasting with the skin and everything allows a better concentration of flavor.
- Roast individual cloves: This way makes it easier to mash the roasted garlic into a paste. I’d recommend using peeled garlic cloves. Place the individual cloves in a cocotte with a lid or on aluminum foil. Drizzle with oil and season, and cover or seal tightly. Roast at 425 degrees F for 35 to 40 minutes.
Make Ahead Tips
Make ahead: Roasting garlic in batches allows you to have it ready whenever you need it, which is especially helpful for weeknight dinners. I do it all the time and I absolutely love it. Once roasted, squeeze out the cloves and let cool completely. Store in an airtight container in the refrigerator for up to 1 week.
Freezing: Alternatively, freeze for up to 3 months. I use these handy Souper Cubes trays that hold 2-tablespoon (or 1-ounce) portions. When ready to use, just pop each one out easily.
Recipe FAQs
About 40 to 45 minutes at 400 degrees F. The key is letting it roast undisturbed until ready.
After about 40 to 45 minutes, the cloves should be golden brown, soft, and creamy. You can check by squeezing a clove – it should easily pop out of its skin.
No. In fact, leaving the skin on protects the cloves from burning and traps more flavor. However, if you prefer, you can peel the outermost papery layer.
Yes! Roast peeled garlic cloves in a pouch of aluminum foil, or in a small cocotte with a secure lid. Follow the same instructions in the recipe card.
Add it to mashed potatoes, pasta sauces, soups, or spread it on garlic bread.
This recipe was originally published in 2018 and updated in January 2024 to include new photos and information, plus a few recipe modifications.
Tips for Success
- Find fresh garlic bulbs that are plump and firm for best results.
- Seal the foil tightly: A well-sealed foil pouch is important for trapping flavor and moisture, preventing the garlic from drying out during roasting. Let the garlic roast undisturbed until ready.
- Customize with your favorite seasonings: Feel free to experiment with herbs like thyme or rosemary for additional depth of flavor.
- Store properly: Keep roasted garlic in an airtight container in the refrigerator for short-term use (1 week) or freeze individual cloves for extended storage.
I’d love to hear from you! If you loved my recipe, please consider leaving a 5-star rating and a comment down below. Sign up for my newsletter and follow along on Instagram, Facebook, or Pinterest
How To Roast Garlic in the Oven
Equipment
- Aluminum foil
Ingredients
- 2 whole head garlic, unpeeled - find plump and firm garlic heads
- 2 tablespoons olive oil
- 1 teaspoon Kosher salt
- ½ teaspoon ground black pepper
Instructions
- Preheat oven to 400 degrees F.
- Grab some aluminum foil, large enough to completely and tightly wrap each garlic head.
- Using a sharp knife, cut the top off each head of garlic, exposing the cloves. There’s no need to peel the skin off, but if prefer, you can remove the outermost papery layer.
- Place each garlic head on aluminum foil (1 sheet of foil per garlic head, they need to be wrapped separately). Drizzle about 1 tablespoon of olive oil over each garlic on the cut side. Then, sprinkle with ½ teaspoon salt and ¼ teaspoon fresh ground pepper on each one.
- Wrap each garlic head securely and tightly with the aluminum foil, creating a sealed pouch. This will lock in all the flavors when roasting. Roast for 40 to 45 minutes undisturbed, or until golden brown and soft.
- Remove from oven and let cool slightly so that it's easier to handle. Squeeze out roasted garlic cloves and use as needed on your favorite dishes. I like to mash it down into a paste so it's easier to incorporate. Use immedaitely or later (see make-ahead and freezing instructions below).
Notes
- Roasting individual cloves of garlic: Peel the cloves first and roast using the same instructions in the recipe card.
- Make ahead and storage: Store in a sealed container and refrigerate for up to 1 week. Use as needed in dishes.
- Freezing: Freeze for up to 3 months. I like to freeze in portioned 2-tablespoon silicone trays.
- Olive oil: Vegetable, canola, avocado oil.



Leave a Reply