Nothing beats a comforting side of creamy red skin mashed potatoes! It’s really the perfect side dish that everyone will keep going back to for seconds.
You only need 6 basic ingredients to make these rustic-style side dish. It’s perfectly creamy, thick, and so comforting.
Plus, it’s very easy to make. There’s no need to peel the potatoes nor use a mixer. A basic potato masher will do.
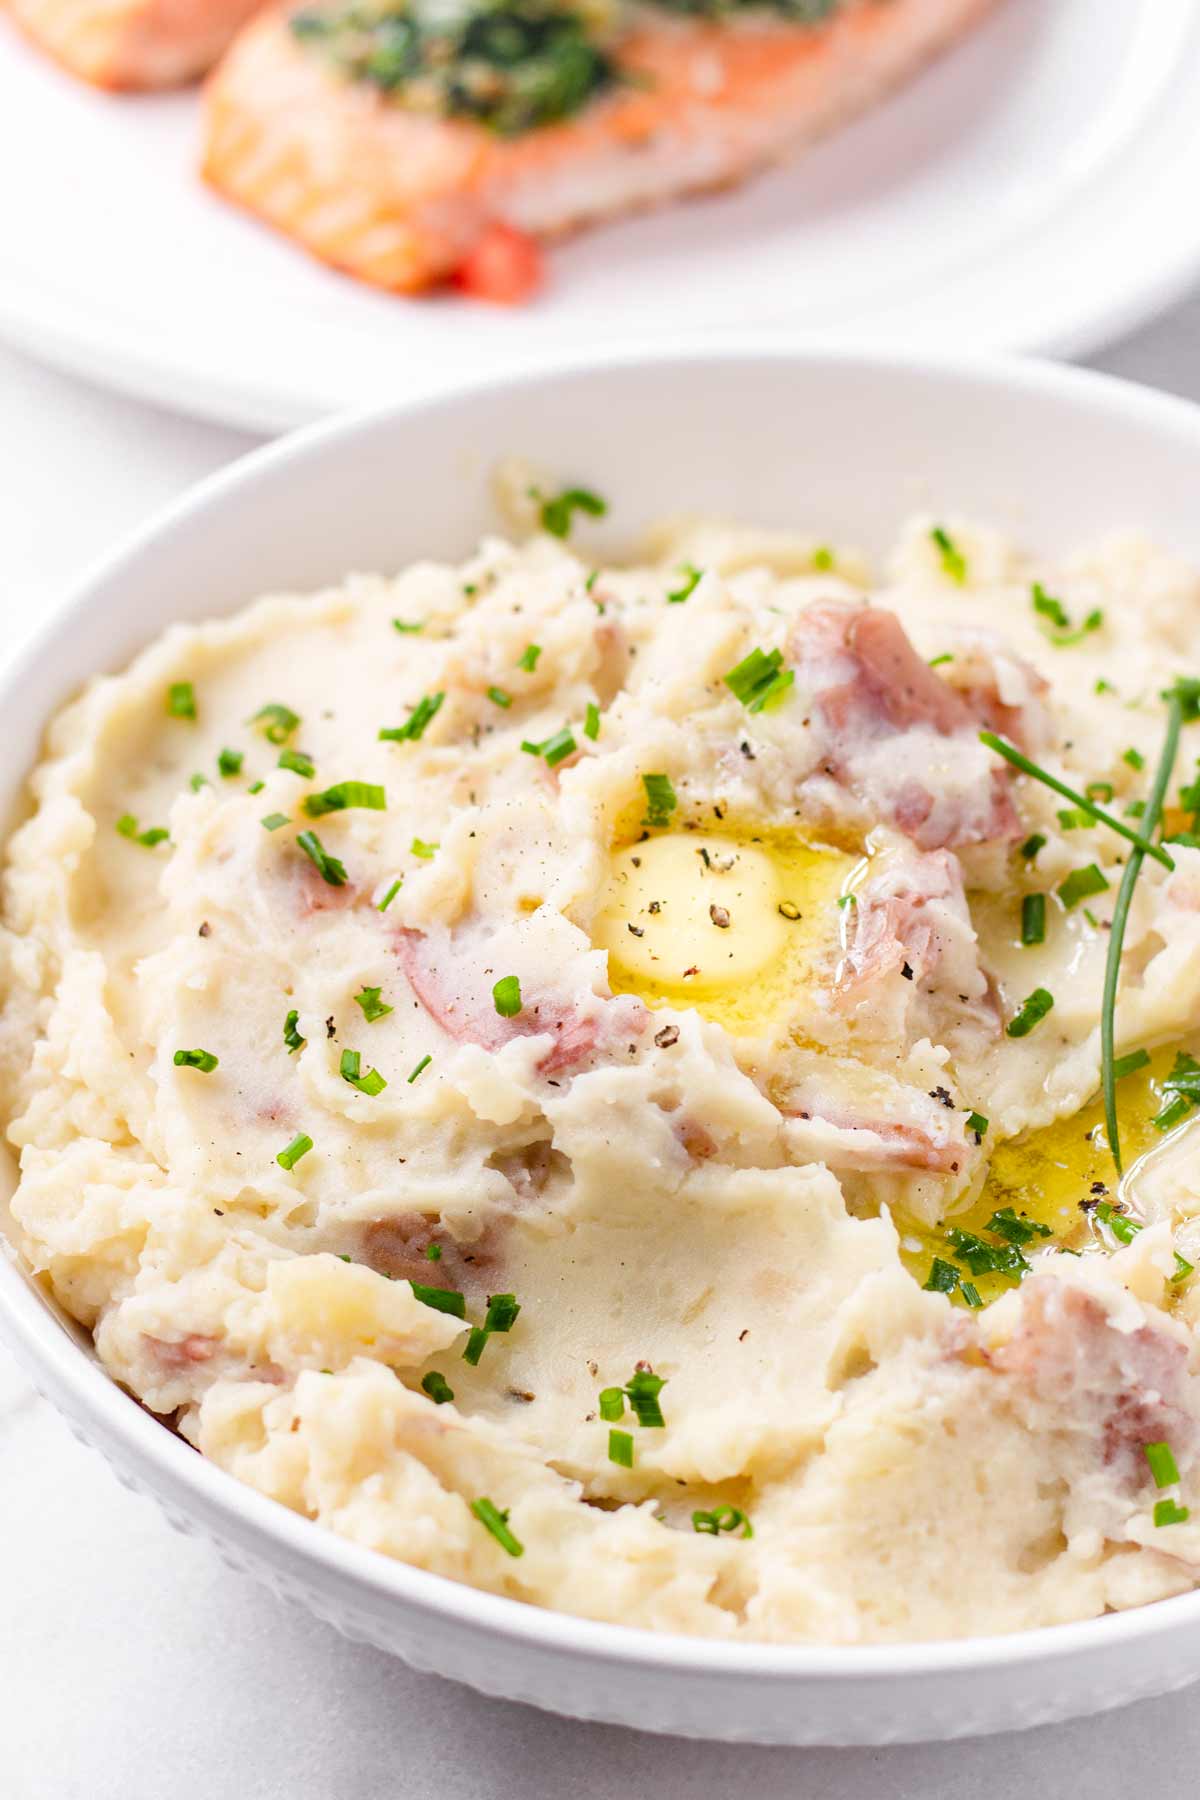
Mashed potatoes are always my go-to side dish to serve with anything, especially whenever I make this Lemon Roast Chicken or my favorite Dutch Oven Roast Chicken.
In particular, I really like red skin mashed potatoes because they are super easy to make. There’s no need to peel them and it can all be done in one pot. No need to use a mixer. Just a simple potato masher will do the trick.
Lots of reasons to love making red skin mashed potatoes at home:
- Amazing texture: These are creamy, thick, smooth, and so comforting!
- Only 6 ingredients: Red potatoes, unsalted butter, half-and-half, garlic powder, salt, and pepper is all you need. Nothing complicated here.
- Simple, one-pot recipe: No need to use a mixer or anything like that. The boiled potatoes are drained and returned to the pot, and mashed until creamy. Easy and simple.
- No peeling involved: My least favorite part of making mashed potatoes is peeling. So with this no-peel recipe, what’s there not to love?
We also love these Loaded Mashed Potatoes with bacon and cheese! So good.
If you’re a potato lover, try these fun recipes: Loaded Potato Skins, Duchess Potatoes, Herb Roasted Potatoes, and Fingerling Potato Bruschetta.
Jump to:
Why Use Red Potatoes
I love using red potatoes for mashing. I love the texture and just how easy it is to prep – no need to peel! Just cut, boil, and mash. Quick and simple.
Red potatoes are considered “waxy,” which means they have low starch content. This makes them great for mashing. You’ll get a creamy, thick, smooth and rich texture.
While with Russet potatoes you can achieve an airy and fluffy texture, with red potatoes you’ll get a creamy, thick, and hearty mash. So delicious!
Make It Extra Garlicky! If you’re like me and LOVE garlic, you can make these red skin mashed potatoes extra garlicky by mixing in mashed roasted garlic!
Ingredient Notes
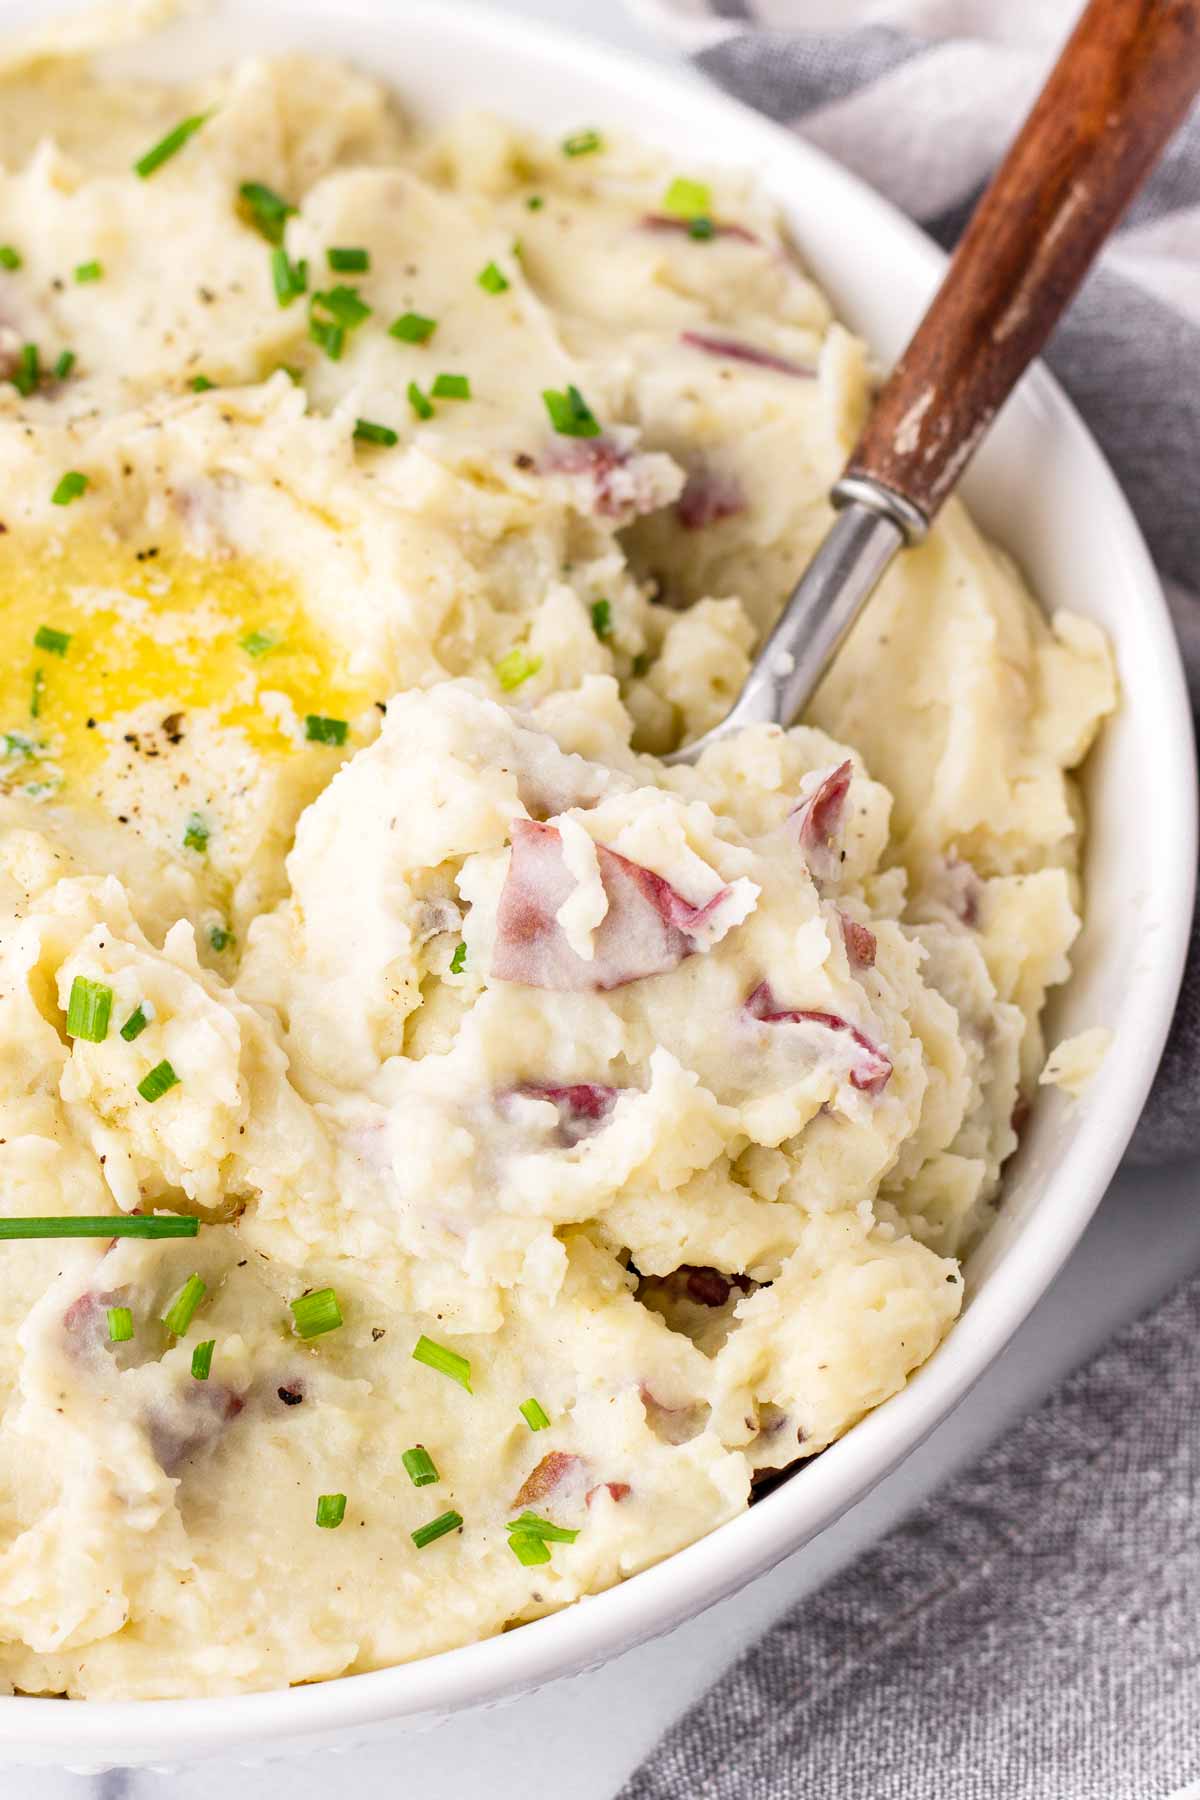
You only need 6 ingredients to make these red skin mashed potatoes! So easy and simple.
As always, the ingredient quantities can be found in the recipe card down below, but I wanted to provide a few ingredient notes here:
- Red potatoes: No need to peel the skin, but make sure they are scrubbed clean. To ensure even cooking, cut into the same size, about 1.5 inch cubes.
- Unsalted butter: Pretty much mandatory here!
- Half-and-half: Great for richness and moisture. You can also use whole milk or heavy cream.
- Garlic powder, salt, and pepper for seasoning
- Chives for garnish, optional
Step-by-Step Instructions
In just a few simple steps, you can make the best red skin mashed potatoes ever! Not only are they easy and simple to make, but also make-ahead and freezer friendly.
Step 1 | Cook the red potatoes
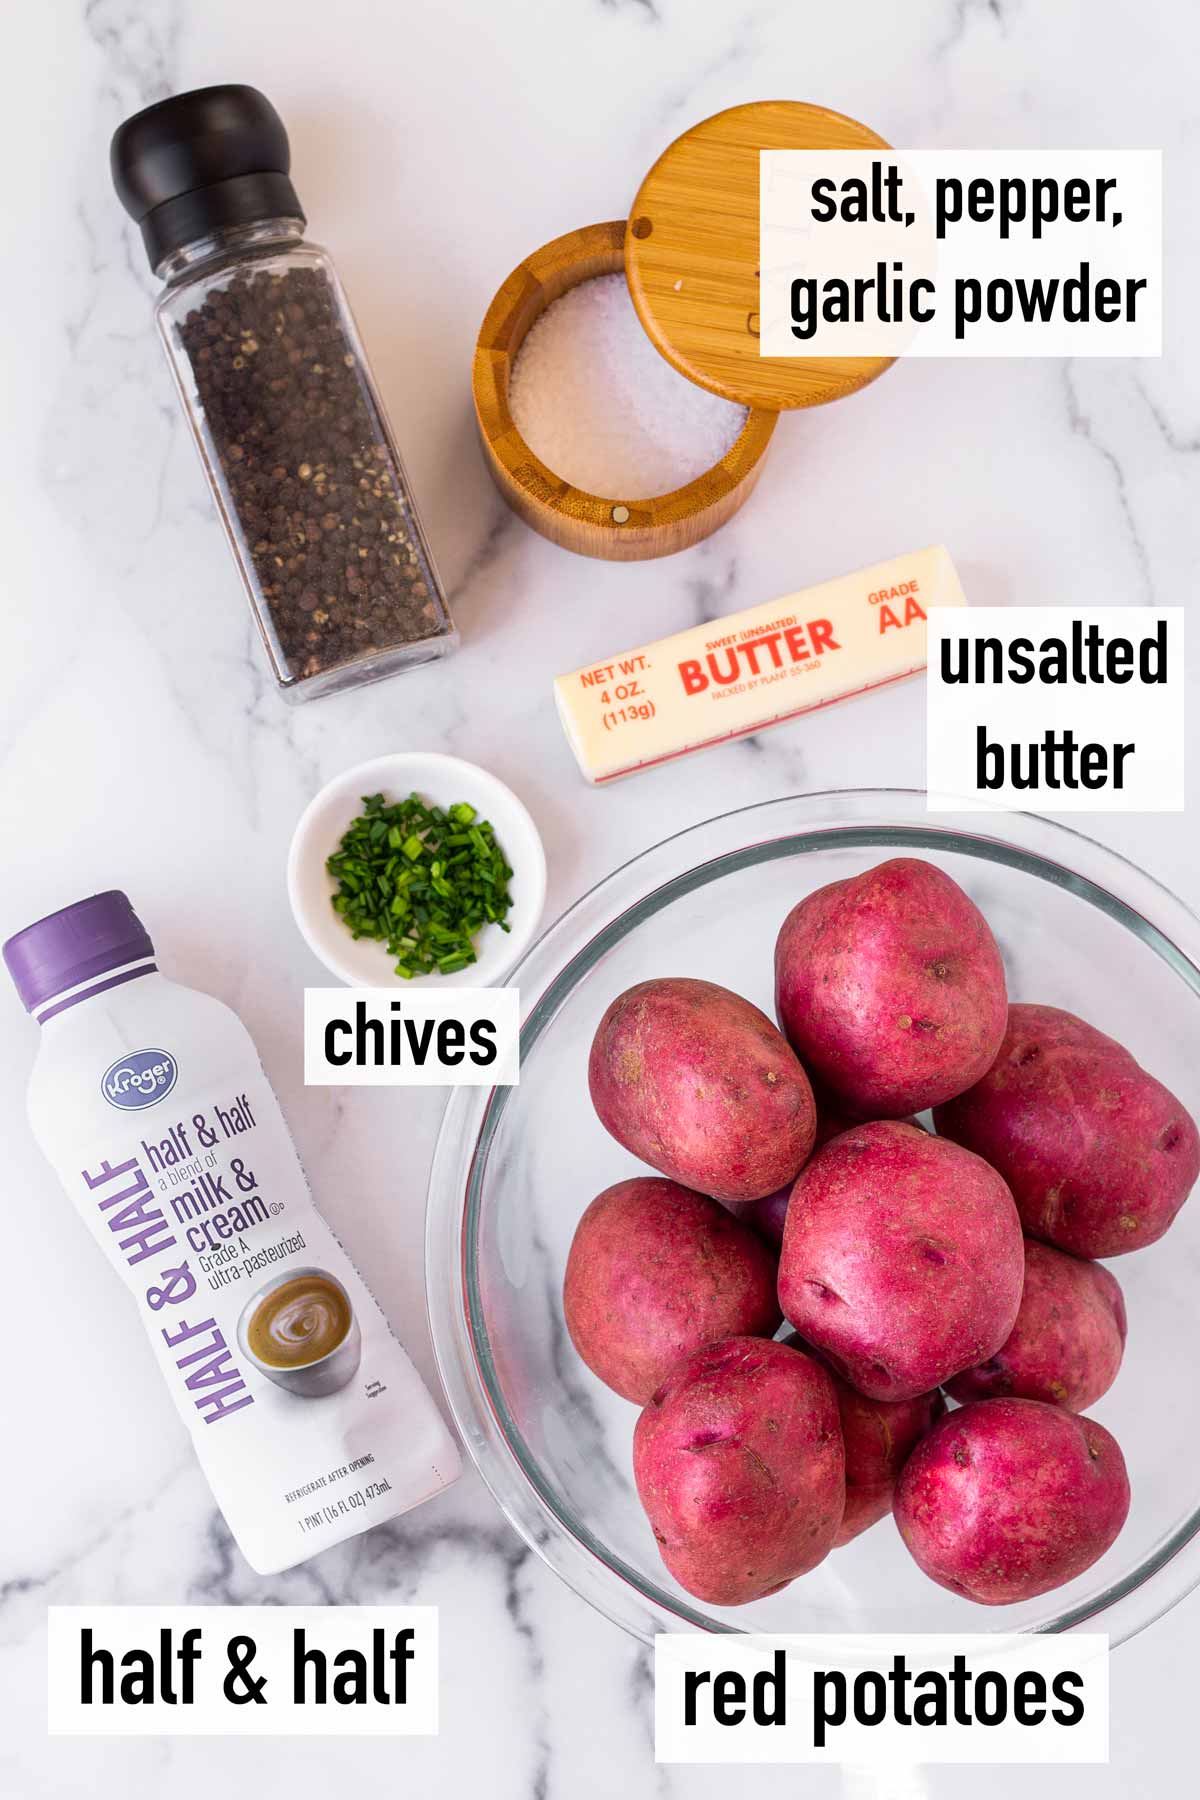
Scrub potatoes clean and cut them into 1.5 inch chunks. Add them into a large 6 quart pot with cold or room temperature water, enough to cover them. Bring to a boil over high heat, and then reduce to medium high to cook for about 15 to 20 minutes uncovered. Drain the water and return potatoes to the pot.
Tip: Potatoes are ready when a fork easily pierces through. If there is resistance, it needs more time. You can also taste it – if they aren’t ready yet, they will have a little bit of a raw taste.
Step 2 | Warm up butter and half-and-half
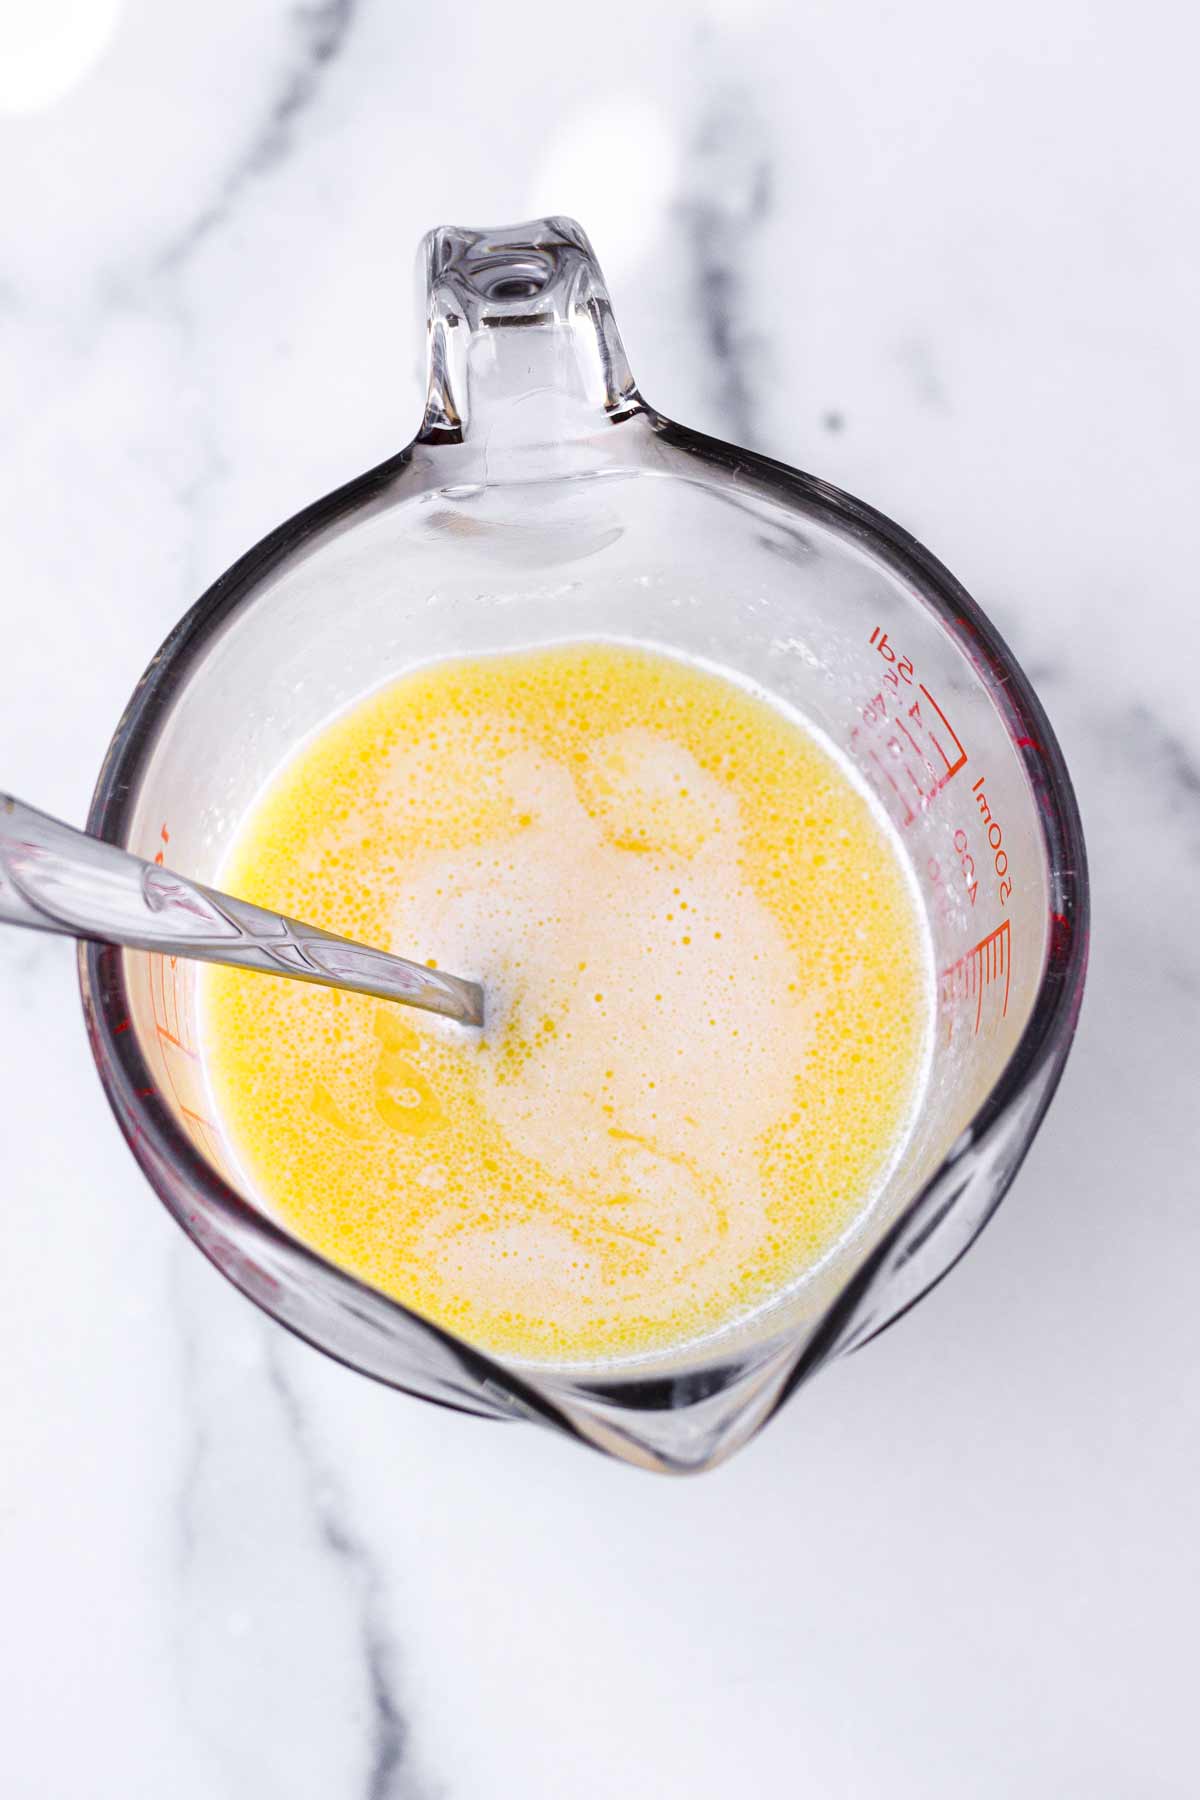
Microwave the butter (cut into pieces) along with the half-and-half until warm. No need to bring to a boil, it just needs to be warm so the potatoes can absorb the liquid better.
Step 3 | Mash and stir
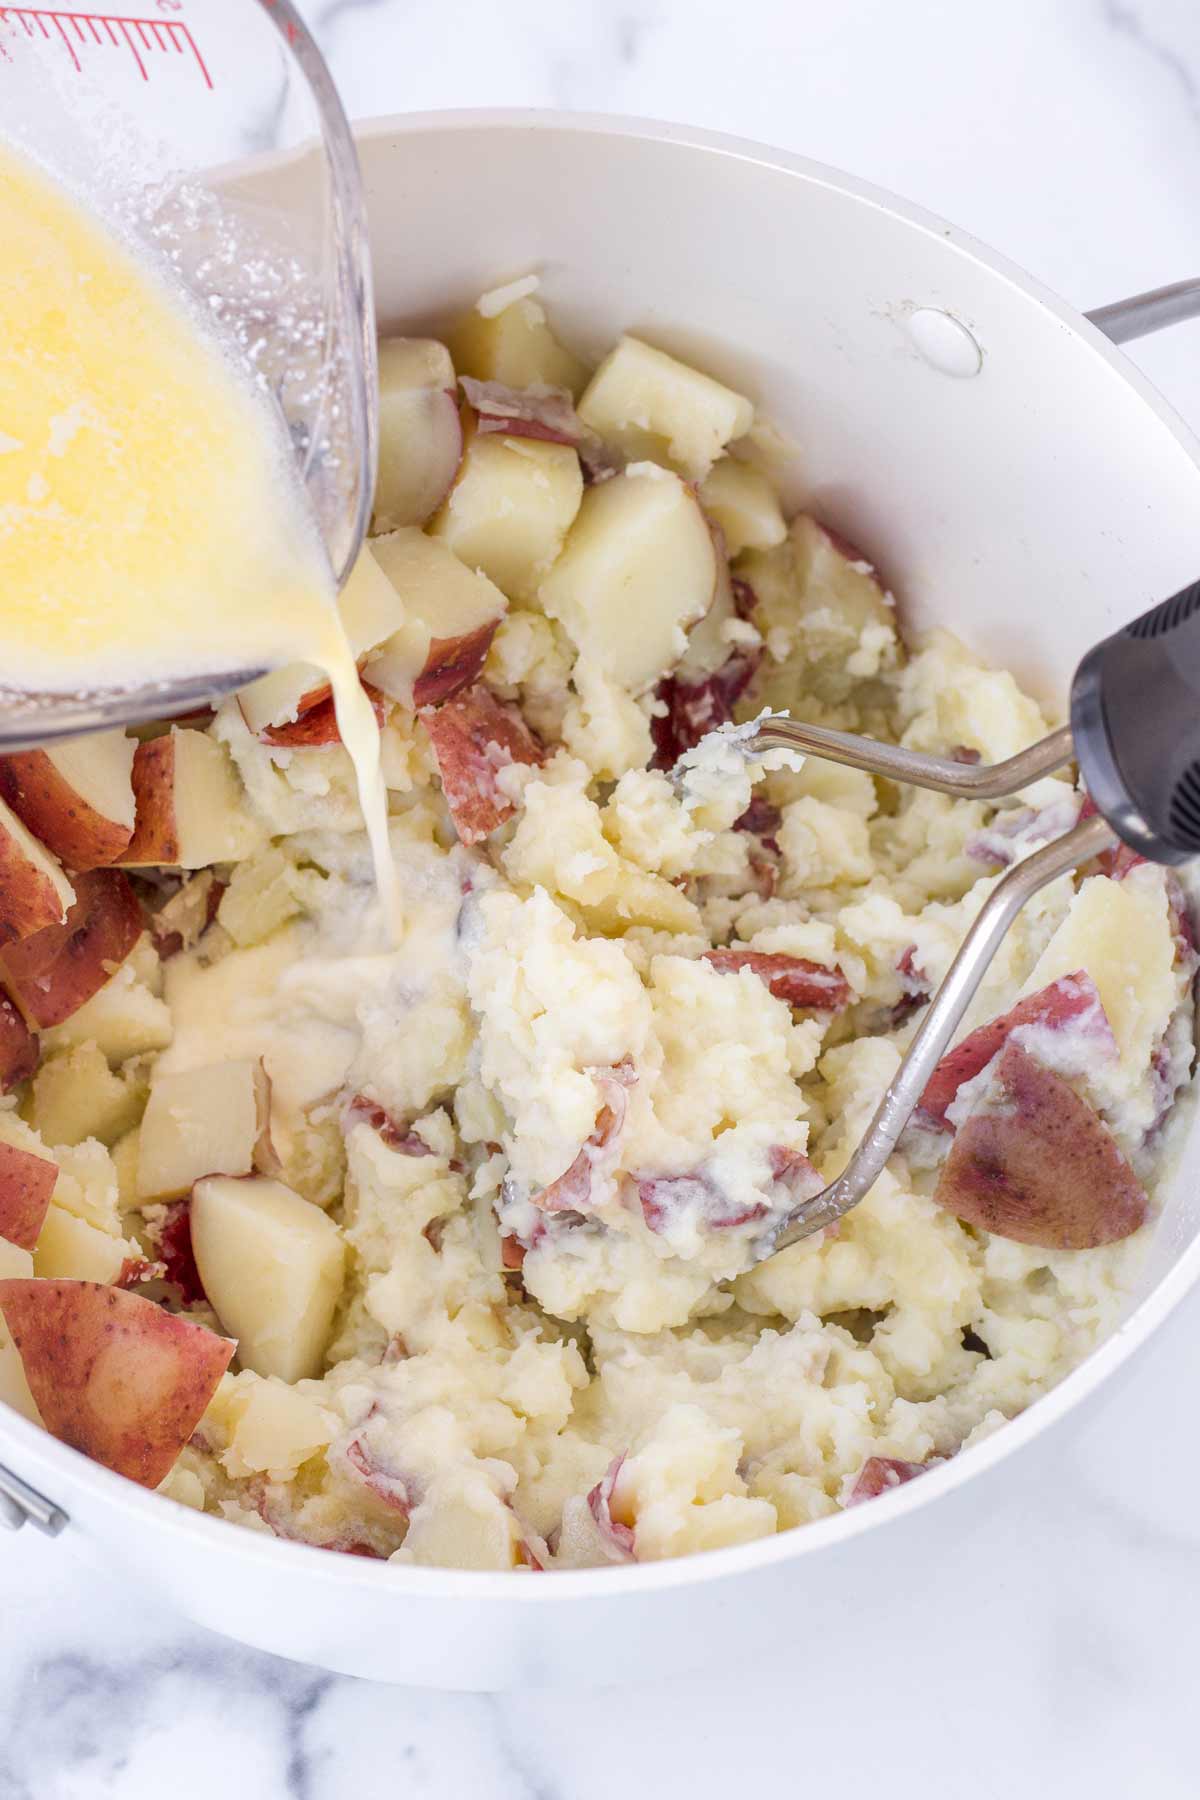
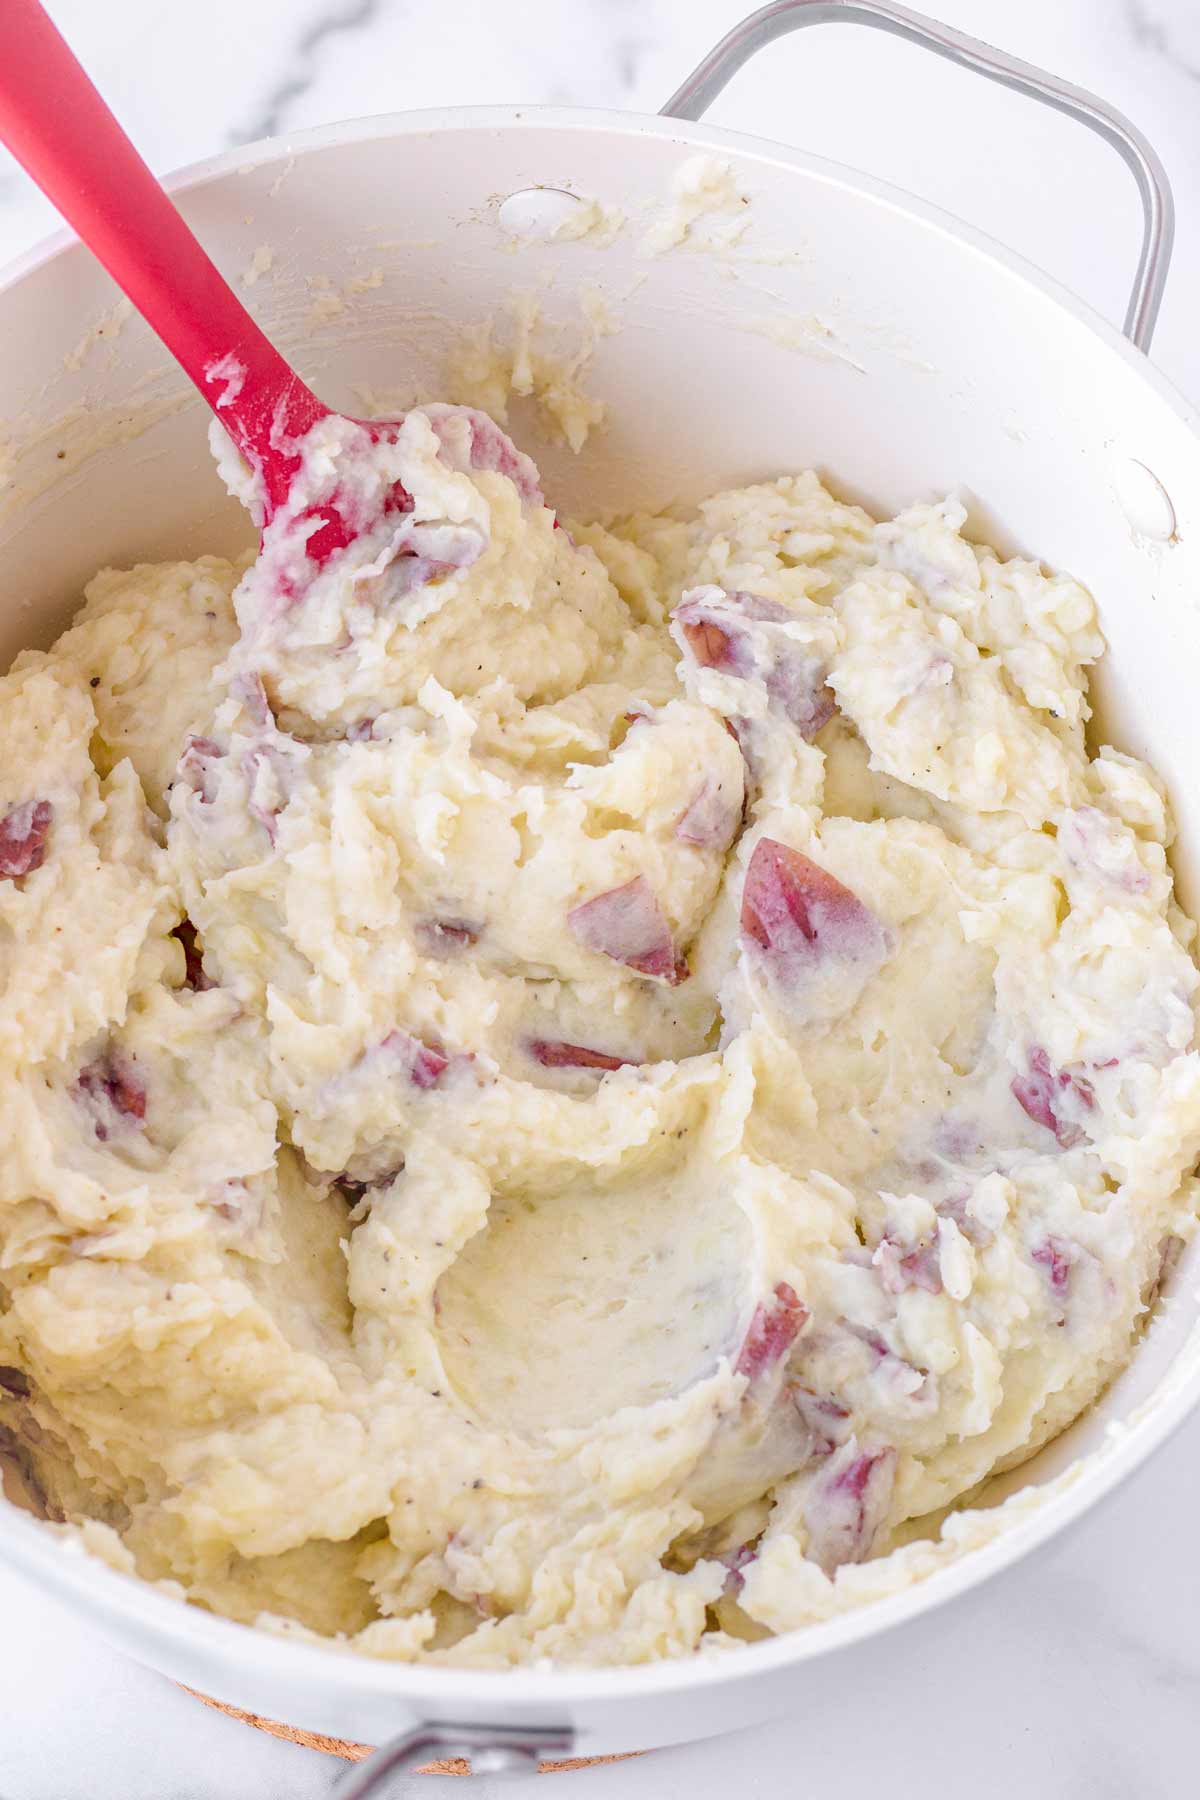
Using a potato masher, mash the potatoes while gradually adding the melted butter and half-and-half until desired texture and consistency.
I’d recommend adding the liquid component little by little so make sure it’s not runny, or to make sure it’s just right for you in terms of consistency.
Tip: Try NOT to use a mixer to whip potatoes. In my experience, it’s very easy to overmix, which causes a gummy and gluey texture. Plus, using a masher is so much easier. Definitely, do NOT use a food processor.
Make Ahead and Freezing Instructions
Make ahead: Yes, you can make these red skin mashed potatoes ahead of time! I’d recommend making them the day before. The next day, reheat in the oven or in the microwave oven (see section below for tips on how to do this).
Leftovers can be stored for 3 to 4 days and reheated in the microwave oven.
Freezing: Freeze in containers for up to 2 months. Thaw in the refrigerator overnight and reheat.
How to Reheat Mashed Potatoes
Microwave oven: If you are reheating smaller portions, about 90 seconds or 2 minutes in the microwave oven will do. Spread the mashed potatoes out a bit so there’s more surface area for the heat. This will make it faster to reheat.
In the oven: If you’re reheating mashed potatoes for a crowd, use the oven. Cover with aluminum foil (use an oven-safe baking dish). Reheat in the oven at 300 degrees F for 20 to 30 minutes, or until warm. Uncover, give it a stir with additional heavy cream and butter (warmed up) and return to the oven to reheat for an additional 5 minutes.
How to Keep Mashed Potatoes Warm
If you’re planning to make these red mashed potatoes for the holidays and need to keep them warm, this is really easy to do! You can keep it warm in a slow cooker.
Prepare the dish as directed. Then transfer to a medium slow cooker and keep it in the “warm” setting, covered. To keep it moist, add a few dollops of butter on top. If they start to dry out, simply stir in a little bit of warm half-and-half.
I always do this for Thanksgiving and Christmas. It’s super easy and convenient!
Pairing and Serving Ideas
Red skin mashed potatoes pair really well with this Slow Cooker Turkey Breast or Brined Roasted Turkey Breast for Thanksgiving.
If you like gravy, I’d recommend making this Turkey Gravy without Drippings recipe. Or simply use the gravy from your roast turkey. And of course, you can’t skip Cranberry Orange Sauce if you’re making it for Thanksgiving!
Here are other side dishes for the holidays:
Recipe FAQs
Nope. The skin is very thin and tasty. It also adds that rustic style that we all love. While there’s no need to peel the skin, you should still scrub them clean to remove any dirt.
I would not recommend using a mixer. It’s very easy to overmix mashed potatoes, so I always recommend using a simple potato masher for this recipe. You’re looking to preserve the skin and aim for a rustic-looking final product with a few chunks of potatoes. A potato masher is the best tool to achieve that.
No. The texture will be gummy and gluey.
Overcooking and overmixing can result in a gluey or gummy texture. To prevent this from happening, make sure the potatoes are cooked only until fork tender and avoid using a mixer.
This recipe was published in 2020 and updated in October 2022 to include new photos and information.
Tips for Success
- Make sure the potatoes are cut to about the same size for even cooking.
- There is no need to peel the potatoes, but I’d recommend scrubbing them to remove any excess first.
- Don’t overcook, otherwise it will turn out gluey in texture. After the water starts boiling, give the potatoes about 15 to 20 to minutes to cook. They are ready when a fork pierces easily through.
- Don’t overmash the potatoes, as this can turn them gluey. Mash until creamy and well-combined using a potato masher tool. Do not use a mixer or food processor – it’s easy to overmix using these tools.
- Warm up the melted butter and half-and-half. This will make it easy for the potatoes to absorb all that richness. Also, add it gradually and mash until the consistency is to your liking.
I’d love to hear from you! If you loved my recipe, please consider leaving a 5-star rating and a comment down below. Sign up for my newsletter and follow along on Instagram, Facebook, or Pinterest
Red Skin Mashed Potatoes
Equipment
Ingredients
- 2.5 pounds red potatoes
- 6 tablespoons unsalted butter - cut into chunks
- ⅔ cup half-and-half - plus more as needed
- Garlic powder to taste
- Salt and pepper to taste
- Chopped chives for garnish
Instructions
- Scrub the potatoes clean and cut them into 1.5 inch chunks. Don’t peel the potatoes.
- Add the potatoes into a large pot and cover it with cold or room temperature water, enough to fully cover the potatoes. Bring to a boil over high heat, and then reduce to medium high to cook for about 15 to 20 minutes or until fork tender. Drain the water and return potatoes to the pot. Tip: They are ready when a fork easily pierces through. If there is resistance, it needs more time. You can also taste it – if they aren’t ready yet, they will have a little bit of a raw taste.
- In a medium bowl, microwave the half-and-half with the butter together for a few seconds, until melted and warmed up. Give it a stir to combine.
- Mash the potatoes with a potato masher, gradually adding the warmed up half-and-half and butter at the same time. If needed, add more half-and-half. Season with garlic powder, salt and pepper to taste and stir a few more times to combine. Tip: Add the liquid little by little until you get the desired consistency. Adjust as needed.
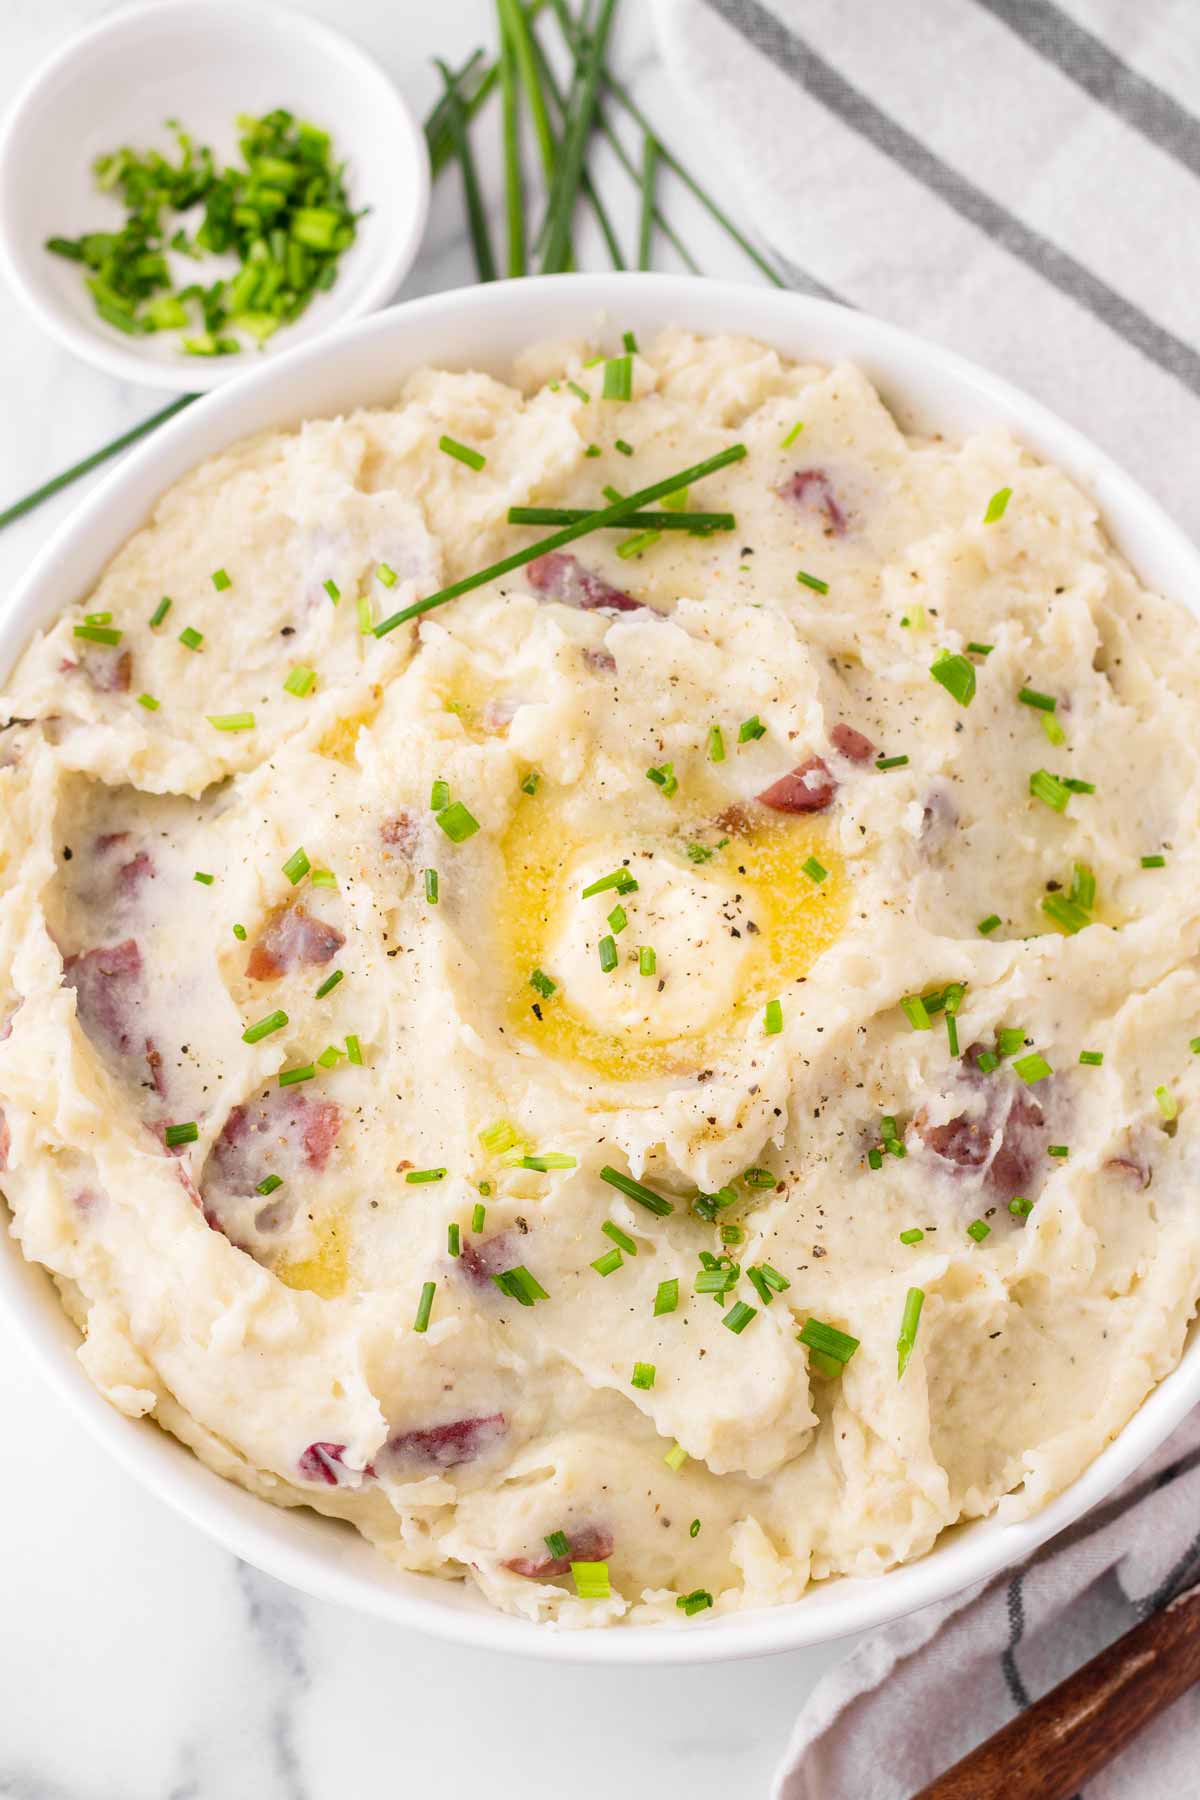
- Garnish with chopped chives. I also like to serve with a few dollops of softened butter on top. Enjoy!
Notes
- Start with cold water: Placing the potatoes in cold water first and bringing everything to a boil ensures even cooking. If you place them in hot boiling water, the outside may be overcooked before the center is ready.
- Potatoes are ready when a fork pierces easily through, without resistance. For 1-inch chunks, this takes about 20 minutes. You can also taste it – if it’s not ready, it will have a slight raw taste.
- I would NOT recommend using an electric mixer here. A simple potato masher tool will work just fine, especially if you want to keep the skin. No matter what, do NOT use a food processor.
- Remember to warm up the melted butter and half-and-half before adding. This will make it easier for the potatoes to absorb the liquid.
- Make-ahead: Make ahead 1 day in advance and reheat.
- Reheat in microwave oven: Spread the mashed potatoes out a bit so there’s more surface area for the heat. 90 seconds should be enough.
- Reheat in oven: Cover with aluminum foil. Reheat in the oven at 300 degrees F for 20 to 30 minutes or until warm. Uncover and stir in some warm heavy cream and butter, and return to the oven to reheat for an additional 5 minutes.
- Leftovers can be stored for 3 to 4 days.
- Freezing: Freeze f or up to 2 months. Thaw in the refrigerator and reheat.
- Half-and-half: Whole milk or heavy cream.





Kelly Ryan Moser says
Good recipe. Found out daughter didn’t like sour cream so I was thrilled to find this recipe. Dill can be used as garnish ( my error but it turned out ok. Dill butter is good) I roasted the garlic- used 6 cloves. Could use more. I needed it for your green bean bacon recipe. Also very good.
Christie says
Compliments given by hubby and adult son, serious steak eaters. Thank you! This will be in our rotation.
Greg Popp says
Fantastic gourmet recipe. Instead of garlic powder, I used 10 peeled garlic cloves per 2 pounds of potatoes (sounds like a lot – it’s not) right in the boiling water with the potatoes. No need to pre-roast the garlic. The cooked cloves mash right with the potatoes. One thing that didn’t work – reheating. At 30 minutes at 300 degrees, the potatoes were still nearly as cold as when they came out of the refrigerator. I think better to avoid reheating (as all the stirring did change the texture a bit), or bring to room temperature an hour or more before putting in the oven. Will make this recipe again and again.
Kathleen says
I made this recipe and my family loved it.
I never knew about warming the
butter and half and half. I used light cream and it worked fine. Thank you
Rachel says
Family loved this recipe! Easy to make. Followed the tips and instructions, including the super helpful tip about using a slow cooker to keep the potatoes warm. Will be making again soon!
Nita Glover says
Delicious and so easy to make! I steamed the potatoes (1 lb.) for 20-25 minutes instead of boiling them.
Barb says
Can u substitute buttermilk for half & half
Tania says
I don’t see why not 🙂
Ellison F Keller says
How much garlic powder is required to get garlic mashed potatoes from this recipe?
Tania says
Hi Ellison! You can just adjust to taste. I usually add 1-2 teaspoons at a time, mix it, and taste it to see if it needs more.
Patty says
Sooo sooo good. Loved the texture and flavor. Will make again for the holidays this year
Tania says
Thank you!
Bri says
I tried your recipe an loved it!! Can’t wait to try more !!