You know what’s better than the classic Caesar salad? Chicken Caesar Wraps! Today, I’m turning one of my go-to salads into wrap form, and it’s seriously incredible!
These wraps are the perfect quick bite for lunch. Everything is meal prep friendly and takes very little time to make.
You’ll love this simple, yet incredibly delicious chicken Caesar wrap! It’s also an awesome recipe to use any leftover chicken or even rotisserie chicken.
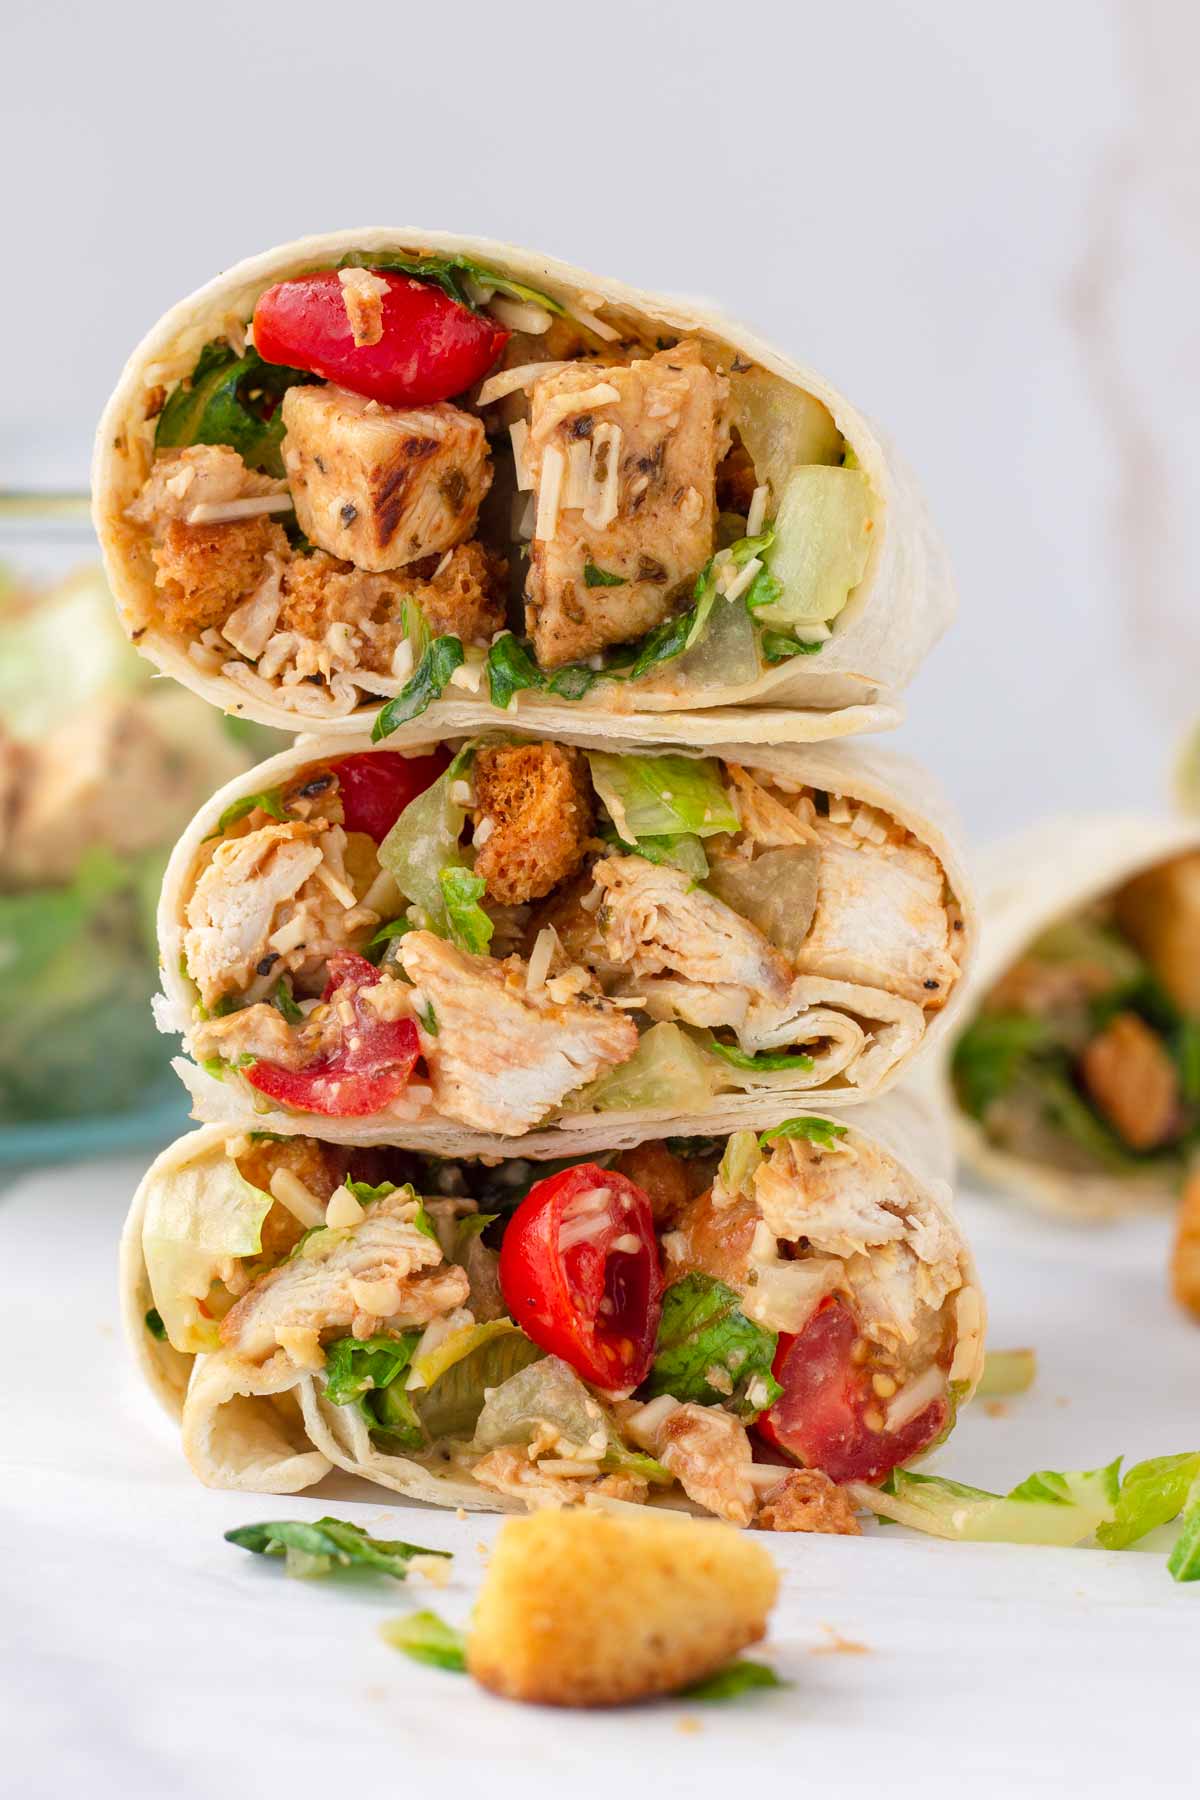
I’m always up for a quick and easy meal! These Chicken Caesar Wraps have become one of my favorite go-to’s for a quick lunch.
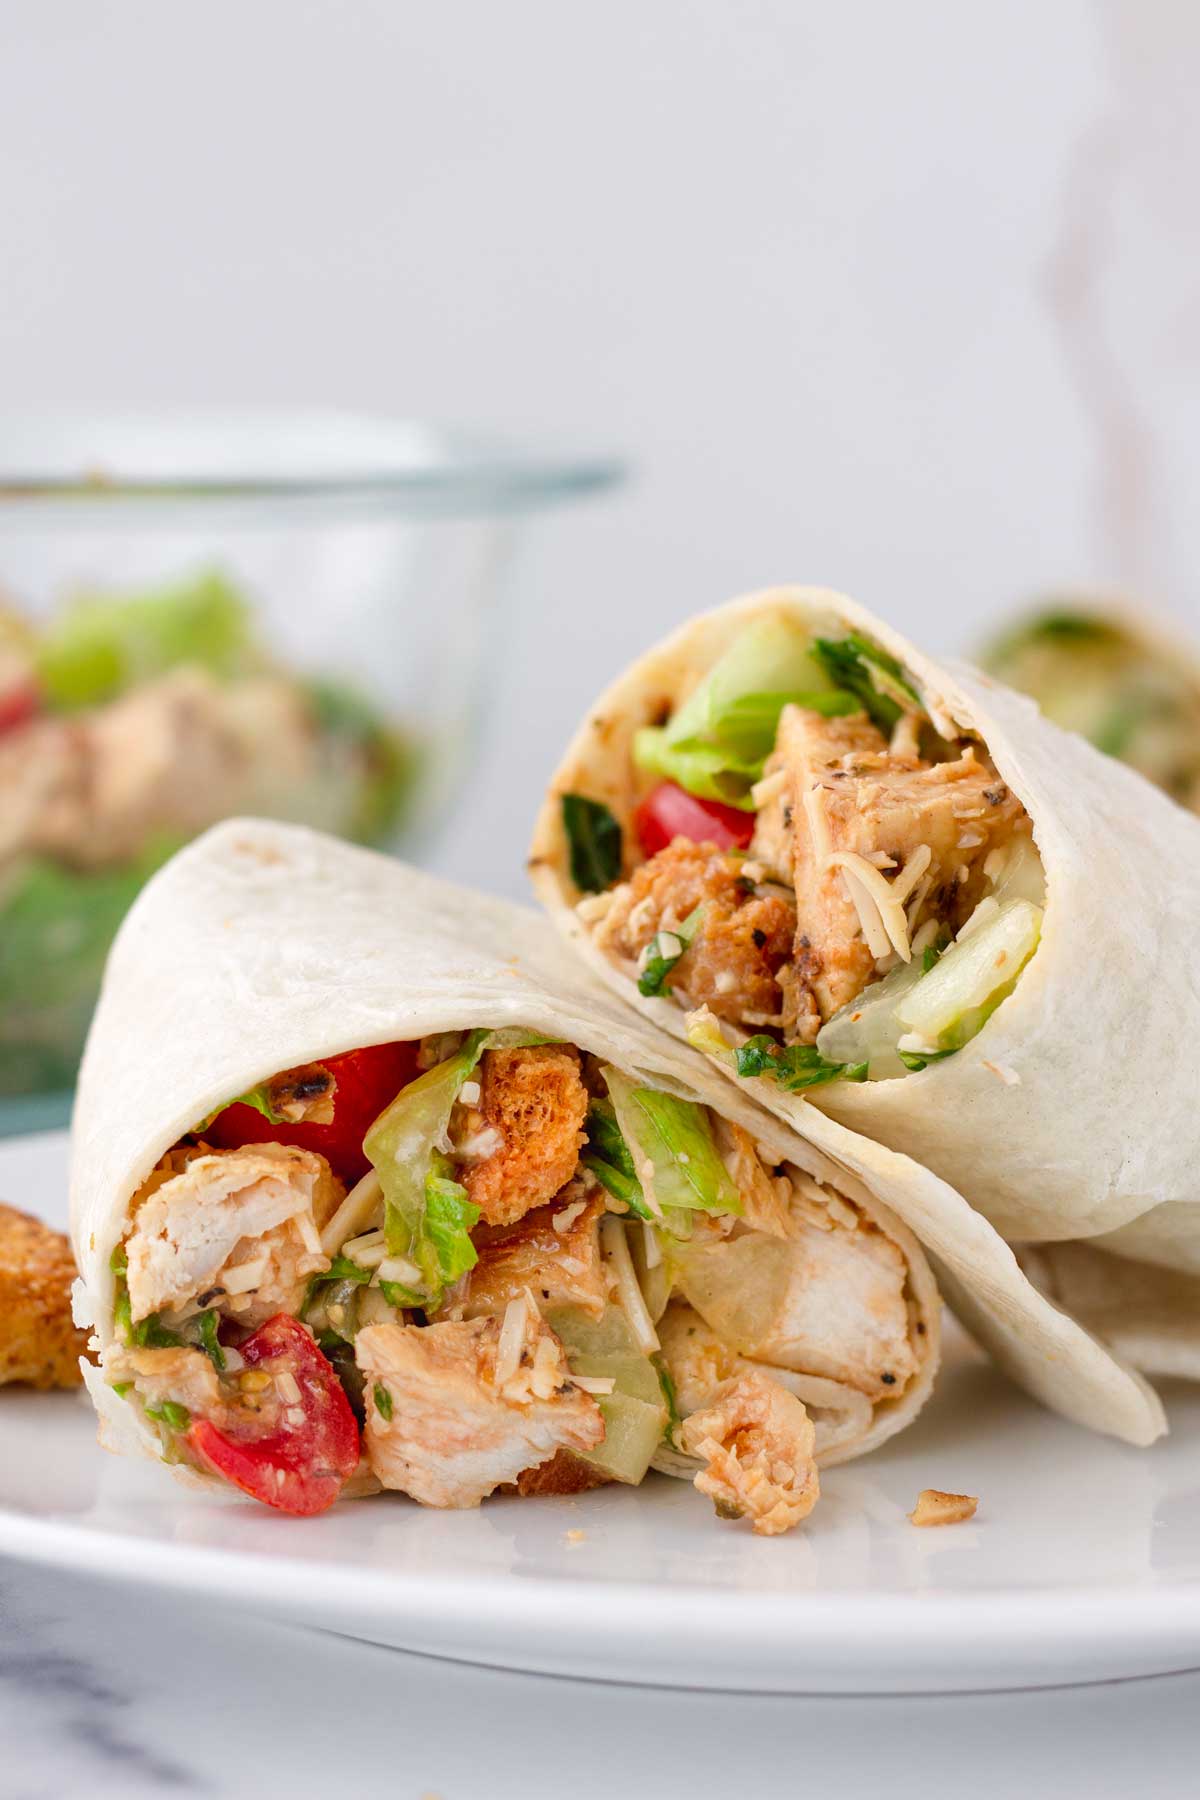
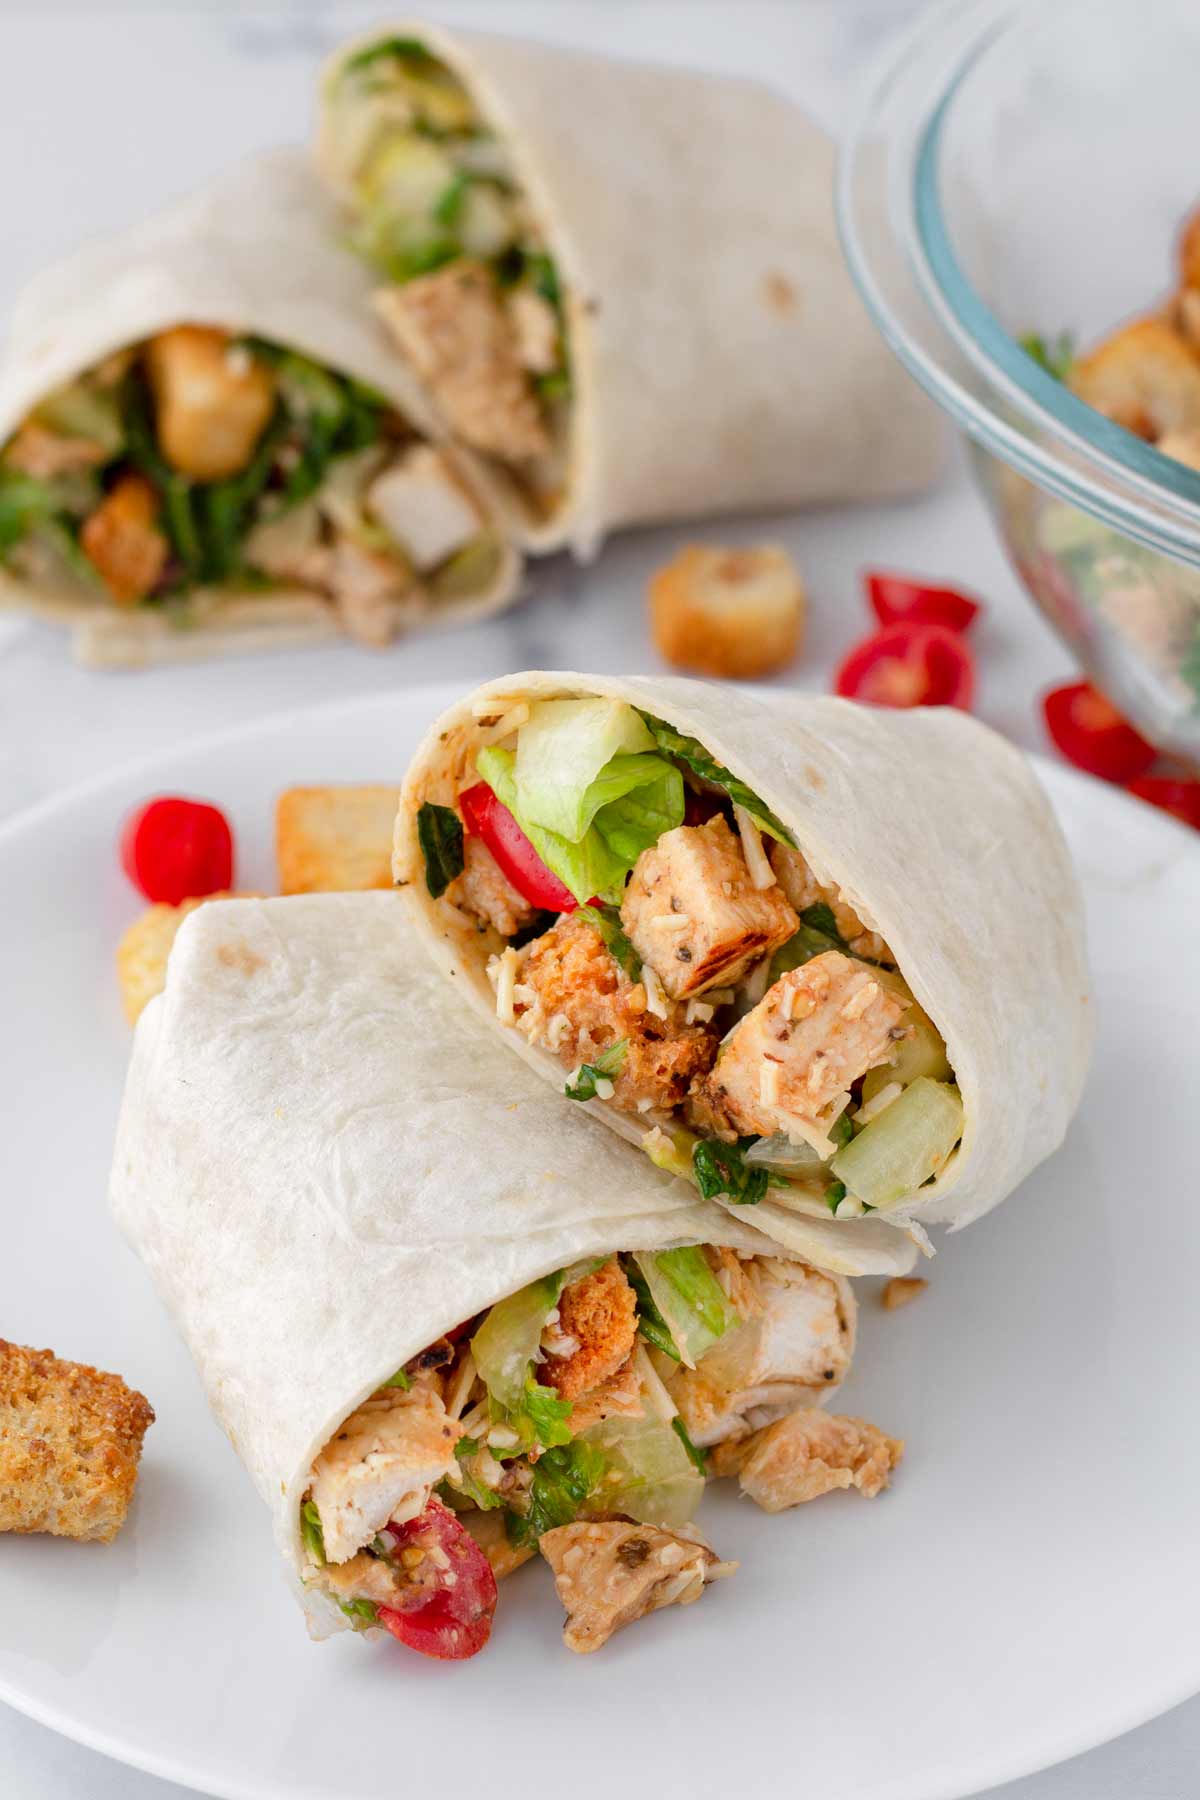
What’s in this Chicken Caesar Wrap? Diced lemon herb marinated chicken (the marinade is super quick!), crunchy romaine lettuce, fresh cherry tomatoes, tasty croutons, parmesan cheese, your favorite store-bought Caesar dressing, and soft flour tortillas.
Every single bite is AMAZING! These wraps have it all: flavor, crunch, freshness, cheese…all wrapped in a soft tortilla. And the best part? It’s super easy to make. It comes together in no time.
Wraps are usually my go-to quick meal option. You can pretty much turn any salad into a wrap. Try my chicken salad with grapes, curried chicken salad, avocado tuna salad, BBQ chicken salad, or strawberry chicken salad!
Why we absolutely love these chicken Caesar wraps:
- The chicken is SO flavorful: No bland chicken here! The chicken is quickly marinated with fresh lemon juice, olive oil, oregano, garlic powder, salt and pepper.
- Quick and easy: Super simple and ready in 30 minutes…or even quicker if you’re using rotisserie or leftover chicken.
- Great for meal prep: These can be made 1 to 2 days ahead. They are great for lunch or for a quick bite on-the-go.
Jump to:
Ingredient Notes
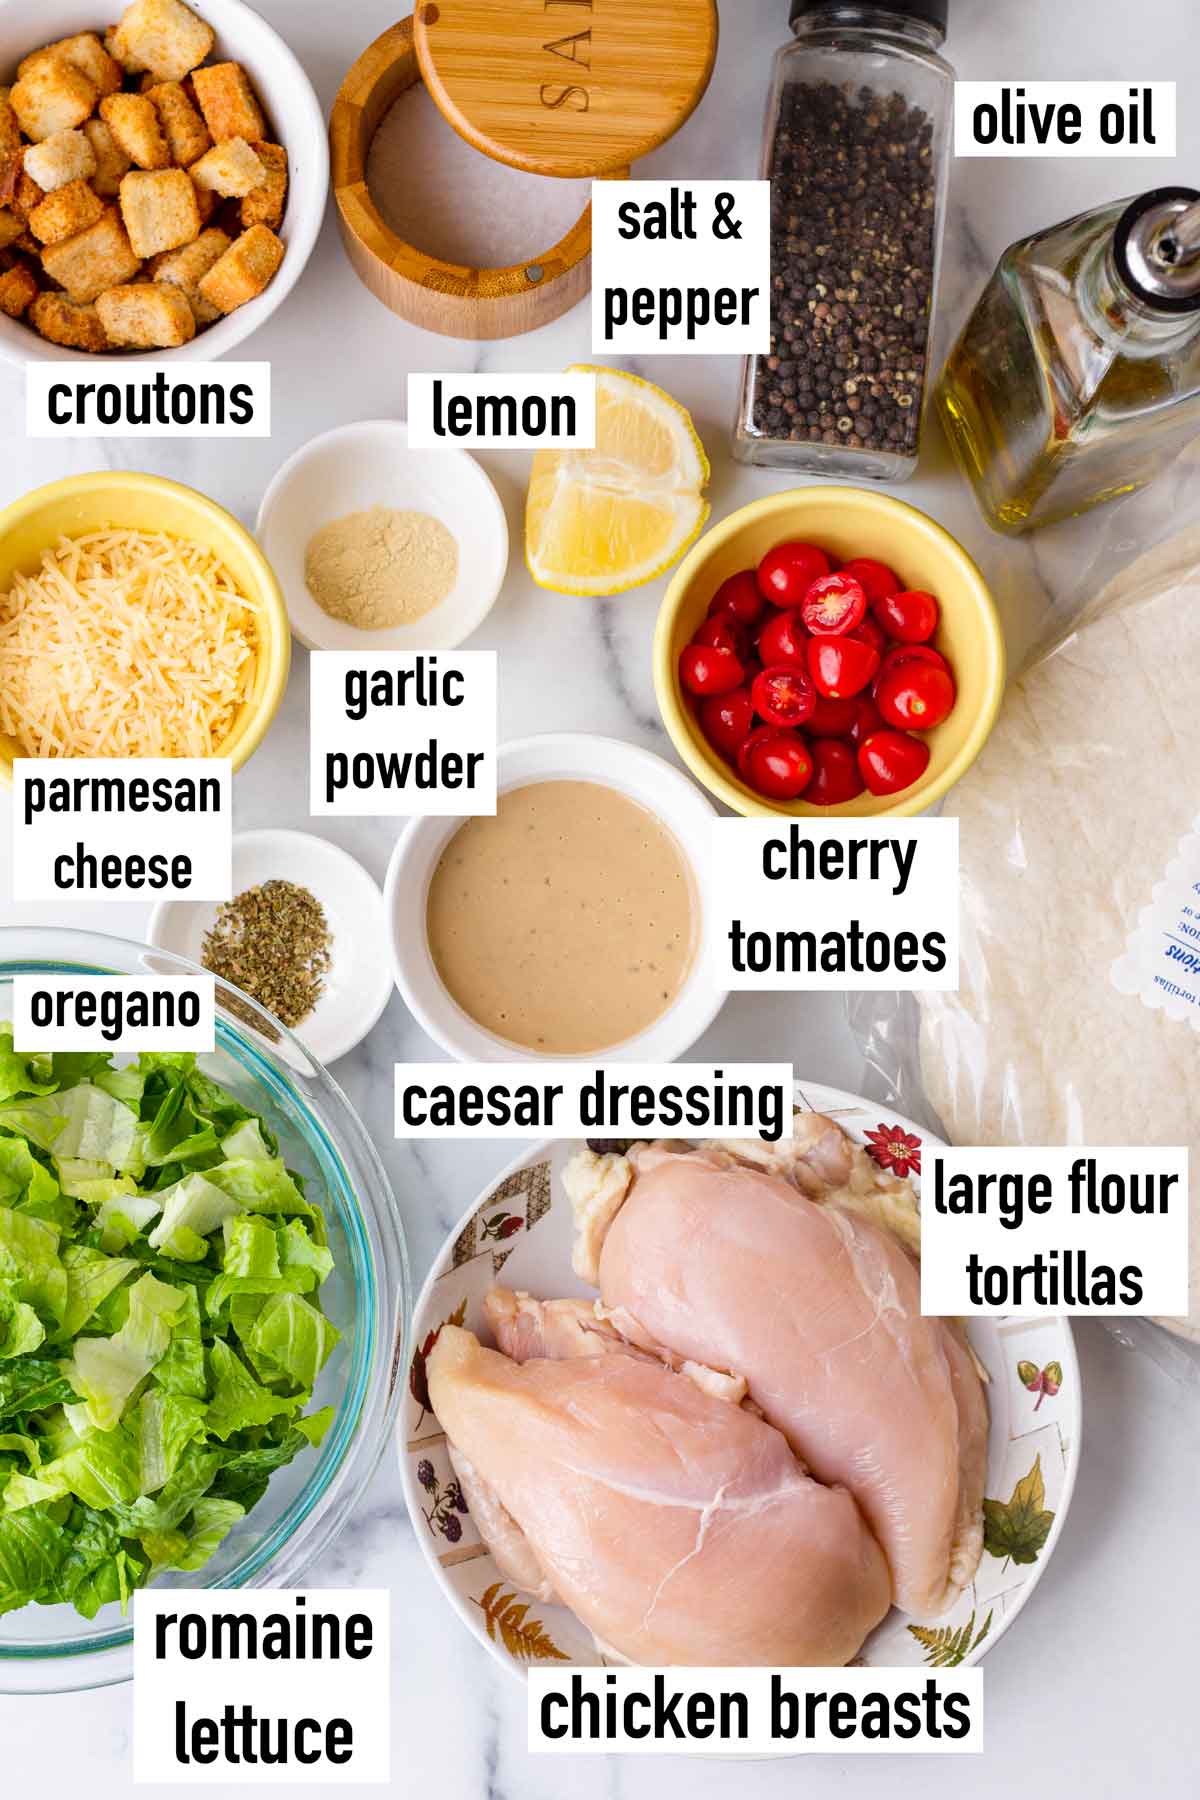
The ingredients I use in this recipe are very simple. Here are a few helpful notes from recipe testing. As always, the full ingredient list with quantities can be found in the recipe card down below.
- Chicken breasts: Pound them to about ¾ inch thick evenly. Use a meat tenderizer.
- Lemon: For the quick chicken marinade.
- Dried oregano and garlic powder: These are the spices we use to marinate the chicken.
- Olive oil, salt and pepper
- Chopped romaine lettuce: Romaine is the classic type of lettuce used for Caesar salad, so that’s what we’re doing here. However, feel free to sub with your favorite greens. I personally prefer romaine because it’s crunchy.
- Cherry tomatoes: Tomatoes are not traditionally part of Caesar salad, but I like to add a few for that pop of color and extra freshness.
- Grated or shredded parmesan cheese: Either freshly grated or pre-shredded. I always use the latter to save myself some time.
- Caesar dressing: To keep things simple, I use store-bought Caesar. I love Brianna’s brand Asiago Caesar bottled dressing (not sponsored, I just really like it!)
- Croutons: Also store-bought. As you can tell, this is a speedy recipe!
- Large flour tortillas: Use burrito-size flour tortillas (not fajita-size tortillas). Some brands carry specialty tortillas, such as spinach and herb or sundried tomato based, which I really like too.
Step-by-Step Tutorial
Making these delicious chicken caesar wraps is super easy! Below I also share a quick visual tutorial on how to properly assemble a wrap to ensure the filling doesn’t fall out.
Step 1 | Marinate and cook chicken
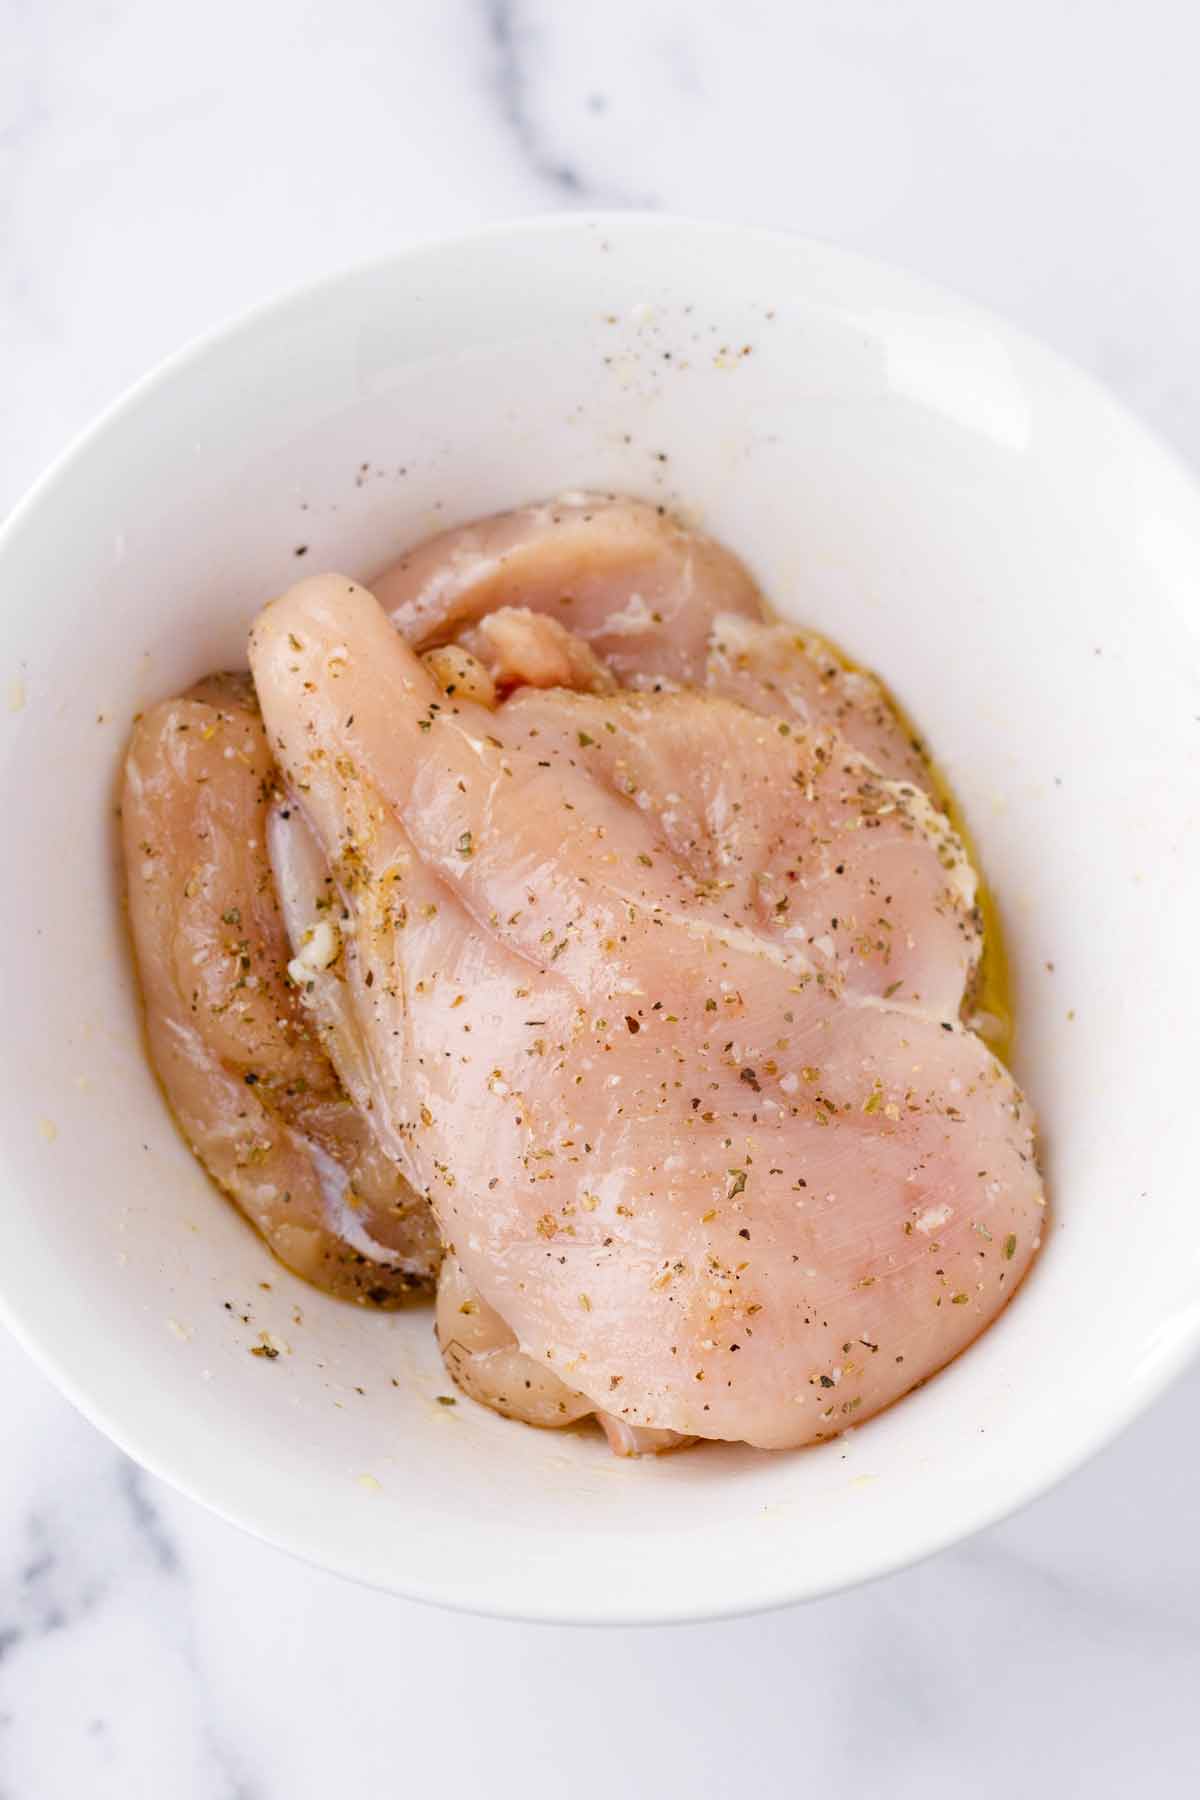
In a bowl or resealable bag, combine the olive oil, fresh lemon juice, garlic powder, oregano, ½ teaspoon Kosher salt, and ground black pepper. Add the chicken breasts and toss to combine. Let it sit in the marinade for about 10 to 15 minutes.
Step 2 | Cook the chicken
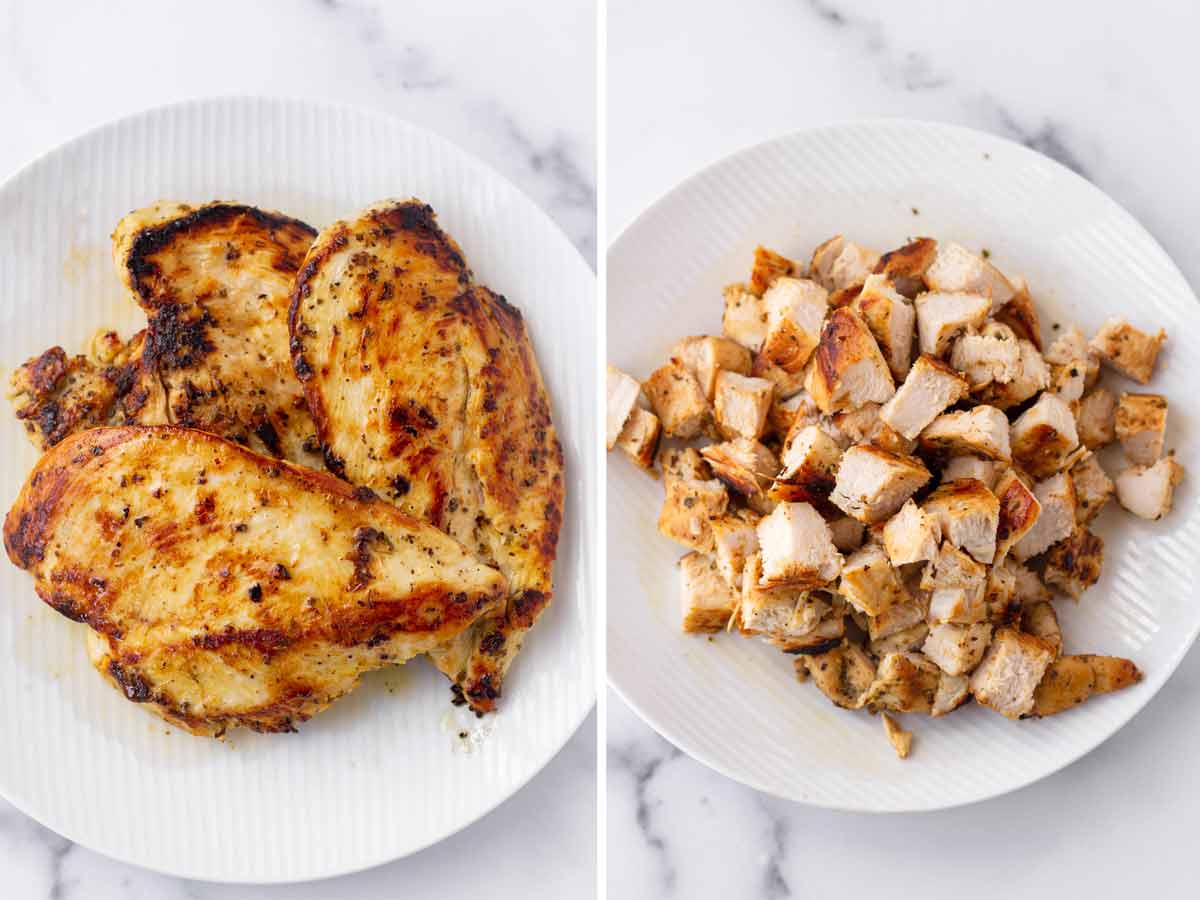
Heat a few drizzles of olive oil in a large skillet over medium heat. Cook the chicken for about 6 to 8 minutes per side, or until the center registers 165 degrees F. You can also cook the chicken on your grill. Once ready, let the chicken rest for about 10 minutes. Dice.
Step 3 | Combine all filling ingredients
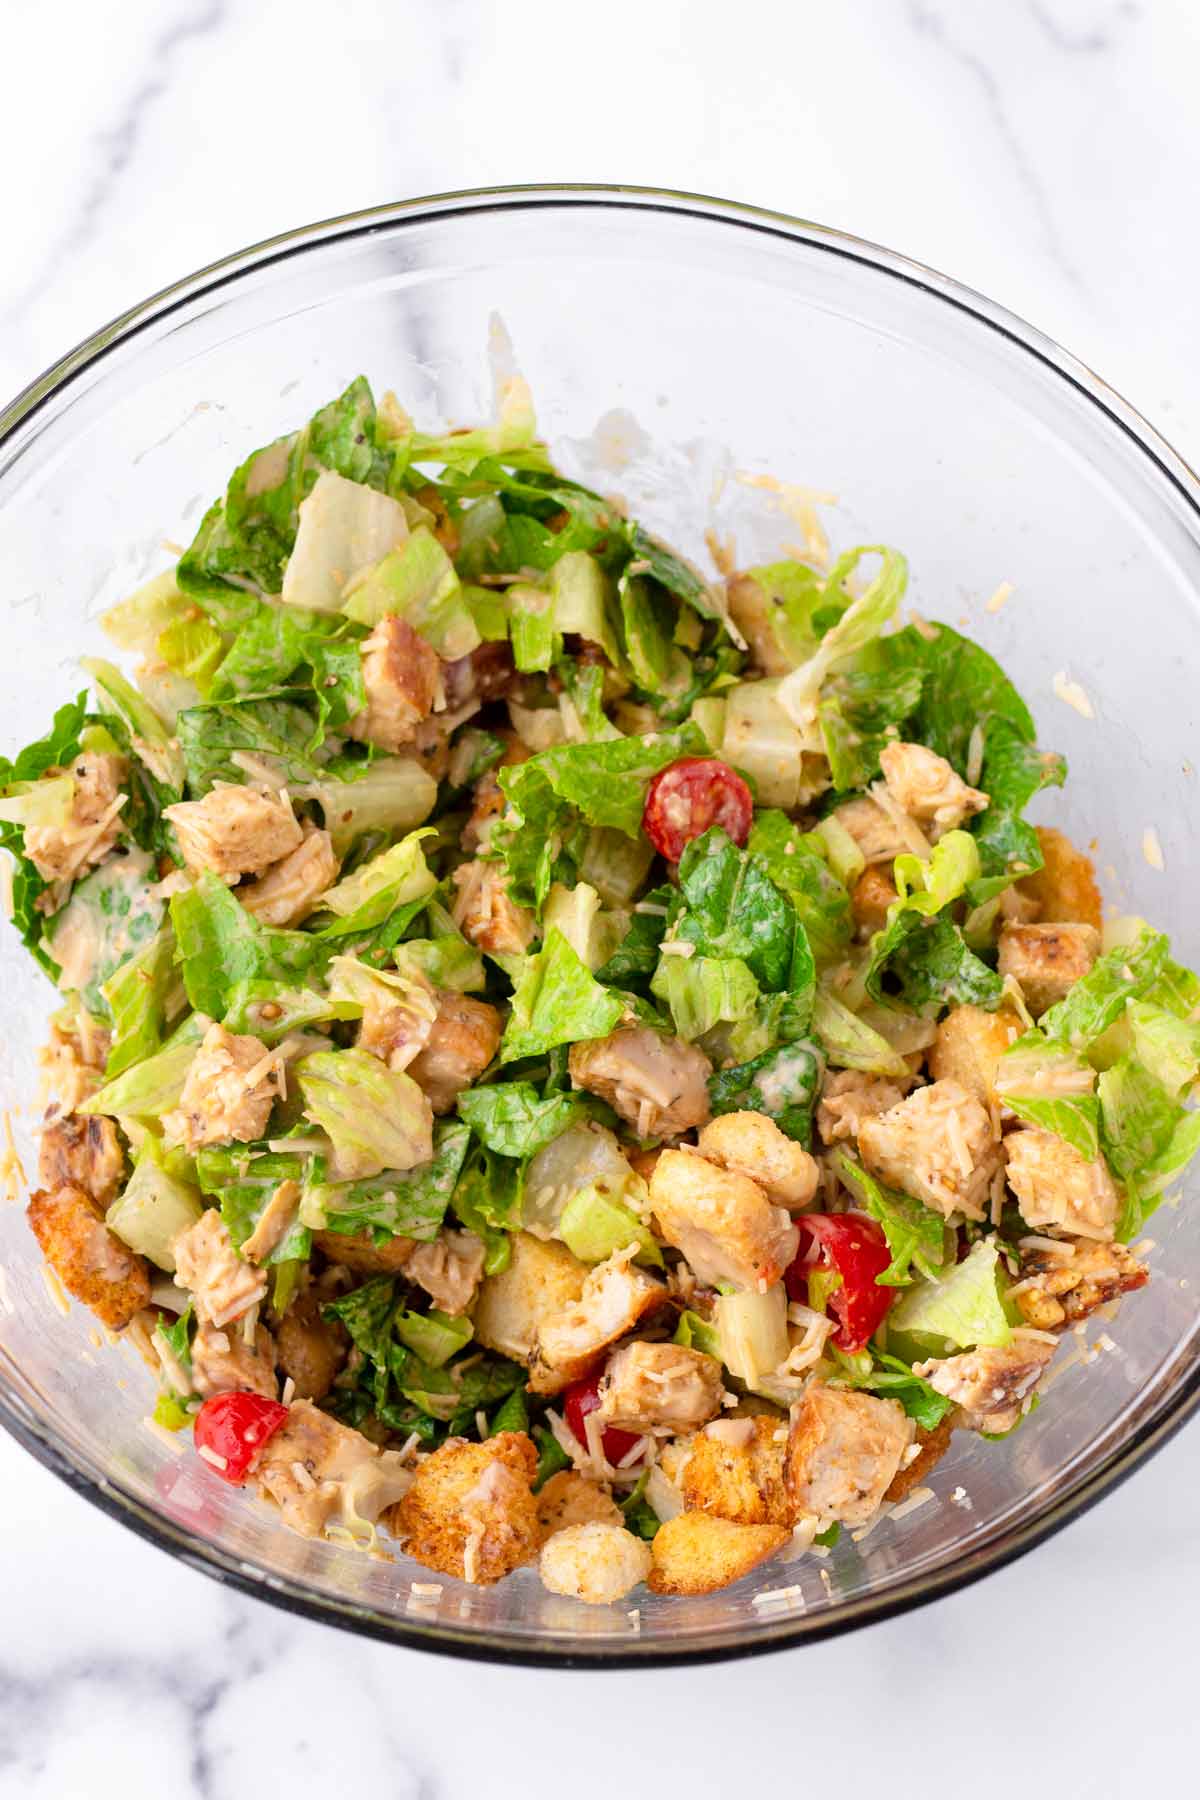
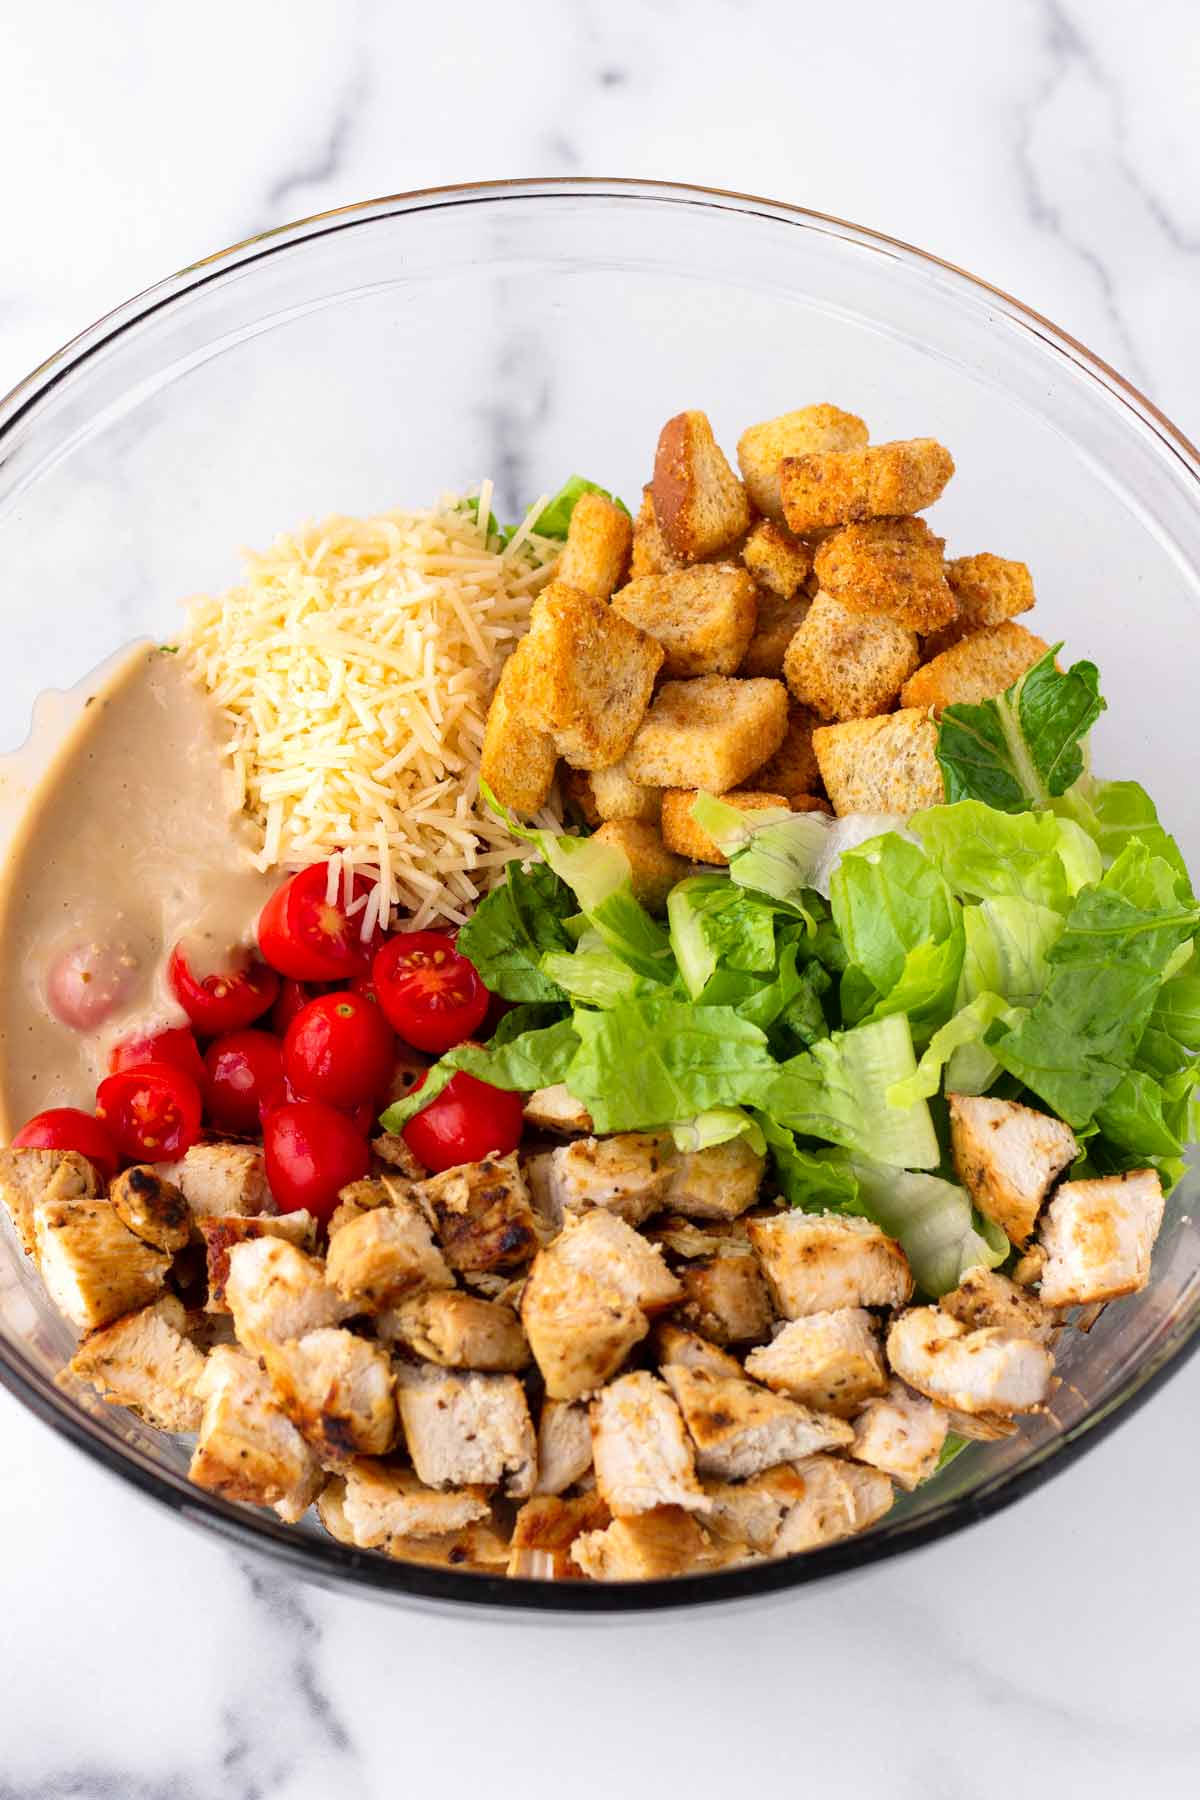
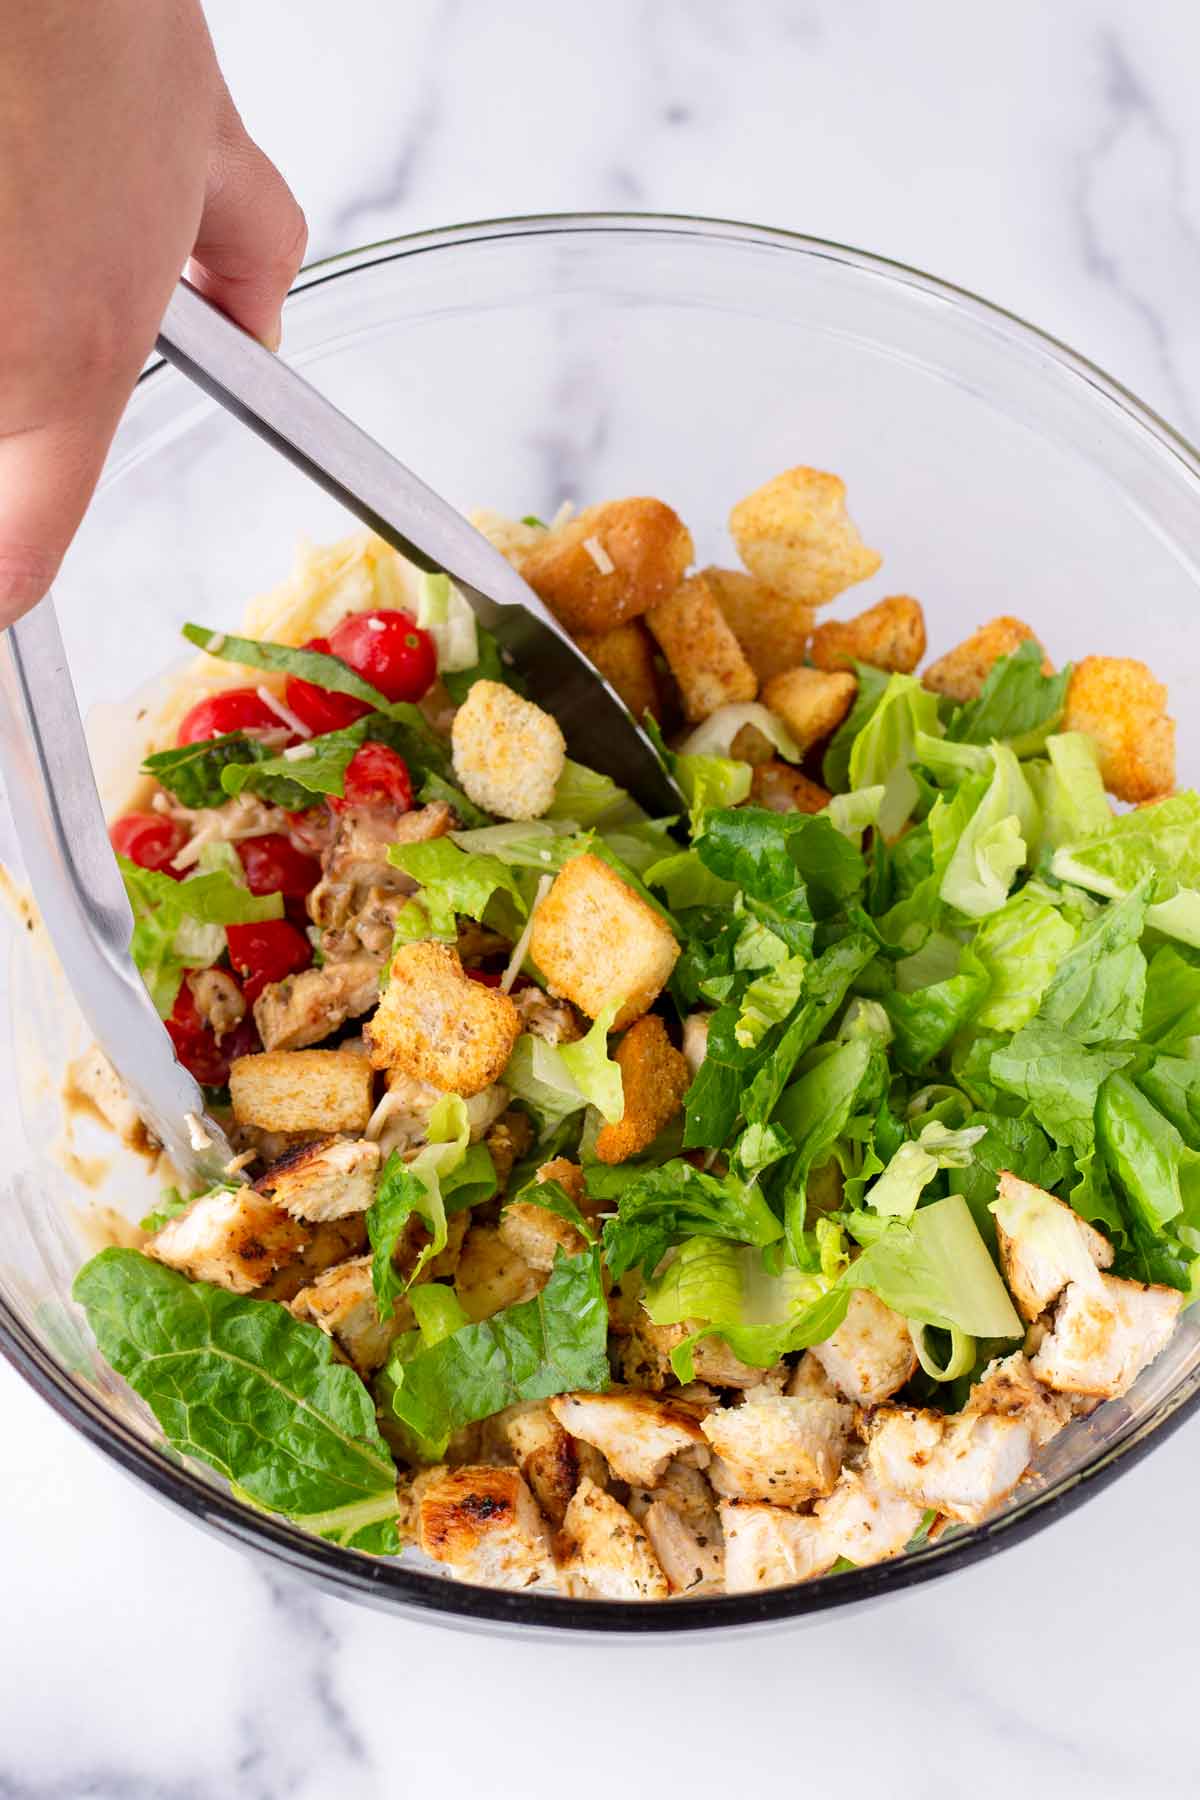
In a bowl, combine the diced chicken and the lettuce, tomatoes, croutons, parmesan cheese and the dressing. Toss to combine evenly.
Step 4 | Assemble the wraps
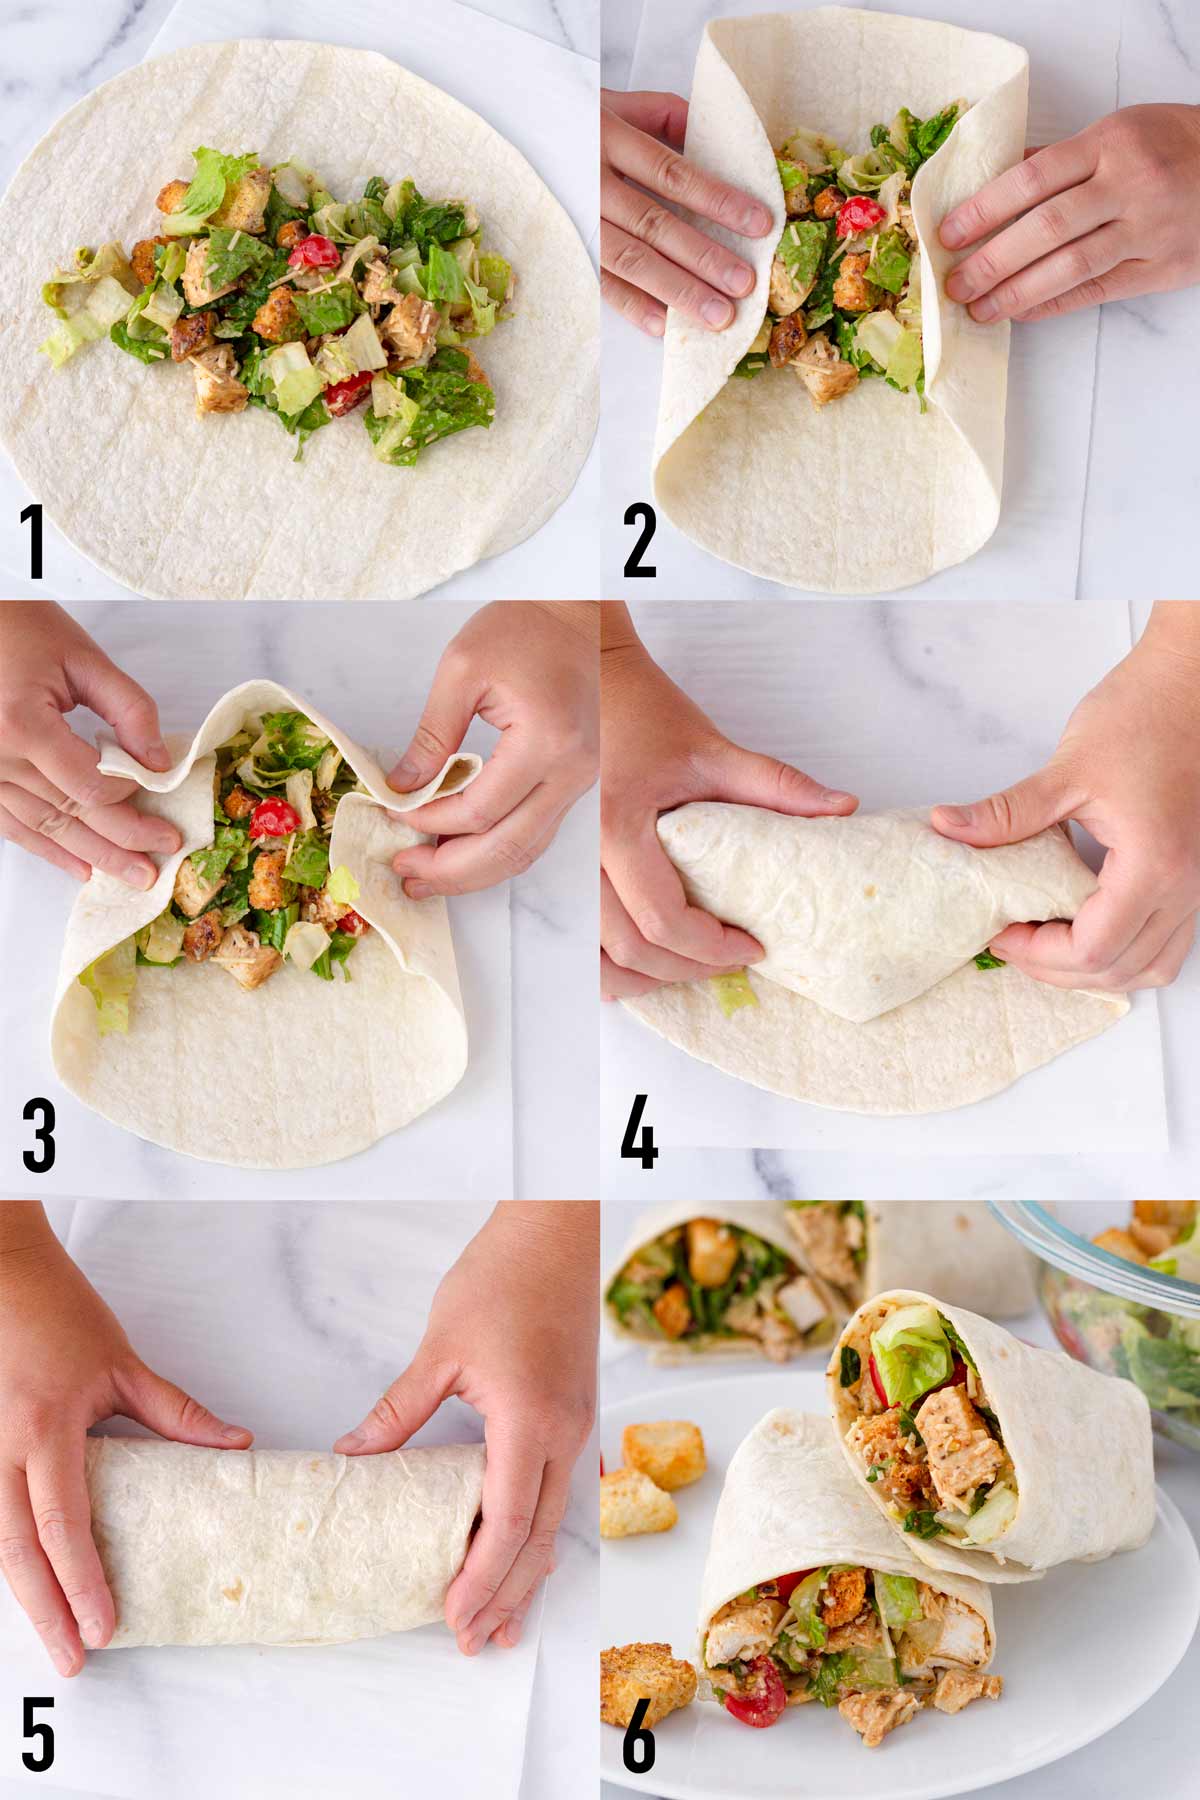
Have you ever tried to roll a tortilla wrap just for it to fall apart immediately? Yup, been there, done that. Well, worry not! Here’s how to assemble this chicken Caesar wrap so it’s snug and safe!
First of all, microwave the tortillas for a few seconds so it’s pliable. This will ensure it won’t break. To assemble: add some of the filling on top of the tortilla, leaving a few inches on the edges. Fold in the sides. Holding the sides with four fingers, fold the bottom side up with your thumbs. Roll to seal tightly, being careful not to break it. If desired, cut the wrap into half.
Many Ways to Cook the Chicken
To keep it quick and simple, I like to simply pan-sear the chicken. Even faster (and perhaps easier!) is using the air fryer – air fry at 390 degrees F for about 5 minutes per side, depending on the thickness.
If the weather is good where you live, fire up the grill! Grilled chicken always has an amazing charred flavor that would be perfect for this recipe.
Rotisserie chicken also works in a pinch. And leftover chicken is great as well! If you ever make my Dutch oven chicken or roasted lemon chicken…definitely use the leftovers to make these chicken Caesar wraps! If it’s the holiday season and you have leftover Thanksgiving turkey (I always do, guaranteed!), you can use this recipe too!
Prep Ahead
Prep all the ingredients for the filling and refrigerate for up to 3 days. I like to store them in separate containers. Do NOT add the dressing until you’re ready to assemble and eat.
Assembled chicken caesar wraps can be refrigerated for 1 to 2 days (wrapped in plastic wrap, foil, or parchment paper). It may get a little softer because of the dressing, but still really good! You can either serve it cold or slightly “warm.” My favorite way to warm these up is on the skillet or griddle.

Variations and Shortcuts
I’ve made these chicken Caesar so many times now, and every time I tweak a few ingredients here and there to keep it interesting:
- Tortilla choice: I use regular large flour ones, but you can also use the green Spinach and Herb or Sun Dried Tomato Basil wraps. Or any type, really.
- Toast the wraps! Melt some butter or oil in a skillet or griddle over medium heat and toast each side for about 2 to 3 minutes until slightly golden brown. You can do this on the grill too.
- Use your favorite greens, such as baby kale mix or little gem lettuce.
- Make your own croutons at home!
- Add-ons: Avocado, roasted red bell peppers, other veggies of your choice, or diced hard-boiled eggs.
- Other proteins: Bacon, shrimp, steak. For a vegetarian option, try chickpeas or tofu.
If you’re running short on time, here are my favorite shortcuts, which always save me SO MUCH time on those extra busy days:
- Use rotisserie chicken.
- Use pre-cut lettuce or salad mix bags from the grocery store. Make sure to wash the lettuce first! A salad spinner is the best tool for it.
- Use pre-shredded parmesan cheese.
- Use store-bought Caesar, or make your own days in advance.
Pairing and Serving Ideas
For a side dish, potatoes are the way to go! My favorite is a bag of chips…as simple as that! It’s super convenient, and honestly, who doesn’t like chips?!
For an upgrade, try my crispy herb roasted baby potatoes or easy oven-roasted potato wedges. When I want something cozy, I like to serve it with my tomato basil bisque.
Other quick lunch ideas you may like:
- Chicken Salad with Grapes (serve on croissants or lettuce cups, yum!)
- Avocado Tuna Salad or Spinach Egg Salad (serve over lettuce cups or make a sandwich with it)
- Mediterranean Lentil Salad
Recipe FAQs
I shared a full visual tutorial under the “Step 4 | Assemble the wraps” section in this blog post above.
Yes. You can prep all the ingredients ahead (but add the dressing only when ready to eat) for up to 3 days. Assembled wraps can be refrigerated for 1 to 2 days – wrap tightly with plastic wrap, foil, or parchment paper.
I would recommend doing so for like 10 or 15 seconds. This will make the tortillas easier to use and less likely to break.
Romaine lettuce is what is commonly used for Caesar salads. I really like romaine because it’s crunchy. Other greens you can use are baby kale mix, spring green mix, or little gem lettuce.
This recipe was published in 2019 and updated in April 2023 to include new photos and information, plus a few recipe modifications.
Tips for Success
- Make sure to use the large tortillas commonly used for burritos. Do not use fajita-size tortillas – they are too small.
- Don’t overfill, or it will be hard to wrap and could also make it more likely to break. Warm the tortillas in the microwave oven for 10 to 15 seconds so they are more pliable and easier to wrap.
- See my quick visual tutorial above on how to fold the tortillas properly (under “Step 4, Assemble the wraps”). This will ensure the filling doesn’t fall apart.
I’d love to hear from you! If you loved my recipe, please consider leaving a 5-star rating and a comment down below. Sign up for my newsletter and follow along on Instagram, Facebook, or Pinterest
Chicken Caesar Wraps
Equipment
- Salad spinner to wash and dry the chopped lettuce
Ingredients
- 2 large chicken breasts - skinless, boneless
- Juice of 1 medium lemon - about 2 tablespoons
- 2 tablespoons olive oil, plus more for pan
- 1 teaspoon dried oregano
- ½ teaspoon garlic powder
- ½ teaspoon Kosher salt
- ¼ teaspoon ground black pepper
- 4 cups chopped romaine lettuce
- 1 cup cherry tomatoes, halved
- ½ cup shredded or grated parmesan cheese - plus more to taste
- ¾ cup store-bought croutons - plus more to taste
- Store-bought caesar dressing, to taste
- 6 large flour tortillas
Instructions
- Pound chicken breasts to ¾ inch thick. Place chicken in a resealable bag. To the bag, add the lemon juice, olive oil, oregano, garlic powder, salt, and pepper. Close the bag and shake to combine evenly. Let sit for 10 to 15 minutes.
- Heat a few drizzles of olive oil in a skillet or grill pan over medium heat. Cook chicken, about 6 to 8 minutes per side until cooked through, or until internal temperature reaches 165 degrees F. Remove from pan and let it rest for 10 minutes. Dice.
- In a large bowl, mix the diced chicken, romaine lettuce, cherry tomatoes, parmesan cheese, croutons, and the Caesar dressing to your liking. Toss to combine evenly.
- Microwave the tortillas for just 10 to 15 seconds so they are easier to fold.
- Assemble wraps: Place some filling on the top of the tortilla (do not overfill). Then fold in the left and right sides and hold with four fingers. Using your thumbs, fold in the bottom side up, and then roll to seal tightly, but without breaking it.
- Optional: Toast the wraps! Melt some butter or olive oil in a hot skillet to griddle. Toast about 2 or 3 minutes per side until slightly golden brown.
- To serve, cut into half if desired. Enjoy!
Notes
- How to assemble wraps without the filling falling apart: For a quick tutorial, see my visual tutorial above in this blog (under “Step 3, Assemble the wraps”).
- Upgrade your wraps: toast them! Melt some butter or oil in a skillet or griddle over medium heat and toast each side for about 2 to 3 minutes until slightly golden brown. You can do this on the grill too.
- Prep ahead: Prep all the ingredients for the filling and refrigerate for up to 3 days. Do NOT add the dressing yet. When ready to eat, toss with dressing and assemble.
- Make ahead: Assembled wraps can be wrapped in plastic wrap, foil, or parchment paper, and refrigerated for 1 to 2 days.
- Storage: Refrigerate for 1 to 2 days.
- Romaine lettuce: Little gem lettuce, spring greens mix, baby kale mix.
Tortillas: Use the large flour tortillas of your choice. Make sure they are the large ones. - Chicken: Use the protein of your choice.
- Add-ons: Avocado, roasted red bell peppers, other veggies of your choice, or even diced hard-boiled eggs.
- Other proteins: Bacon, shrimp, steak. For a vegetarian option, try chickpeas or tofu.






Chelsey says
These look so yummy!! Love the simple, fresh marinade you do for the chicken!